Here we are! The end of the trilogy! Our final chapter of printer upgrades (for now of course :P) Last time, it was all about bed leveling and getting our z-axis to be perfectly level. We’re done with adding real upgrades, so its time to get back to printing our upgrades. With the existing addons, some of our prints no longer have a home on the printer frame. So, its time to find them a new spot. Also we need to problem solve a potential fire hazard BUT we’ll get back to that!
Lets get into it!
Finding the Camera a new Home
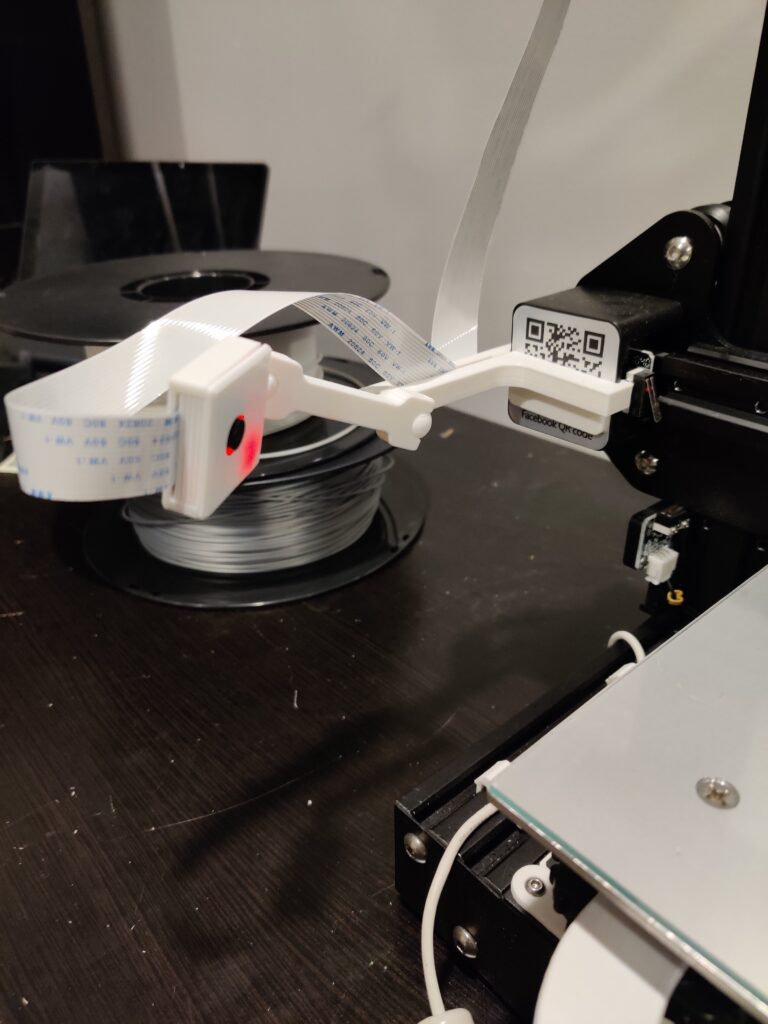
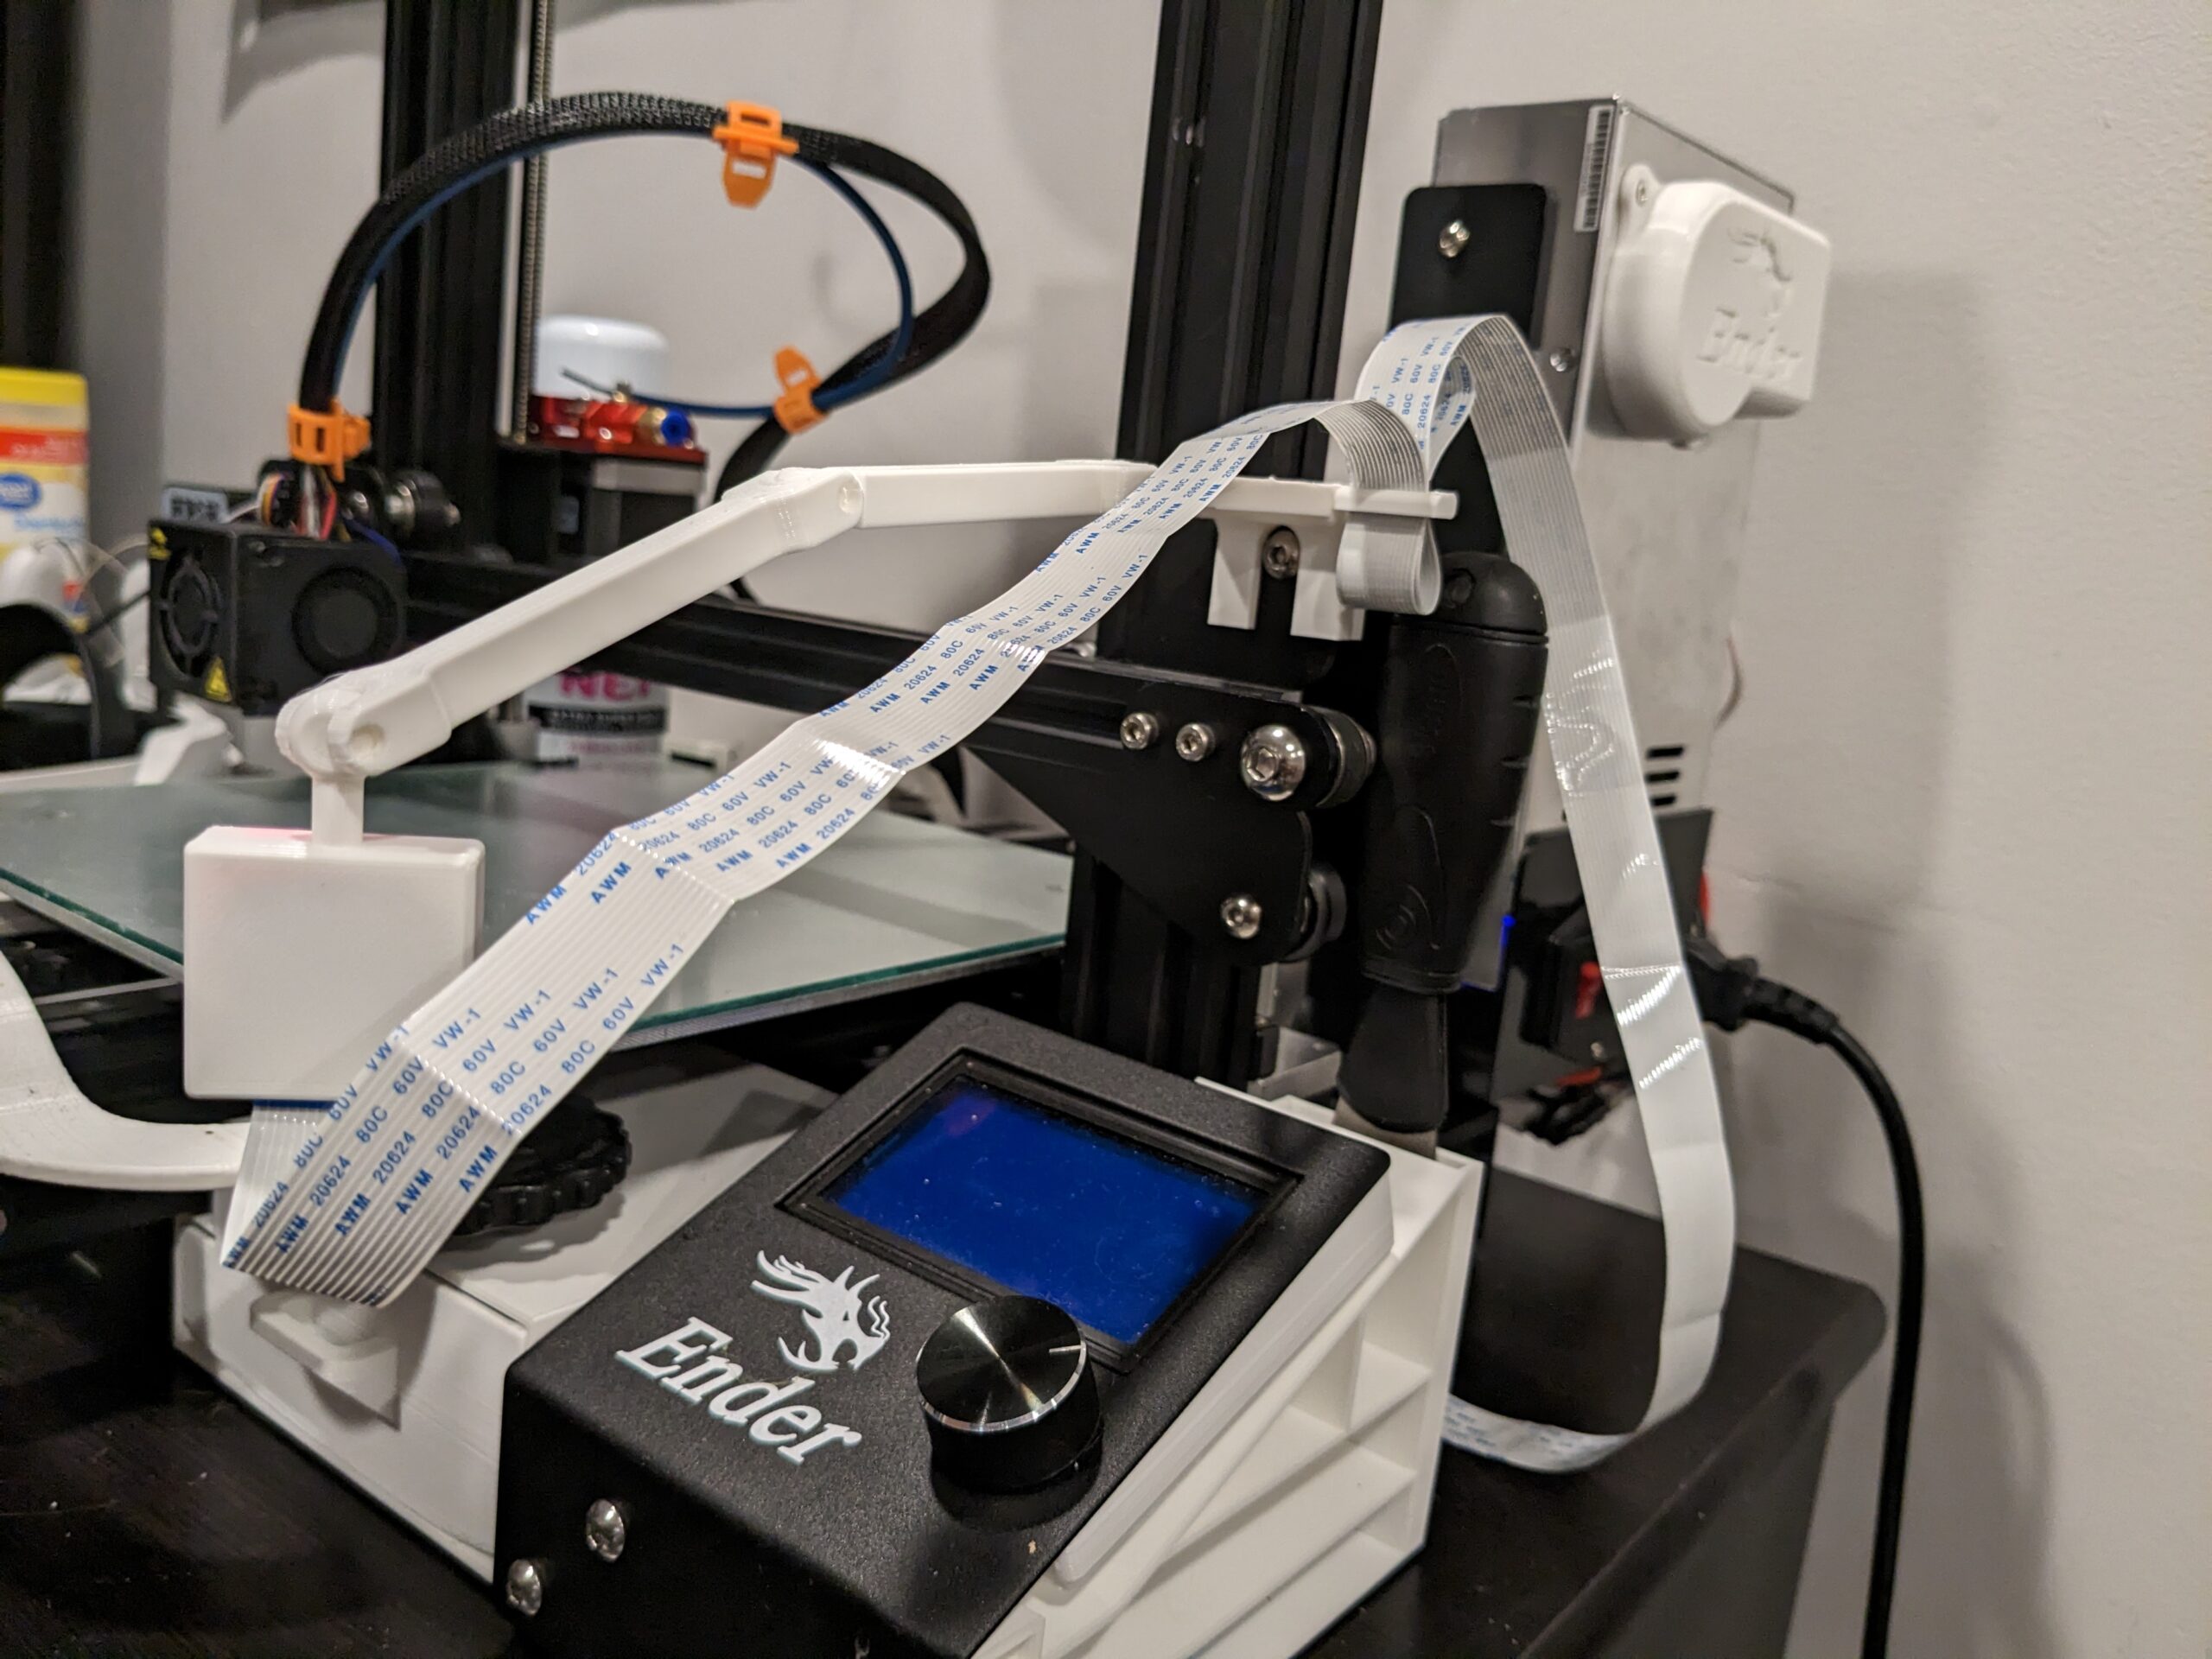
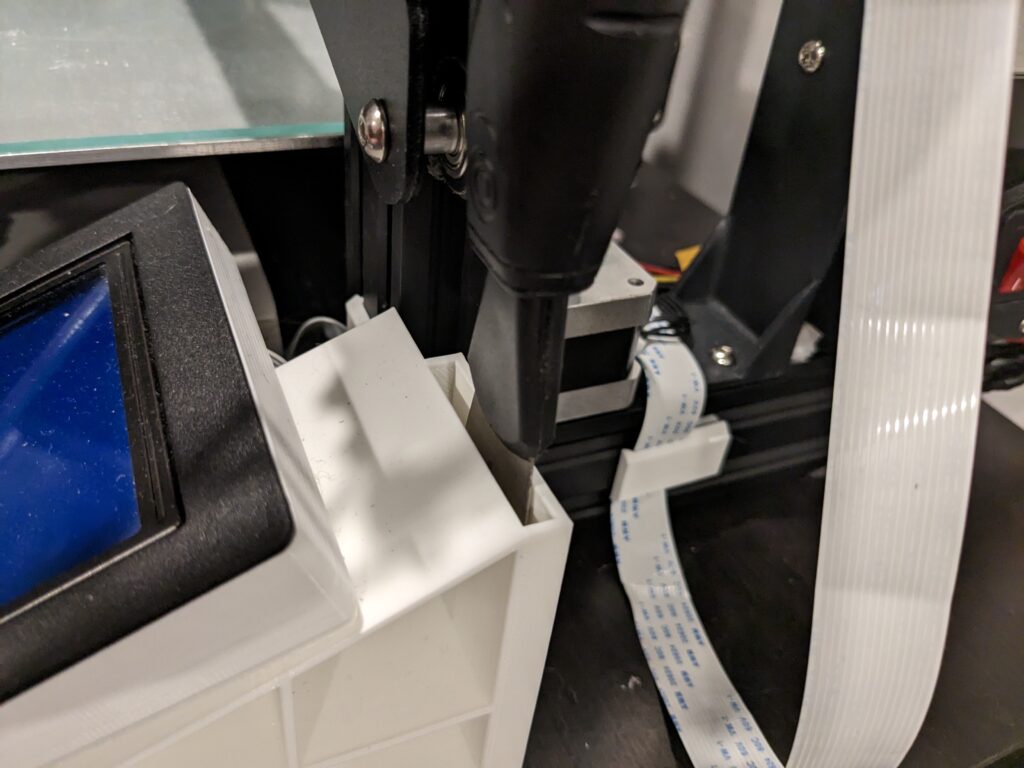
With the ABL installed, there is a slight issue with where the Raspberry Pi Camera is mounted. The old mount, clamps onto the left side of the X-axis bar. The problem is the ABL would contact the bracket, and cause the header to close the X-Axis stop switch. I couldn’t even shift the bracket up or down to get it to clear, there just wasn’t enough bite.
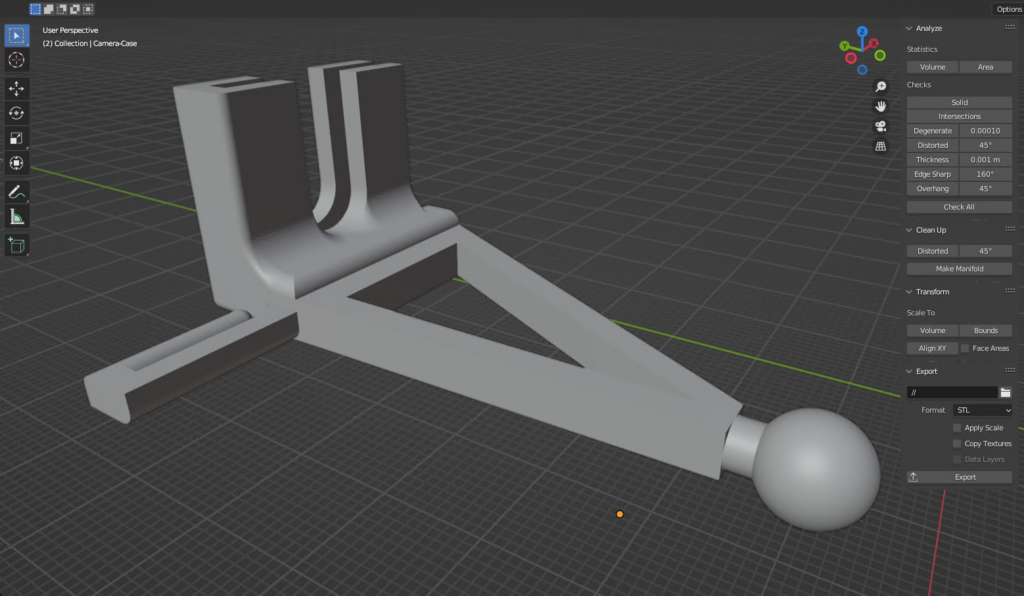
So, new plan! I needed to find a bracket that I could use elsewhere on the frame. Luckily, on my favorite website Thingiverse, I found just the one! However, it wasn’t exactly scratching my itch. I didn’t like the arm being that far out and I wanted the existing ball and socket system with the old design.

Light Bulb! Put it in blender and make it the way you want! Now, I’ve already proven that I can do some magic in blender when it comes to camera mounts. But this time I decided to just change what’s already been done. So, I chopped up the bracket, removing the arm and splicing in the ball socket system from the other design.
Note, now the camera was on the left and its orientation was sitting differently, I had to go into Octoprint and flip and mirror the camera footage. Voila, a new camera system that is now compatible with the new upgrades addons!

Now with the camera in a new spot and running again, I can resume printing with peace of mind. Well, kinda… but we’ll get to that later 😉
The True Cost of the Z-Axis Upgrade
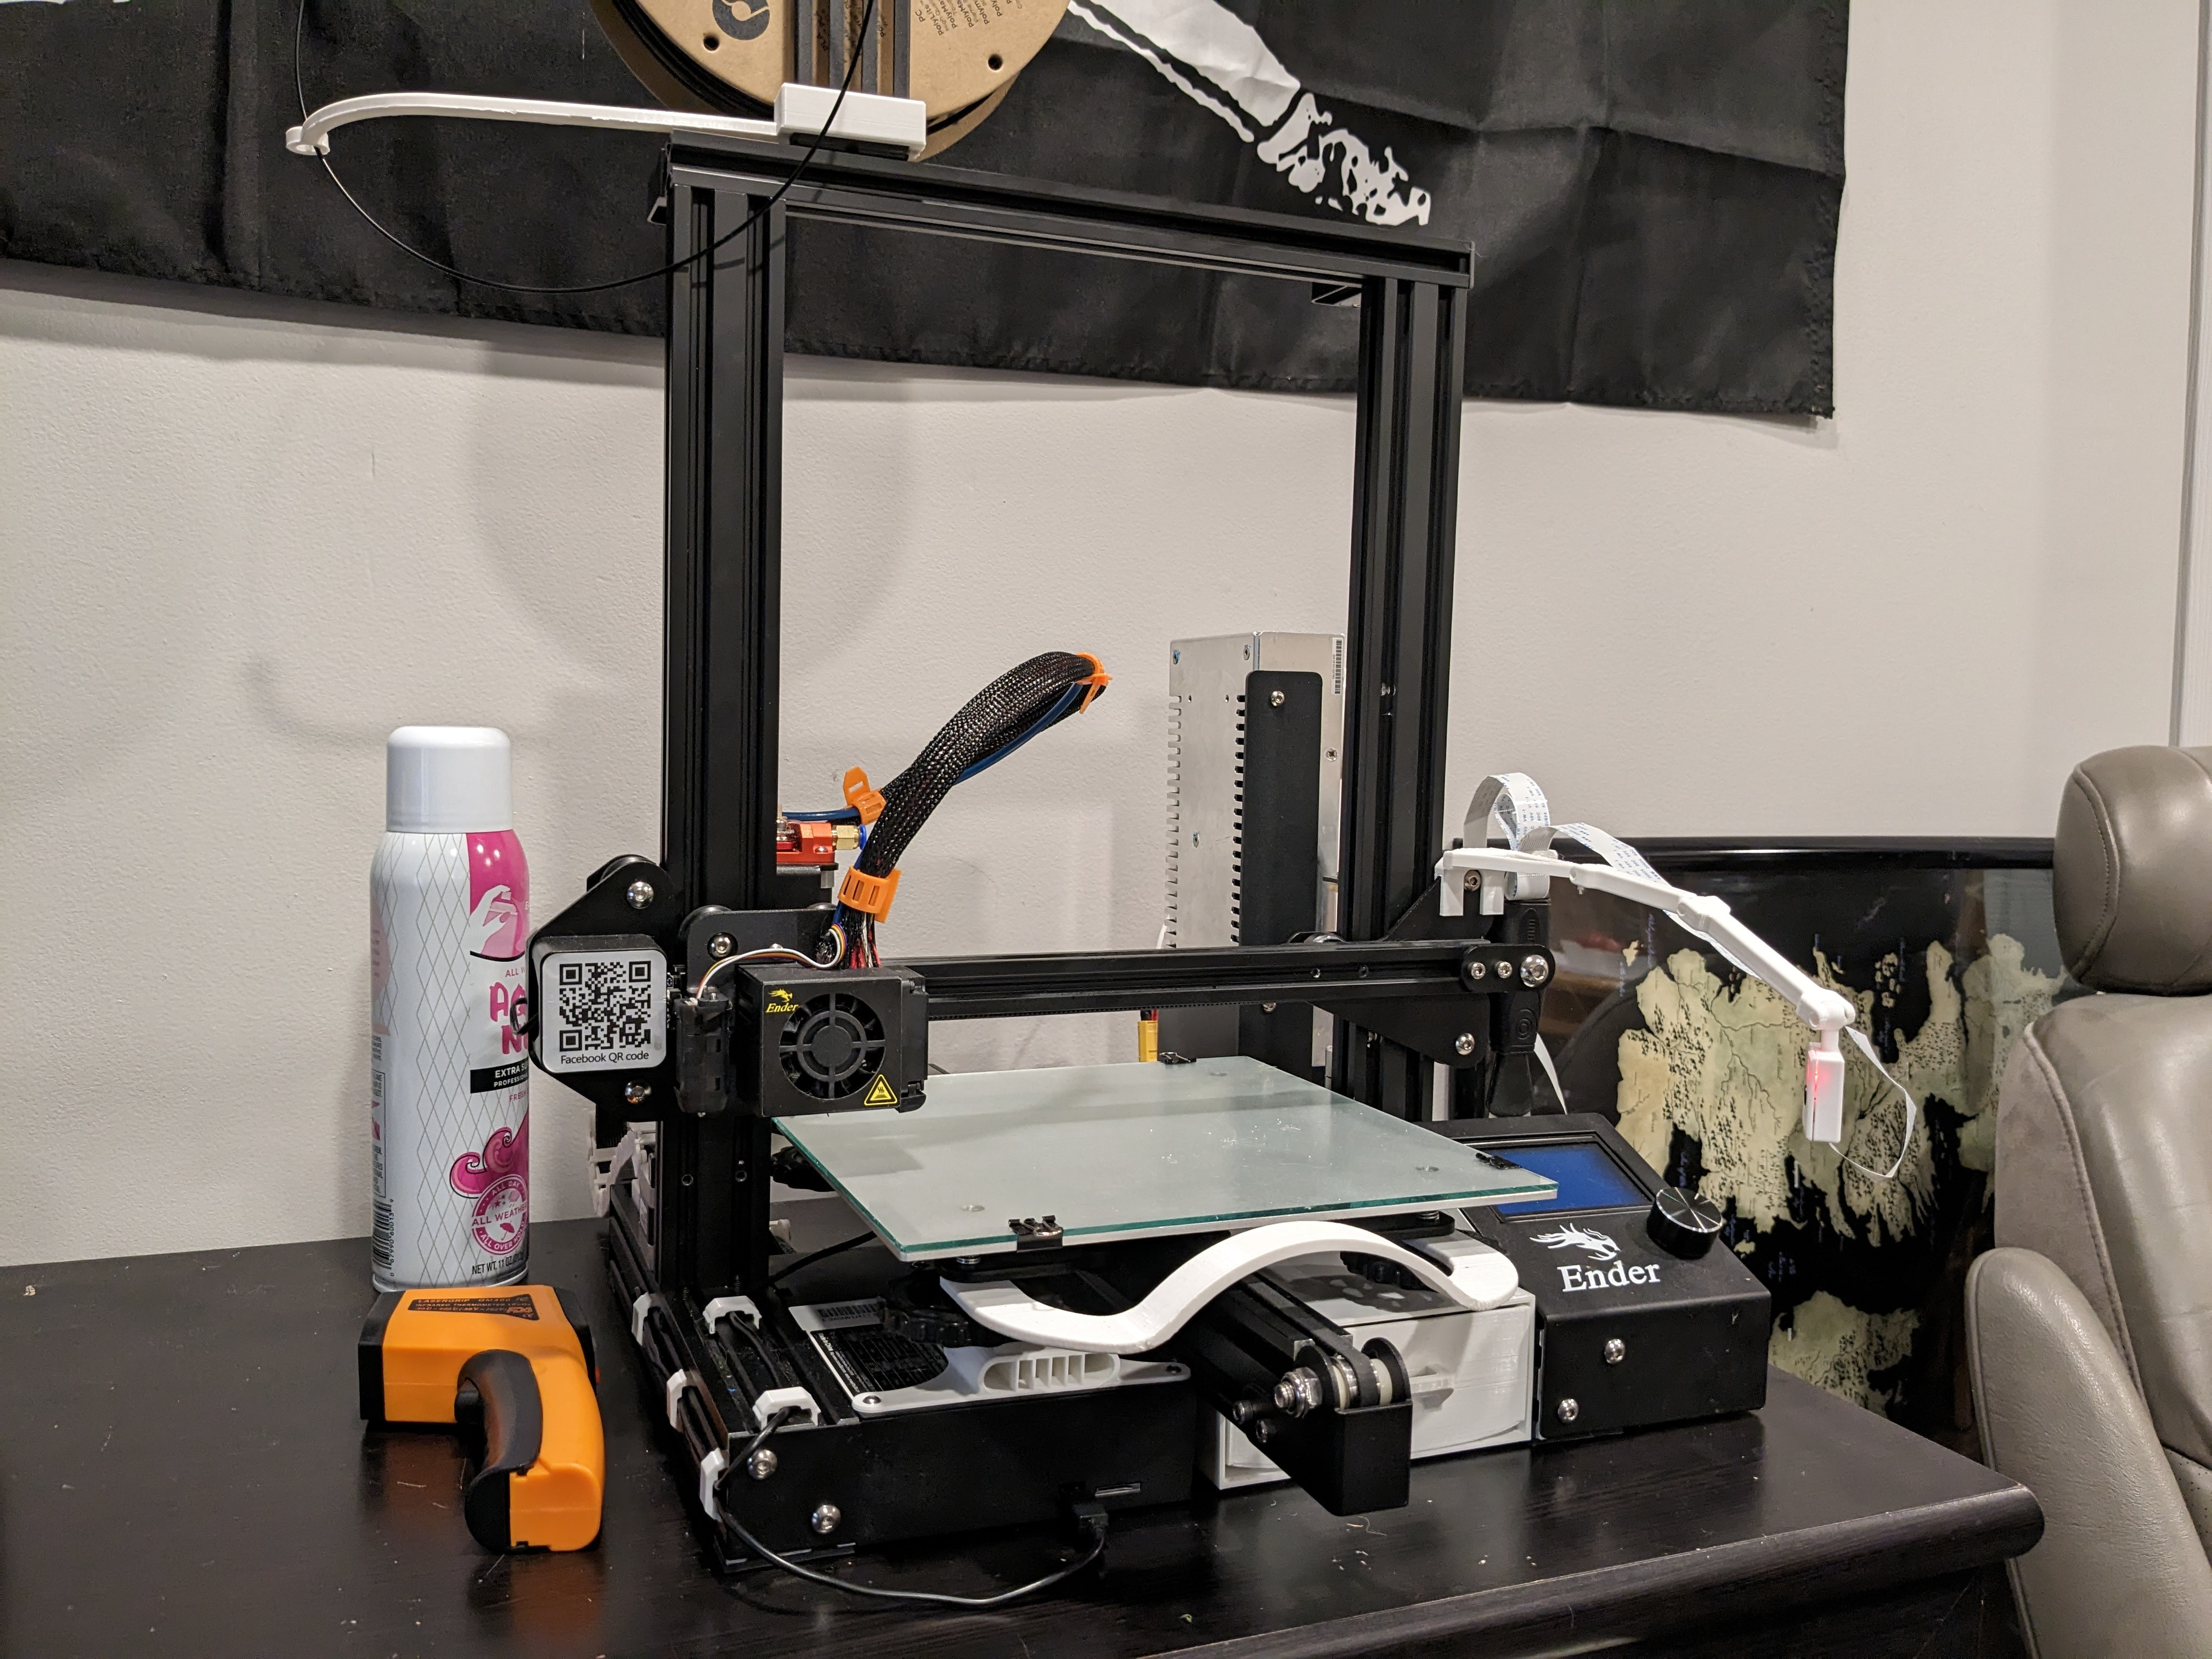
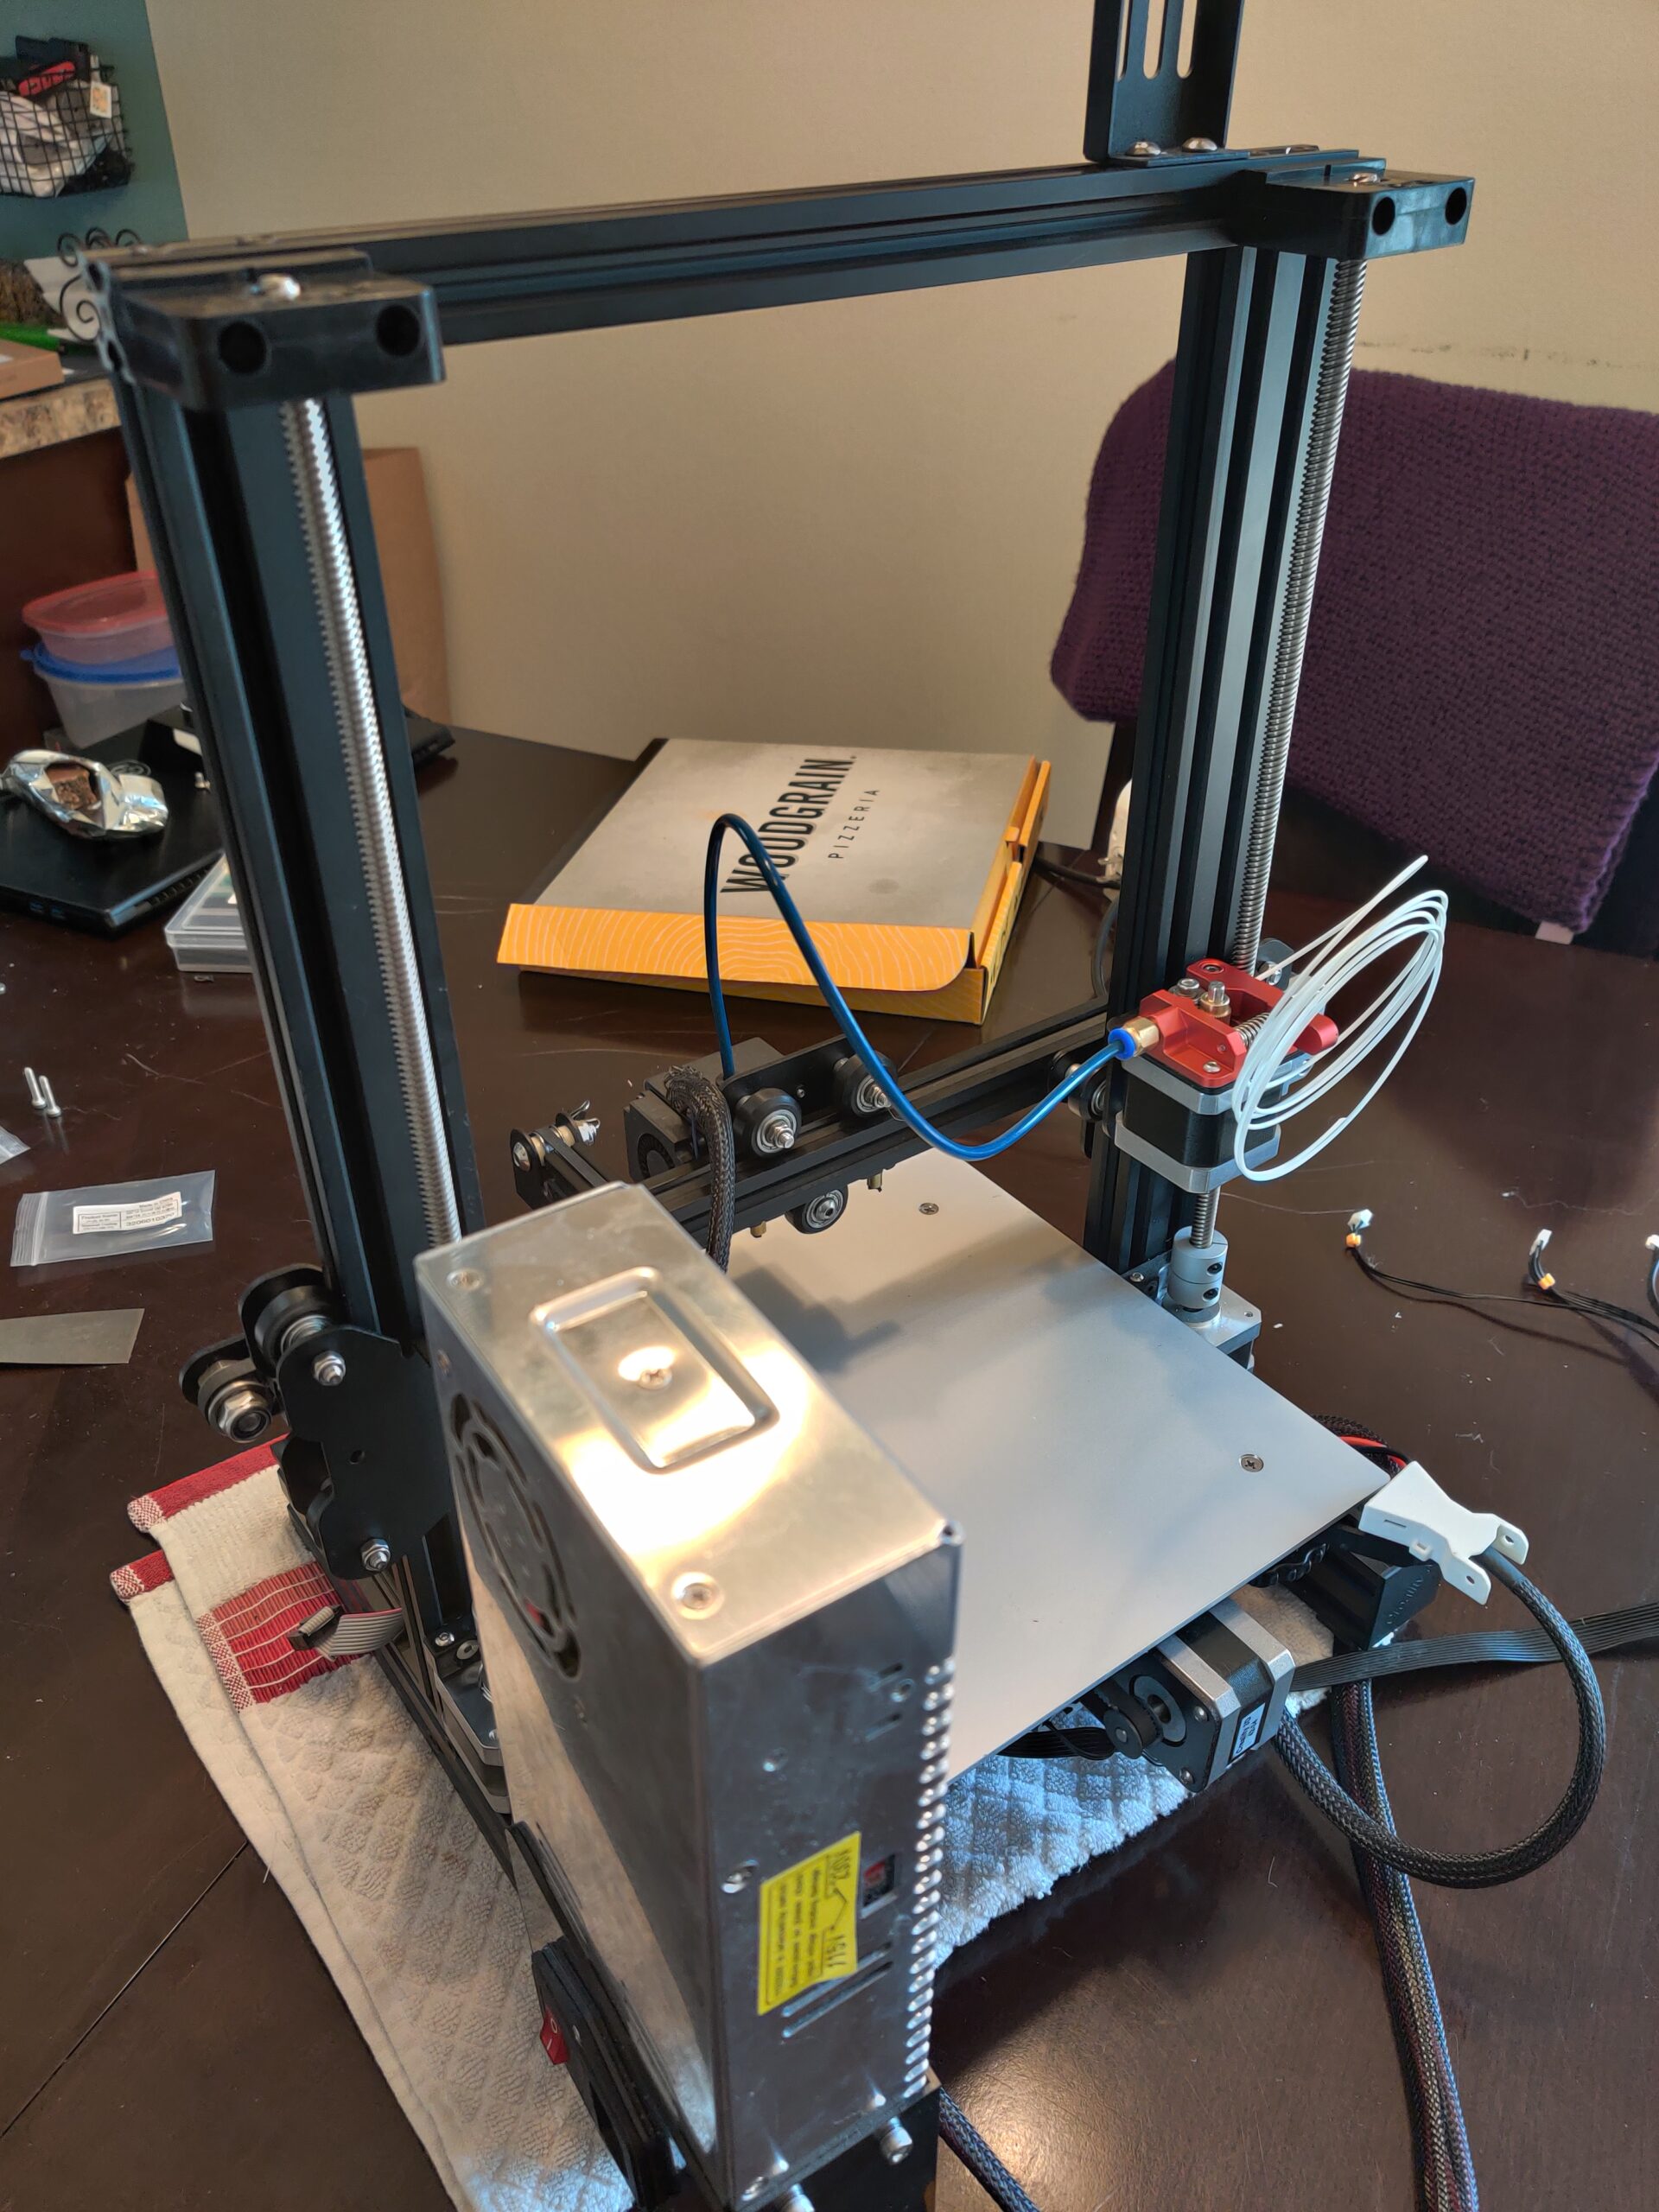
Installing the Z-Axis upgrade didn’t come without consequences. Much like the ABL requiring some existing upgrades getting evicted, other parts of my printer also had to be rearranged. Lets start with tools! Originally, I had all my allen wrenches, wrenches, screw driver, snipper tool and trusty putty knife, all on top of the frame. Riiiiight where the secondary Z-Axis goes…

I set off to find another place to put all my tools, and there is no better place than Thingiverse! 🙂 Digging around a bit, I found the right design.
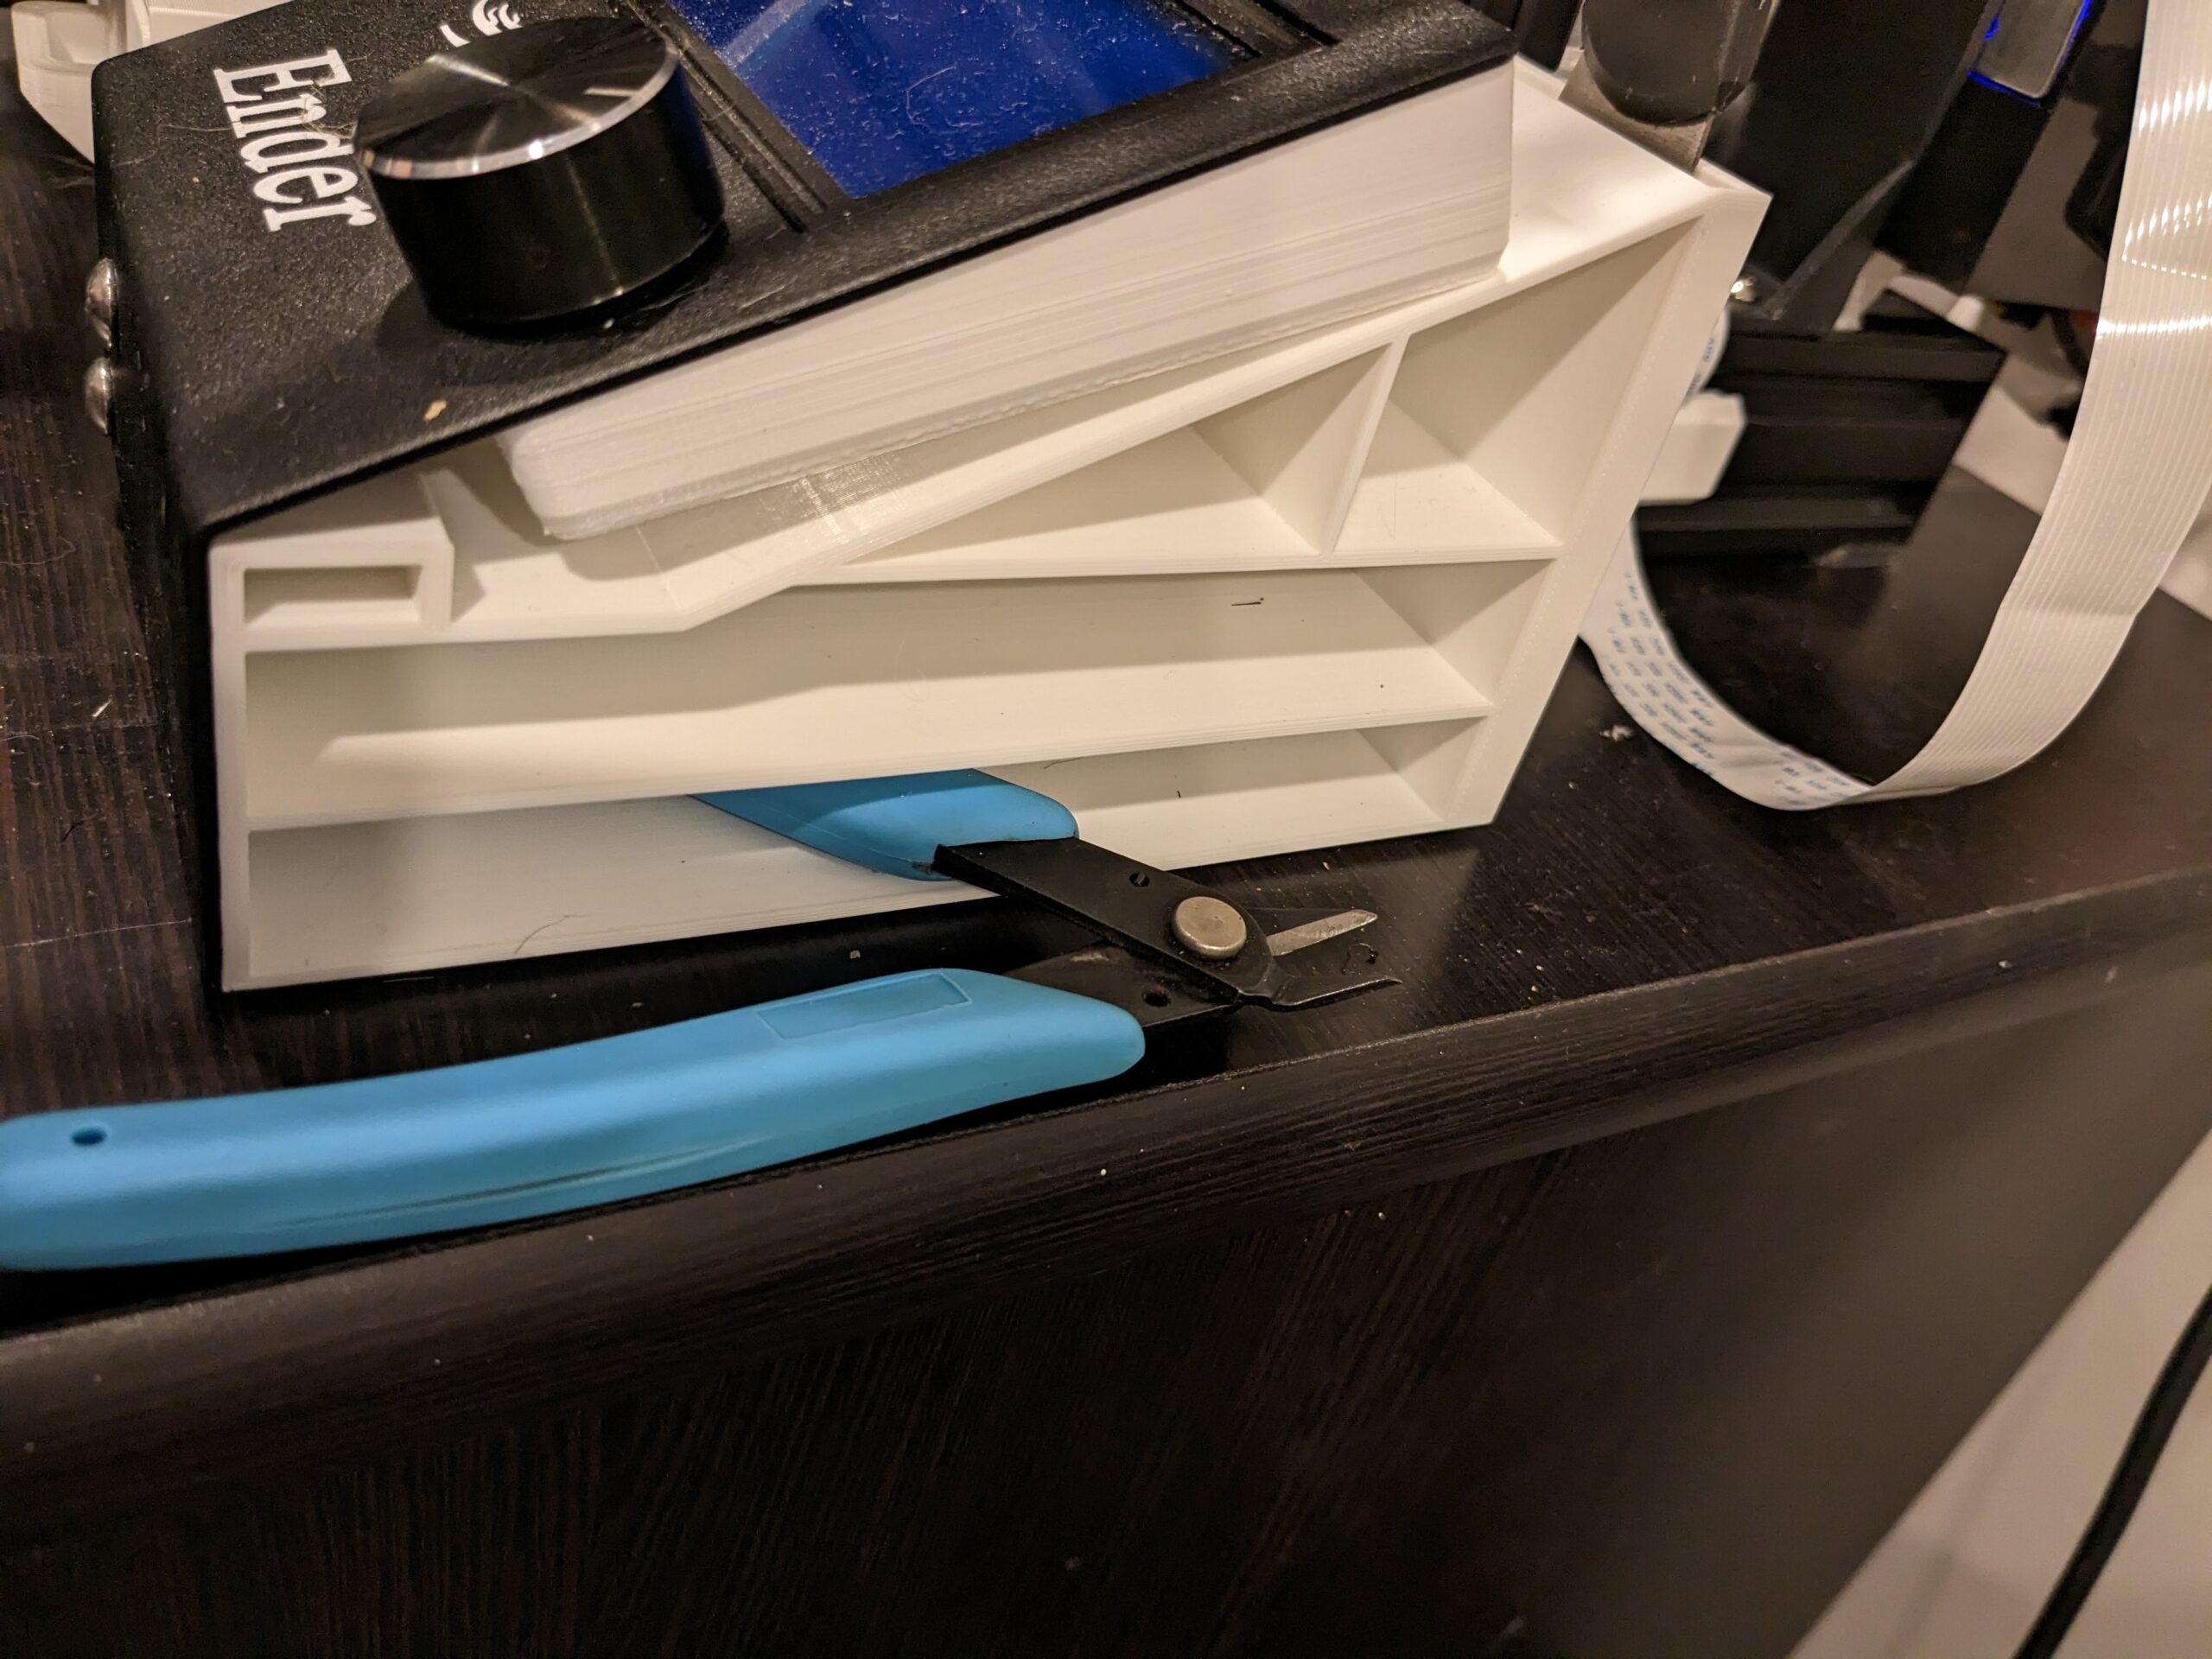
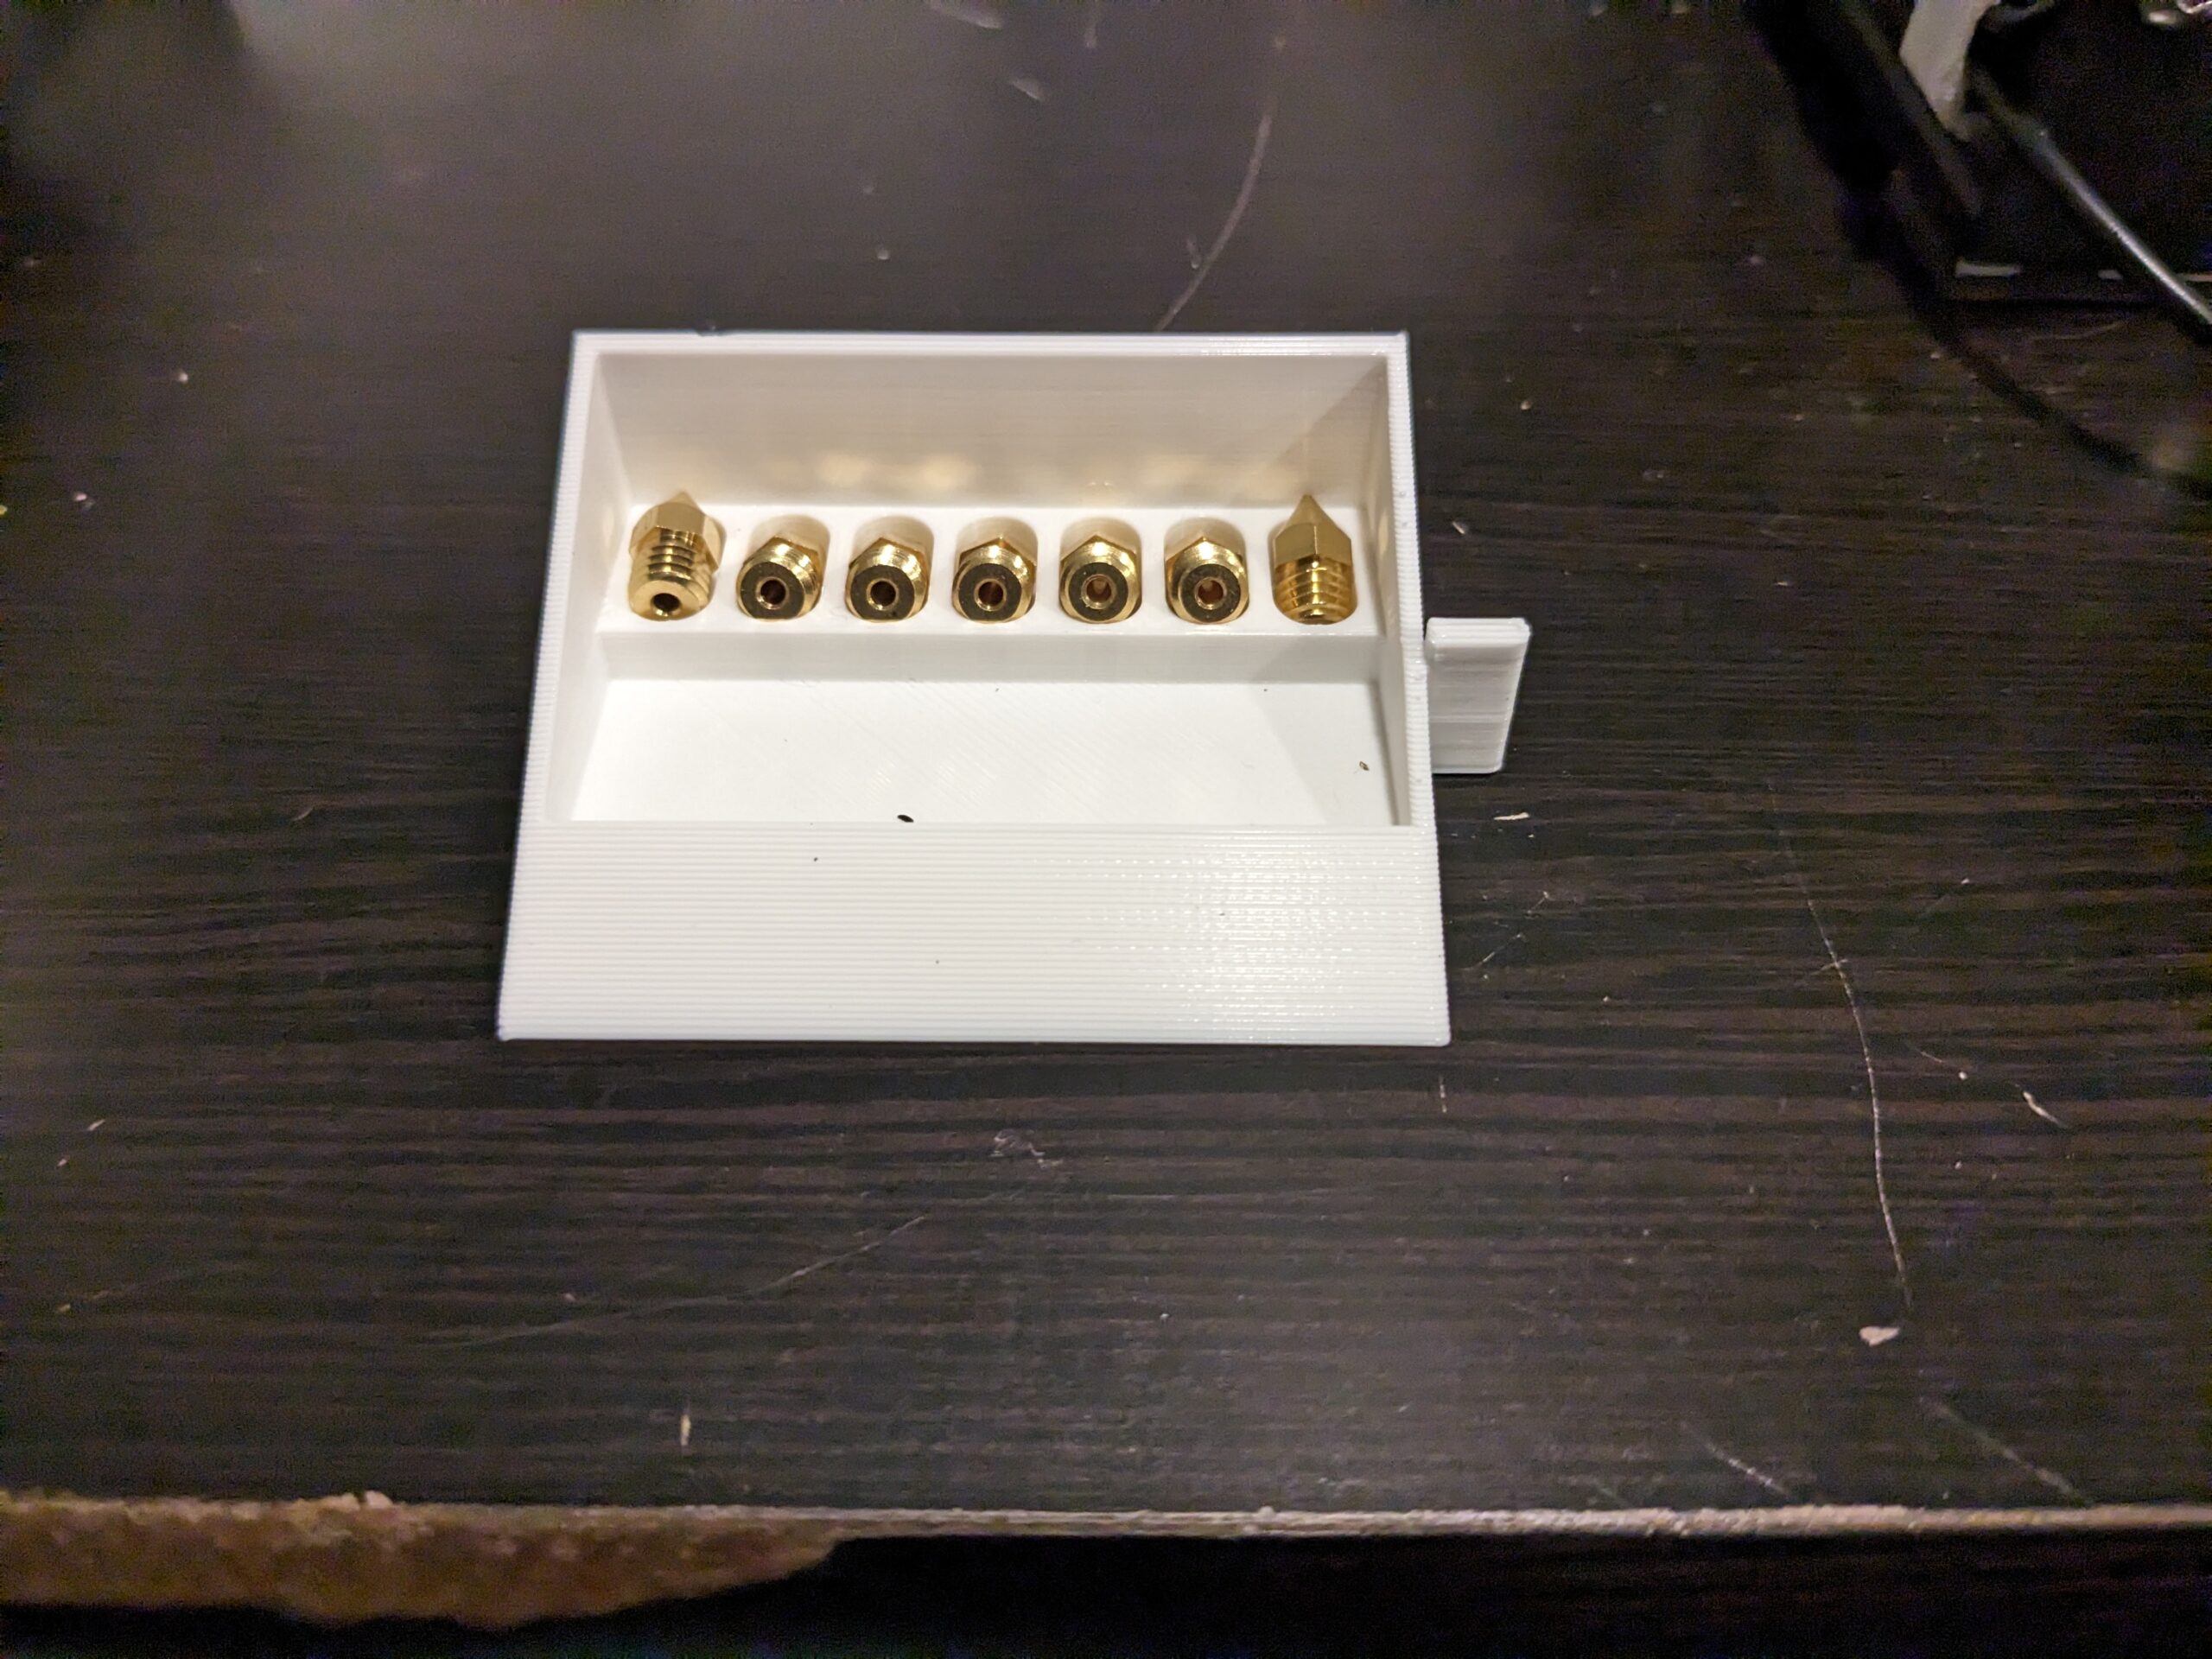

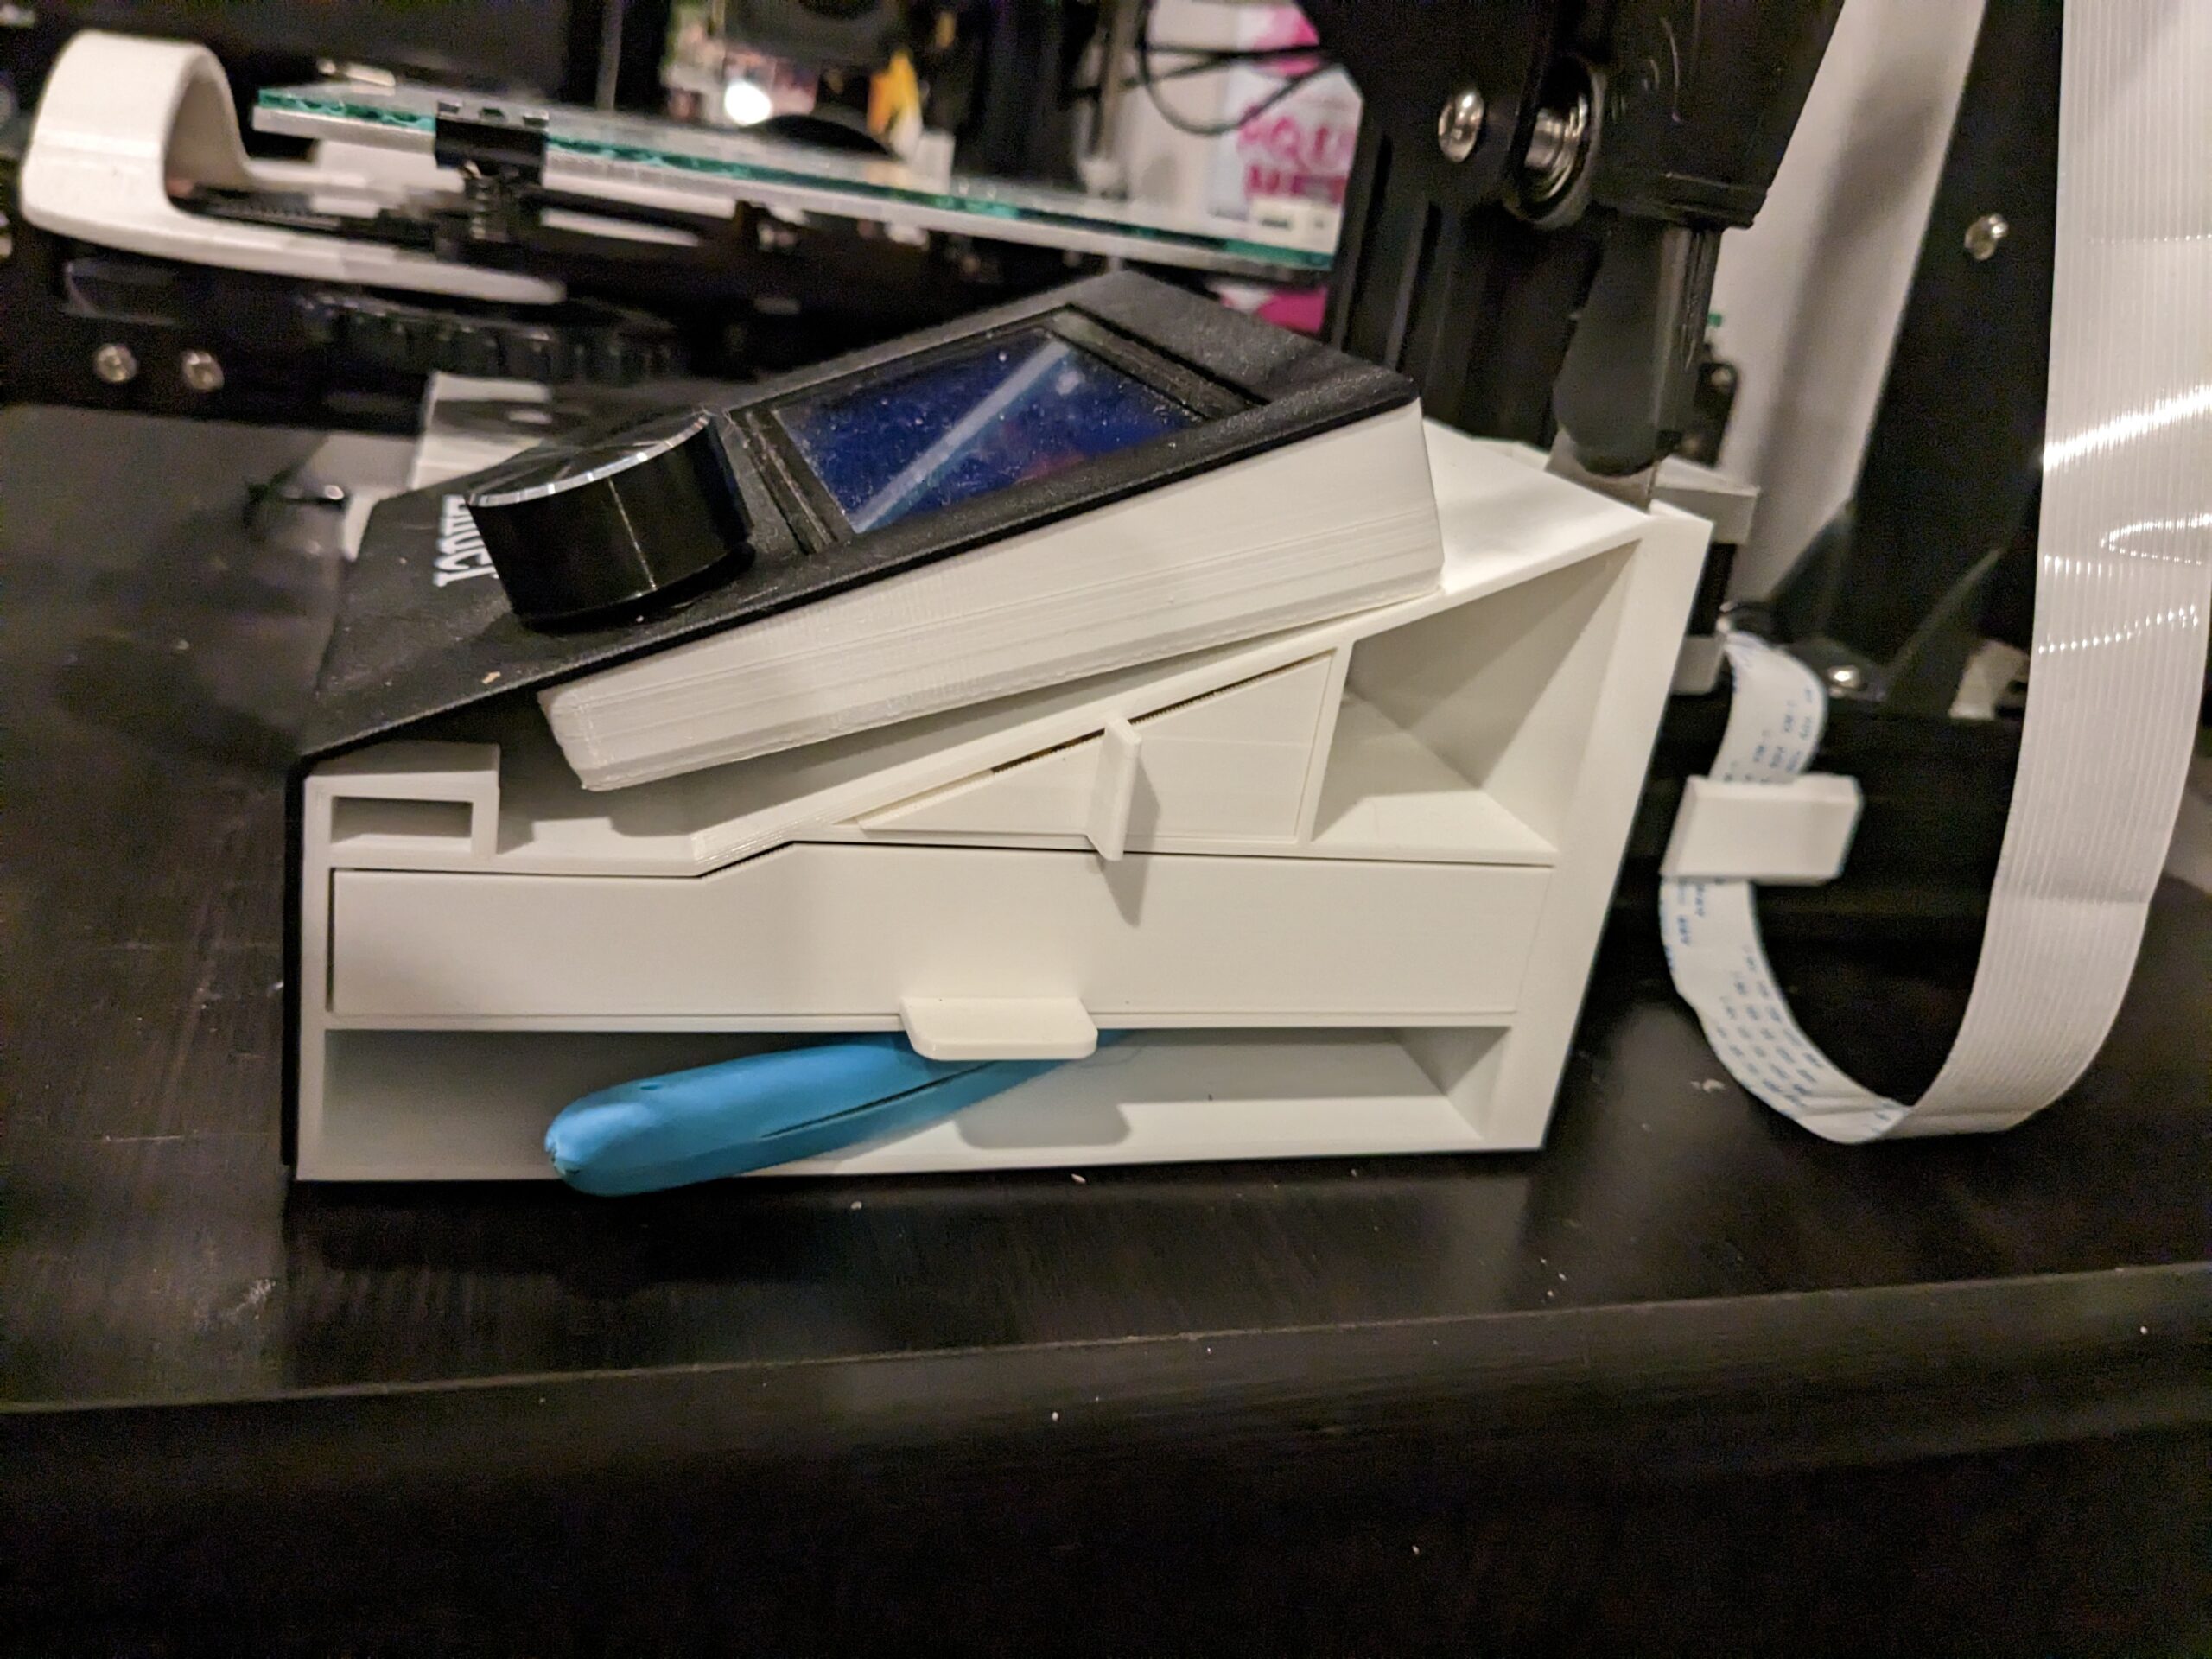
Out of the way of all existing upgrades and still keeping ease of access. This new tool holder tucks nicely underneath the LCD display, still keeping the printer slim and potentially portable. One nice addon that I get now is a place to store extra nozzles! One small drawback with the camera and tools being in a similar location, is sometimes when I reach for the snipper tool, I’ll accidentally smack the camera. Also, I had to modify the original design a bit.
The original spot for the putty knife was sometimes snagging the LCD ribbon cable. Not wanting to cut the cable and to make the profile of the whole printer a tad slimmer, I added a pouch behind the tool holder frame for the putty knife.
The Feeder Arm was Next
My very first printer upgrade, the feeder arm. The reason it had to go was because the bolts mounting the top of the Z-Axis rod were not in the frame grooves. The Arm had nowhere to mount anymore. So… off to Thingiverse to find something else… and find something else we did!
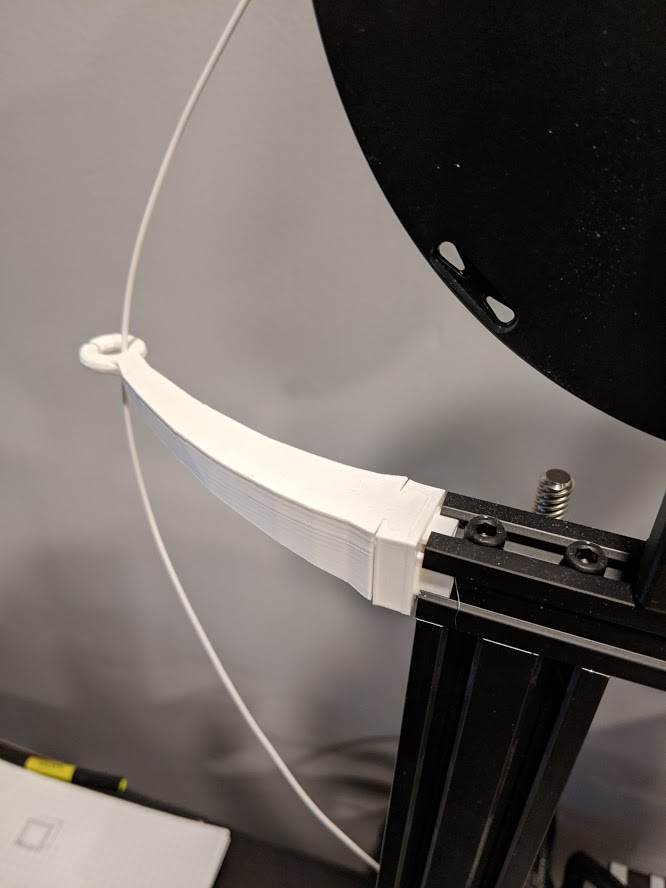

This version of the feeder arm mounts to the printers spool bracket. Out of the way of the Z-Axis mount and still able to feed the filament properly into the extruder. I did also make a small modification to this design, since I was on a roll in blender! I extended the arm out further, making the angle of attack less severe when the filament enters the extruder.


OK, those were the easy upgrades… lets move onto something a bit more challenging.
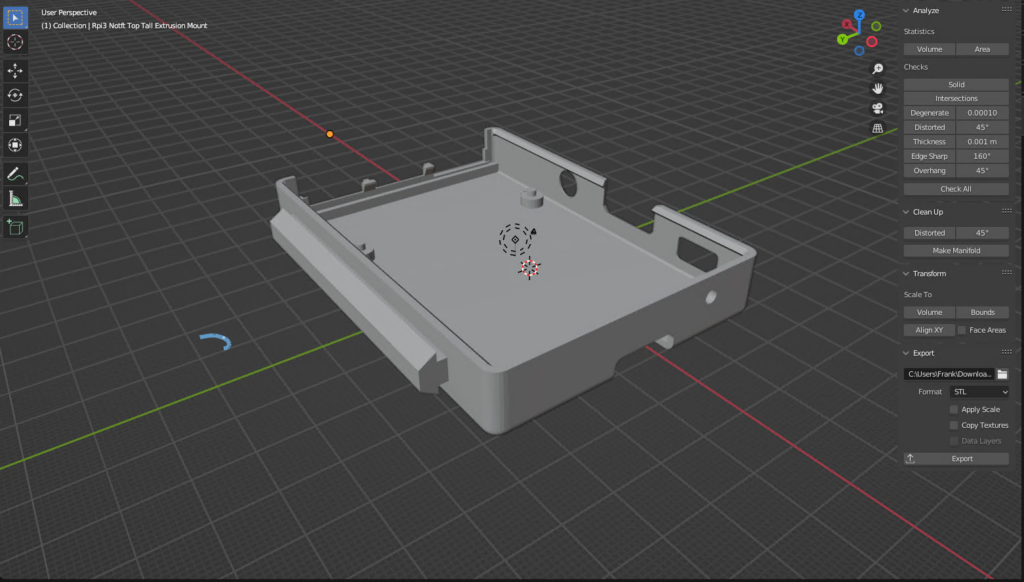
Giving the Pi Case an Upgrade
I ended up making a few changes to the upgrades around the Raspberry Pi. None were directly in response to the other upgrades, but more for making things cleaner and more elegant. First, I modified the Pi Case. The original case I got on Thingiverse was designed for having the Pi camera come right off of it.
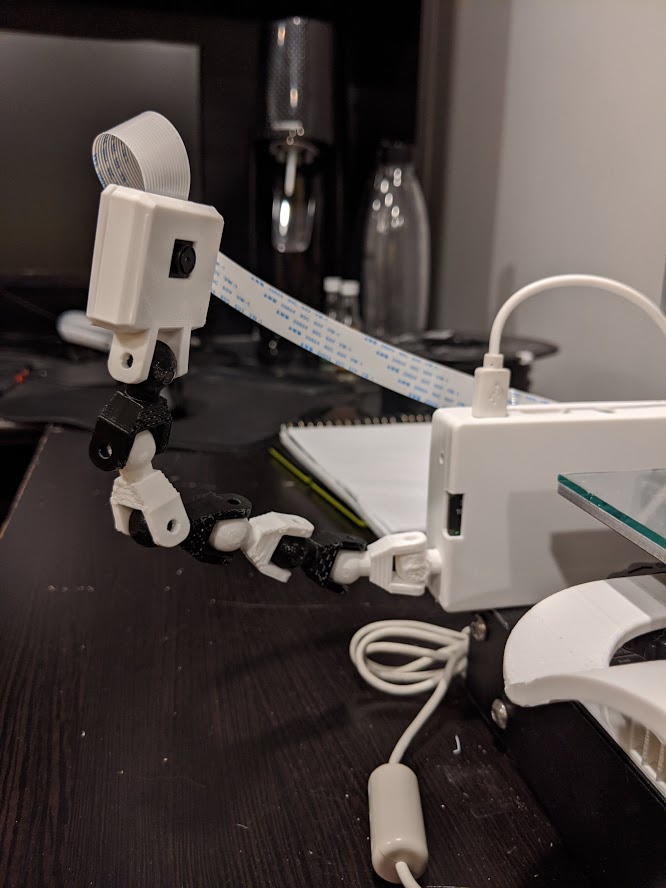
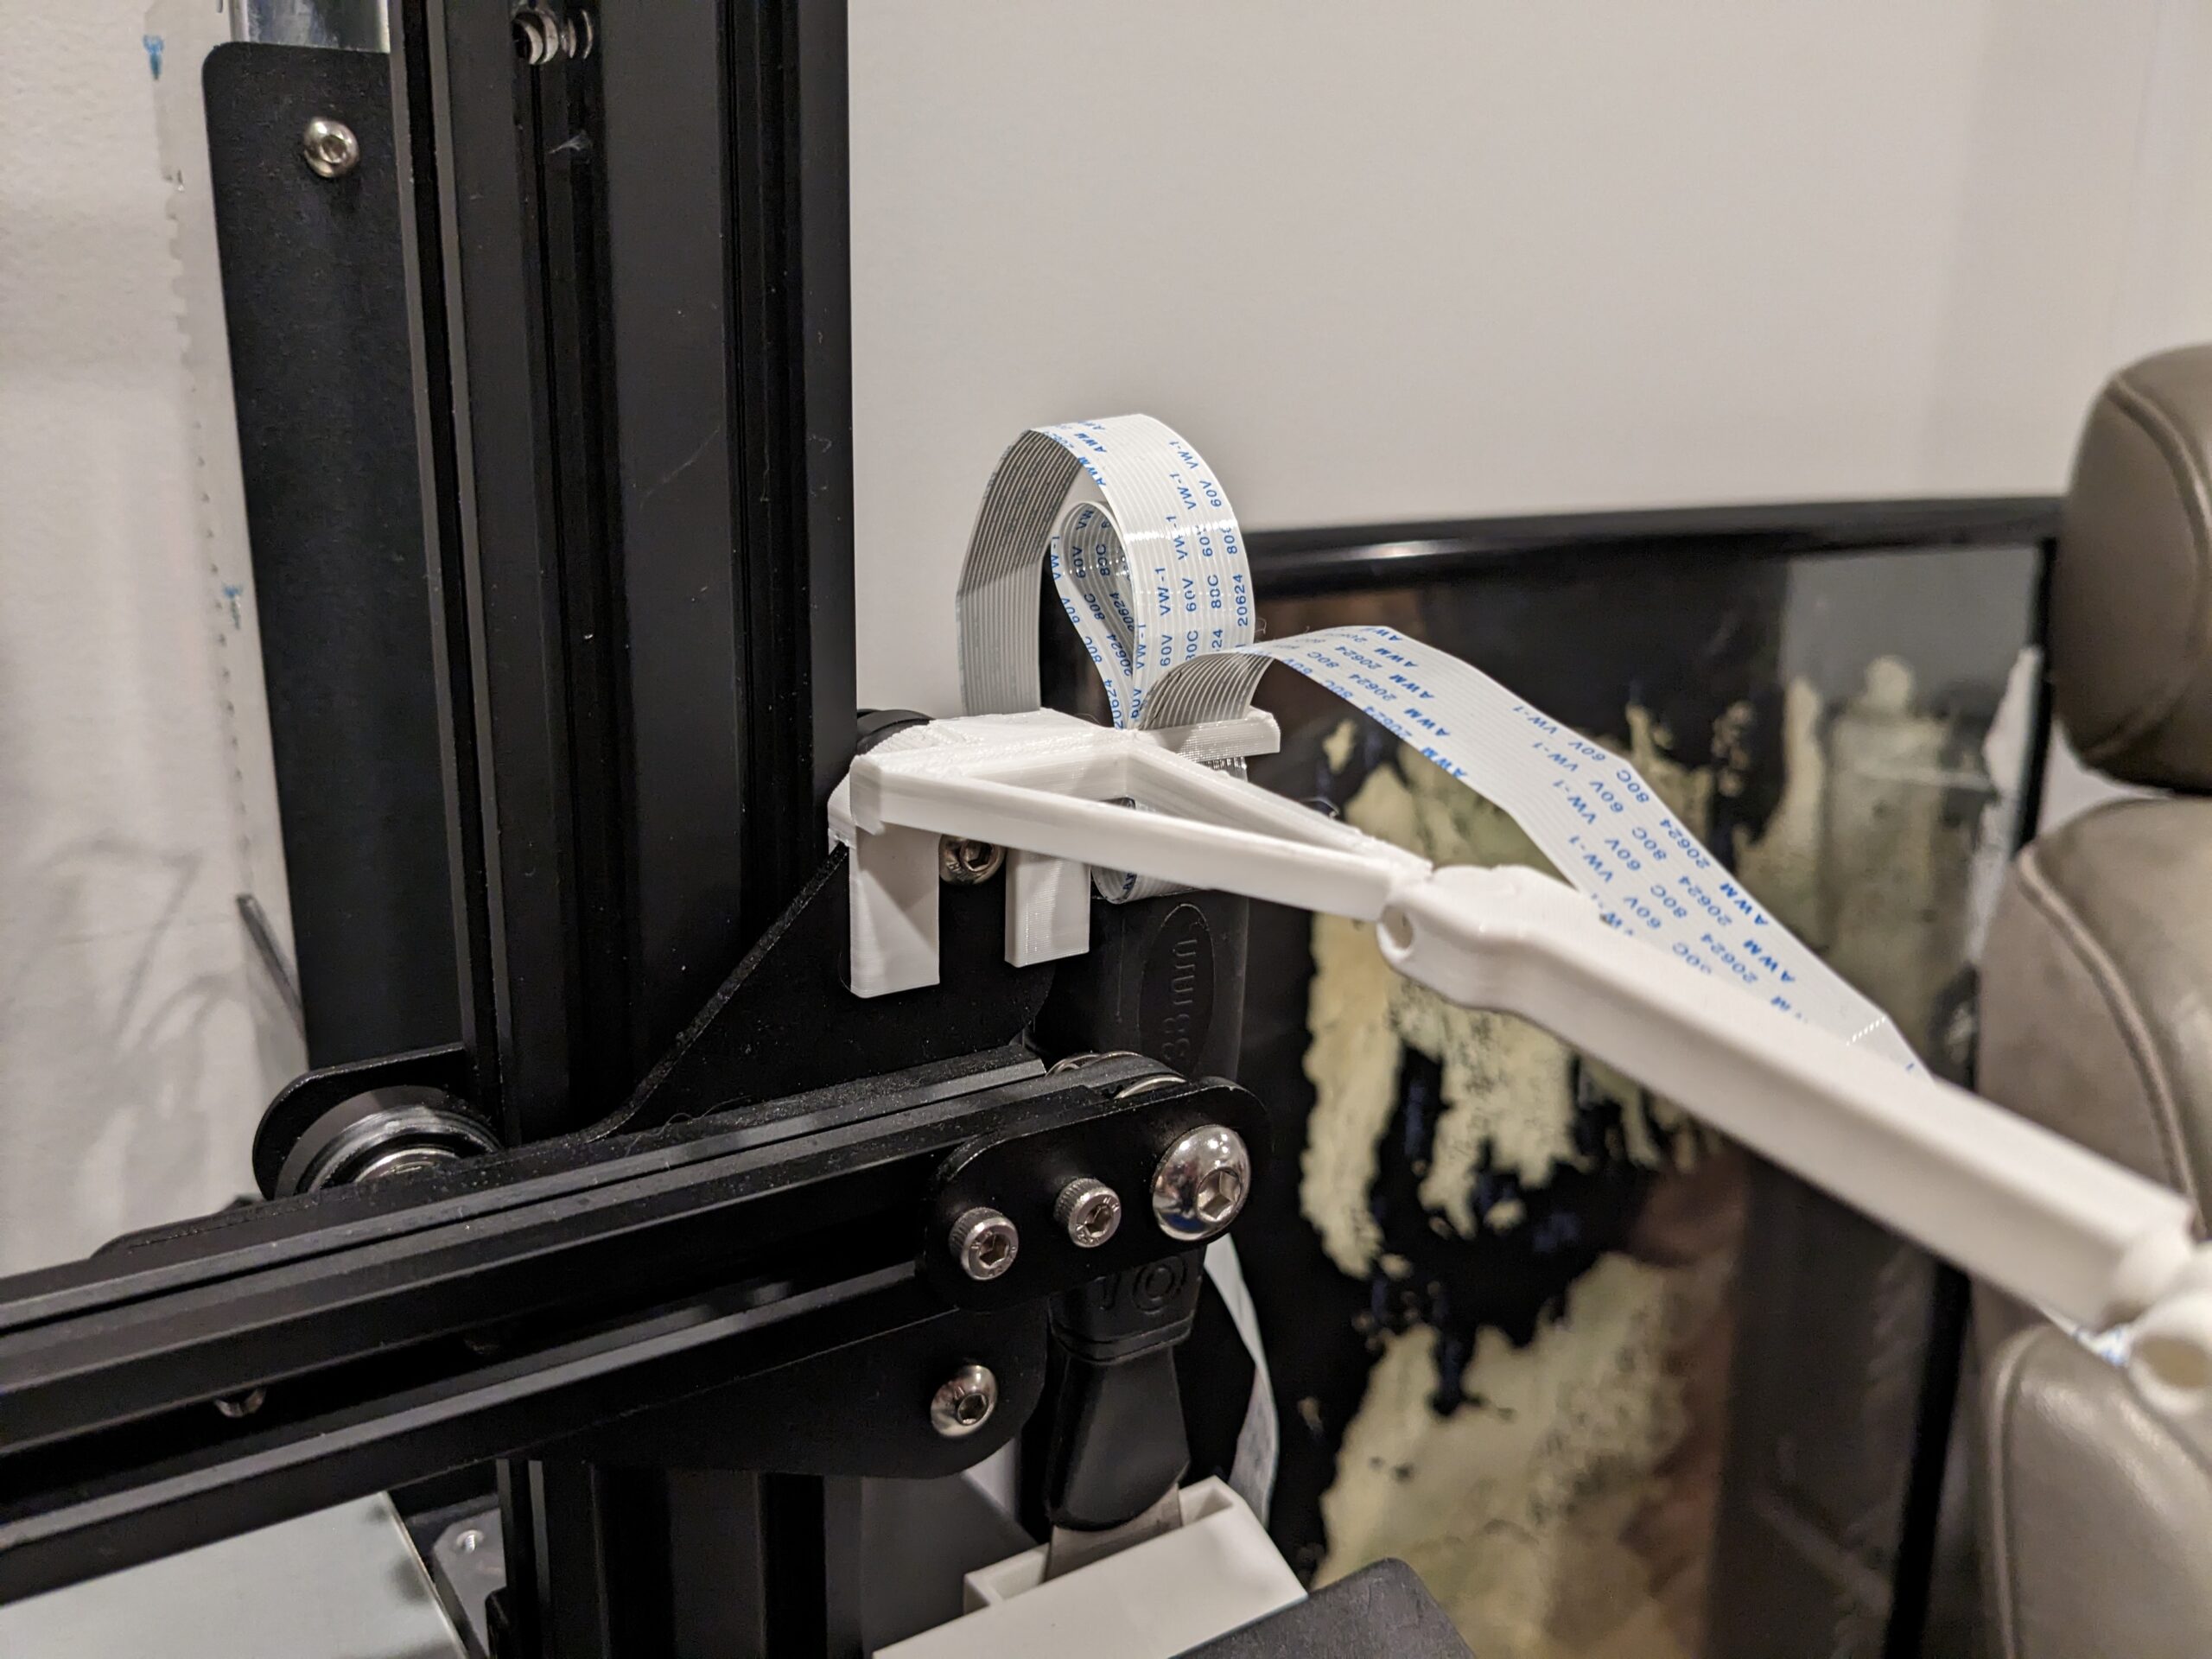
I still had the ball socket piece still attached on the case. Also, the case had a groove piece that would slide into the printer frame to keep it attached. Both needed some modifications. Throwing the STL into blender, I removed the ball-socket and extended the rail run to make the case more secure to the frame.
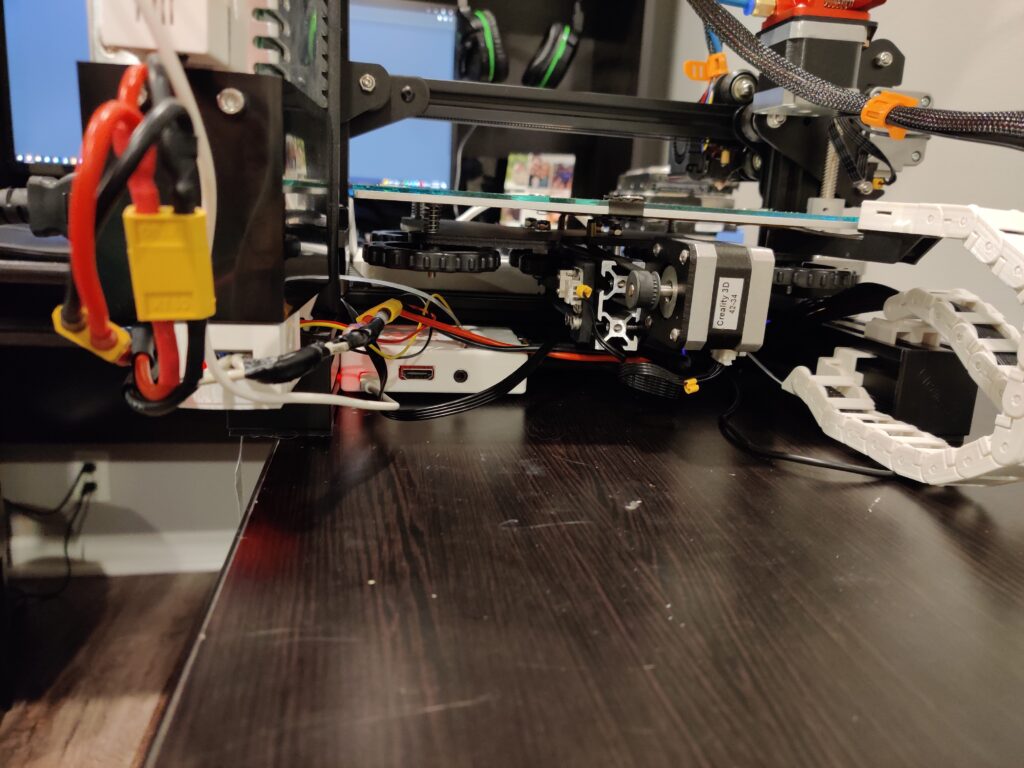
The location on the frame for the Pi changed as well. Originally, I had it at the top of the printer, next to the tool holder. The main reason I had to move it, was the cable runs going to the voltage regulator and Relay wouldn’t reach. Again… the Z-Axis upgrade caused the PSU to get pushed back on the frame. So, its new home is behind the printer on the right side. Closer to the camera and lot closer to the Volt Reg and Relay.
Revisiting the Relay
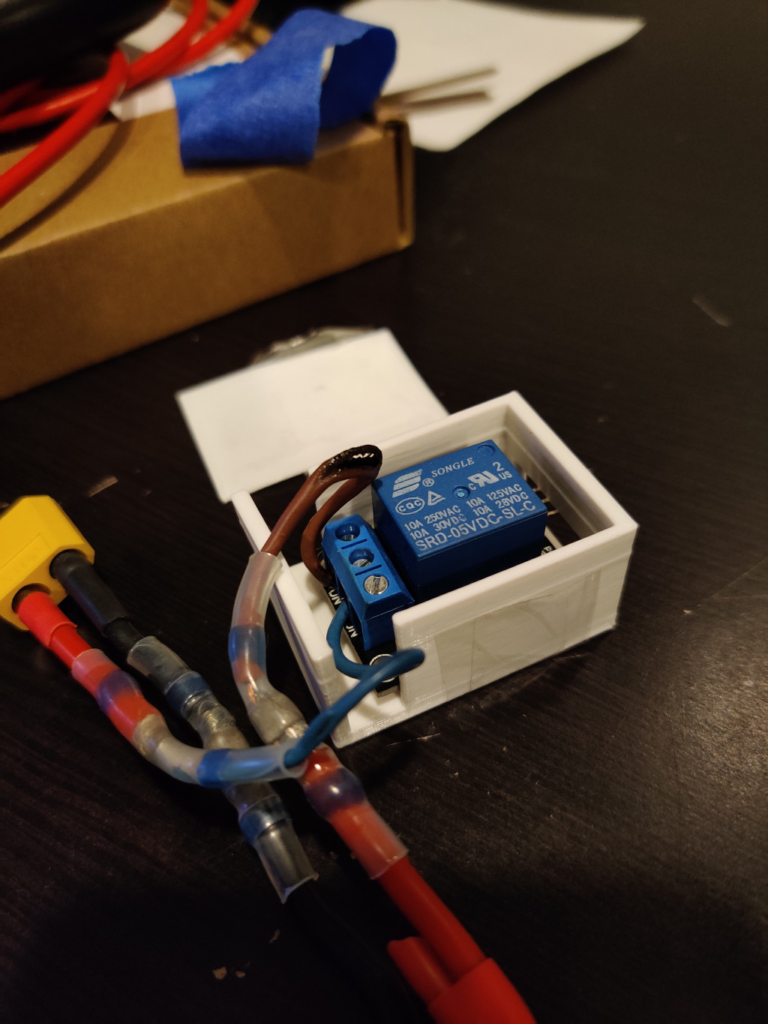
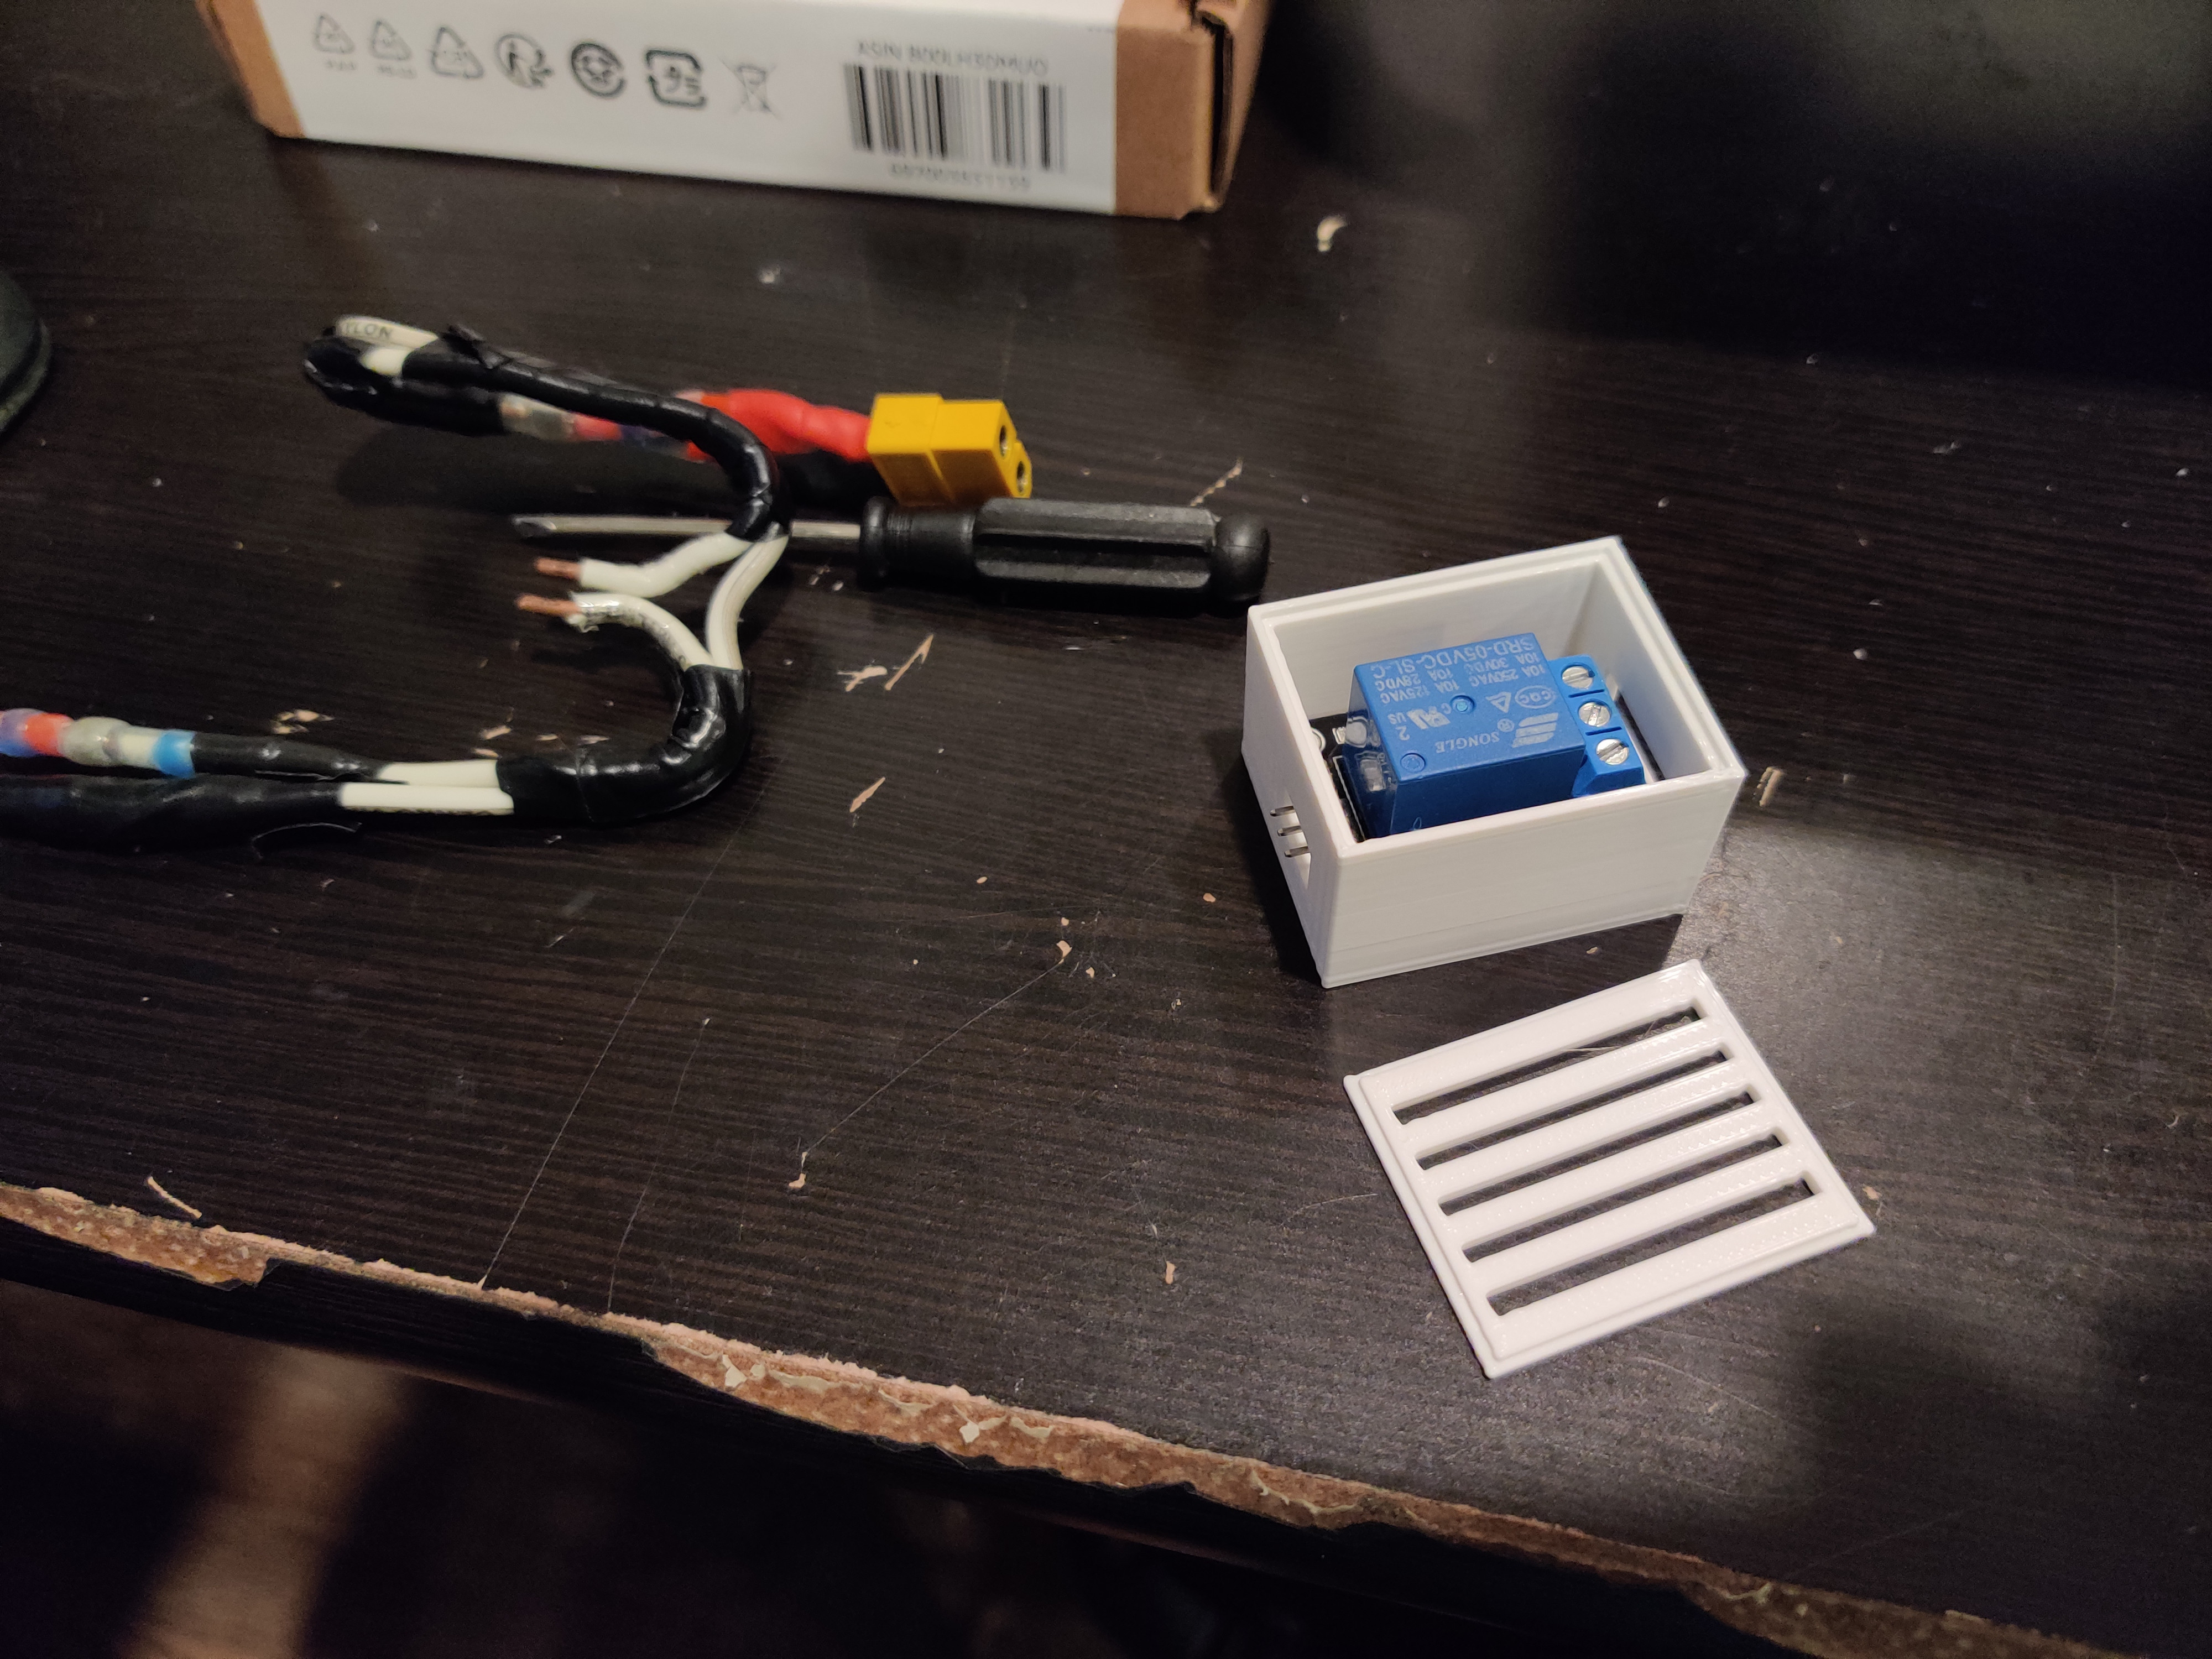
I even gave the Relay box a face lift! The old one was held together with tape and the lid was barely a lid. I found a good start design in Thingiverse. This one has pegs at the bottom that snap into the relay screw holes, it does a great job keeping it secure.
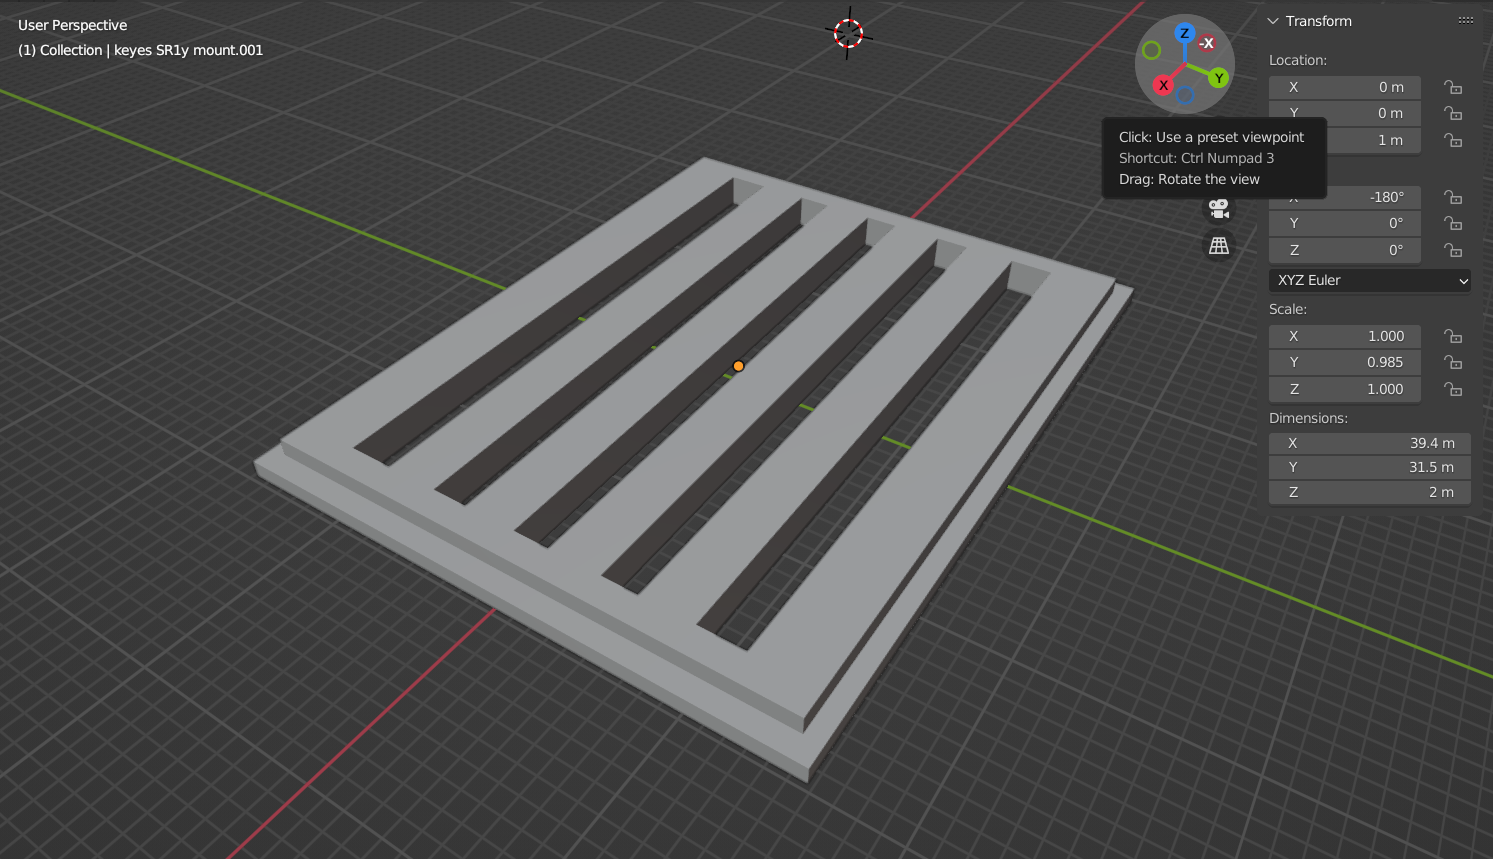

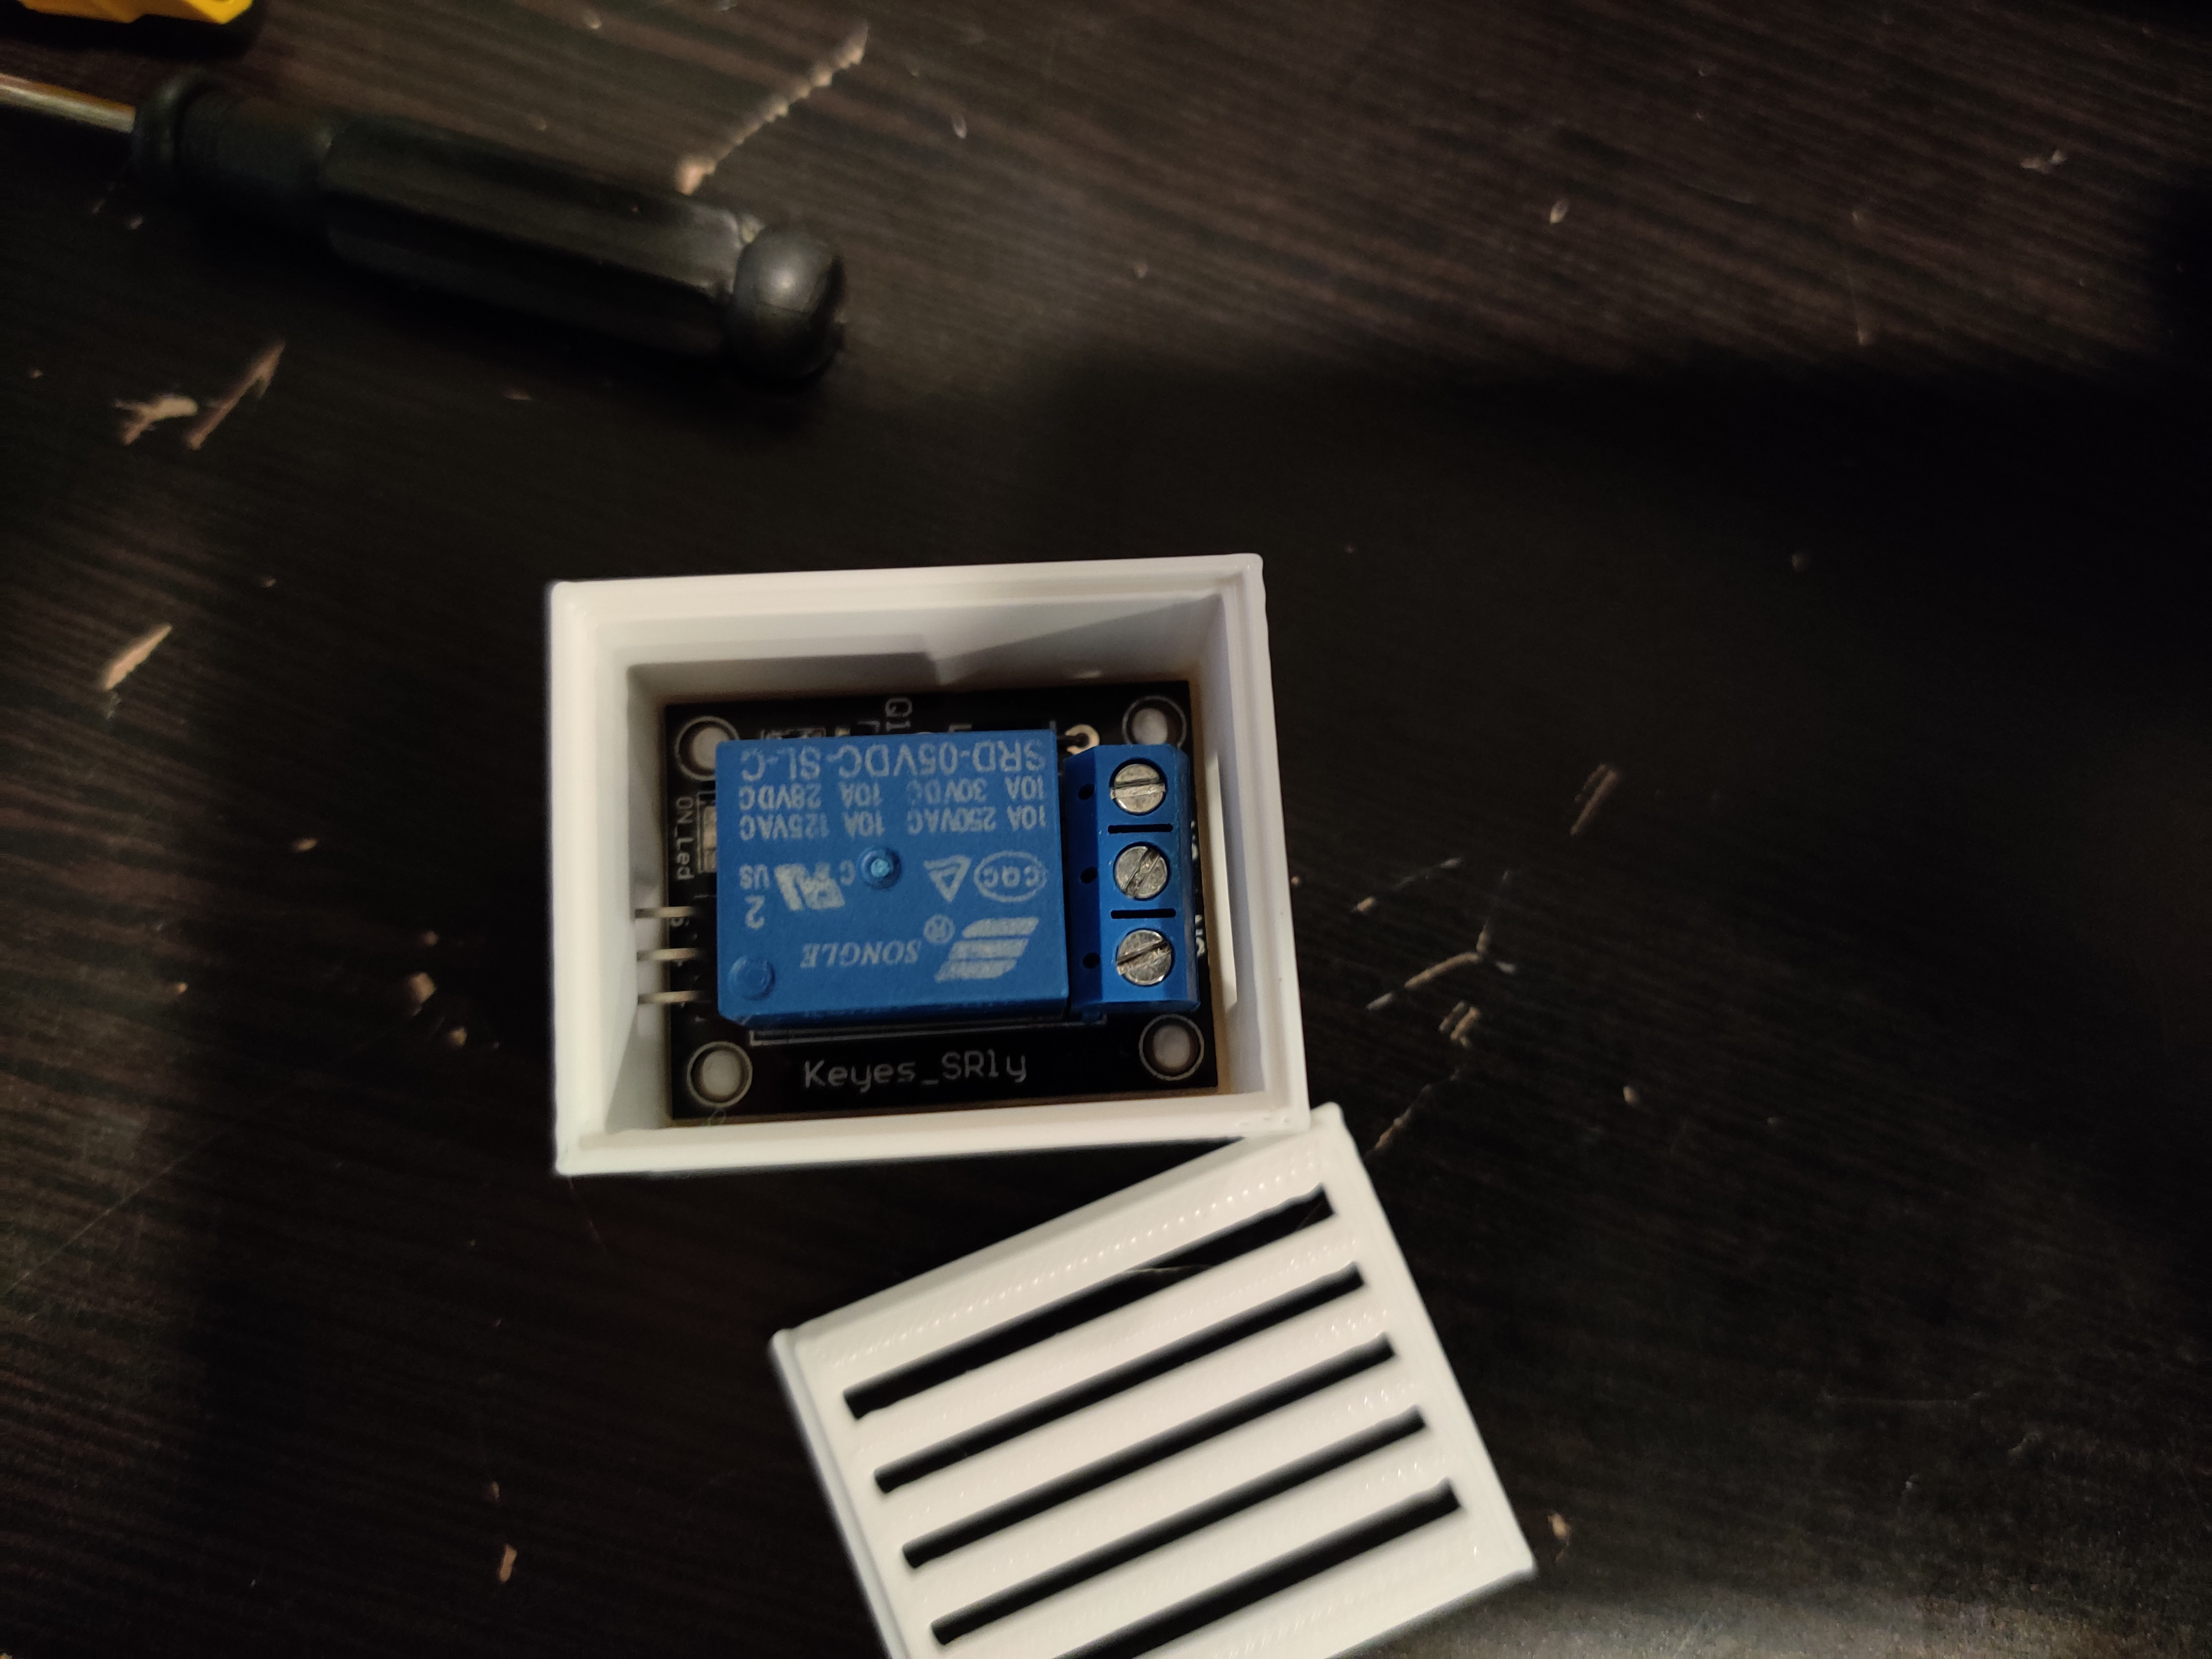
I also made the lid a little deeper, again to make it more secure, without needing tape. I even added a few slits in the lid for extra ventilation. Nothing worse than having a overheated relay. Oh and speaking of things getting hot, lets talk about fire safety! 😀
Mi Printer churning, Mi wires feelin HOT HOT HOT
So, as I mentioned, rearranging my setup caused some of the power runs to be too short. The main one I had to replace was PSU to Relay and Relay to printer. Luckily, I had a spare Y connector left over from when I setup the voltage regulator. However, I ran into a small issue. During prints, the connector points in the power run would get very hot. Like, melt the wire hot.
I figured there was way too much resistance in the wires in those connectors. So, I nabbed some lower gauge wire that wasn’t stranded. I figured a solid core wire would have way better conductivity with the relay outputs.

And with that, the wires felt they were at normal temps during prints. Don’t take that as I’m sleeping well during a nightly print. I did end up doing some things to help.
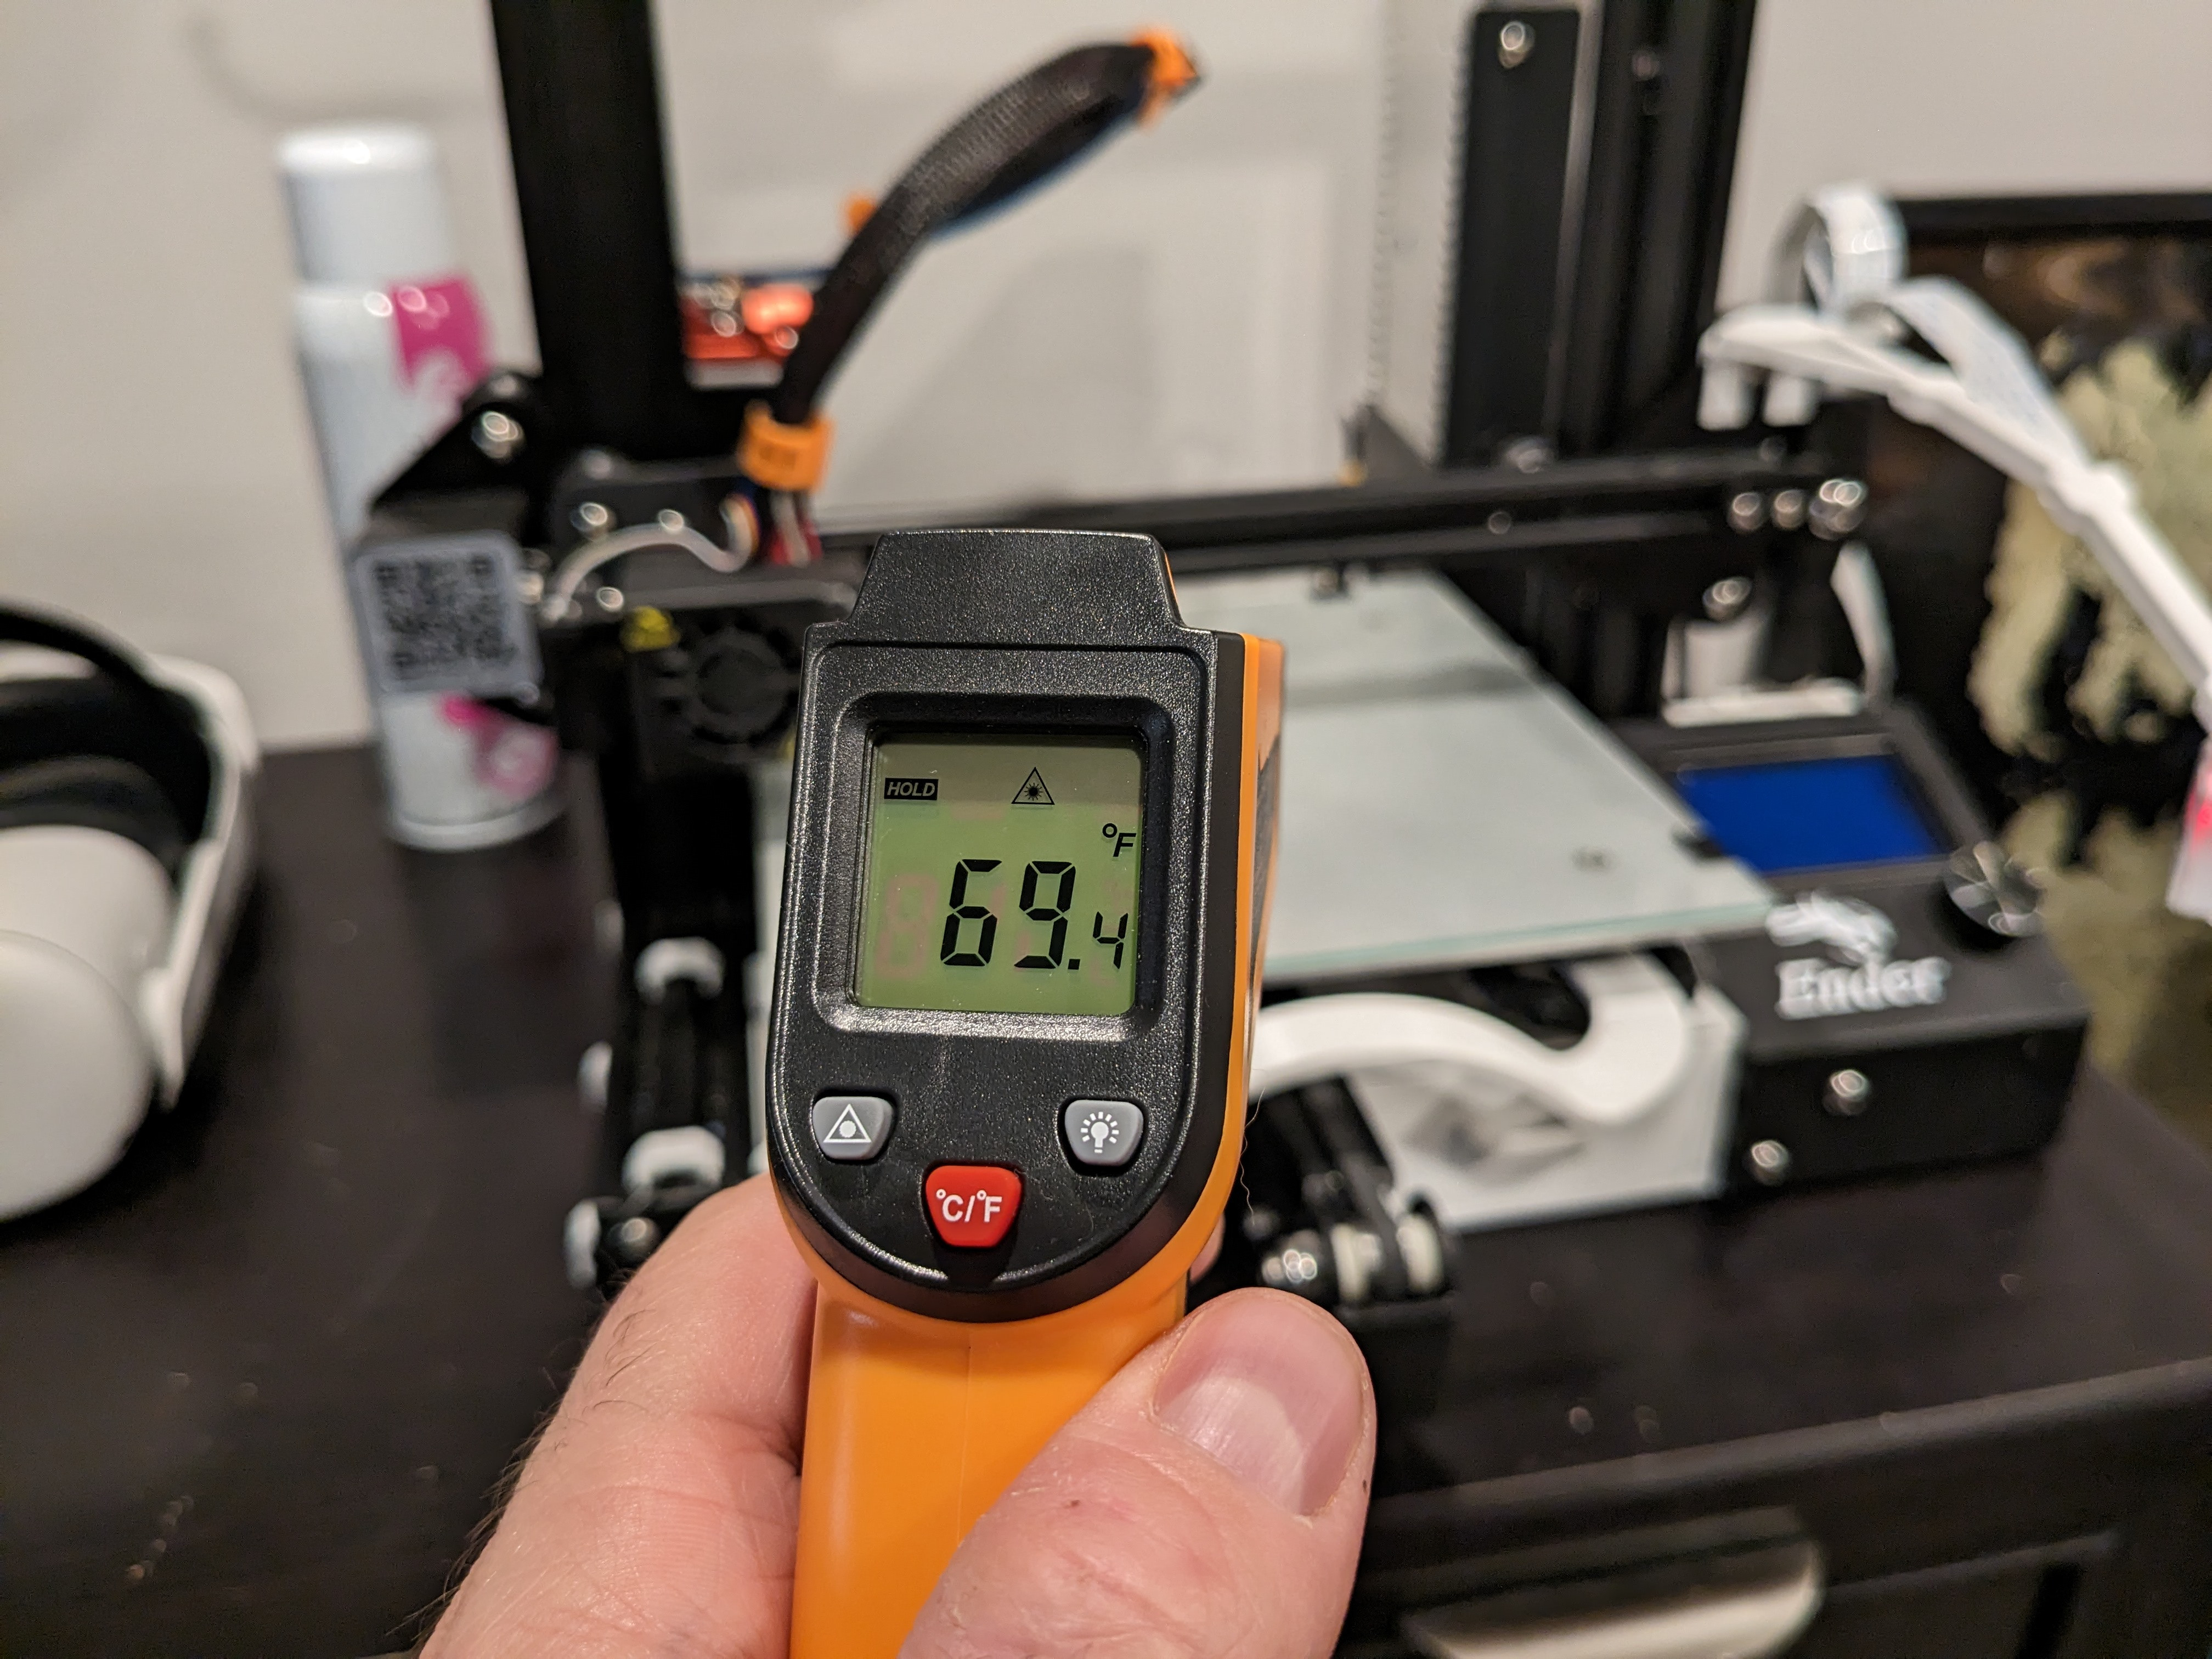
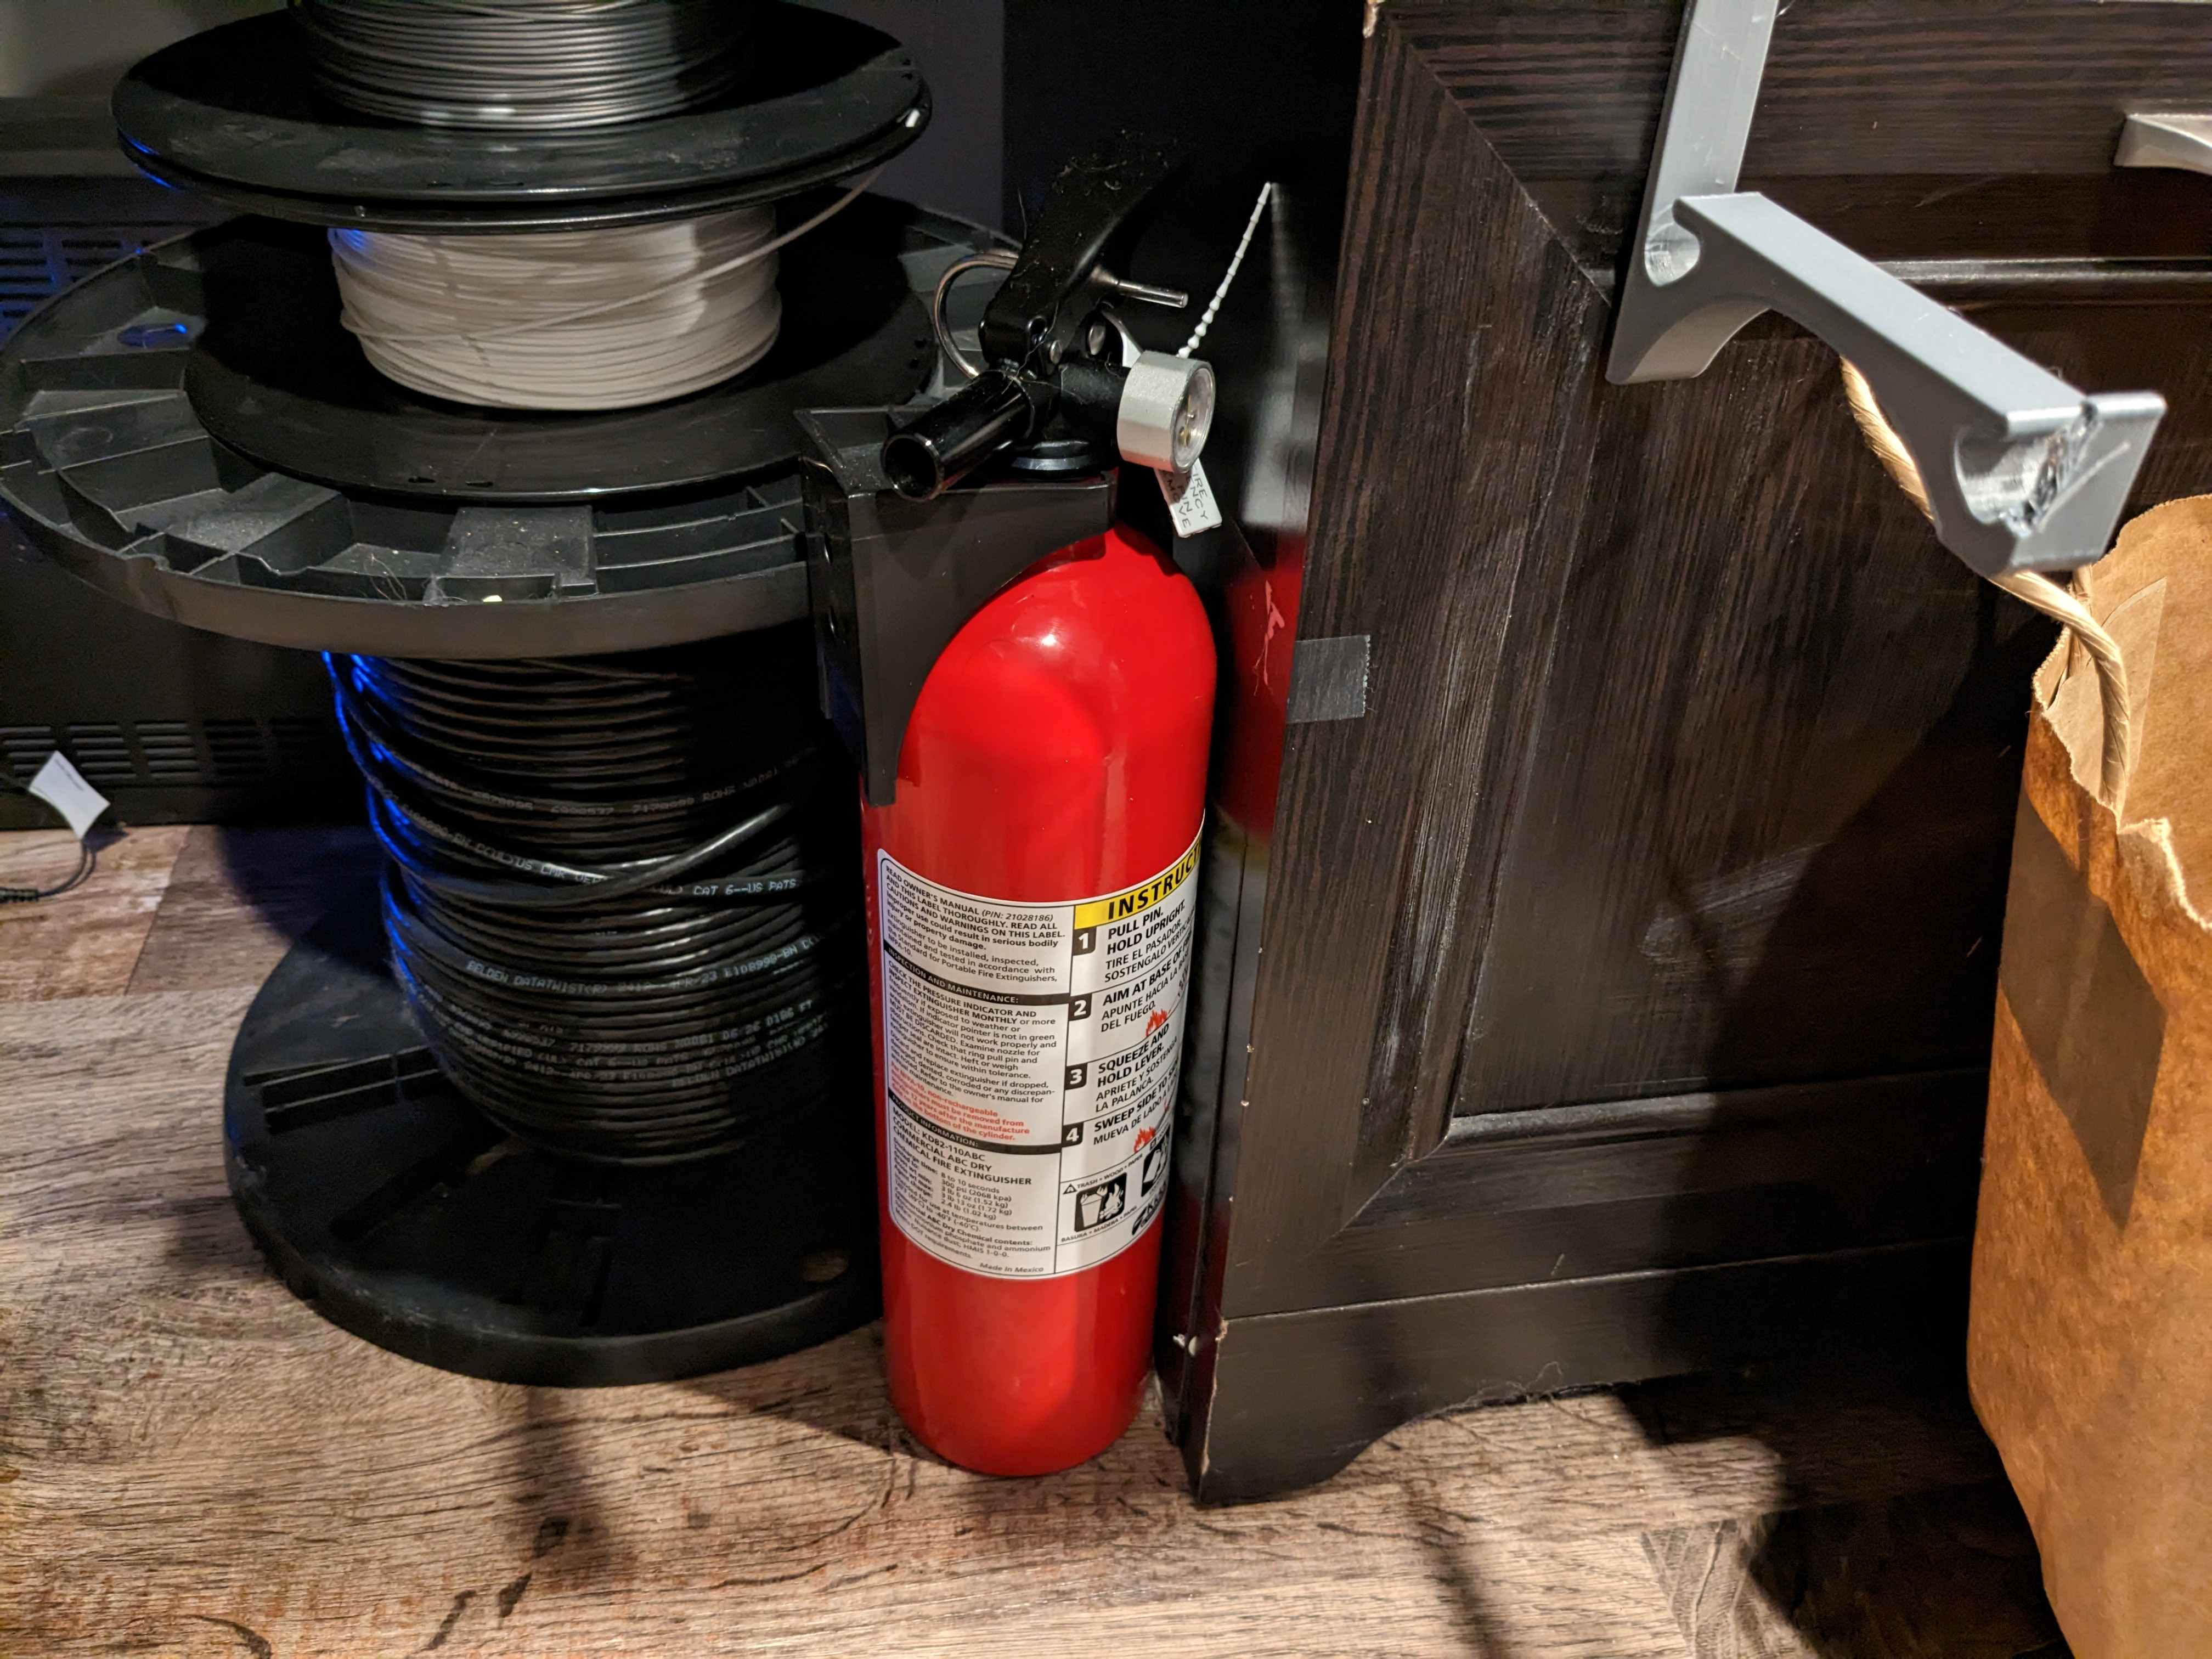
To quell my paranoia, I added a few safety nets. I ordered a IR Laser Thermometer, to check the connectors for overheating during prints. Also, a fire extinguisher as a last minute HOLY SHIT contingency.
The Wrap
Well, that sums up all the upgrades in the last 3 months. Lots of lessons learned, mostly in fire safety 🙂 But also in for any upgrade there is trade offs. But if you are persistent enough, you’ll find that work around. Plus you’ll pickup things along the way. Like how I picked up how create holes in blender, and merge objects together.
As long as you have fun doing it, who cares 🙂 Well that’s all I got for this one. My next few will probably be tech based since I have a few server projects lined up. Until next time!