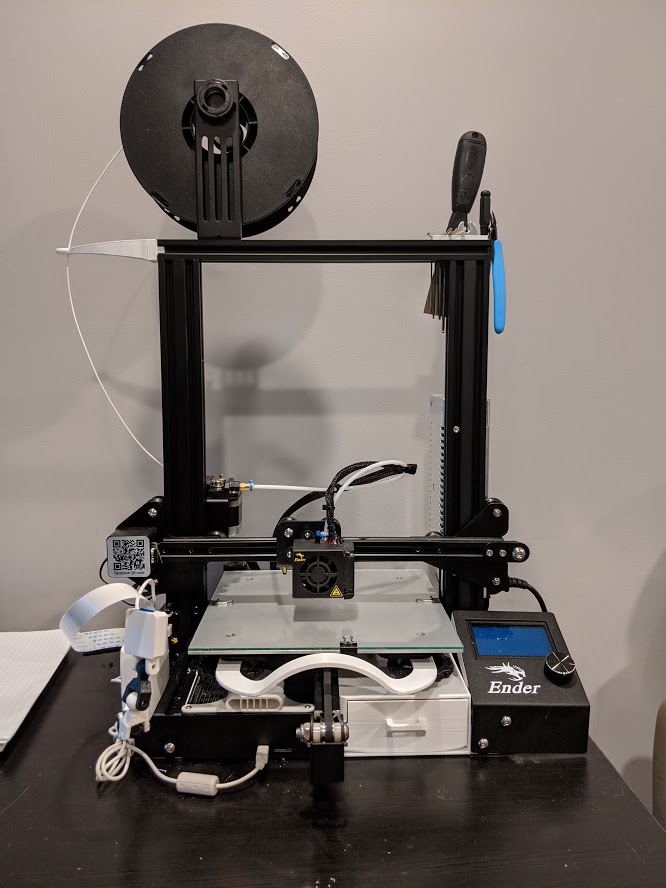
It usually starts with whiskey, 3AM and Youtube. Going down that rabbit hole we all love finding interesting videos that would never come across the home page feed. Its how I made my Gillie suihow I made my Gillie suit, how I made a Hydrogen generator, and how I got into 3D printing. Most of the stuff I was watching was tutorials, time lapses of awesome prints/models, printing with plastics, carbon fiber and rubber. I was in need of a new hobby. Now the last time I checked out 3D printing, they were stupid expensive, I mean $3000 – $5000 entry level. But, like all tech, it always gets cheaper overtime (unless its RAM, darn smart phones…). I jumped on Amazon and found this beauty. The Creality Ender3, the perfect entry level 3D printer. Moving bed, single extruder, can do regular Poly-lactic acid (PLA) or Flexible PLA. Oh and it’s only ~$200!! Bought it, got it 2 days later, and like a kid on Christmas set it up.
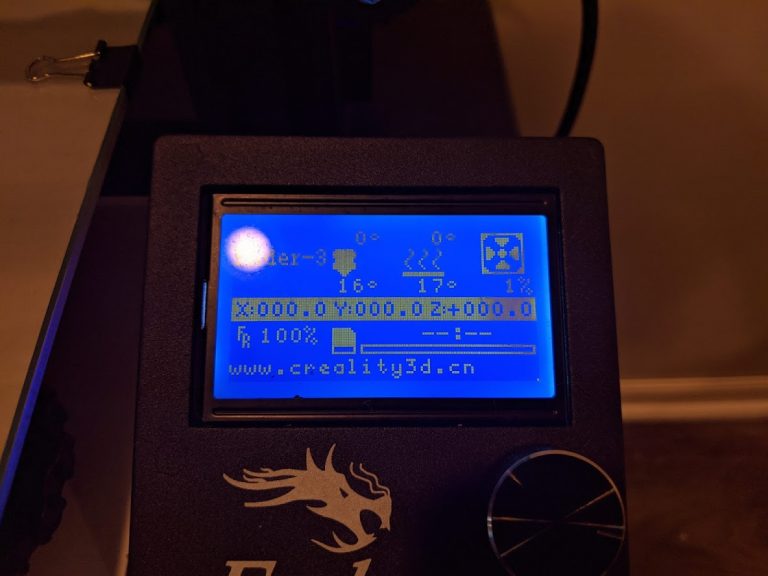
The first bootup, it worked!
The Initial Setup
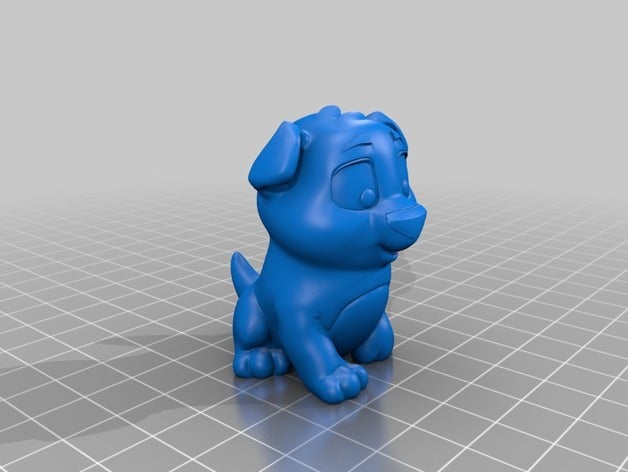
Creality starts you off with a few yards of PLA and a few example files for diagnostic testing and just to get printing right away. On the Ender3, there is a SD card slot you can load gcode files into or there is a mini USB port you can hook into. Not micro, mini, the one that is almost the same size as full USB. With the SD card I printed their test and 2 hours later you end up with a cute little dog!
Ender3 sample print
Next thing I wanted to do, of course, is go out there and find files to feed my new printer. I found an awesome site called Thingiverse. Its the Github of 3D prints, anything you can think of, the site probably has it. Also, everything is free! They do have donations setup to pay the creators if you feel like it. I came across a ton of prints on the site that were categorized as upgrades for the printer.
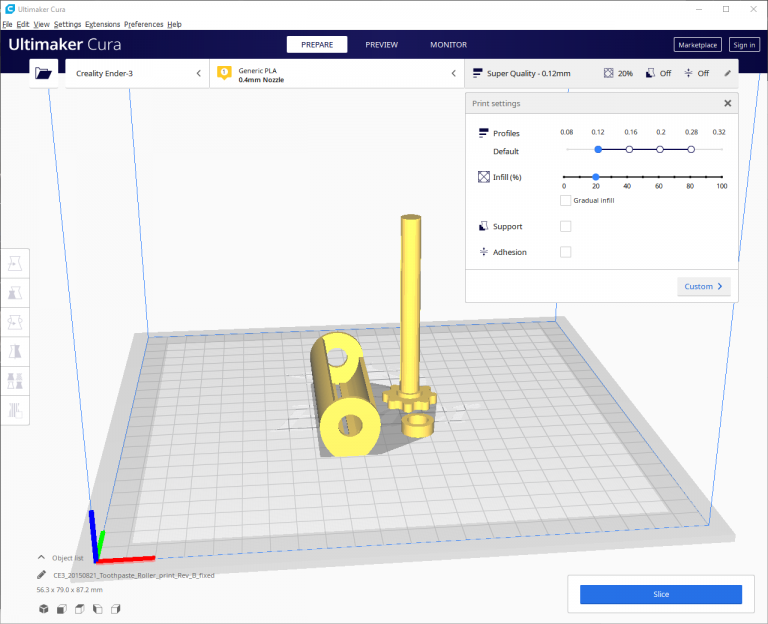
Diving into Cura
Well, I had all the files, but they are STL, not gcode formatted. So I can’t just put it on the SD and hit print. I had to install a builder app so I found Cura. Cura doesn’t just convert your STL files to gcode. It also lets you make changes to the model like size/scale, orientation, duplicating and mirroring. There are other changes related to the print settings you can make. Like layer thickness, the infill of the model, needed support pieces and the adhesion type to print on the bed. There are a ton of other advanced settings you can change, but I’m not brave enough to dive into that.
Once I got the hang of Cura, the gcode started flowing and so did the PLA. HA! punz…
Cura example, model modifiers (Left) and print settings (right)
The Upgrades
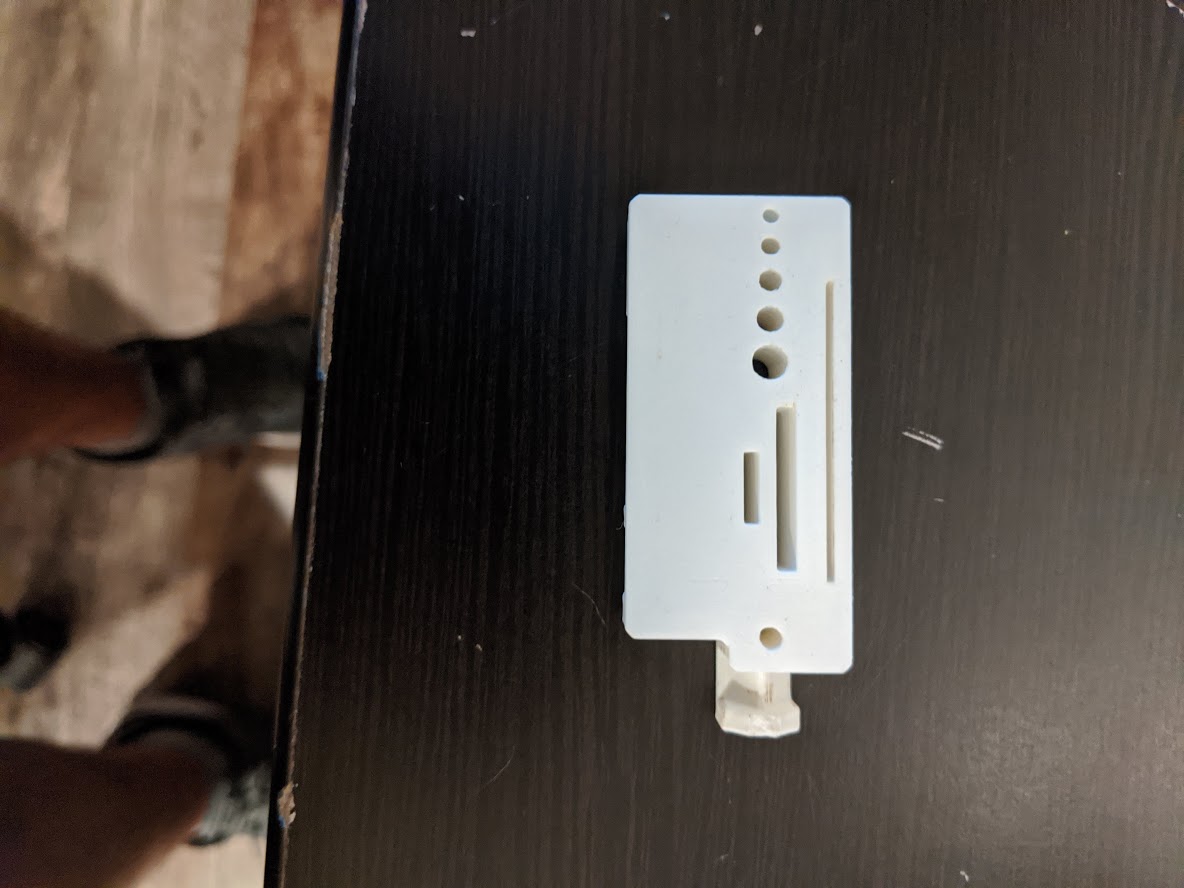
The first item I printed was a holder for the tools that come with the Ender3. Its a set of allen wrenches, regular wrenches, a screw driver, a putty knife to scrape plastic off the bed and diagnal cutters to snip plastic supports off of the models. This little block just sits at the top of the printer on the frame and keeps the tool kit organized but not put away to where its a pain to grab the tool when needed.
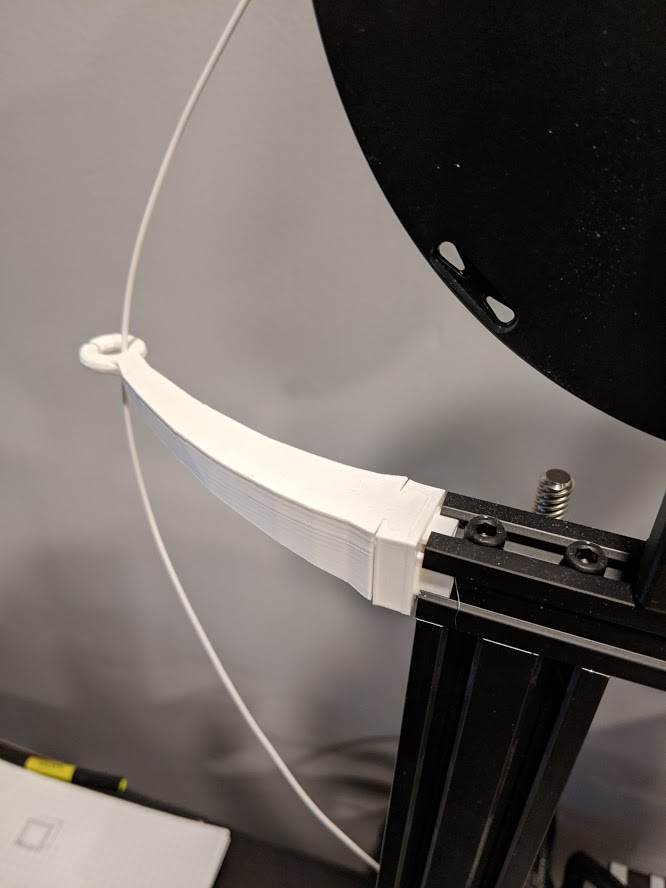
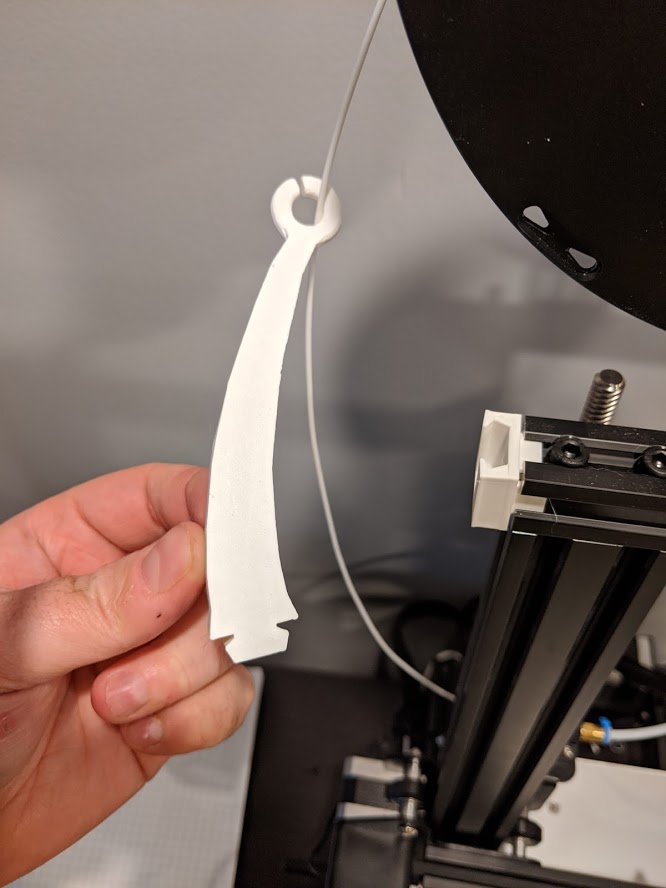
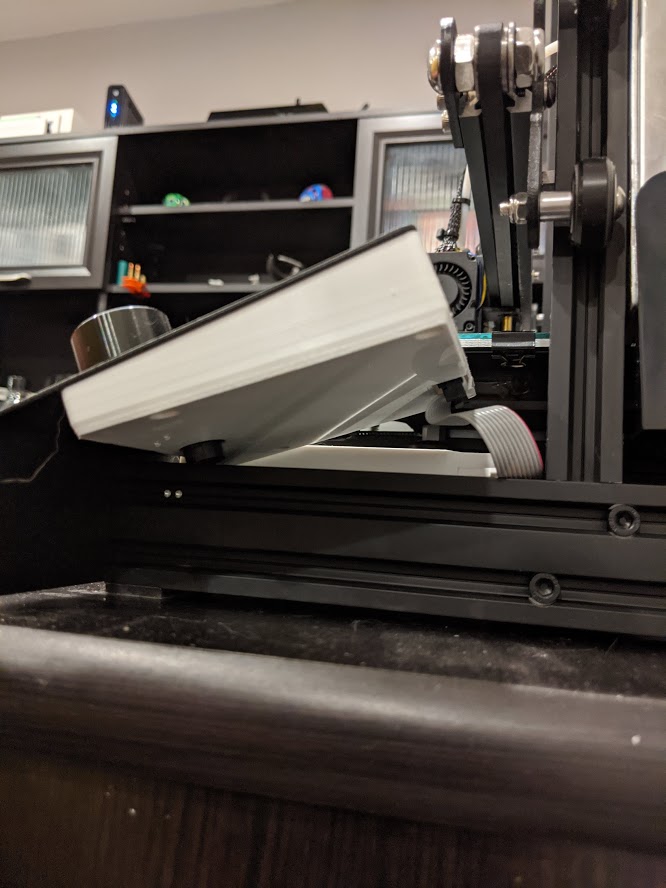
The next two upgrades I took a crack at were a bed handle and a feeder arm. The bed handle is a game changer. Every time a print completes, it puts the bed back into the home position, which means I have to grab the bed and pull it forward in order to scrap the model from the glass. Check out this post where I talk about why I switched to glass and why it ended up being better for me. Anyway, the plate roughly sits at 140°F or 60°C or HOT! So yeah, the bed handle seems like a good solution to avoid burning off my finger tips.
The feeder arm wasn’t a necessity like the bed handle but it is a nice add-on. It helps the PLA go into the feeder from a better angle. Depending on the print, the feeder can really move pulling the PLA in and out. Other fellow printers online have reported that with the PLA coming in at a bad angle plus the gears really chewing into the plastic can lead to the PLA getting warped or even jammed. Thus the feeder arm was created!
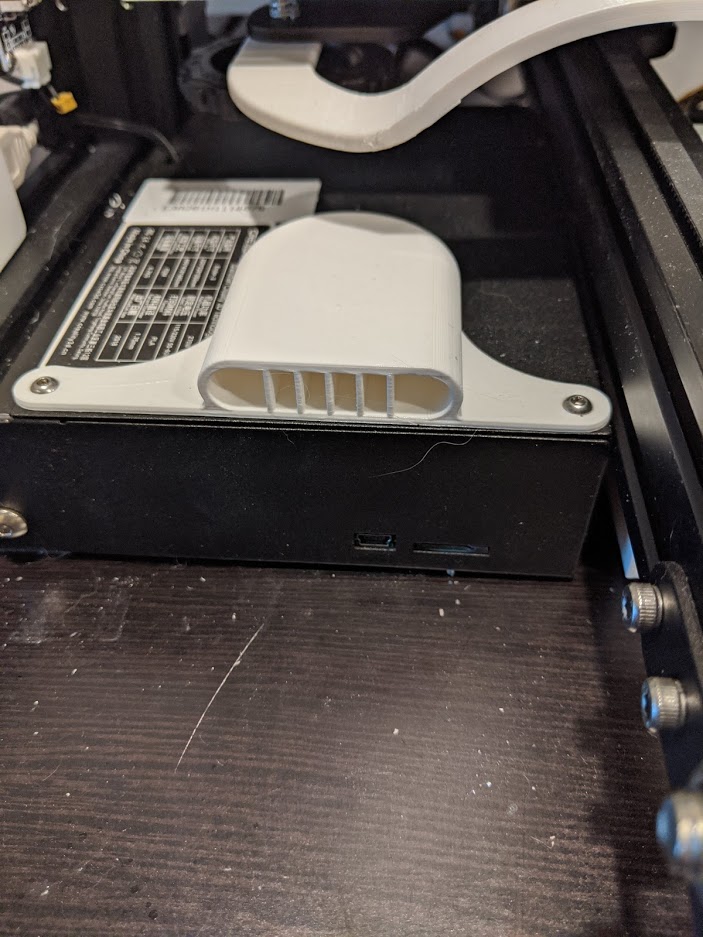
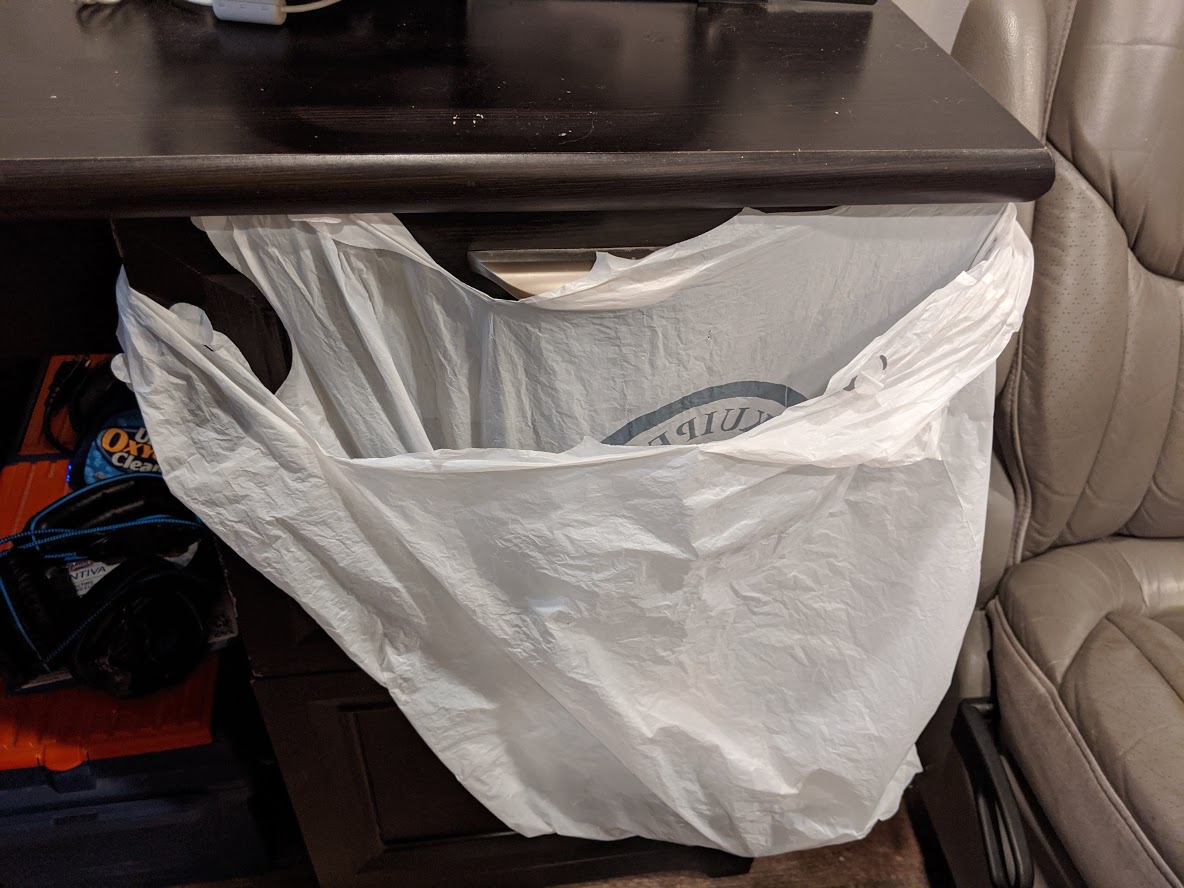
The final set of upgrades, like the feeder arm, are not solving any major problem but are nice additions to have. One is a fan cover for the man processing unit for the printer. The processor churns through the gcode from the SD card or whatever device is hooked up to the USB and sends commands to the servos and motors. It also controls the feeder and the power flow to the fans and heat block on the extruder. Why I like the fan cover is because I’m a bit of a klutz and I tend to drop PLA snippings in places they shouldn’t go. Hence the cover, problem solved! It’s actually the same reason I threw on the LCD back cover. Just incase when I’m selecting the print, my fingers wrap around and make contact with the board I don’t short the controller. Oh and one last “upgrade”, wouldn’t even call it an upgrade… I threw on a plastic bag on the desk drawer right below the printer. All because someone got too lazy to take discarded prints and supports to the garbage 5ft from his desk.
The wrap!
Well up to this point I was printing away and things were going smoothly. But as any piece of tech, there is always room for improvement. Keep an eye out for part 2 where I go over better monitoring and automating steps. Thanks for stopping by!