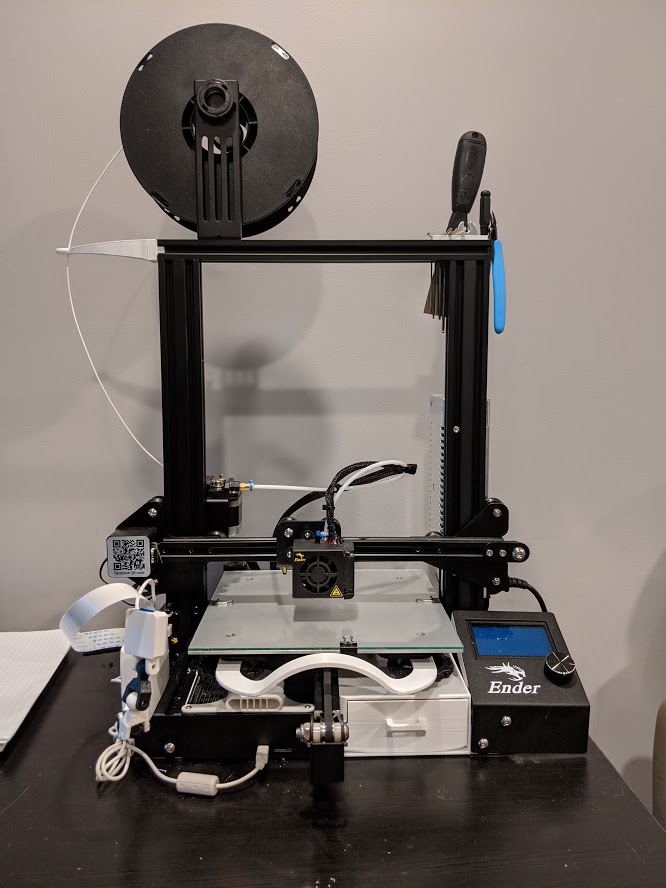
In part one, I talked about the setup and building upgrades for the printer. While those upgrades helped a lot, I still had more upgrades to go after. Upgrades that significantly cut down on steps to start and monitor a print, or just completely automate it. Upgrades like cameras, a Raspberry Pi and web hooks.
My current process to get prints loaded up is to pull the gcode from Cura, load it onto the SD and put it into the printer. Find the print and the card and off we go. Kind of a lot of overhead if I’m constantly making adjustments to the gcode and pulling the SD. The Ender3 also has a micro USB port (not mini….) so I could hook my desktop up right to the printer. But that seemed to messy to me. I can’t shutdown my PC during a print then and it’s more cables on the desk where I already have too many. So I decided to do the next best thing, hook it up to a micro computer.
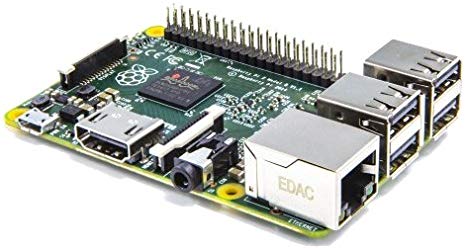
The cake is a lie, it’s a Raspberry Pi
At work we do secret Santa and not really knowing what I wanted I asked for a Raspberry Pi. The Raspberry Pi is a micro computer that is perfect for fun little DIY tech projects. There is a number of different OS’s you can load them up with. The model I have has Ethernet, HDMI, 4 USB A, and enough CPU and RAM to run a web server. I also have a USB WiFi dongle, so making the Pi wireless was plug’n’play.
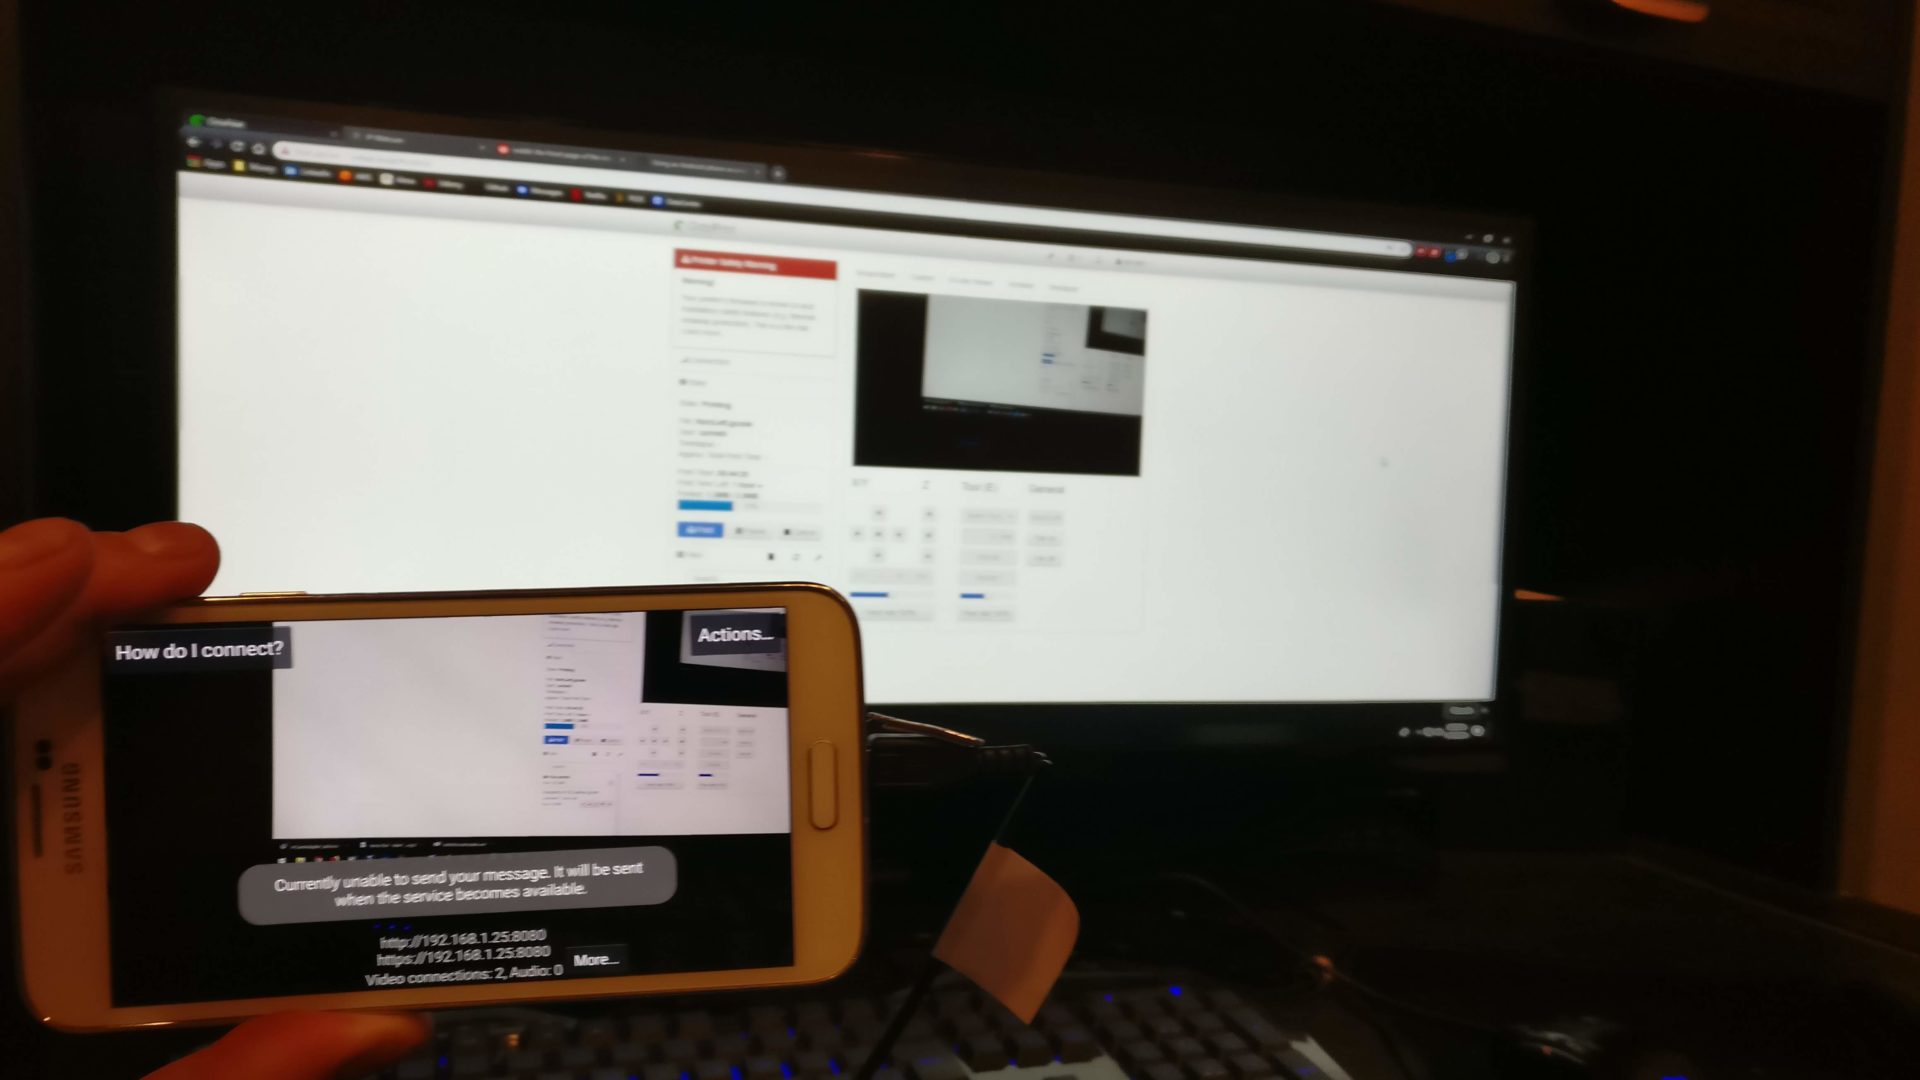
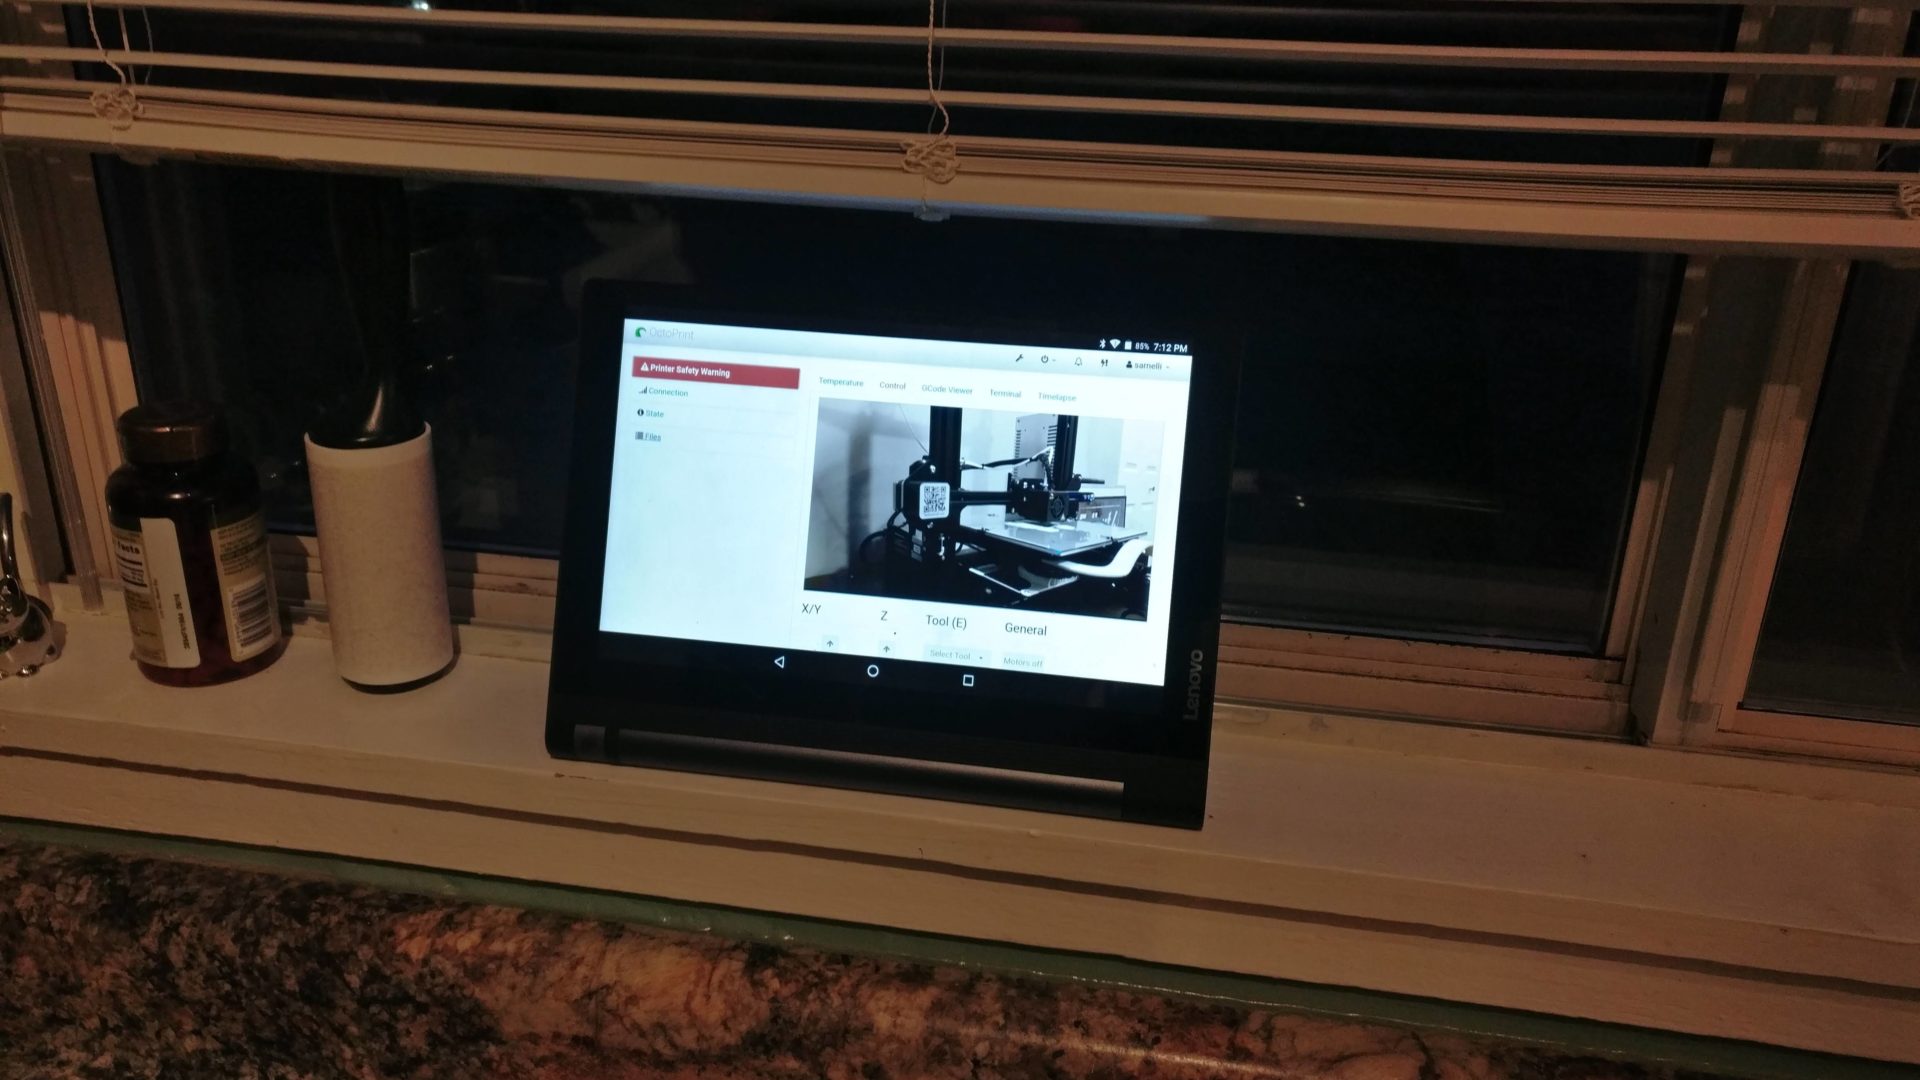
So I wanted my Pi to act as the main controller for the printer and I was trying to figure out how to get the two to talk. I came across Octoprint, an open source flavor of debian that runs on Raspberry Pi. It has 10s of 3D printer drivers pre-loaded and lets you monitor and control your printer remotely. Plus its extendable, with open hooks to integrate with 3rd party services aka triggers. It also has a plugin library where you can find additional modules to Octoprint. Exactly everything I was looking for! Instead of dealing with SD cards, now I just upload the gcode via Octoprints dashboard and hit print. Easy peasy!
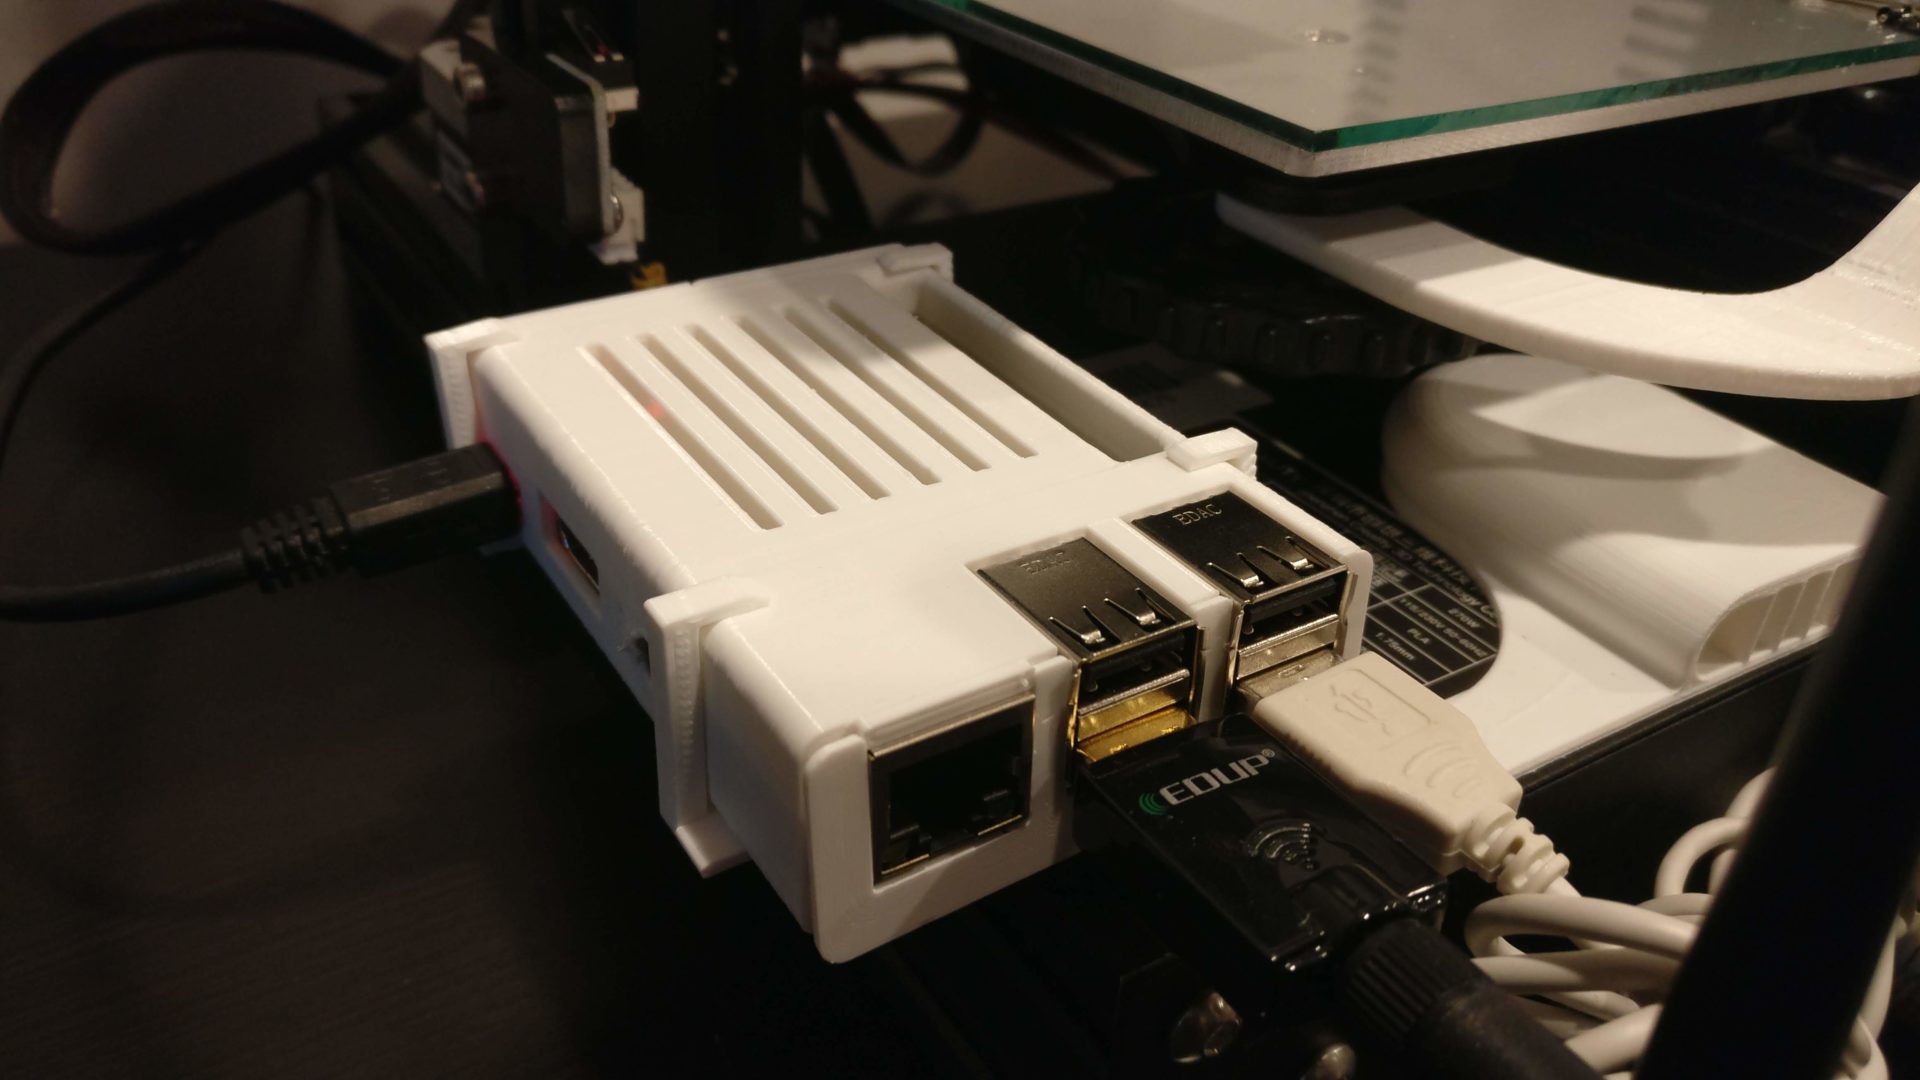
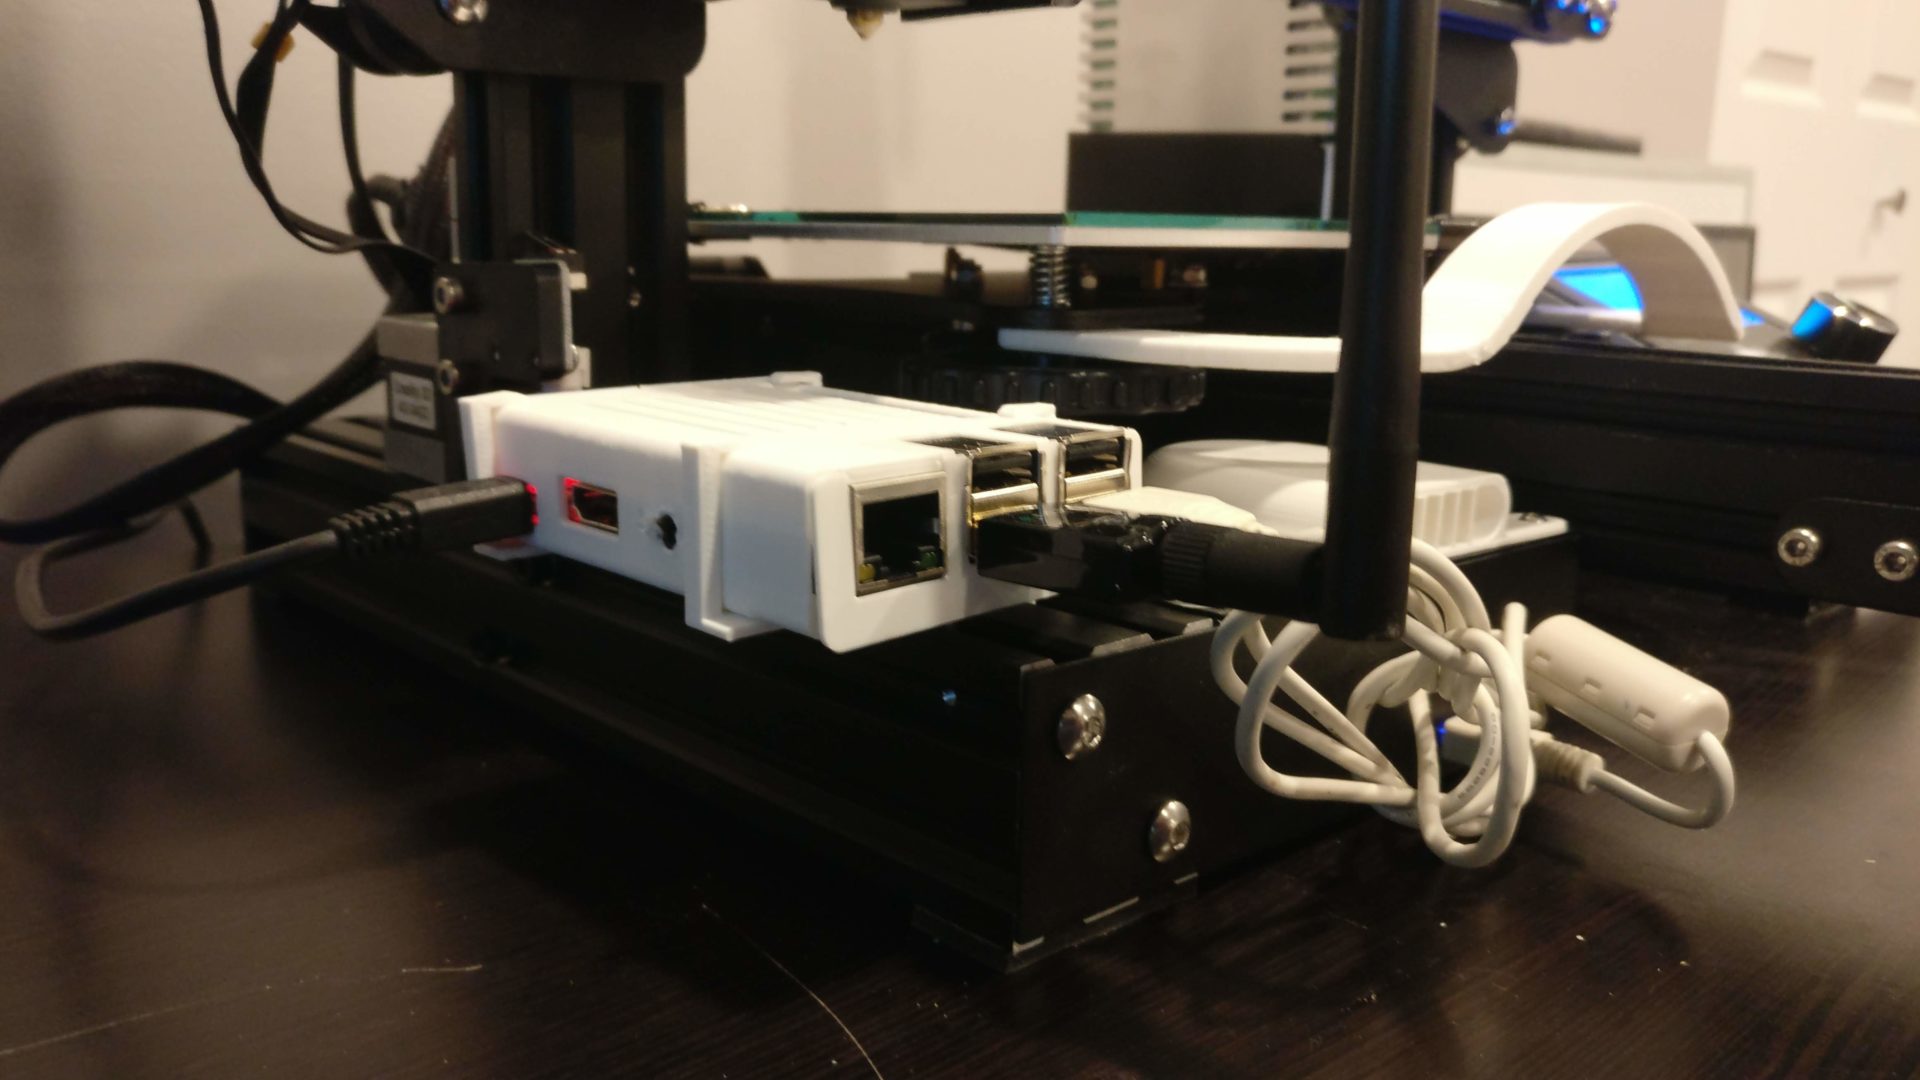
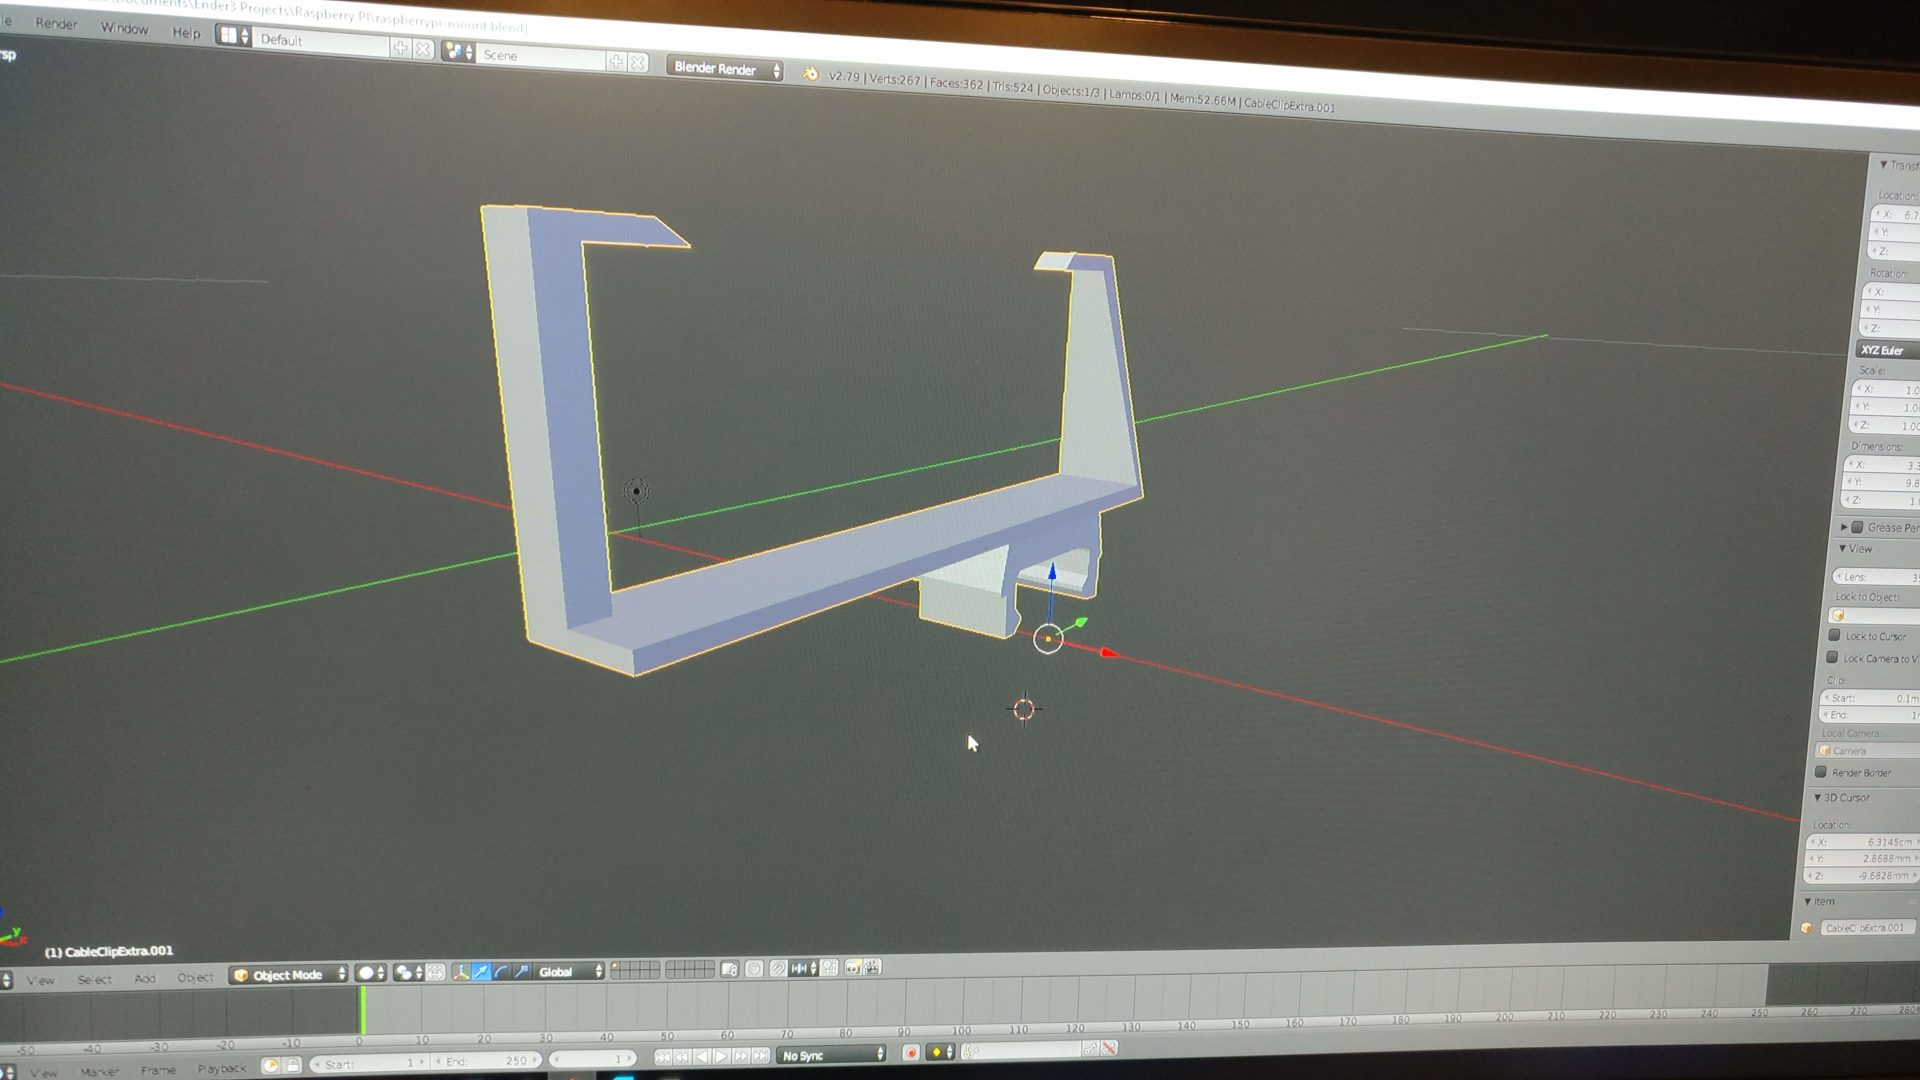
Again, having a naked Raspberry Pi with wires hanging out of it (Ok just two… but still) I knew there was a way to clean it up. On my favorite site, Thingiverse.com I found a ton of Pi Cases. There were some stand alone ones, and some that mounted right into the Ender3’s frame. I didn’t really like the ways it mounted so I went with a stand alone case and made my own brackets. Using Blender, I imported in the Pi Case for reference and built my clips around that. Using another print for holding the LCD cable to the frame, I modified it so it wraps around the Pi case. The end result!
Need more Powah!
So with my Pi all bundled up and secure to the frame there was one more small inkling I couldn’t shake. Call it OCD but I didn’t like the fact that I needed two outlets to power up the Pi and the Ender3. Down the rabbit hole I found a tutorial that solves this problem. Siphoning off of the Printers power supply you can redirect power right to the Pi. All that is needed is:
- XT60 Y-splitter cable (or splice the PSU cable if you are ballzee)
- LM2596 DC voltage regulator
- Solder + Iron
- Electrical tape
- DMM (Digital Multi Meter)
- Screw driver
- Skills and luck
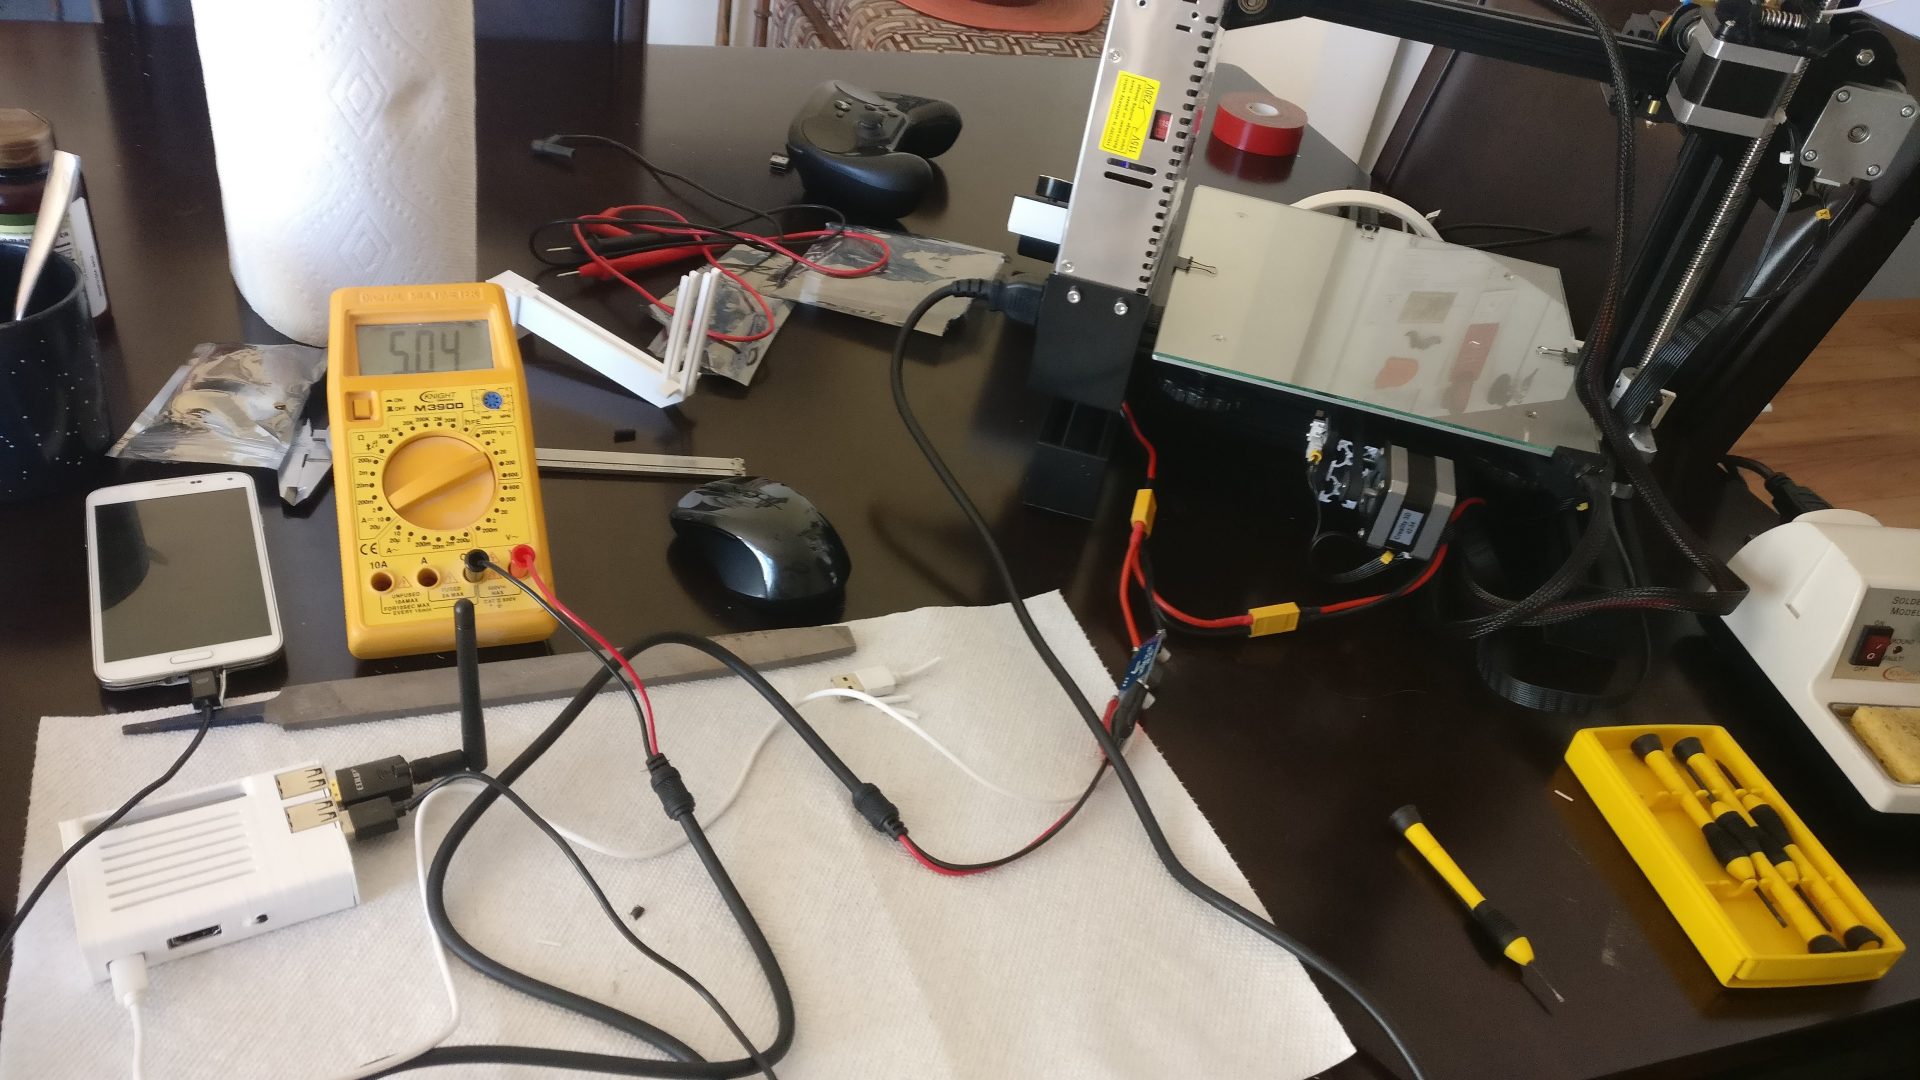
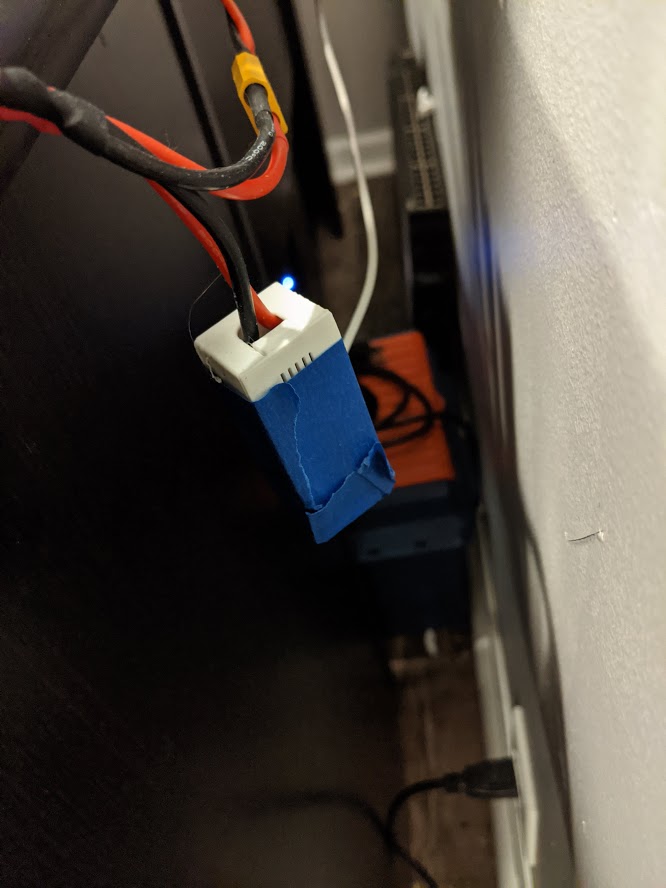
I hooked up the Y Connector, soldered the end points to the regulator, and soldered the power cable running to the Pi. Of course, don’t forget to step down the voltage on the regulator. Otherwise it will send 24V through the Pi and it will fry it. I set mine to just under 5V, you can verify by putting your DMM on the end points. I even found a case on Thingiverse that encloses the regulator. Now my printer just requires one outlet and its wireless. In a really crude way, I made my printer portable. 😀 OK, so now I am able to control things remotely but it doesn’t do me any good if I can’t see it.
Getting eyes on the problem
Phone camera – tech life cycle I wanted to be able to see my prints as they went. Just so I can check on them and remotely stop the print if needed. Knowing the Pi has a camera slot, obviously you’d just buy a Pi cam and call it a day. Not me 🙂 In another post I talked about the tech life cycle and sure enough I had an old phone that was on its first death. (Read the post if you want to know what that means!)

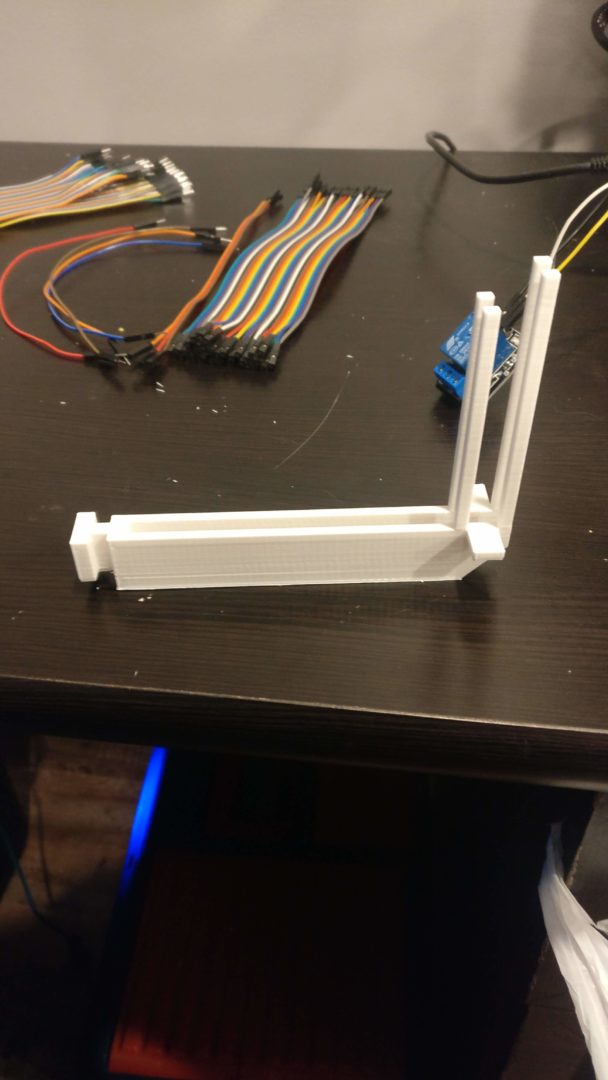
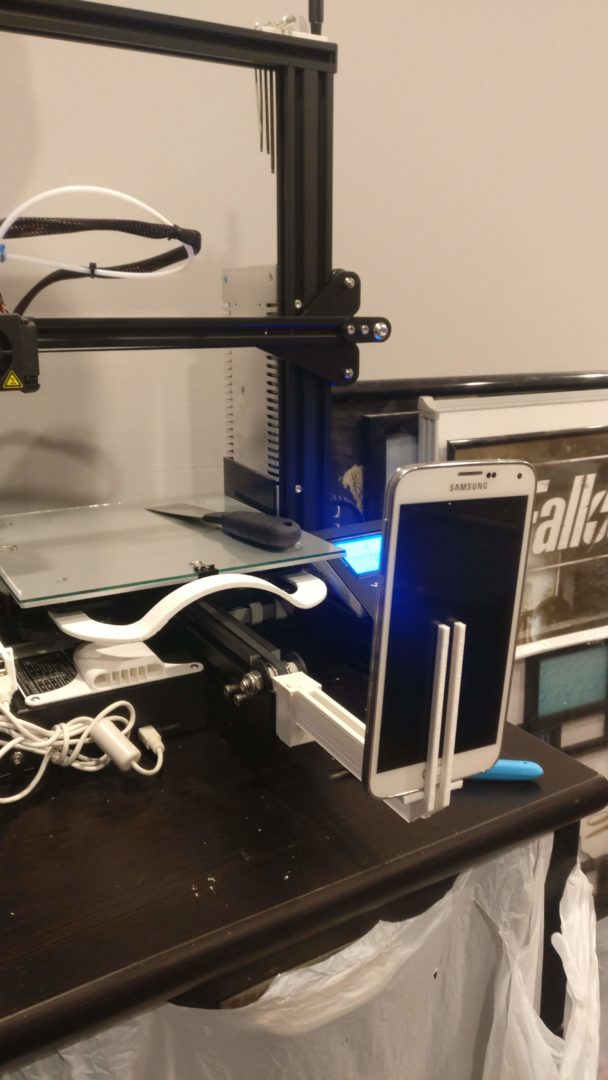
Anywho… I found an app that turns the phone into an IP Camera. On Octoprint, feed it a streaming URL and voila, we have a live stream of our prints in action! Of course, the phone had to be mounted correctly to capture the best stream. I tried a few things involving tape and shims. Then I realized, I have a fucking 3D printer… I can just make the mount I need. So, via Blender, I went ahead and created a mount system for my phone.
The small bracket mounts to the frame of the printer and the arm slides in the bracket. Then the phone is slotted into the arm. I went through a few iterations, re-sizing and breaking my model in blender. But finally I was able to make it real. So were out of woods for this one right? Case closed? Not by a long shot…
OK Seriously! More Powah!!
Lets recap my setup. Pi is getting juice from the voltage regulator. The regulator gets power from the printer PSU. The phone, gets power via USB from the Raspberry Pi. Oh and the Pi also has a wireless dongle. Between all of that, Octoprint has some self monitoring that lets me know if its power is over taxed. And boy did it let me know! The Pi would lock up and black out reboot.
Problem 2 was after a print, shutting off the Pi doesn’t mean turn off the phone. I’d forget to turn off IP cam and being my phone is really old, the battery would die overnight. Another factor of its age, even with the phone plugged into the Pi, it drains faster than it charges. So having it plugged in doesn’t keep it charged, it just delays its death.
Problem 3 was the mount. It wasn’t exactly constructed well. The spokes that stick up and hold the phone in place were very brittle. I’ve printed the arm 5 times, I kept backing my chair right into it, snapping clean off. Deciding not to deal with any of it, I decided to do what I should have originally done, go with the Pi Cam. Plus my phone hit its second death, the screen broke, don’t ask how.
This time with a Raspberry Pi cam!
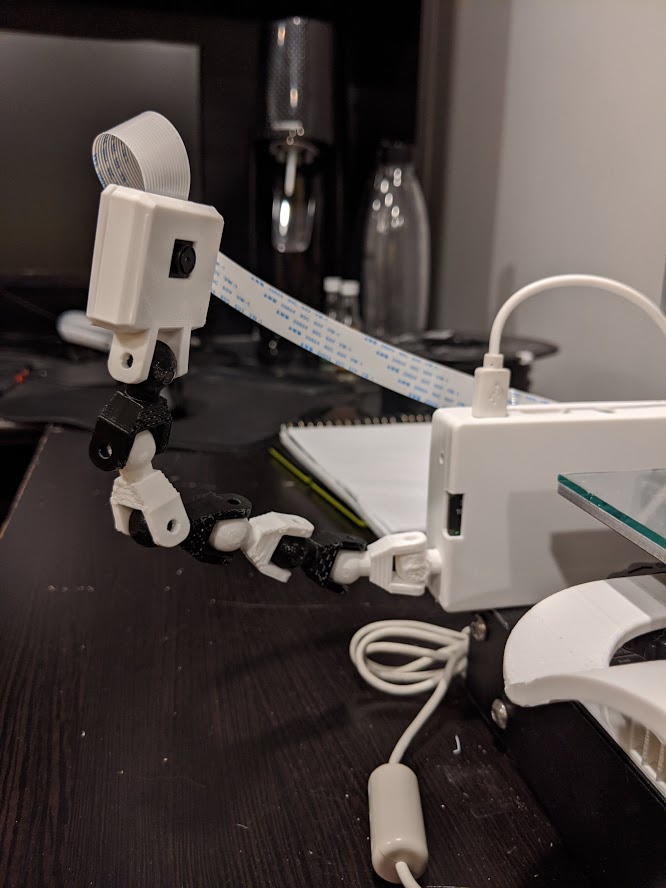
So to completely circumvent these problems I bought a proper Pi camera. Setup is really easy, its pretty much native with Octoprint. All I had to do was change the streaming URL and flip the camera’s orientation. I also found a mount setup on Thingiverse. It’s a spine setup where you print out vertebrates and snap them together. Lets you make really custom placements to get the perfect camera angle. Plus its attached right to the Raspberry pi. Not only can I view my prints remotely, I also have the camera take time lapse videos. It snaps a picture for every Z layer in the print. Way better than dealing with a phone that drains faster than it charges.

The next thing I wanted to add was notifications when prints finished and when they started. I really wanted to know when the pad and nozzle get fully heated ready to print and when its done printing. I found out there is web hooks built into Octoprint that I could use to call events. I’ve used web hooks kind of in the past using an app called IFTT (if this then that). So I setup the start and stop event to send a notification on my phone. For my long prints that run into the night, I setup an event to shut off the lights the room the printer is in.
To the Future
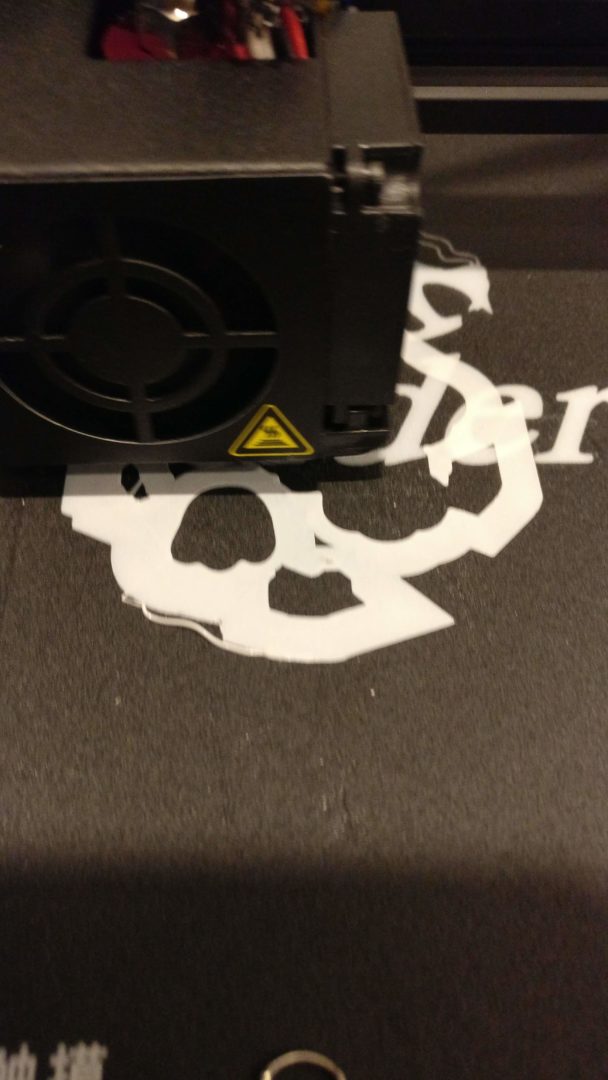
That is as automated I can get for now with my current setup. I’ve seen some chatter online about using AI and cameras to automatically stop prints going bad. This is very experimental and prone to not work, like at all, especially with me training the AI 🙂 Heck, once I’ve signaled a bad print, I might rig up some motors to scrape off the scraps into a bin. Even with a good print, I can have the arms scrape off the model and start another print.
Waaaaaaaay in the future, with enough historical data, I could have it figure out why my prints are going bad! Maybe even setup the scraping arms to also pull supports away from the print and clean up the model. But that would require a PhD or something along those lines. I’m not there yet.
Welp, that’s my setup up to date, with more updates along the way. Thanks for stopping by!