Yes! Another Upgrade! But this isn’t your typical 3D printed upgrades like in the past. Nor is it your average technological shenanigans to automate things. No no, this is the real deal. Actual store bought, authentic, locally sourced, not your fathers/mamma’s upgrades! This will be the first in a series of posts to go over all of the upgrades that I’ve put together on my printer in the past several months. Lets get into it!
Before we get started… lets talk about upgrades

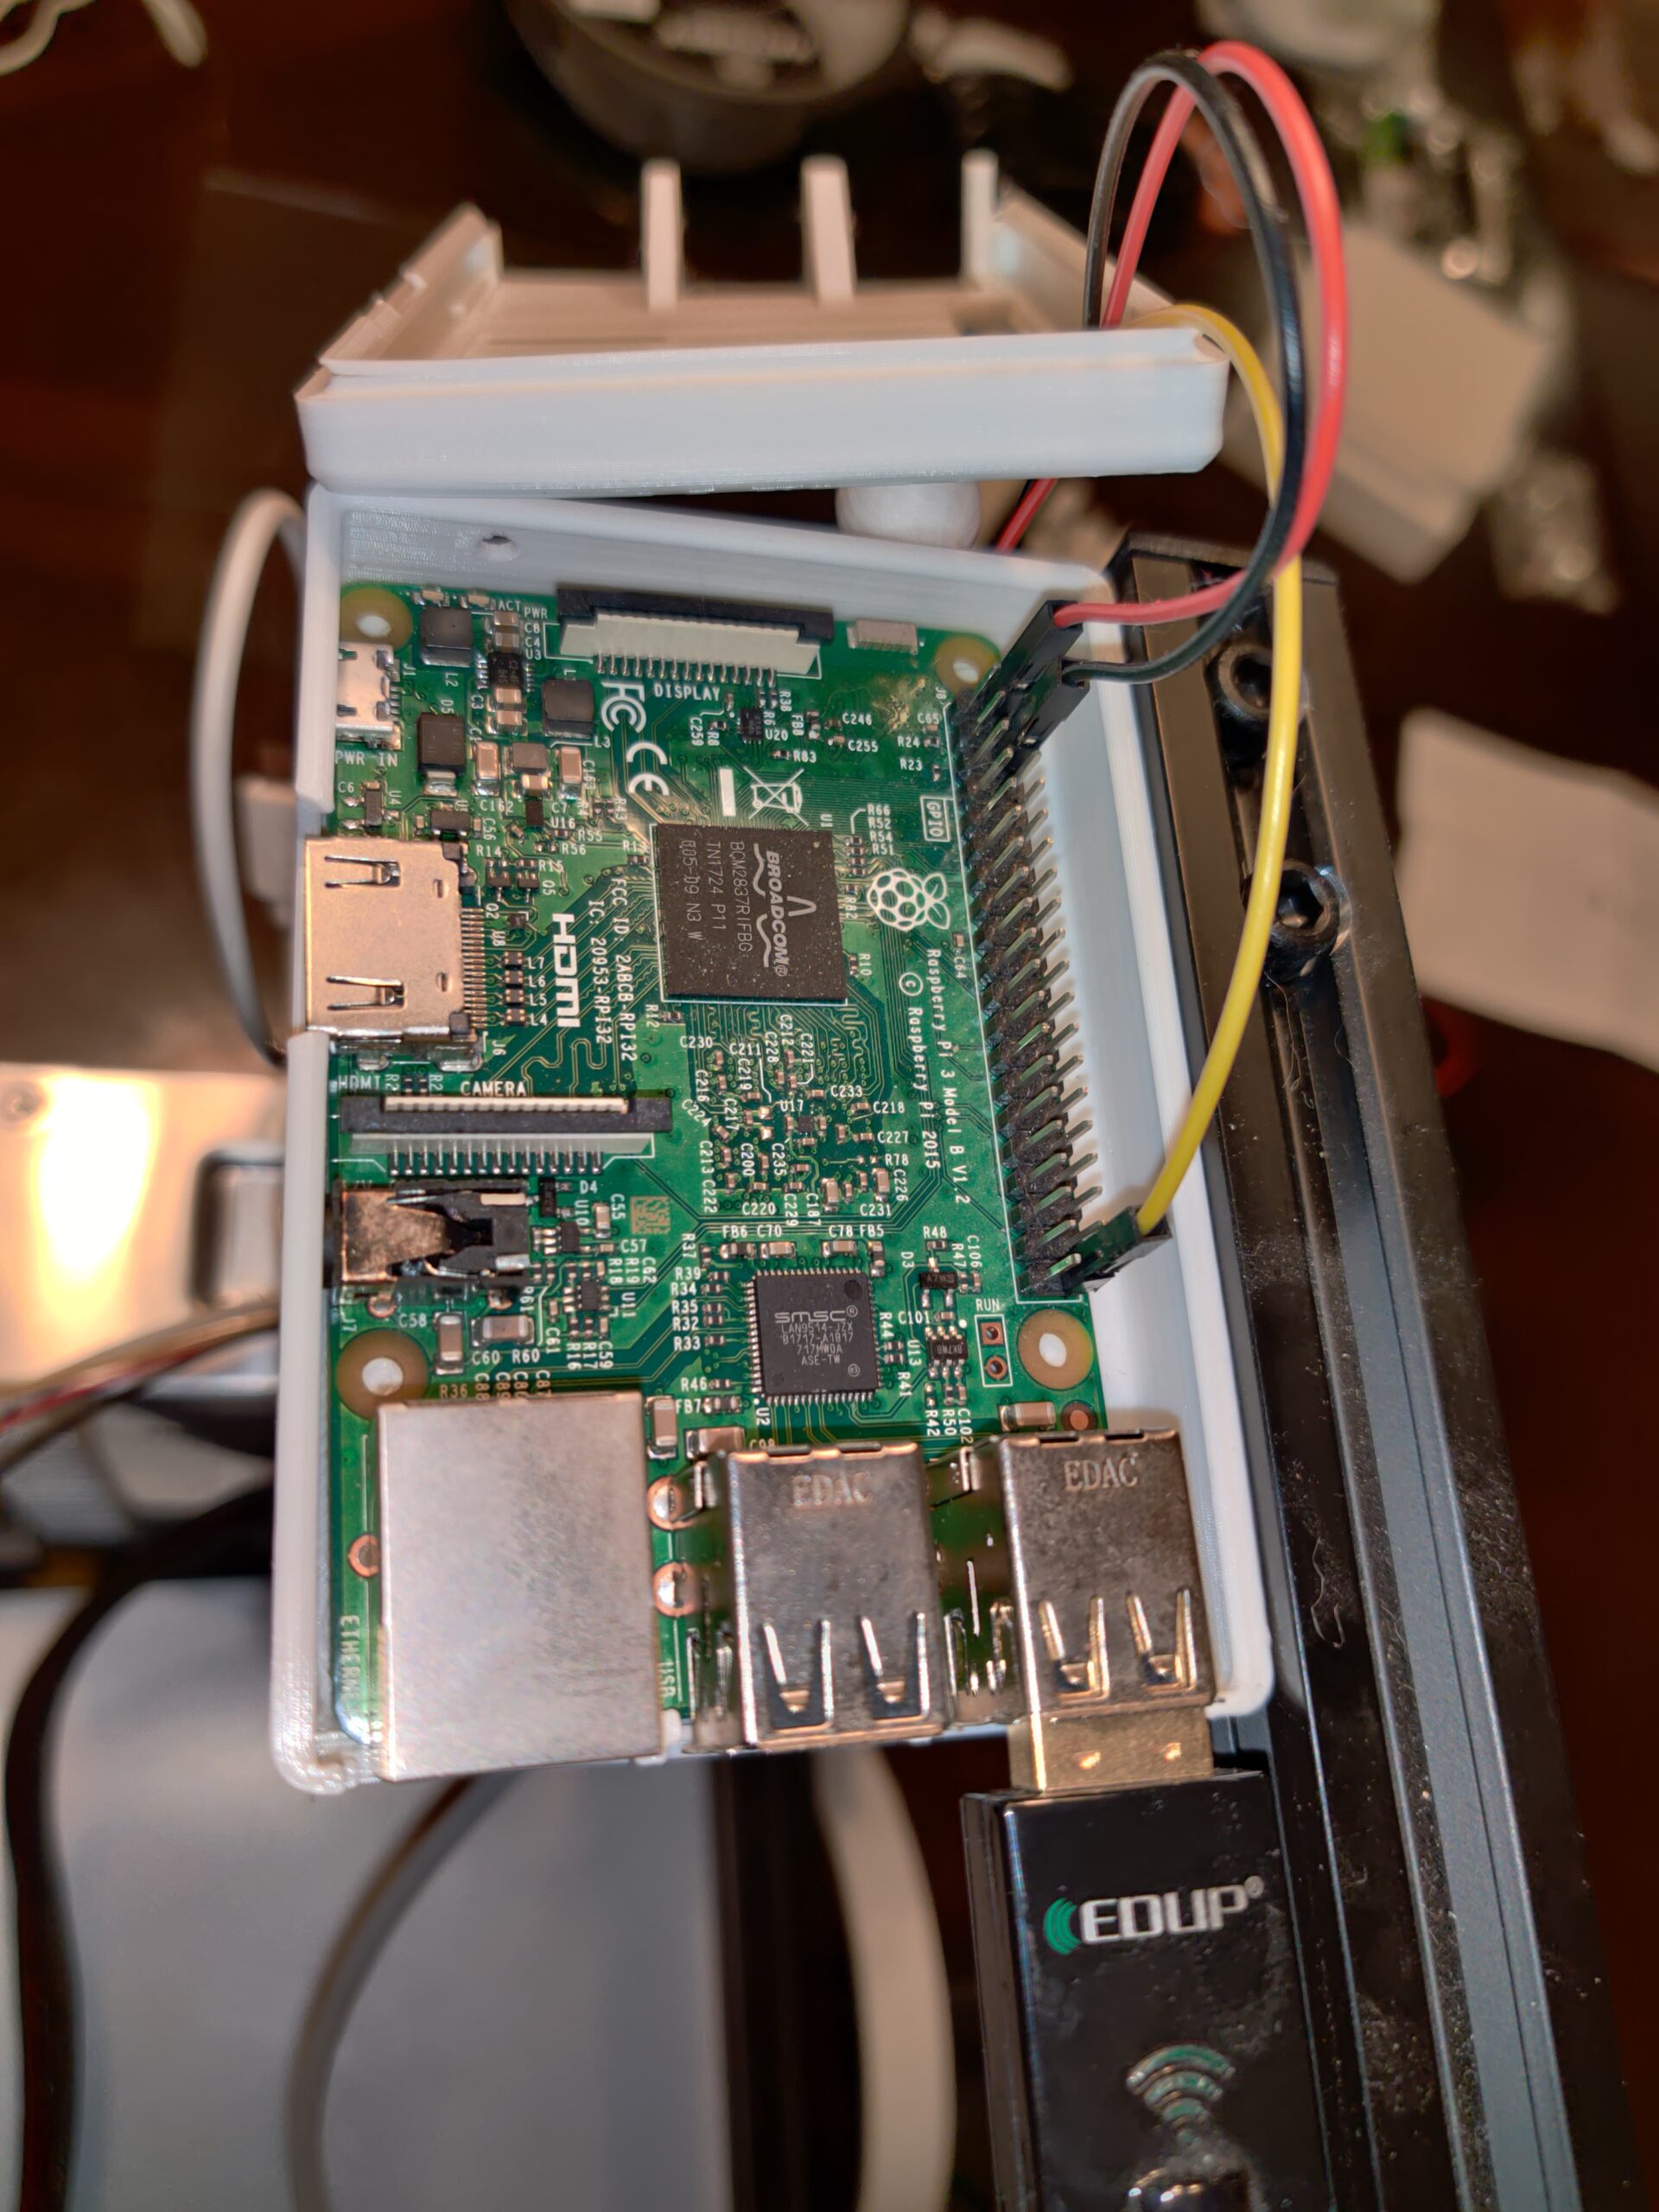
Before getting into the upgrades, I have to address the elephant in the room…. Upgrading Octoprint from python 2.7 to python 3. I just have to get this blurb out of the way because its important to stay up to date. Luckily the fellas over at Octoprint have a great upgrade guide, that with a few commands prepares and upgrades your Raspberry Pi to the latest version of python and Octoprint.

Sadly for me the upgrade script did not pan out for me. I think I was a case where I didn’t hit one of the pre-requisites and I was struggling to figure out why it wasn’t working. Luckily, Octoprint V1.8 and up starts out on Python3, so a reinstall would be just as good as an upgrade. Unfortunately, I would loose all my custom changes, but I did take good notes in my previous posts! Like setting up print job emails, lights turning on and off with the print job, and turning the printer on and off via Octoprint. With a little trial and error, we were back up and printing again!

But briefly, for the next upgrade is to come! And this one should make a loud ass printer, run a tad more stealthy…
Ender 3: Stealth Upgrade

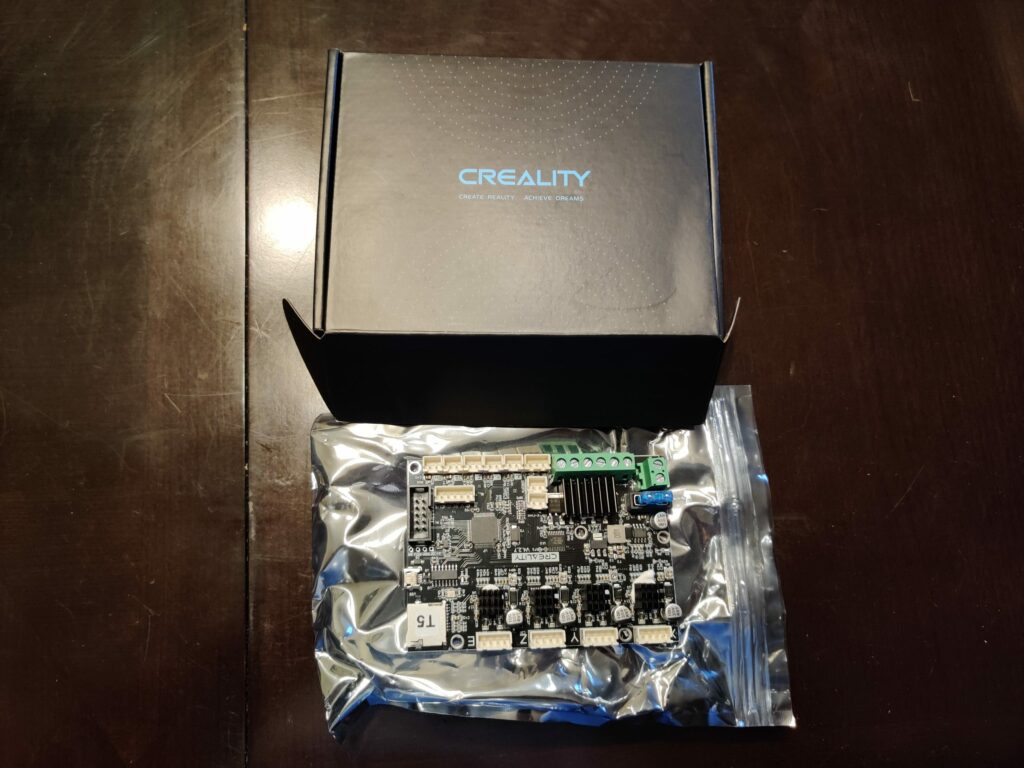
So yeah…. who knew that to make the printer motors run quieter the answer is not get quieter motors! The answer actually is better software, well… firmware in this case. Unfortunately, with the firmware required, it wouldn’t work on my existing board. So I had to order an updated board from Creality.
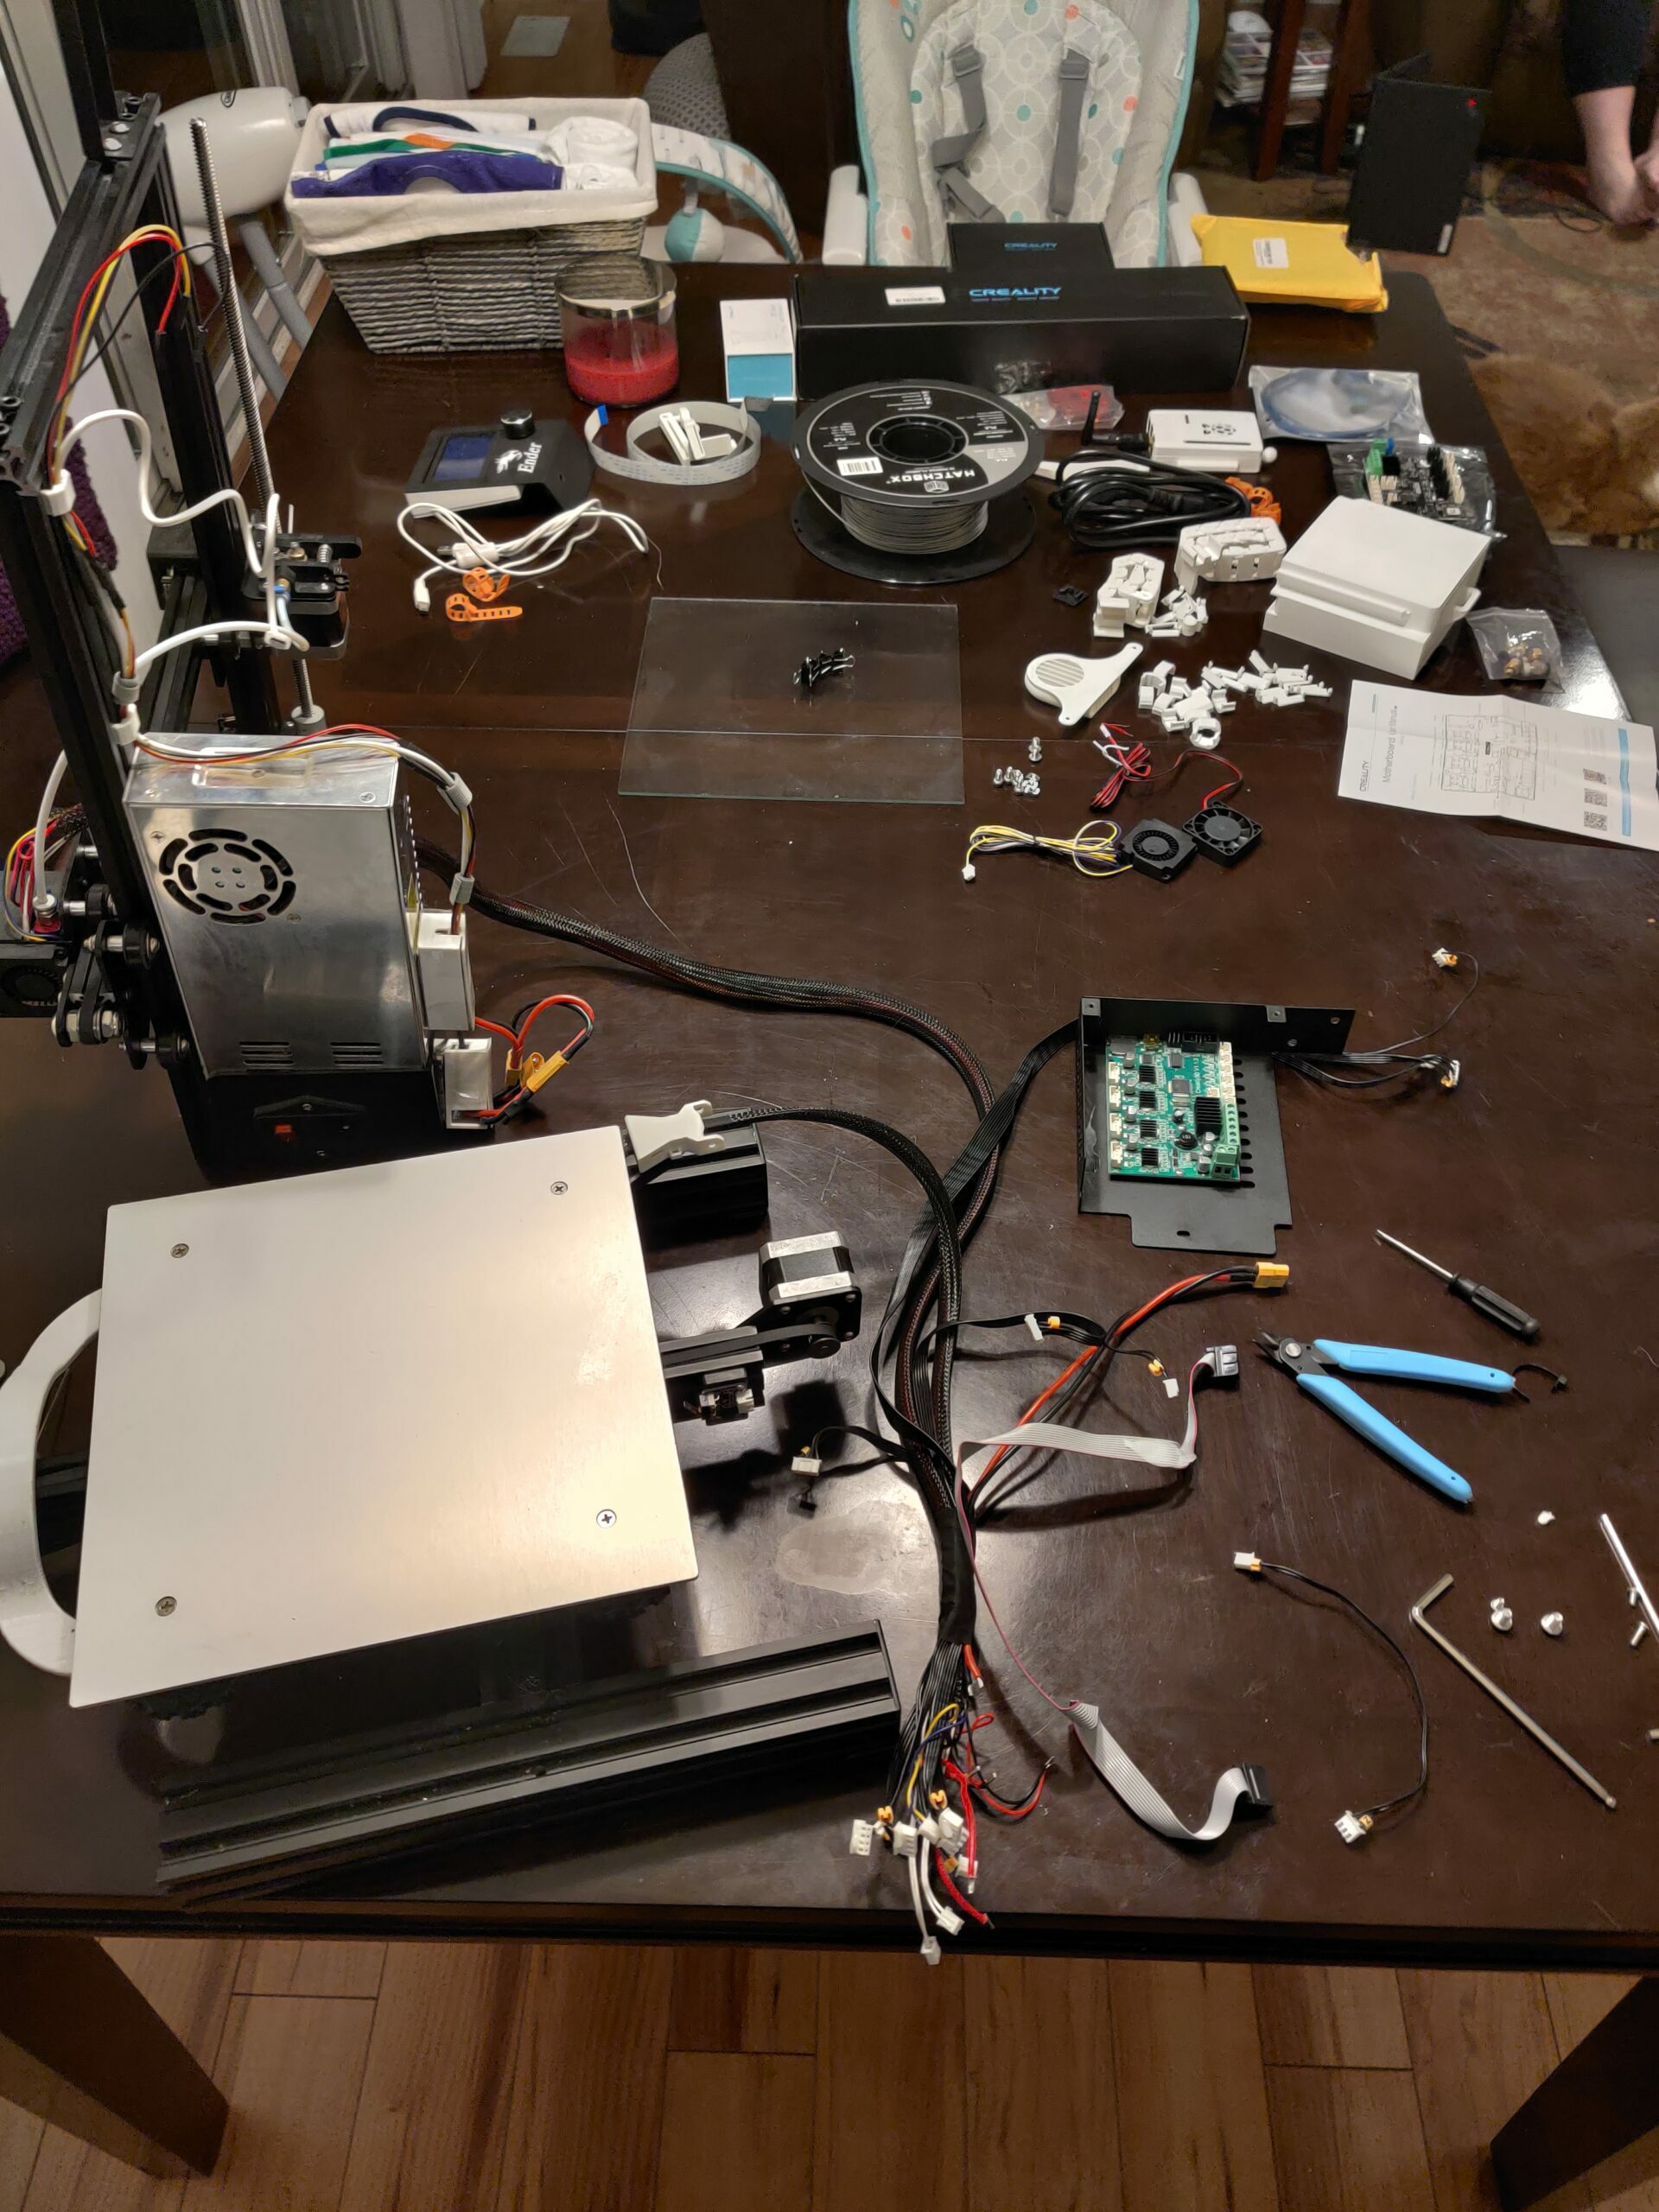
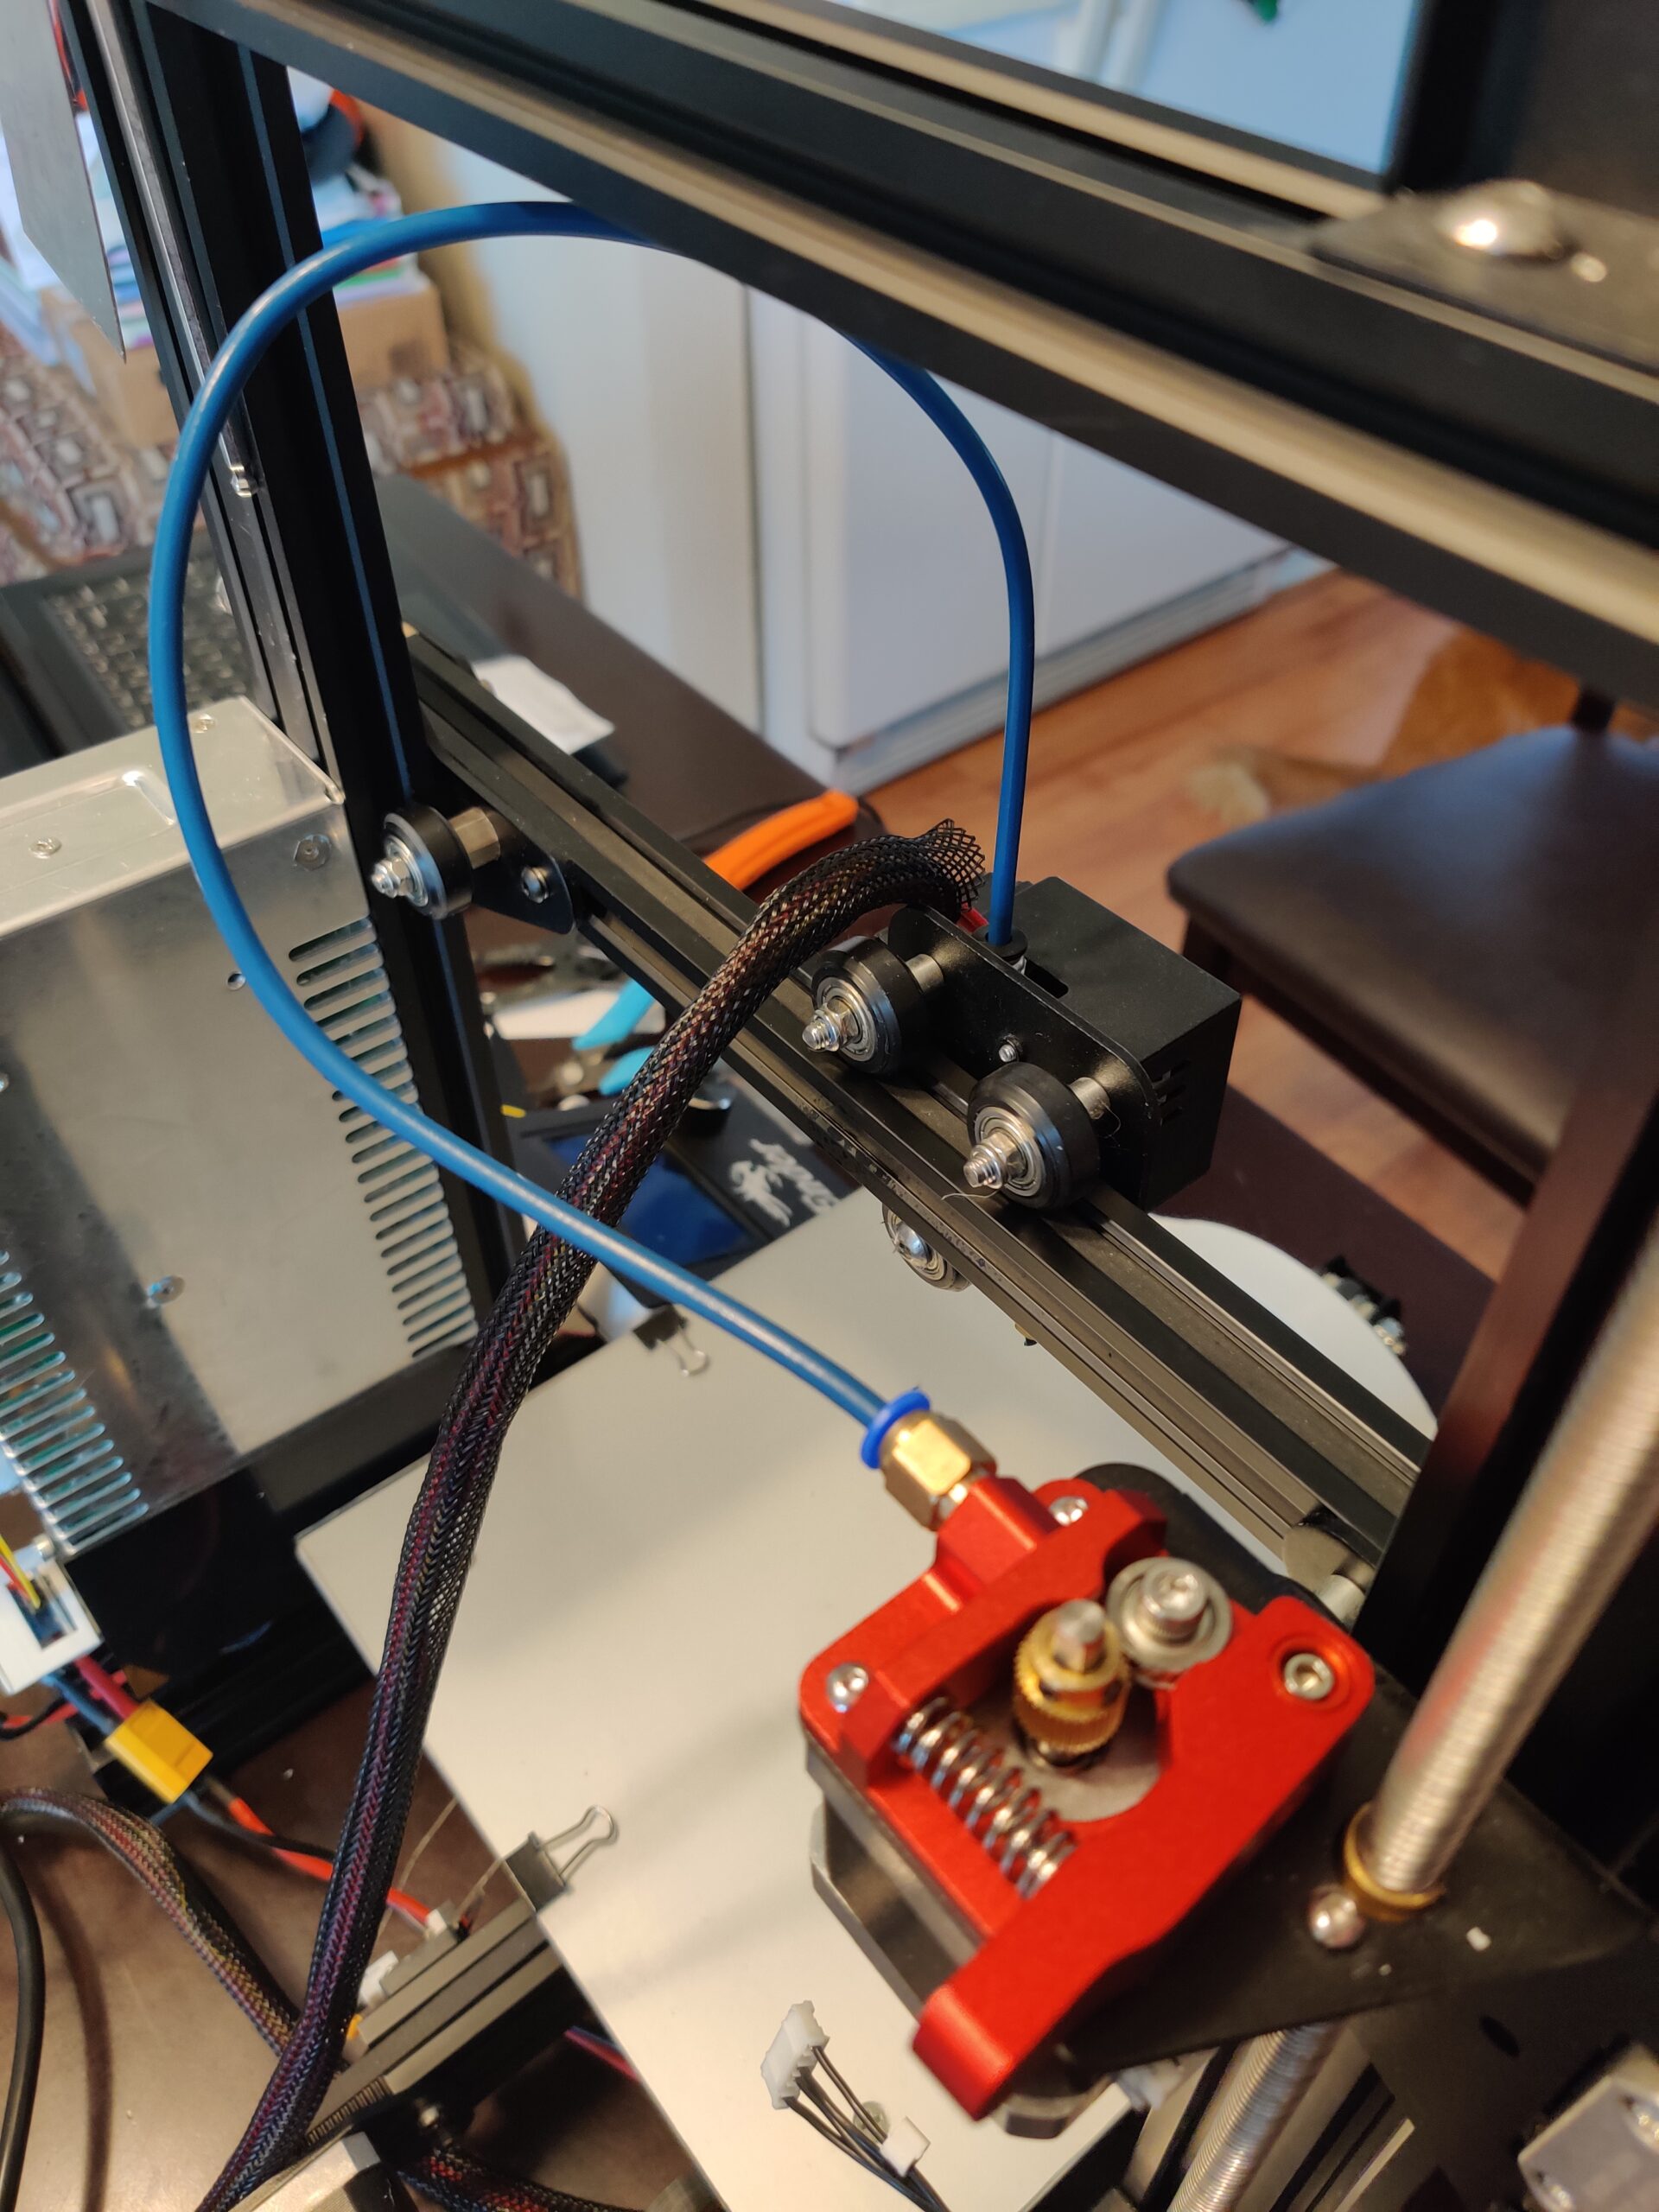
On an ender 3 V1, the control board is located under the heat bed on the left side in a metal casing. To get to it, I basically had to dismantle the whole frame and printer. Most of the wiring runs there too, so my relay kit and volt regulator also had to come out.
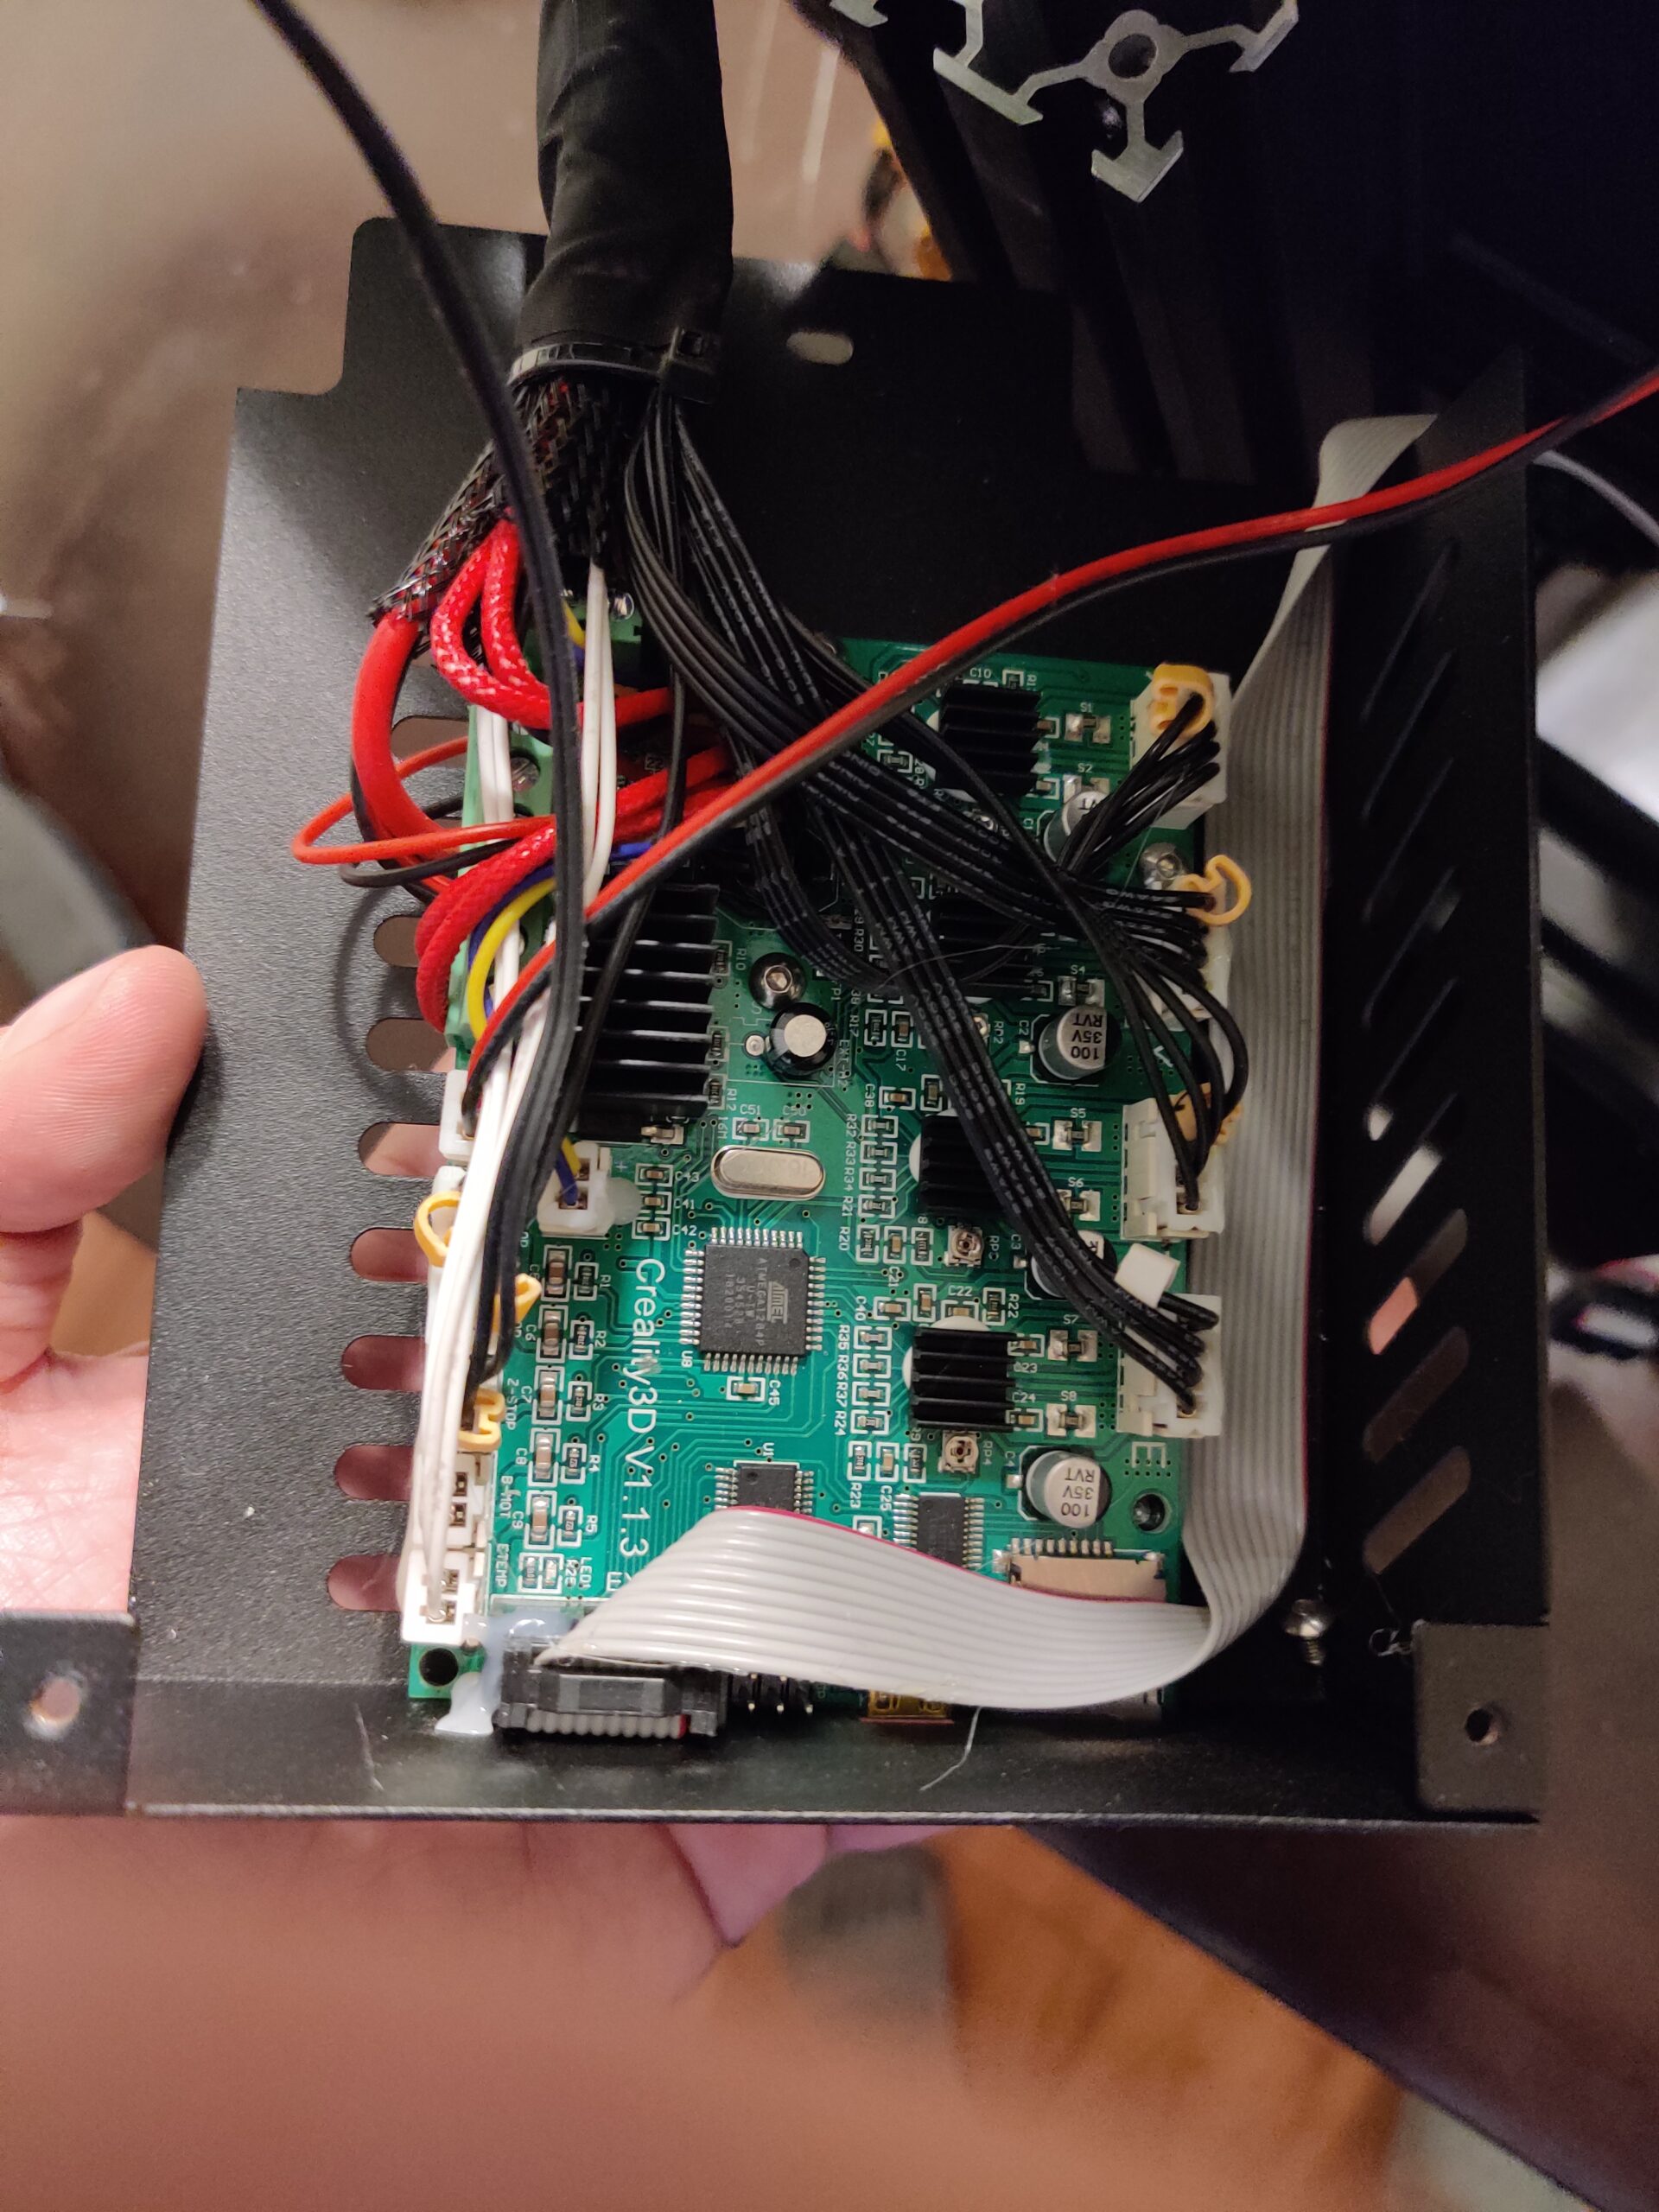
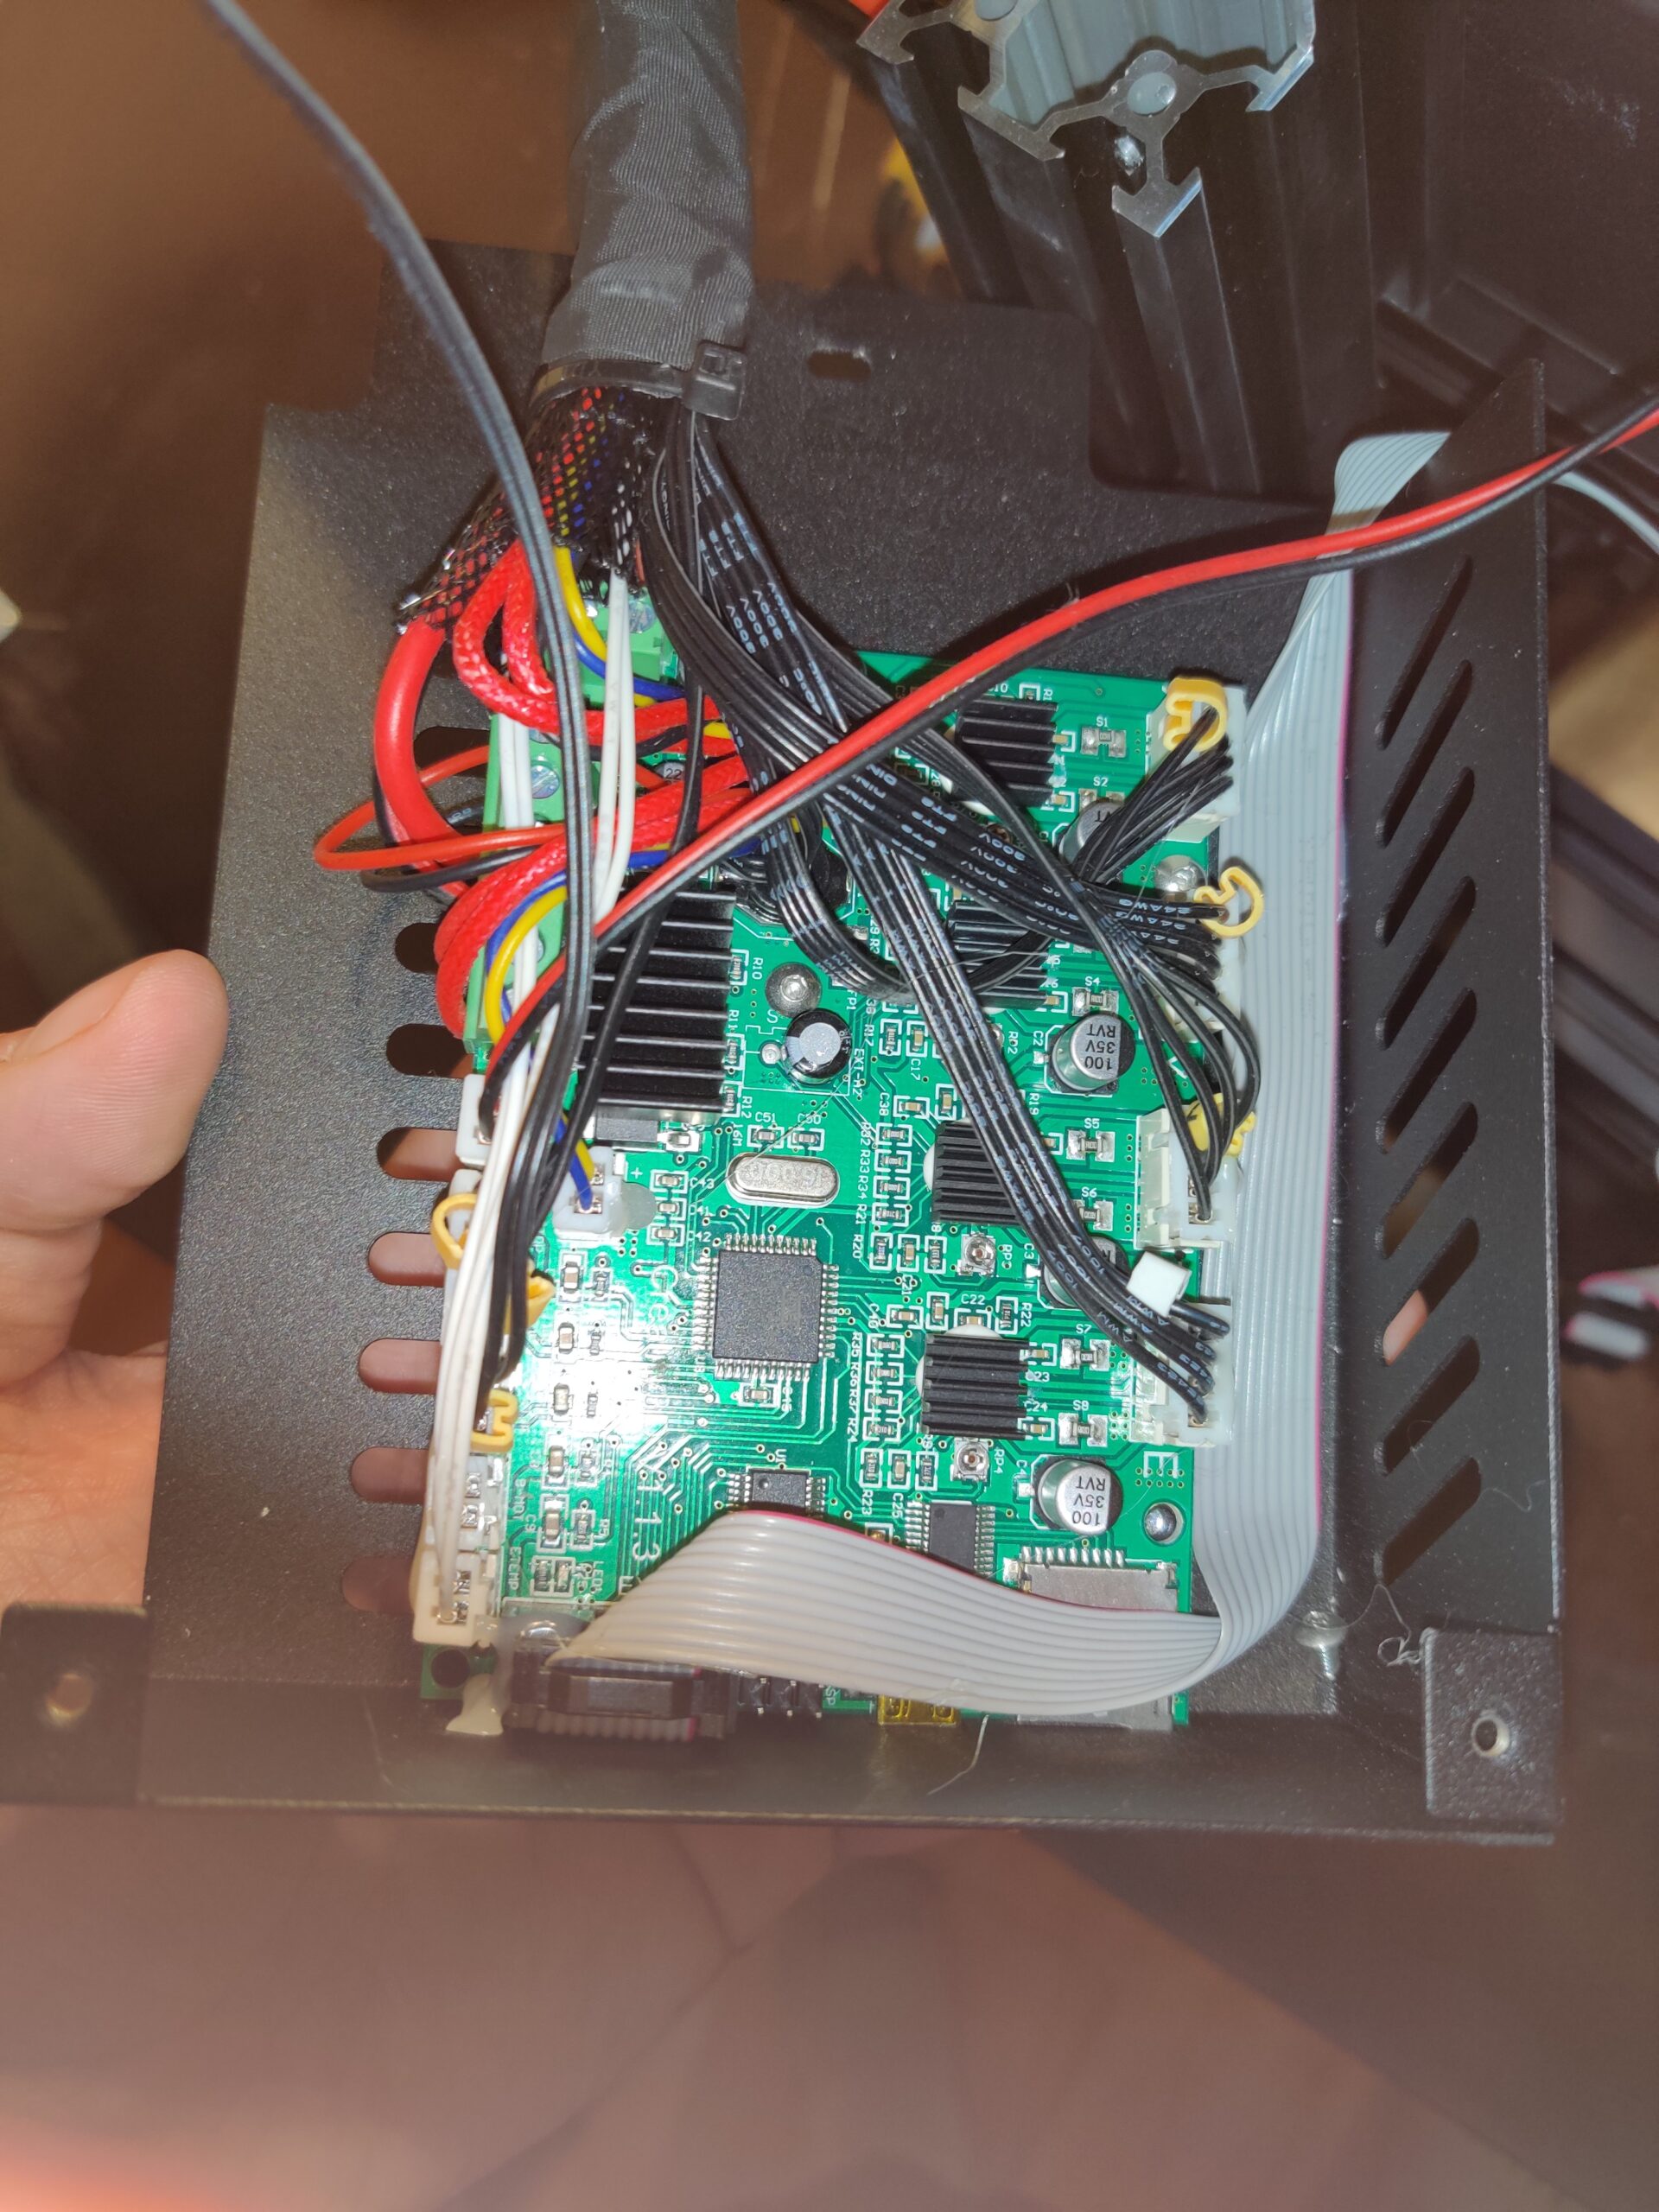
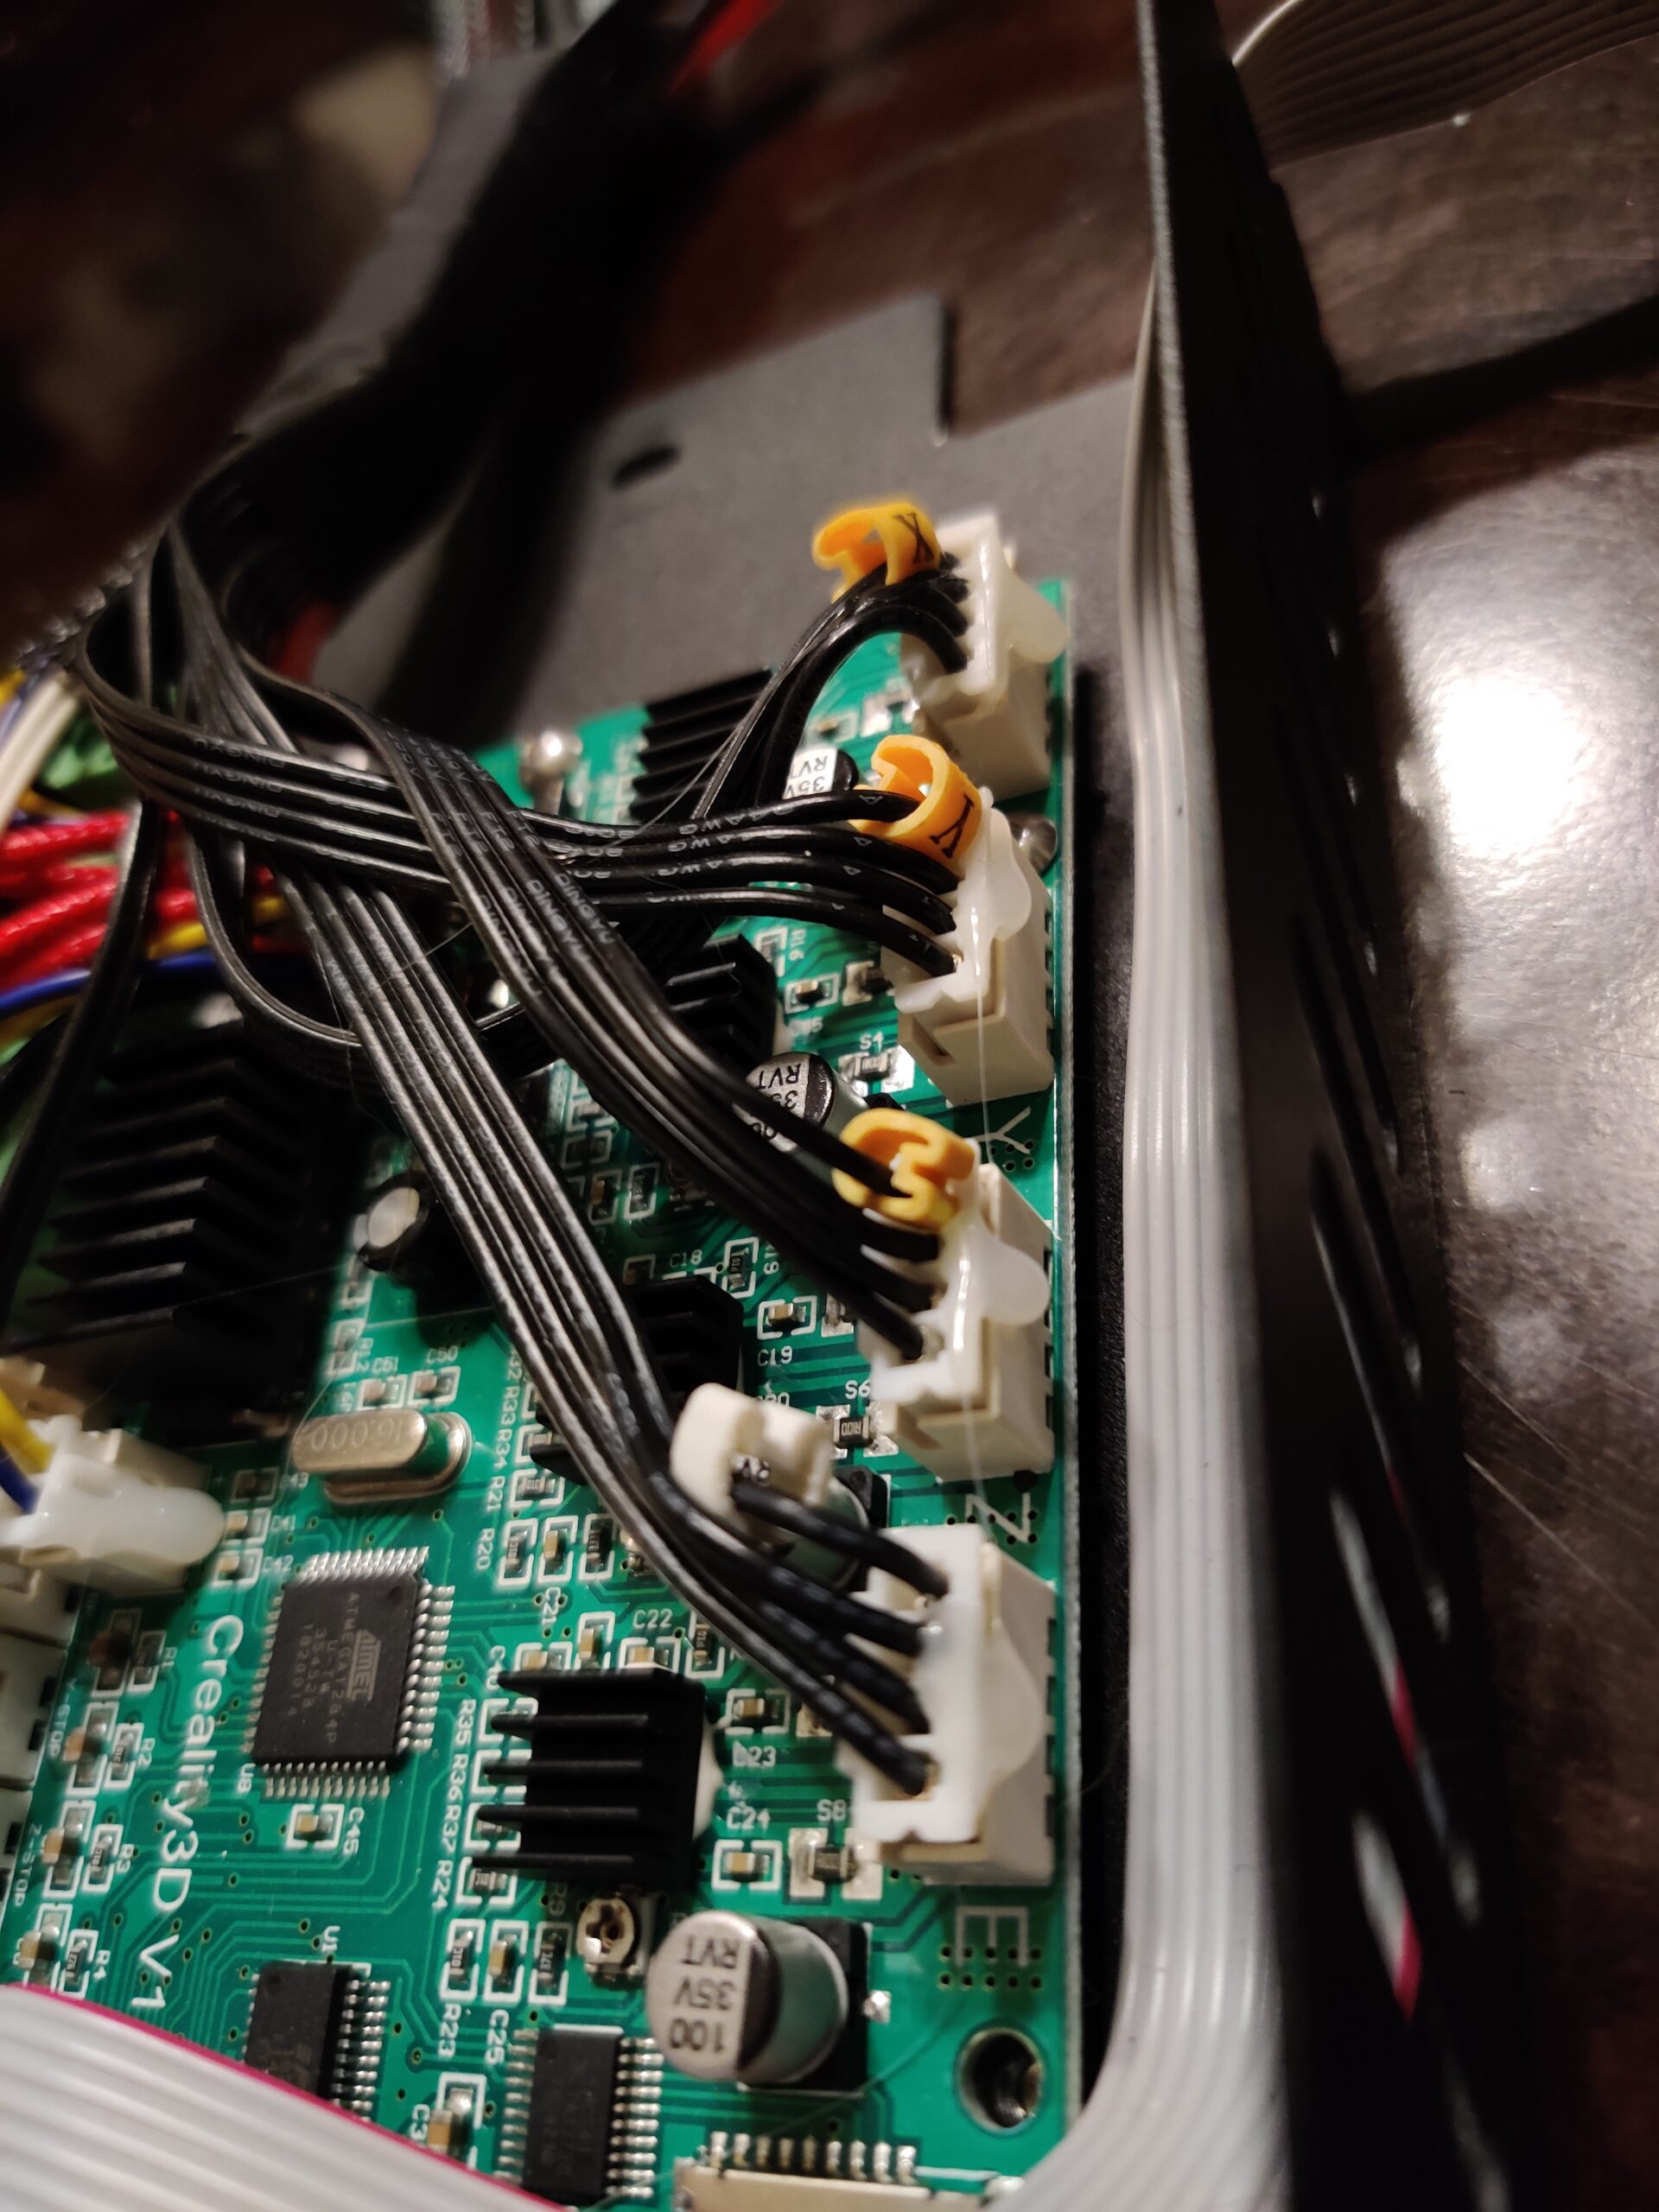
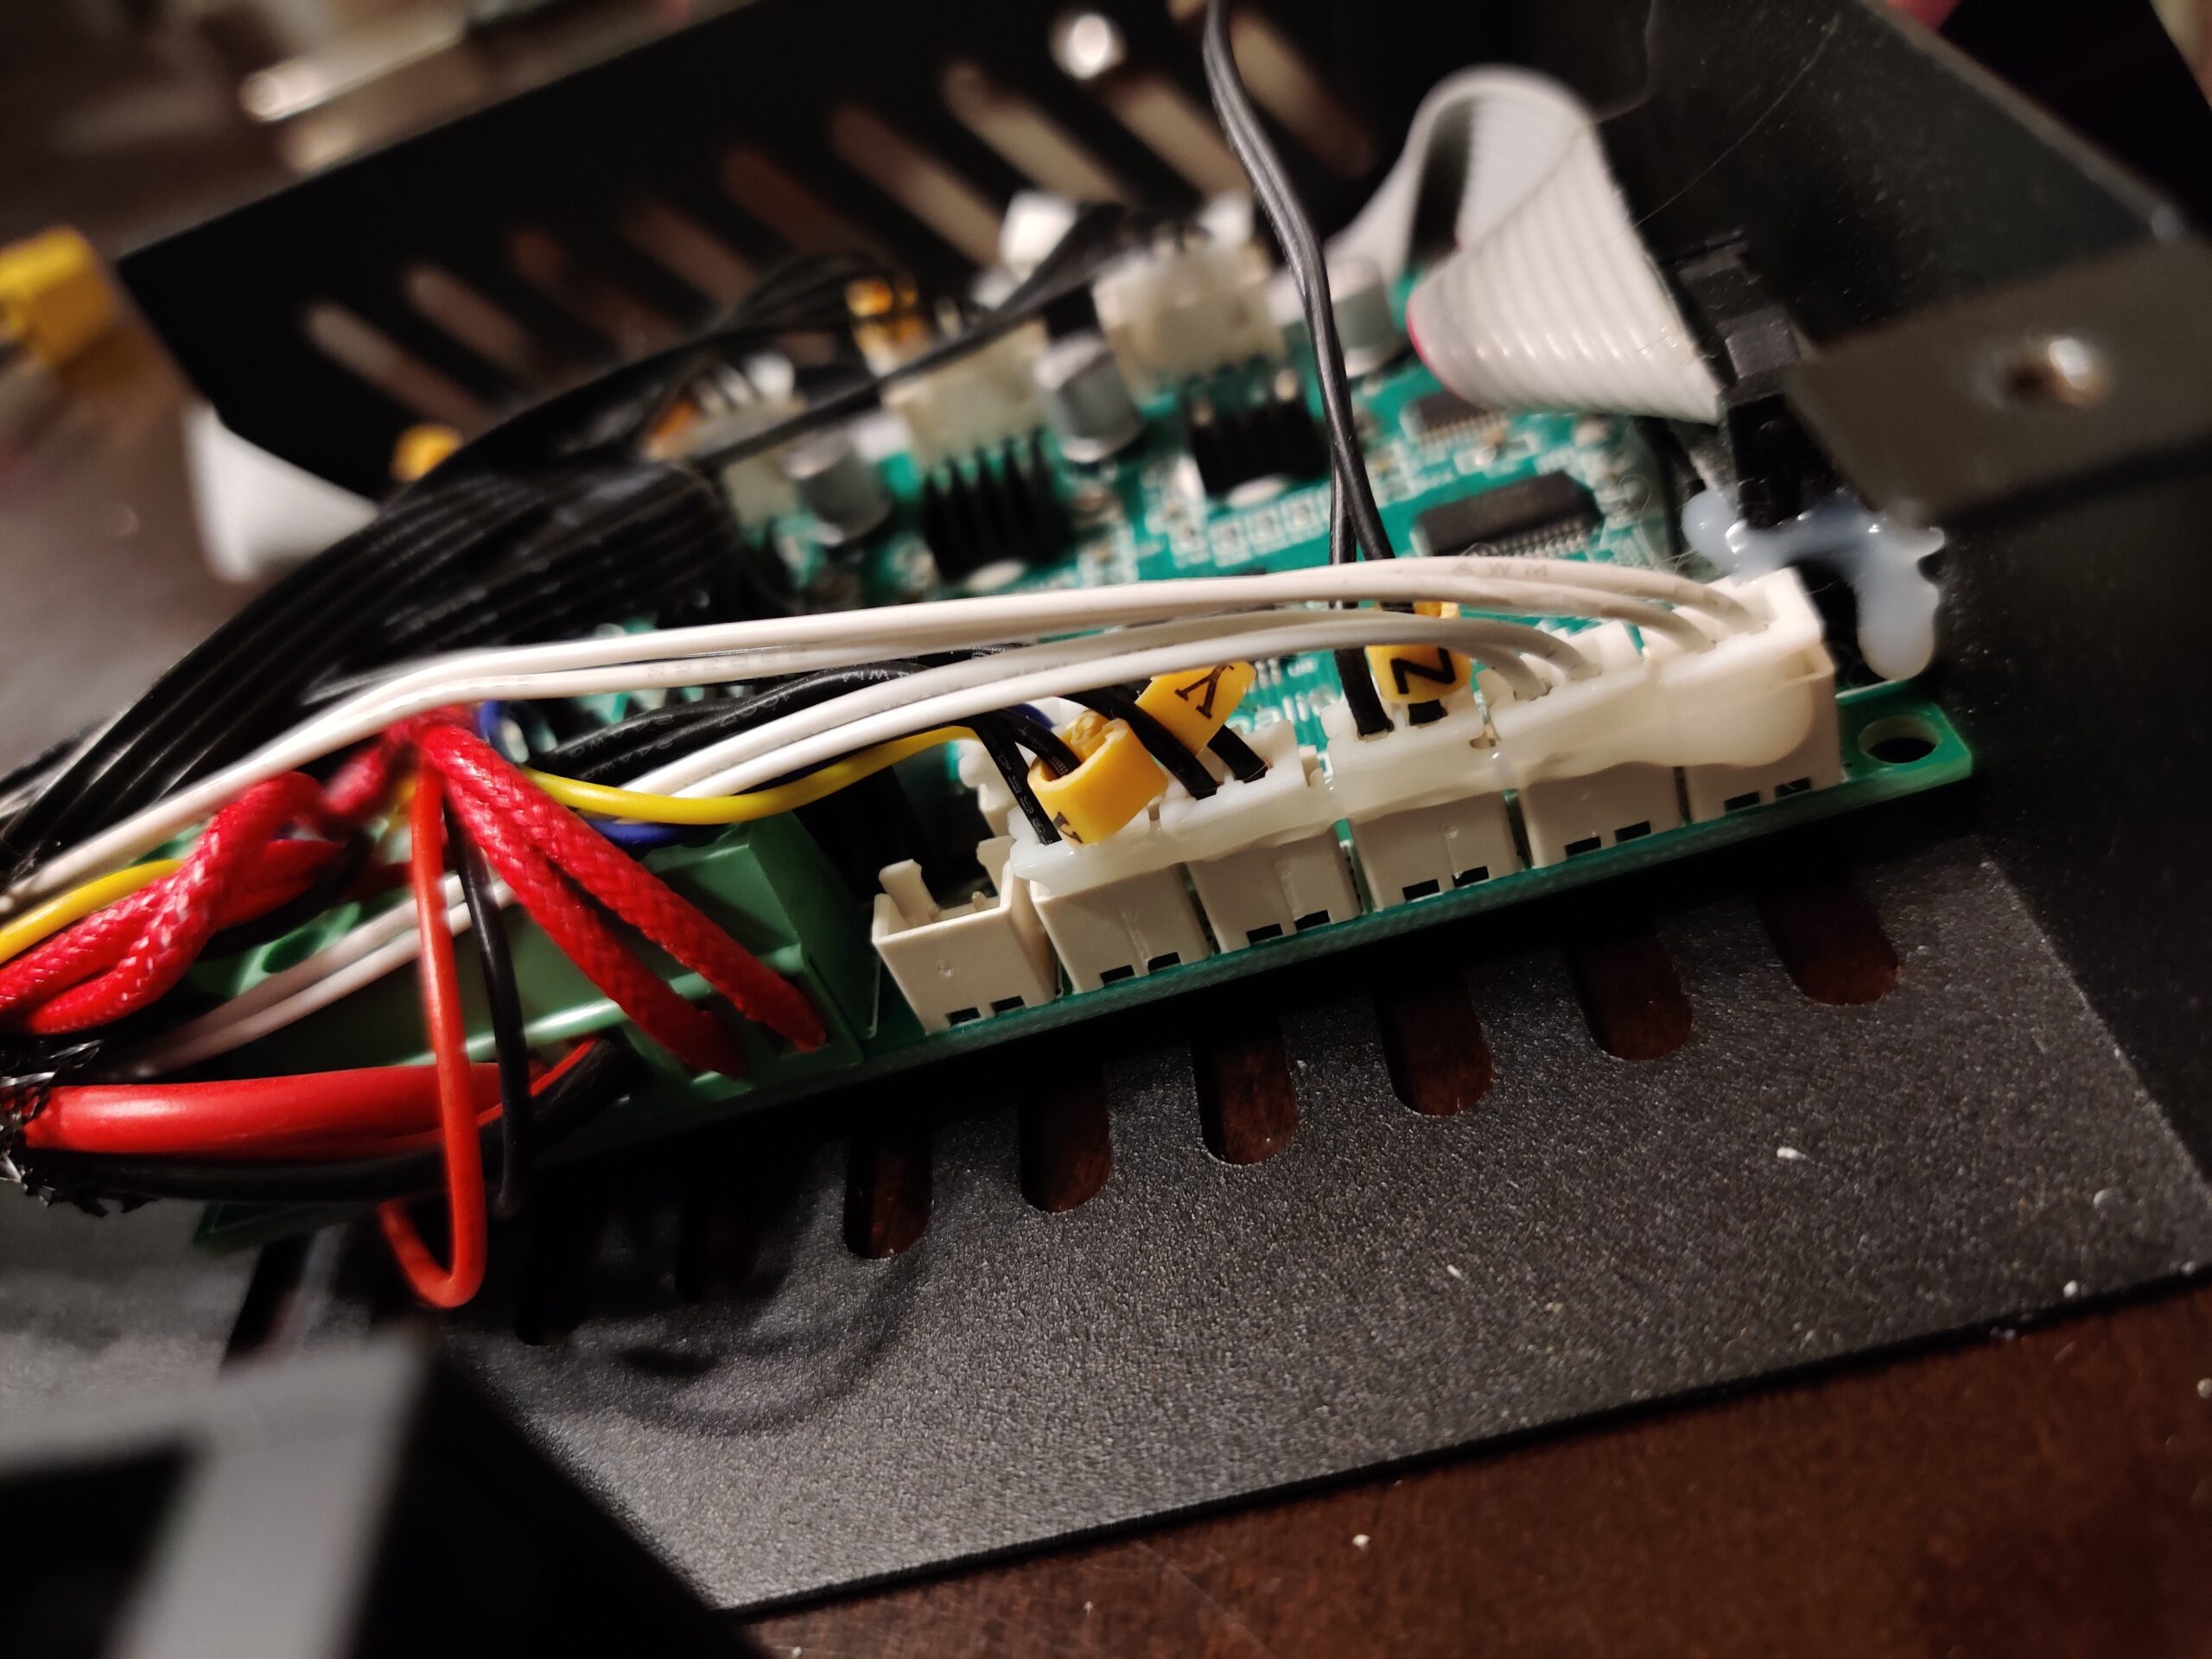
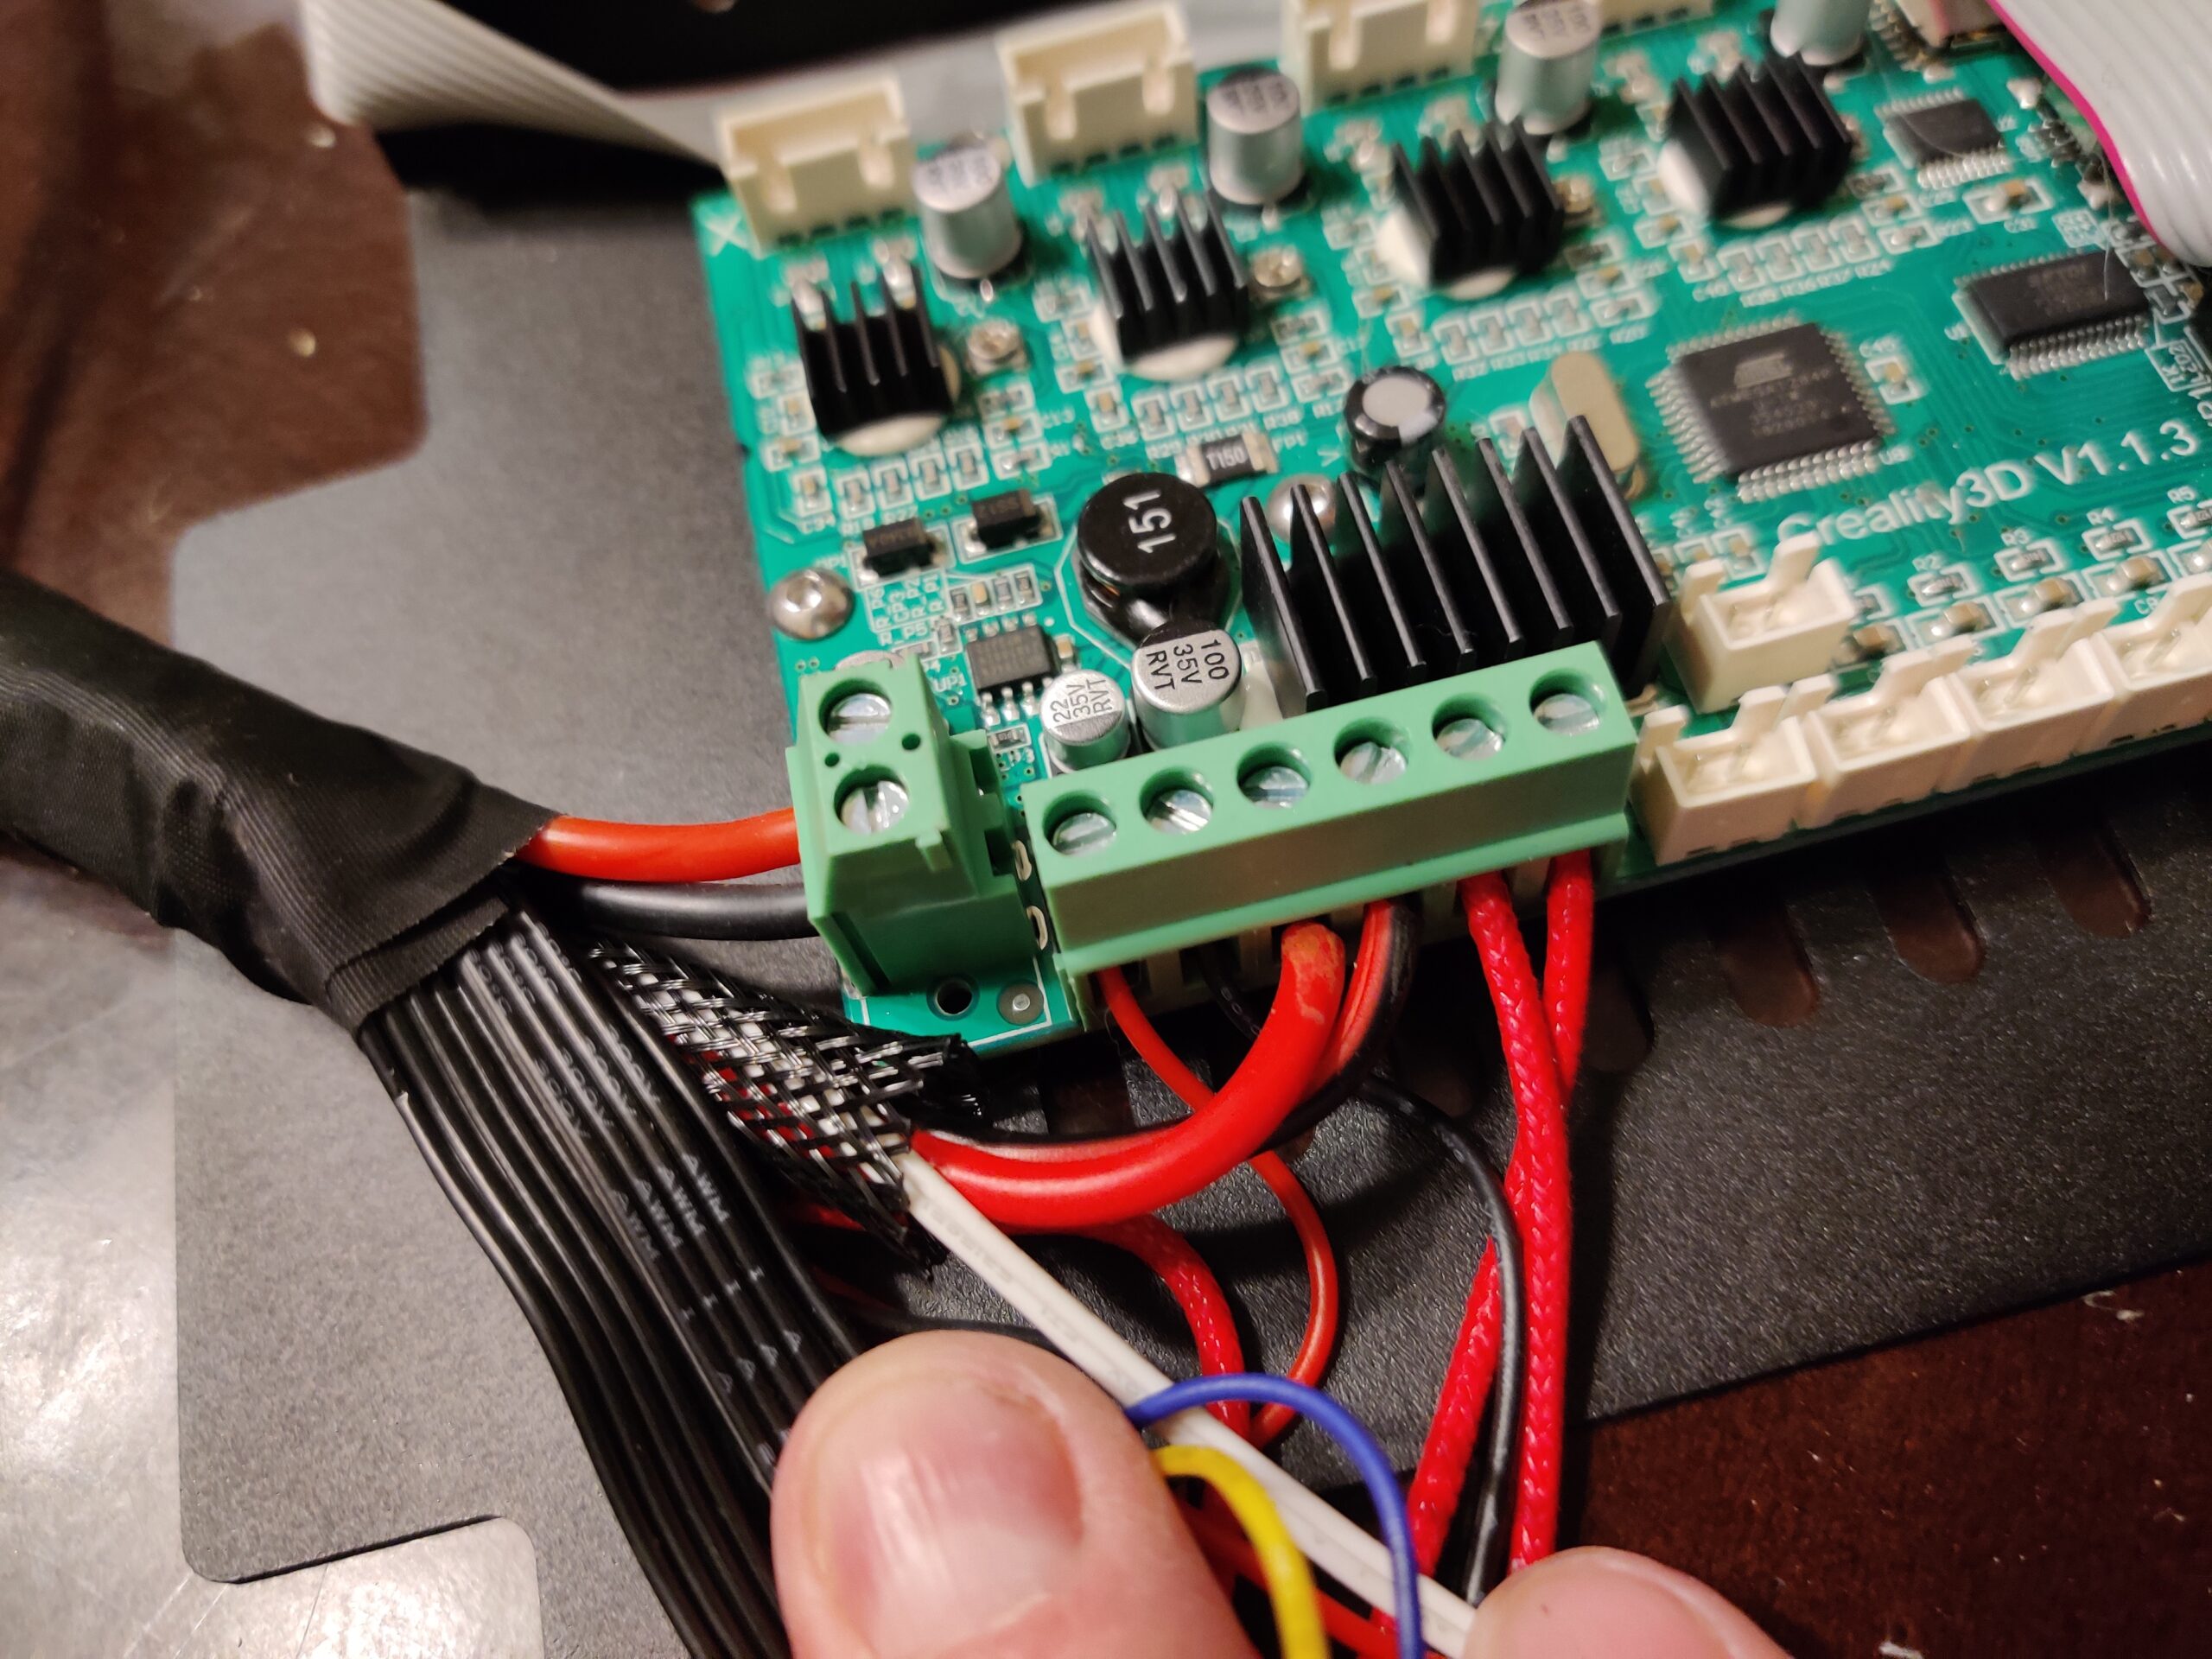
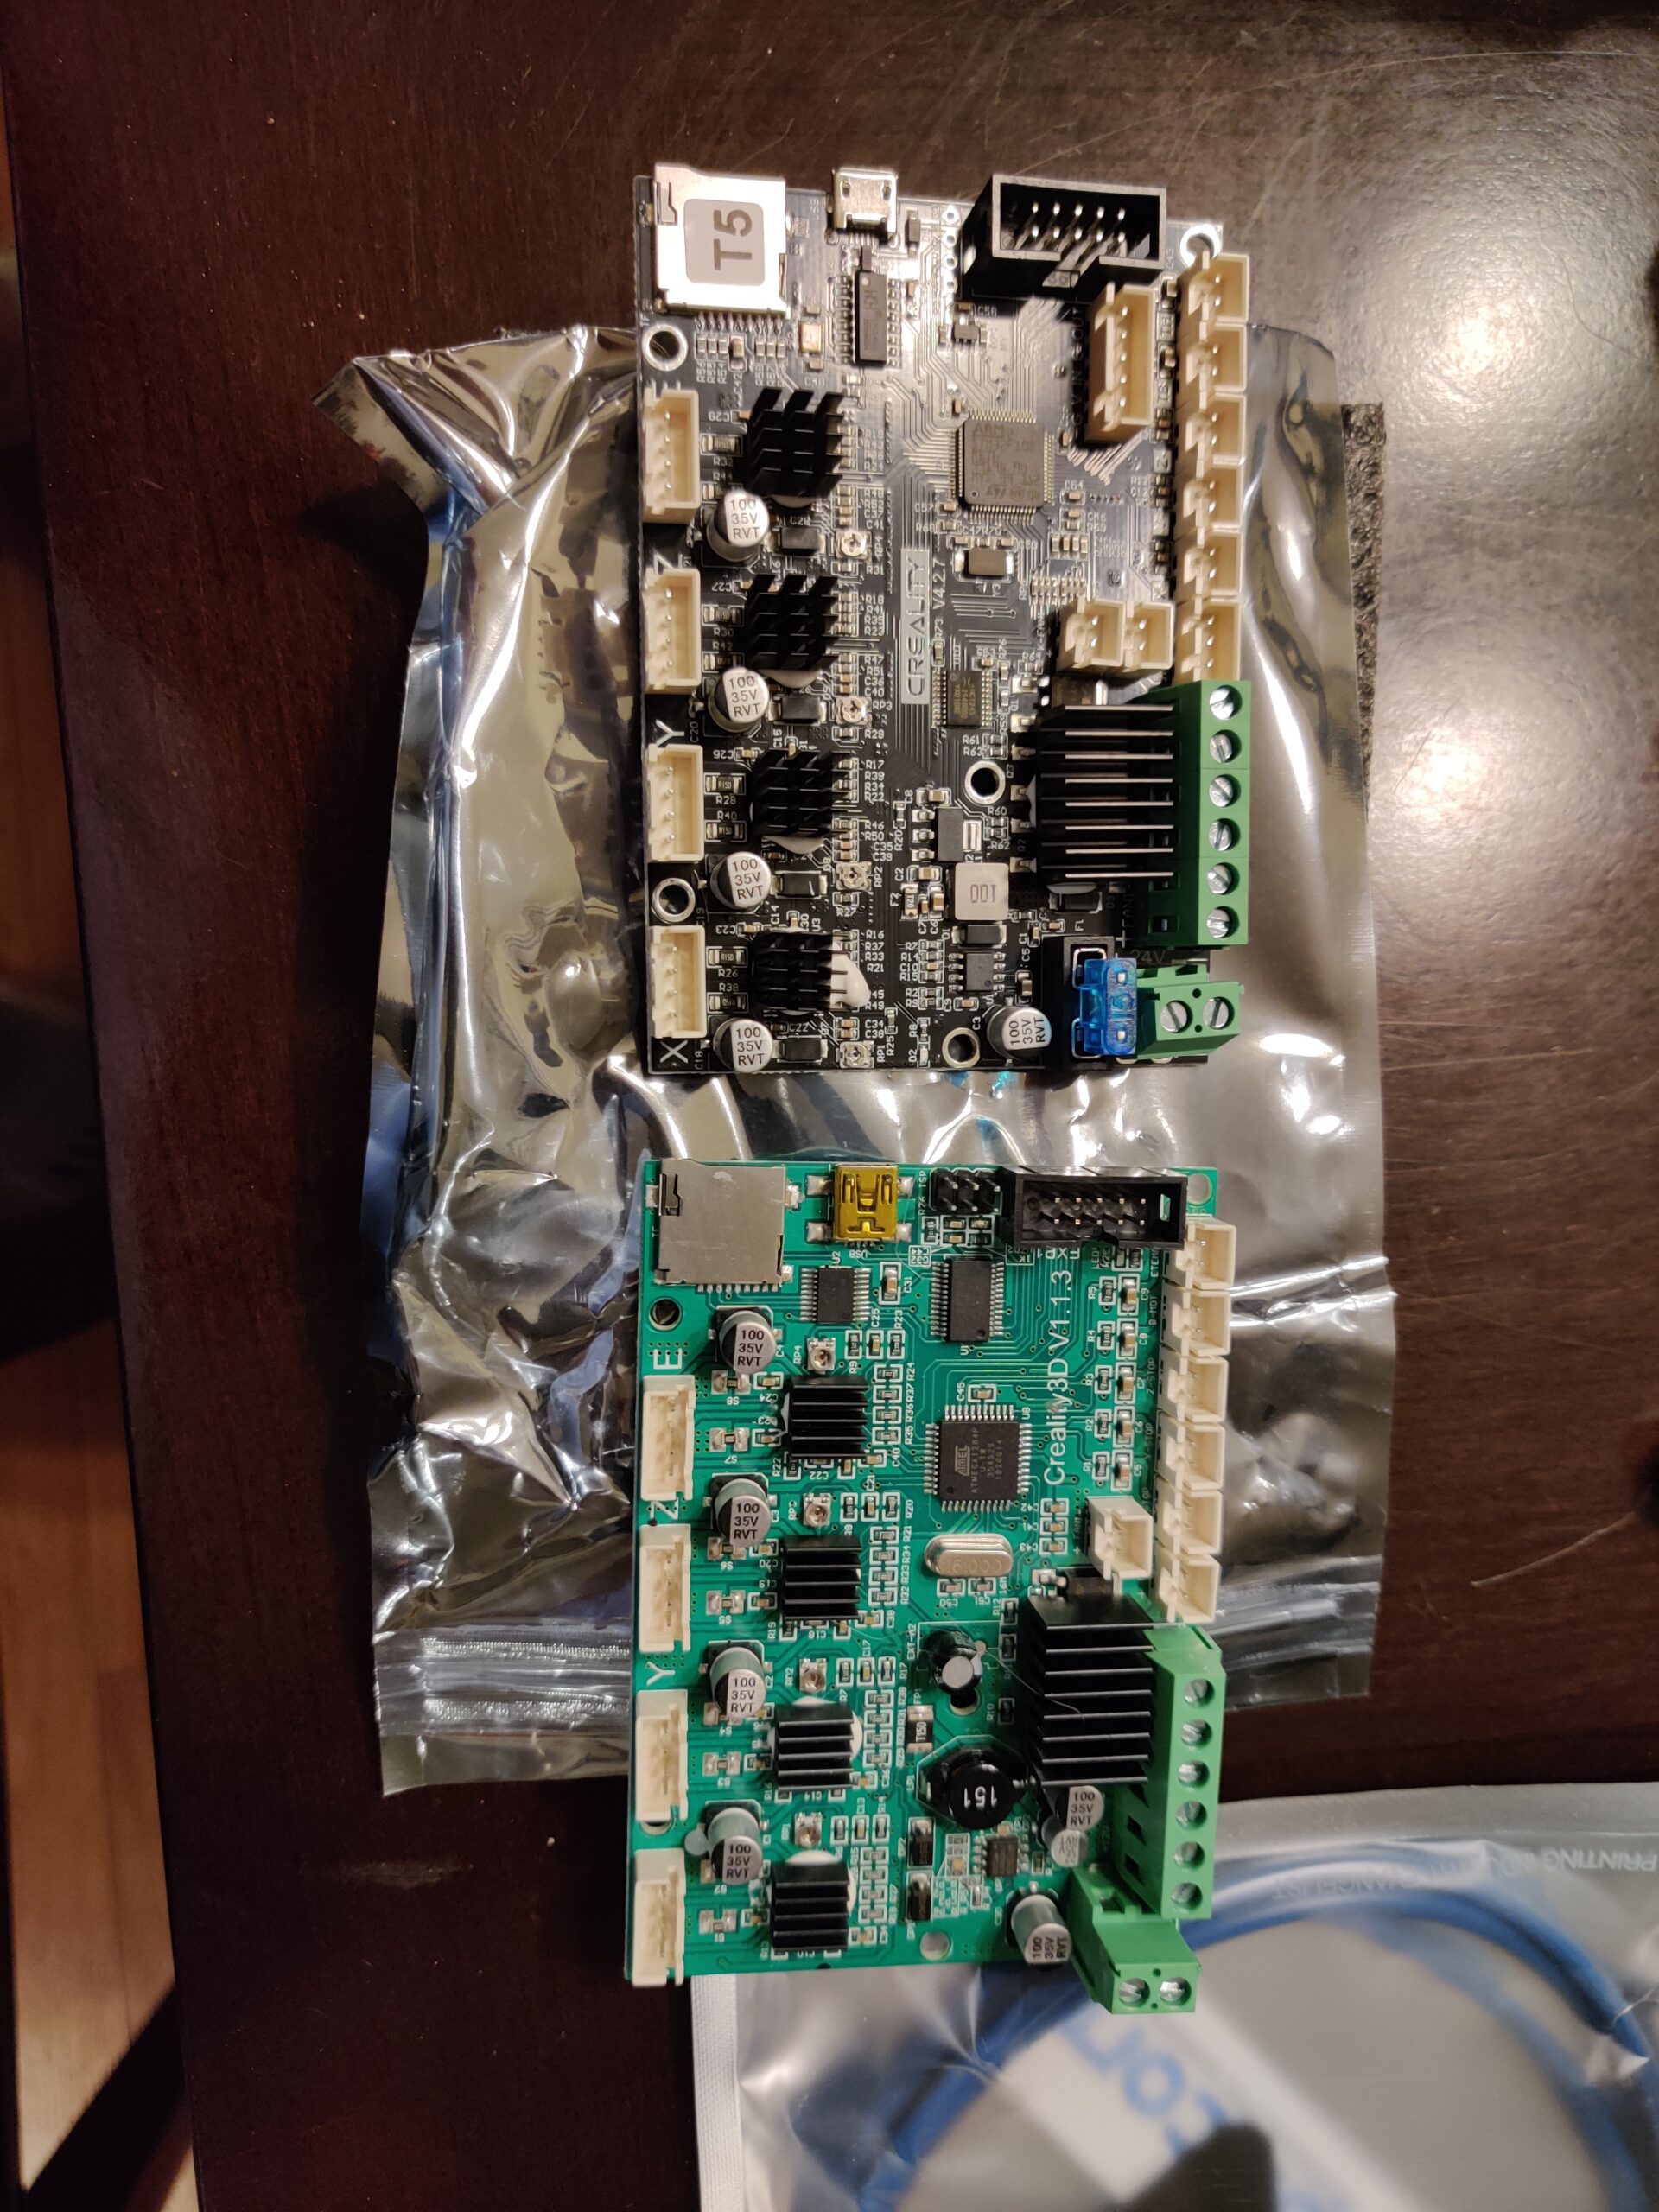


After everything was taken apart, and removing some hot glue goop from the wire contacts…. Installing the new board was really easy. It really helps when you take a million before pictures to see exactly where the wires are supposed to go maybe that’s why it was so easy…

So with that, I re assembled the enclosure and put the frame back together without issue! Well kind of… I may or may not have dropped the frame on the glass bed and shattered it. The good news is past Frank was smart. The last time I broke the bed and needed glass, I just to happened to ask for spares!
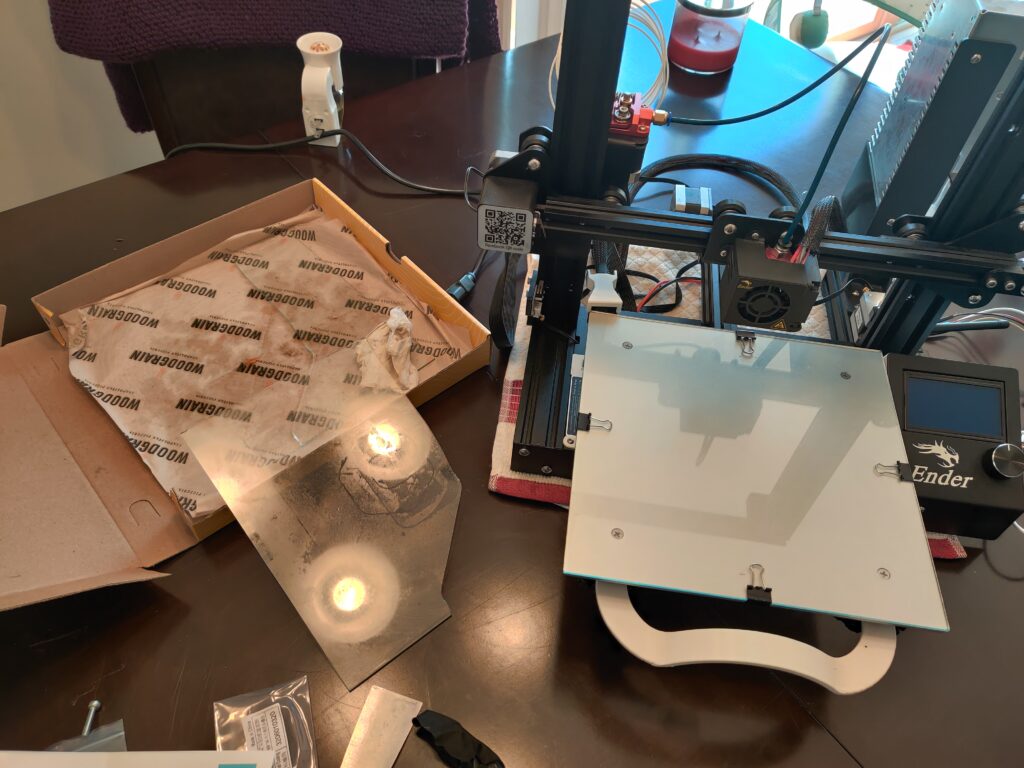
With a new bed, I fired up a print and did a diagnostic print. Oooh the silence my printer made was deafening!
Here is a taste of what it sounded like before the new board.
Next up, we need to upgrade the Extruder!
Making the Extruder Excellent
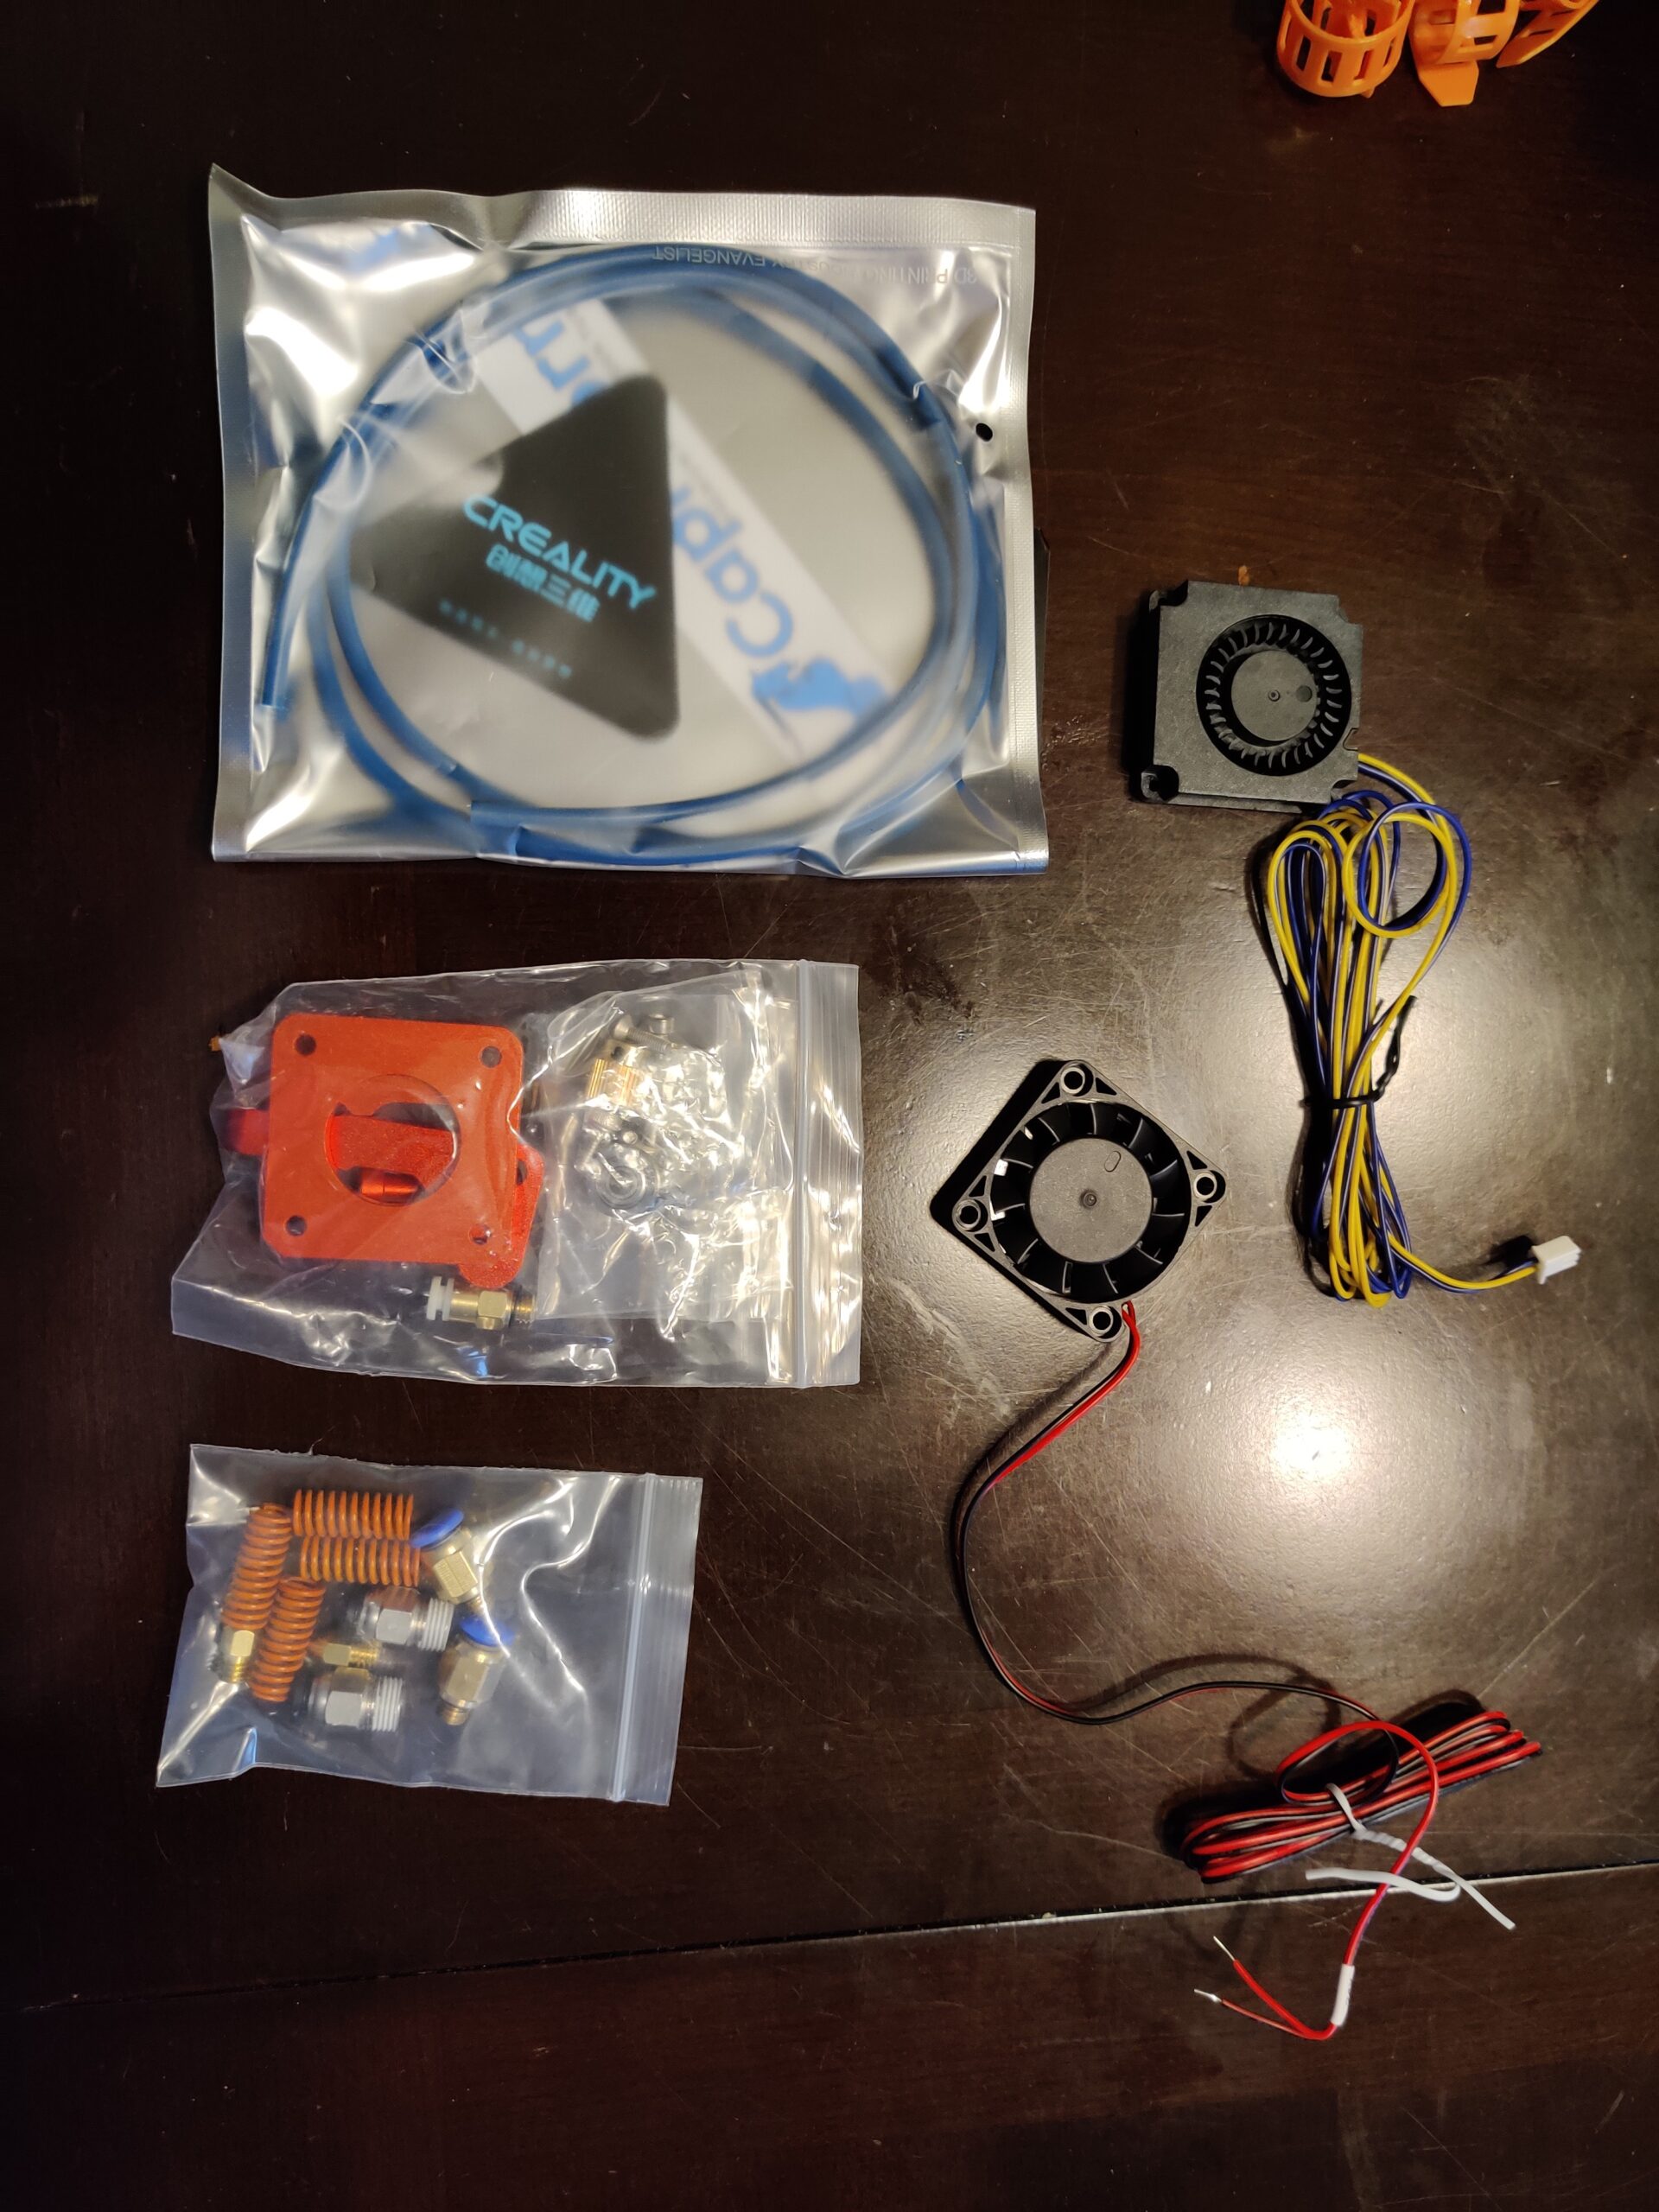
I ordered a an all aluminum extruder frame and gear kit from Capricorn. They a great company for aftermarket 3D printer upgrades. I also completely forgot that my brother in law gave me a Creality kit with basically all the same parts. Don’t worry, it ended up coming in handy.

Believe it or not, installing the extruder was actually harder than installing the controller board. The assembly of the parts isn’t exactly straight forward. There is a sequence to taking it apart.
So because of this confusion, someone may have snapped one of the cheap ass brass fittings in the threaded socket… I really didn’t feel buying a drill tap to extract the broken threads. Good thing I had that spare kit from Creality.
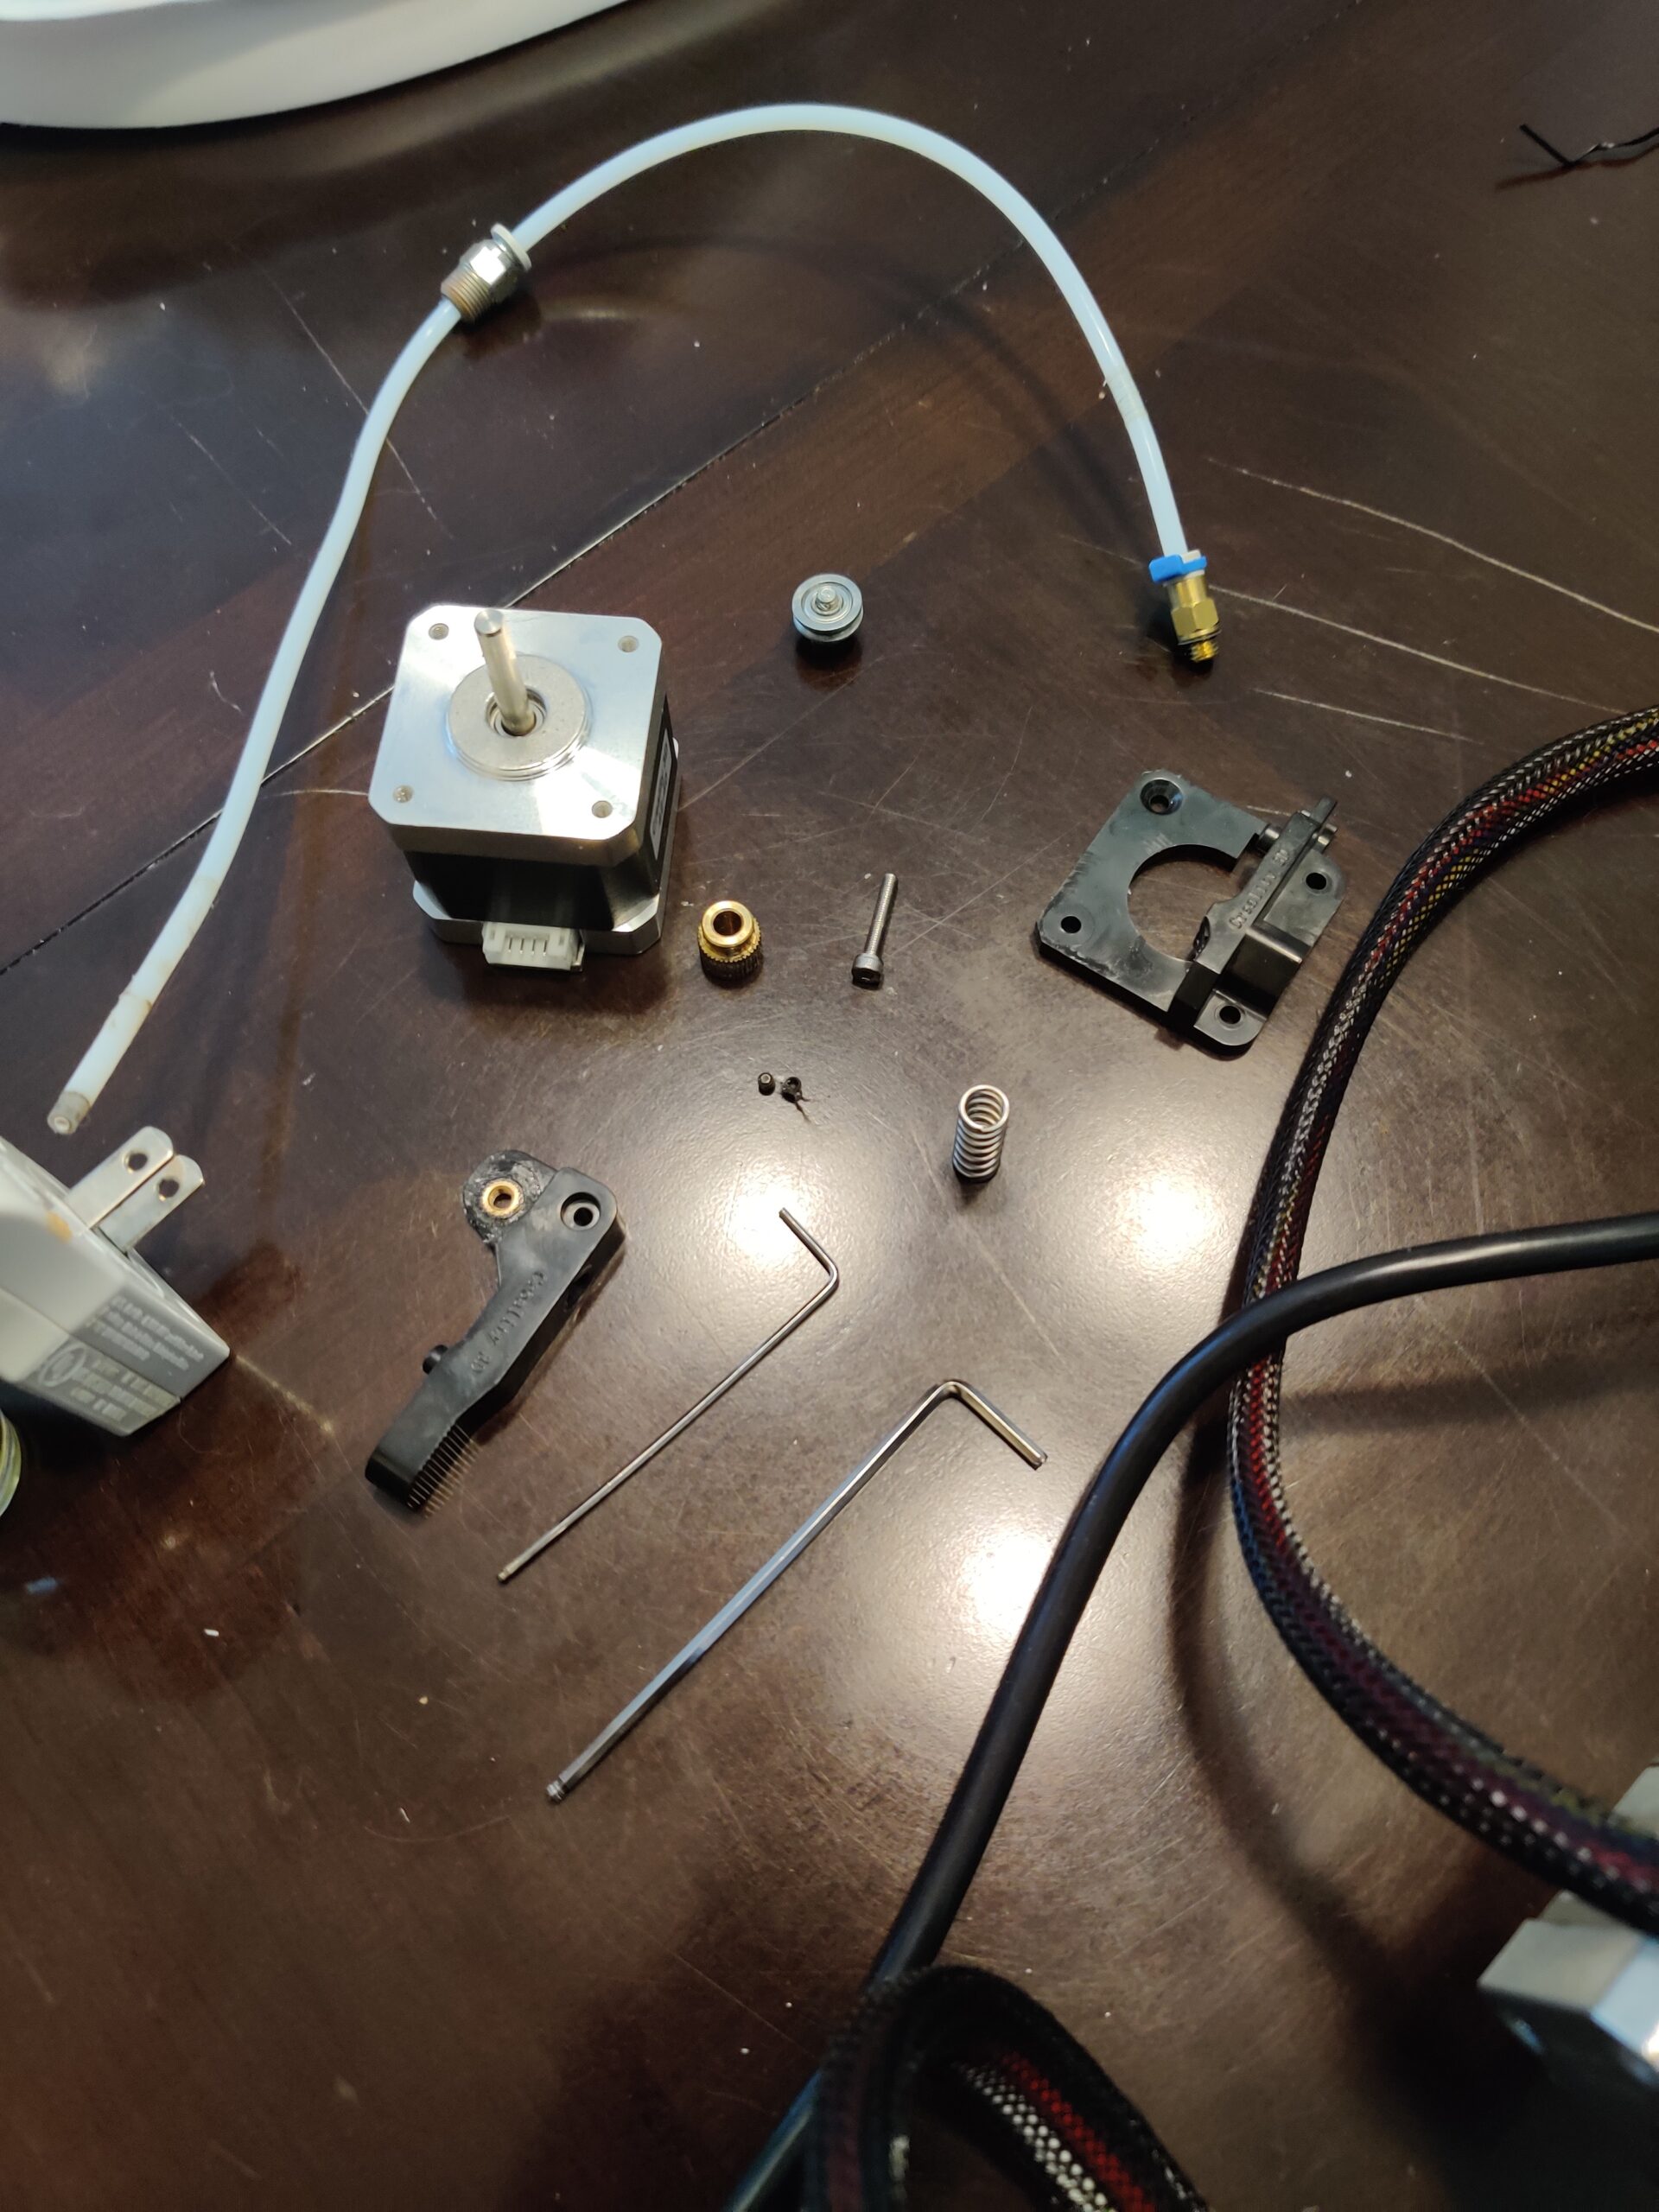
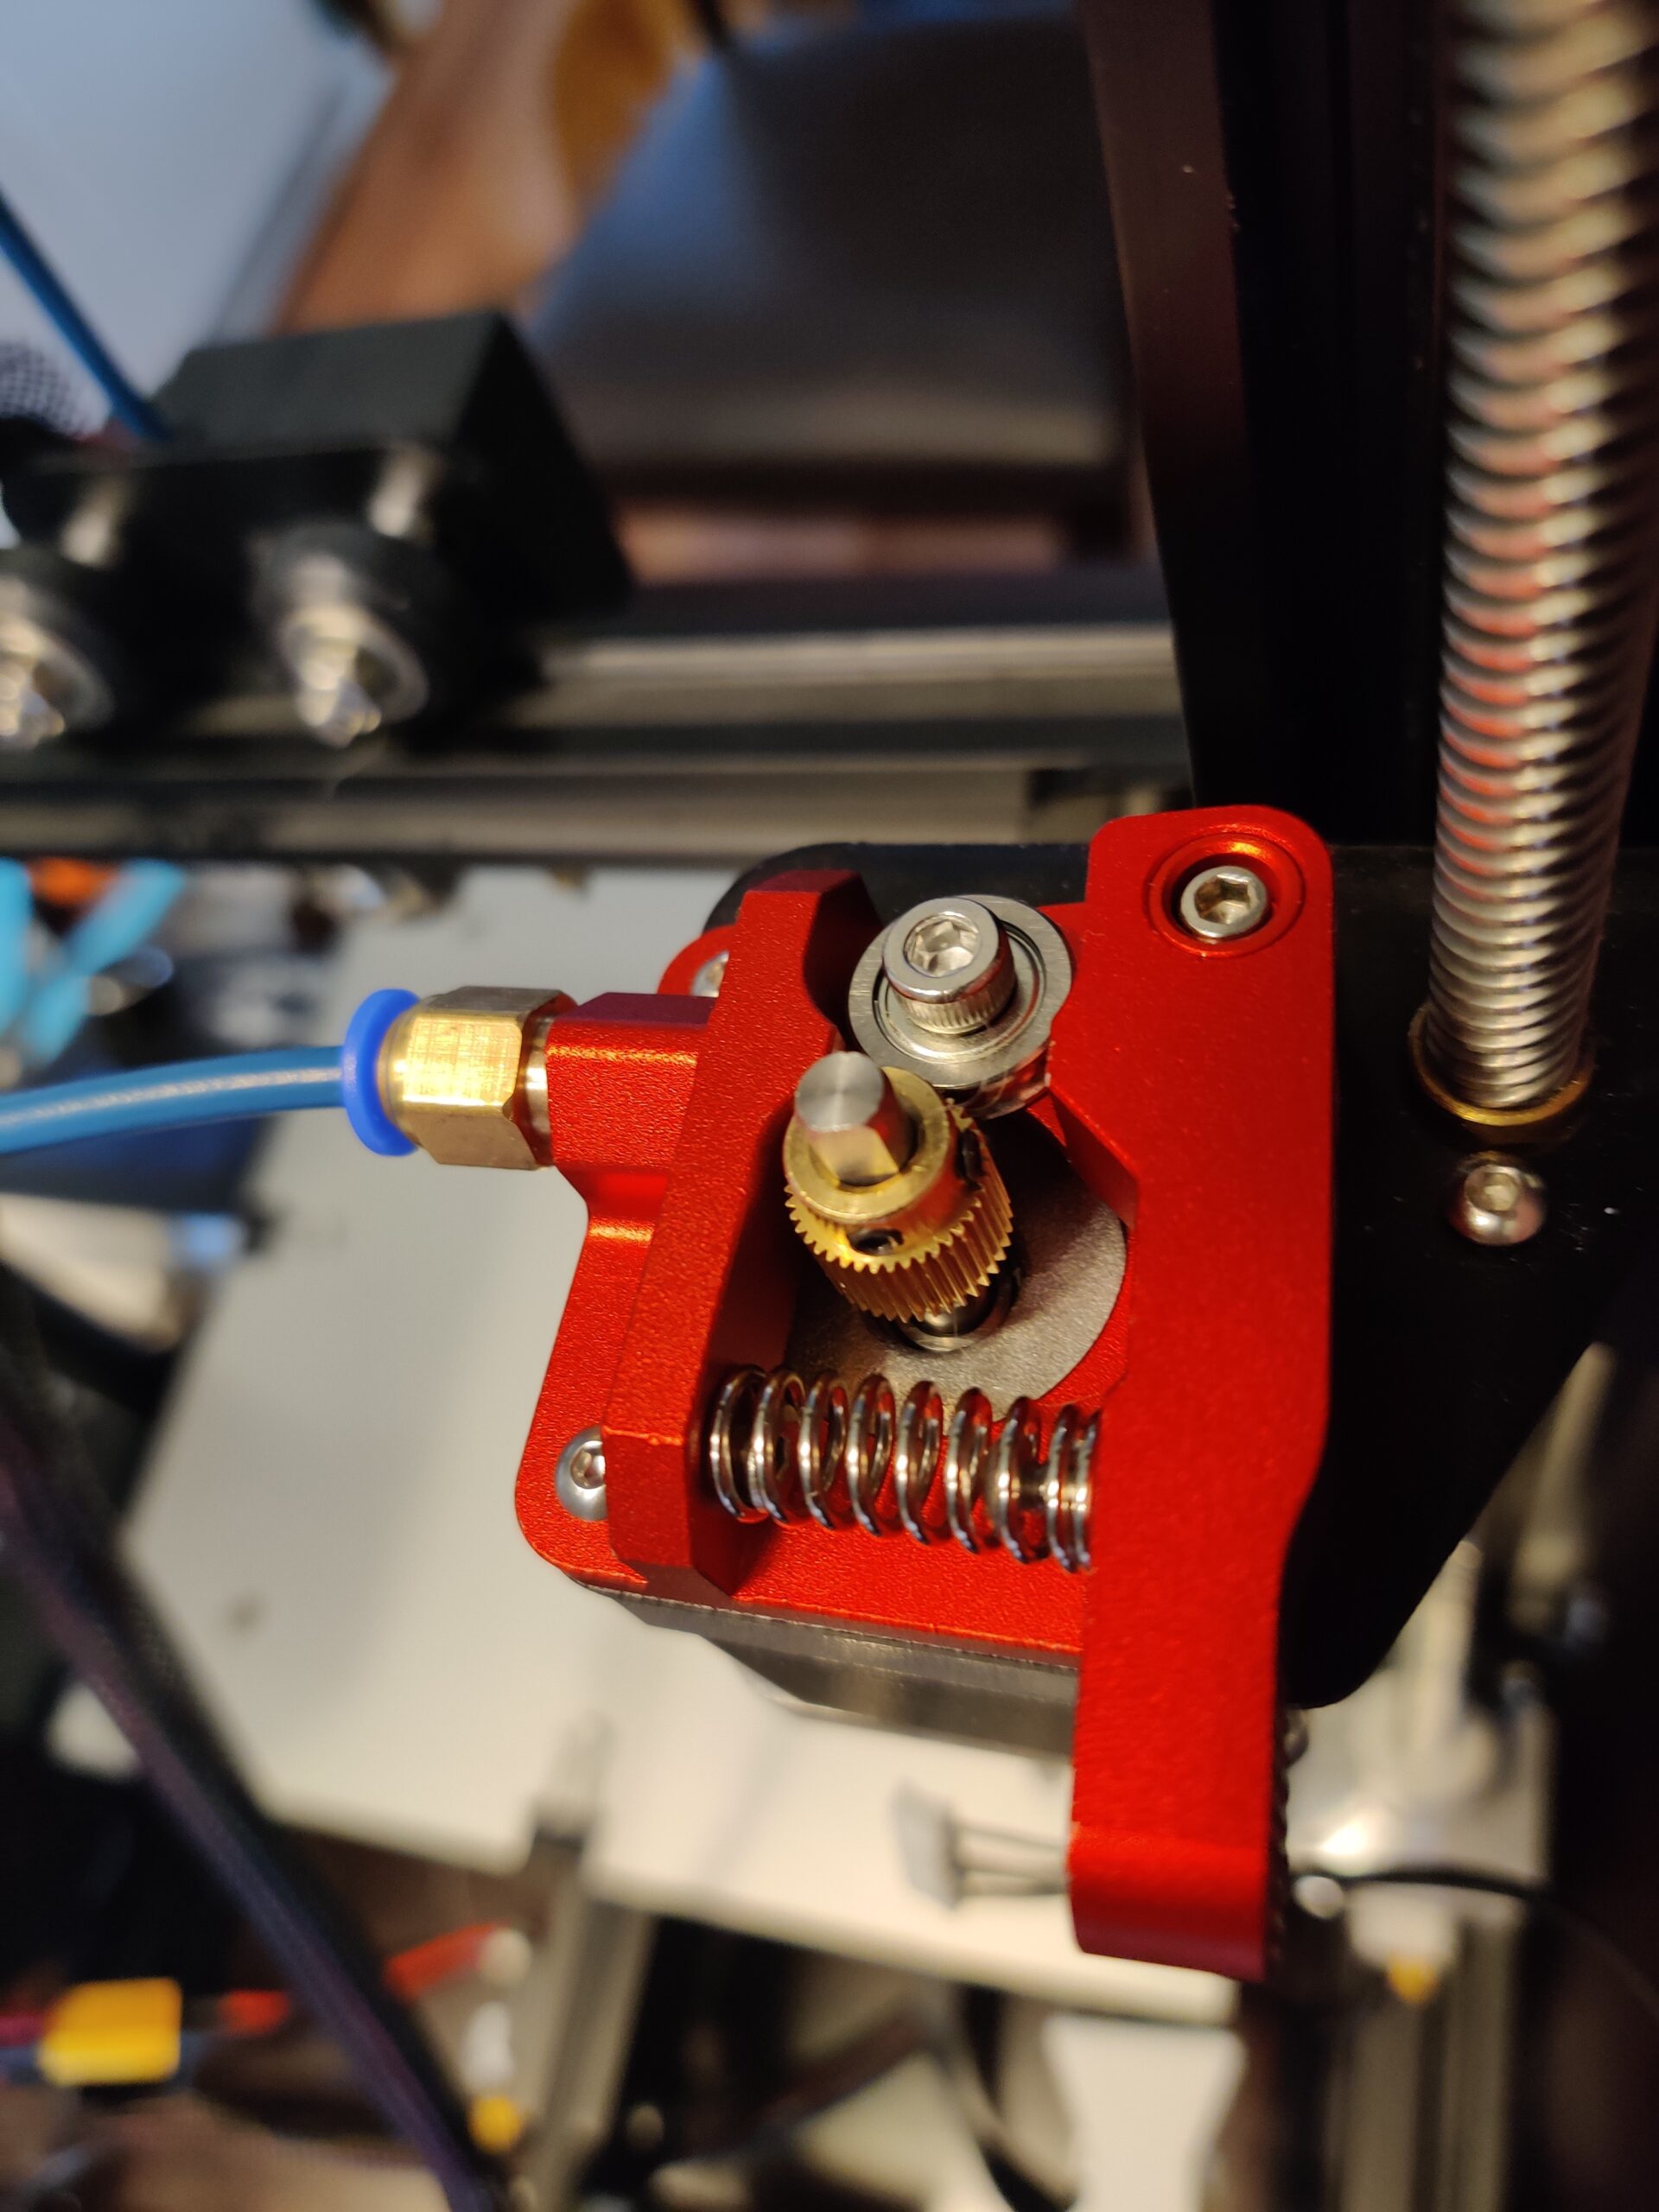

so actually following the directions this time, I was able to get the kit fully installed.
You call that an upgrade…?

Yep, that’s all I got for now. But hey, running a print job overnight, its nice to sleep without hearing servos buzzing from the vent in your room. Not to mention more consistent extrusions and feeds from the enhanced kit. And being on the latest and greatest Octoprint, I’ll have access to newer plugins. Plugins that will assist me with my next set of upgrades.
Stay tunes for what’s coming next!