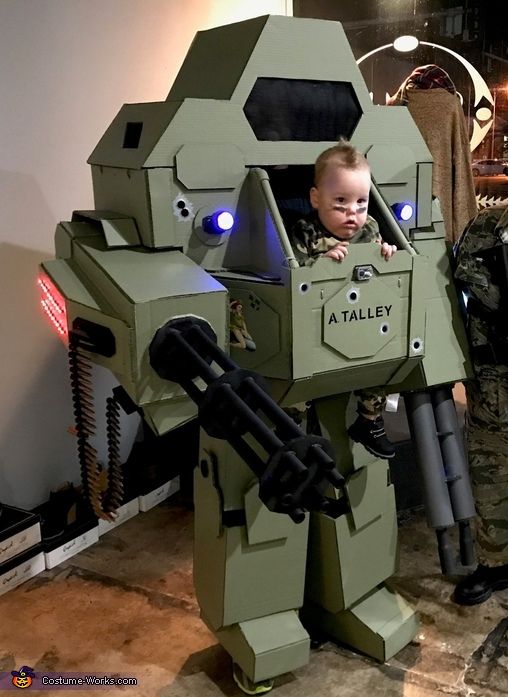
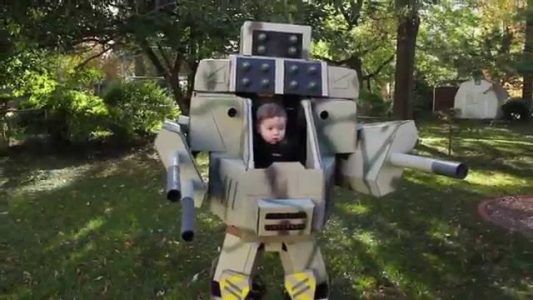
It’s that time of year again! Spooktober yall! Instead of talking about printer upgrades this time, we’re switching gears to this year’s Halloween costume! Don’t worry, we still talk about 3D printing, but the prints are not the main focus like last year. This time, we’re taking things up a notch! A loooong ago, I saw group of dads post their mech costumes, turning their kids into a new class of MechWarrior.
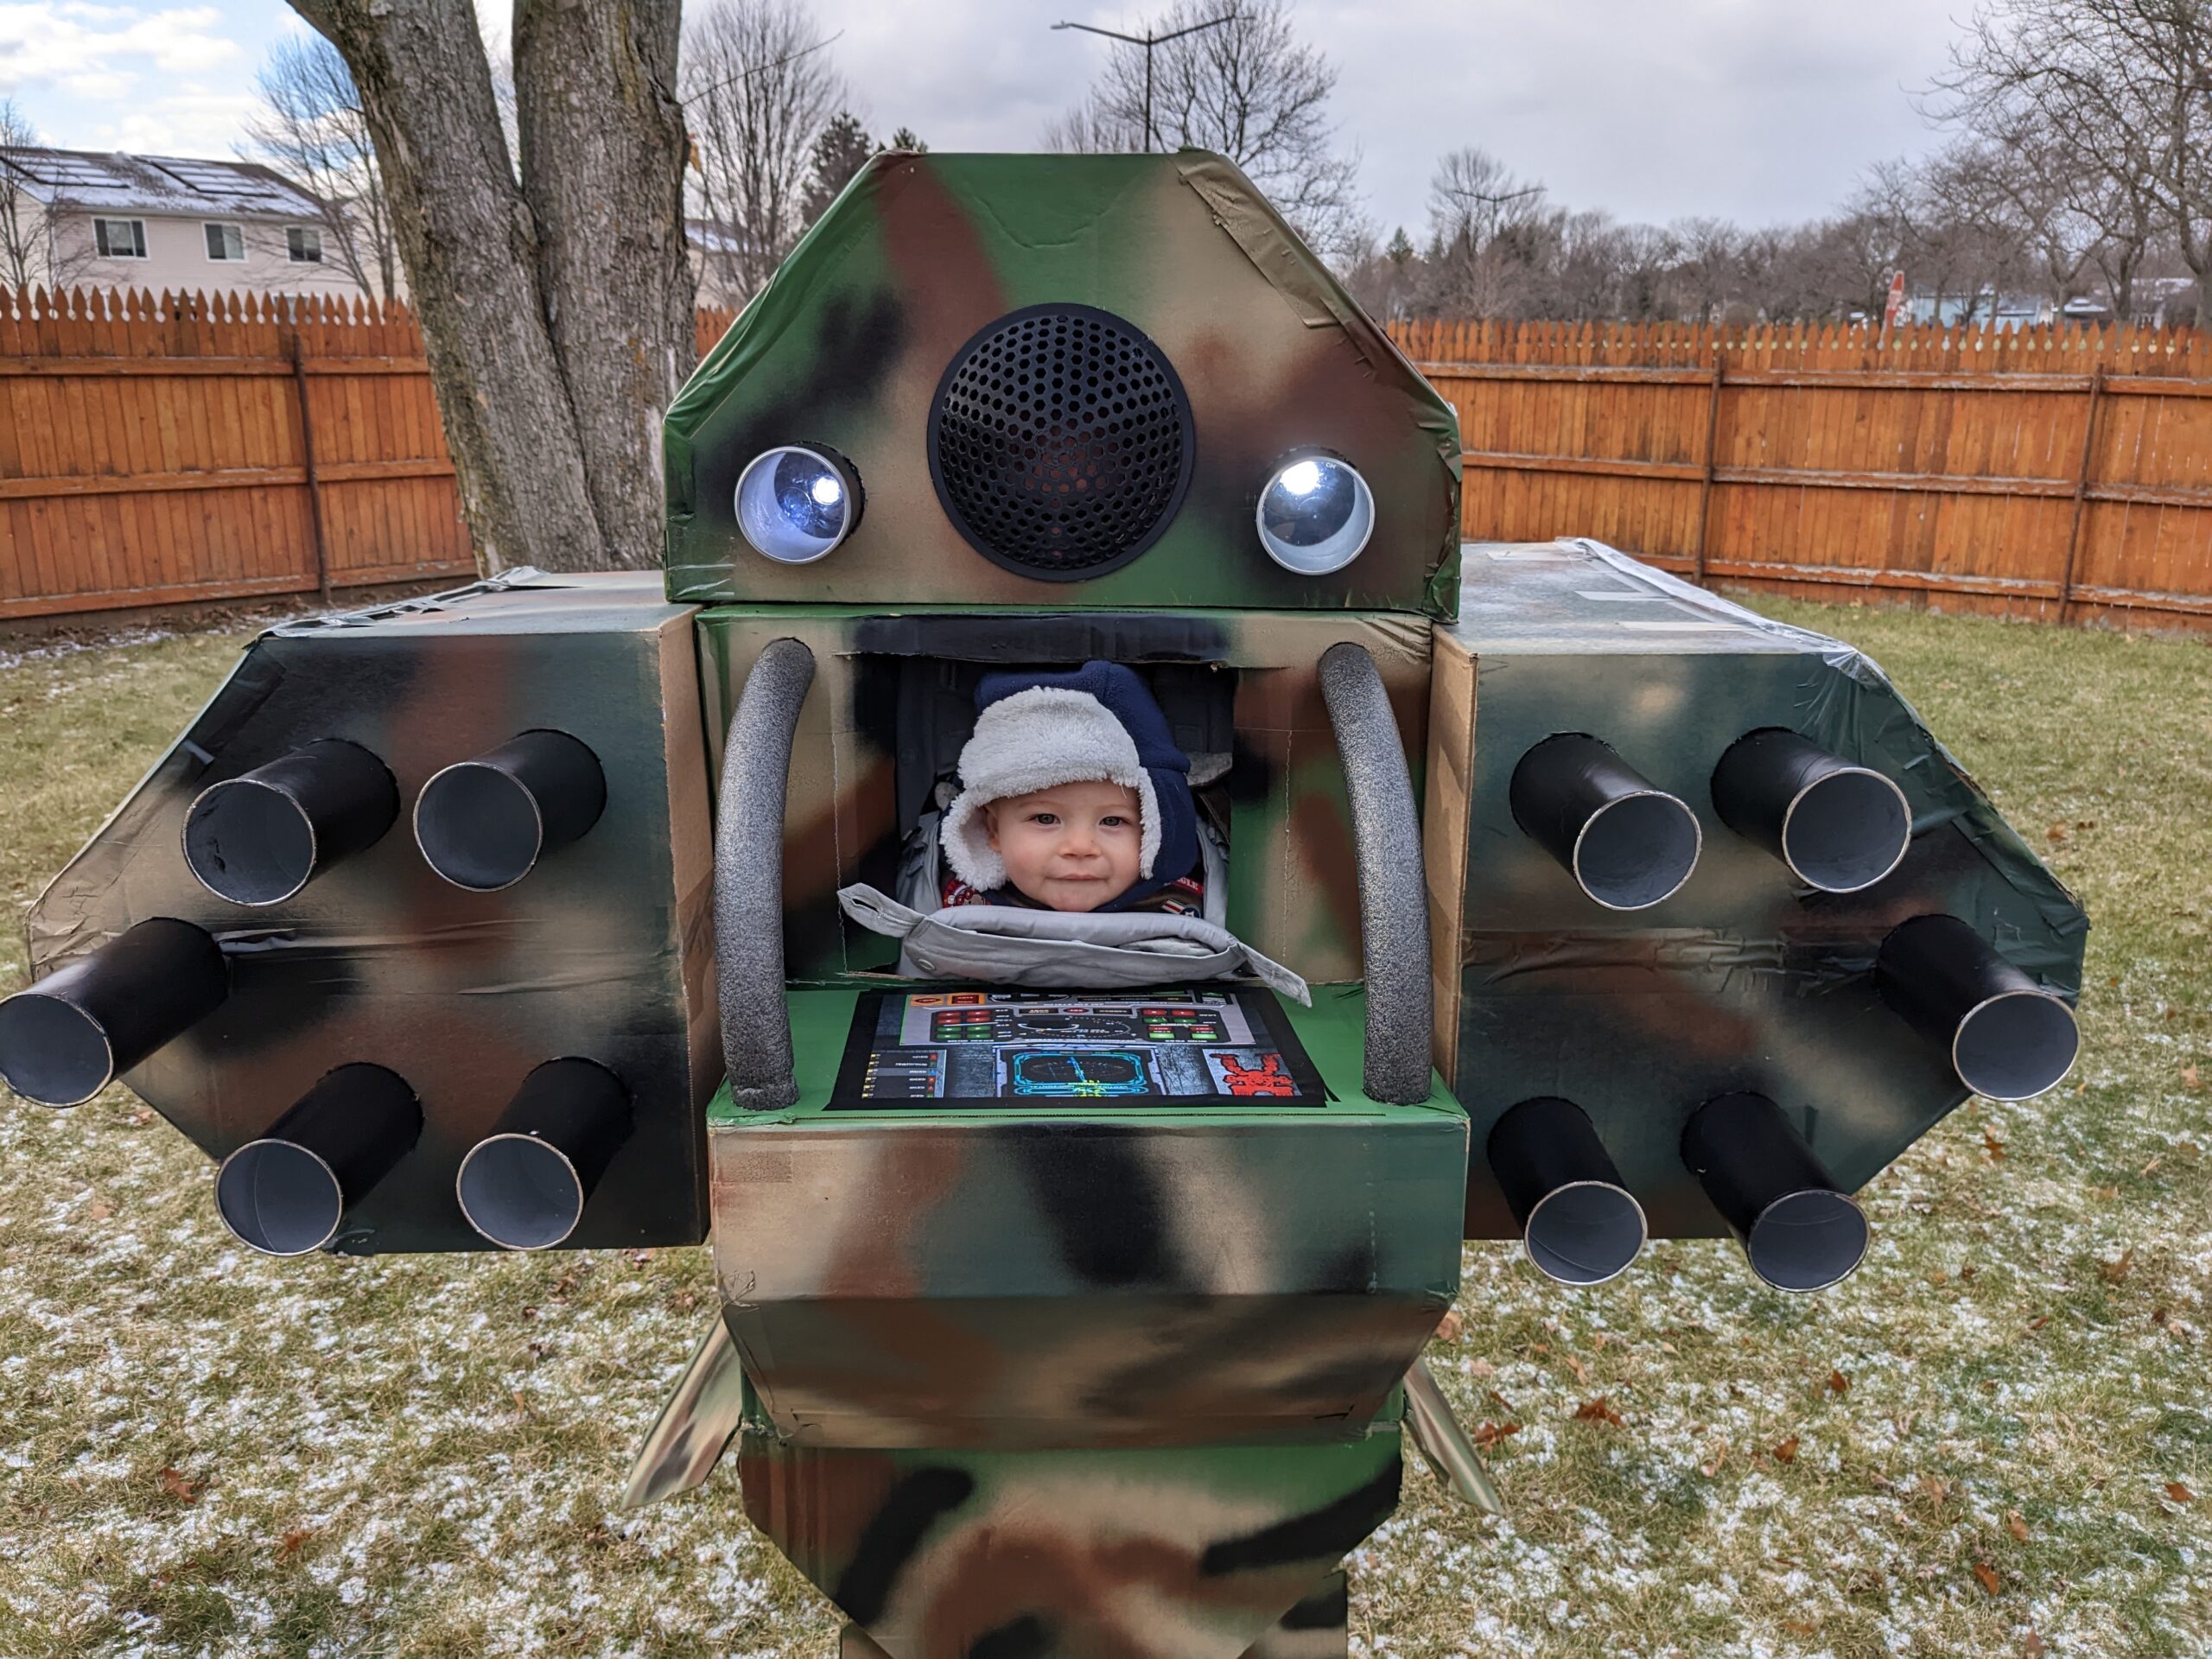
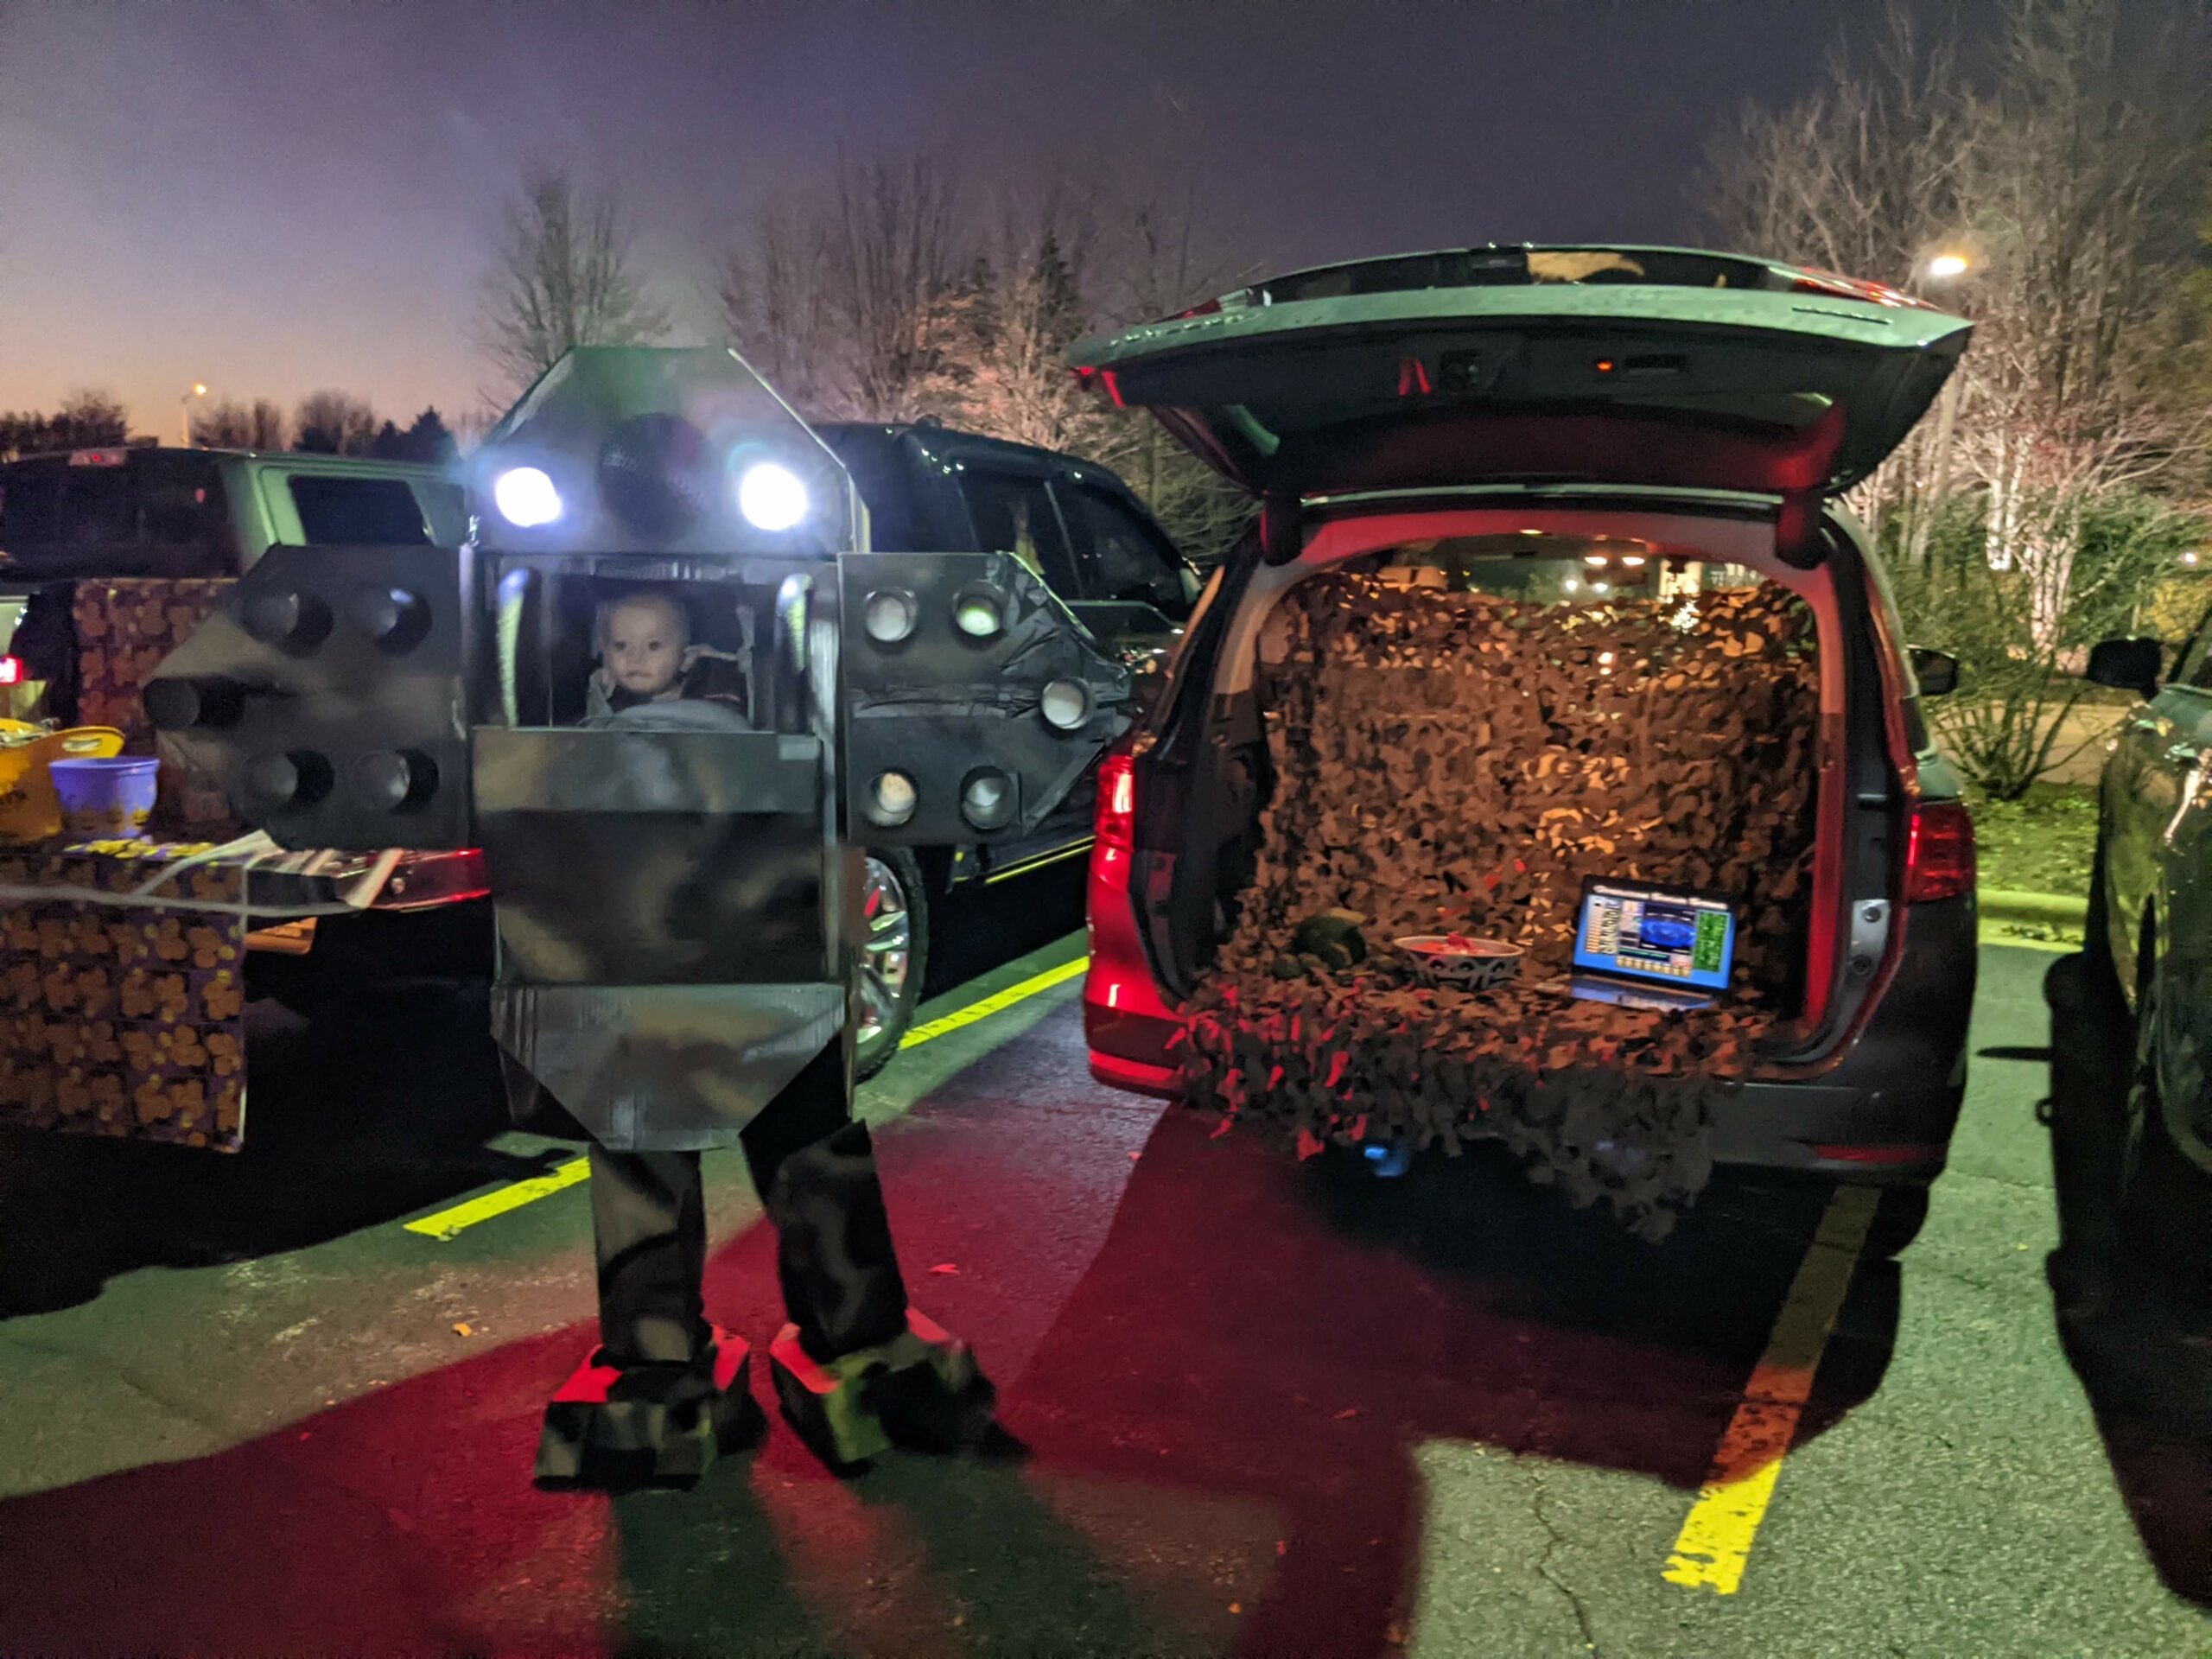
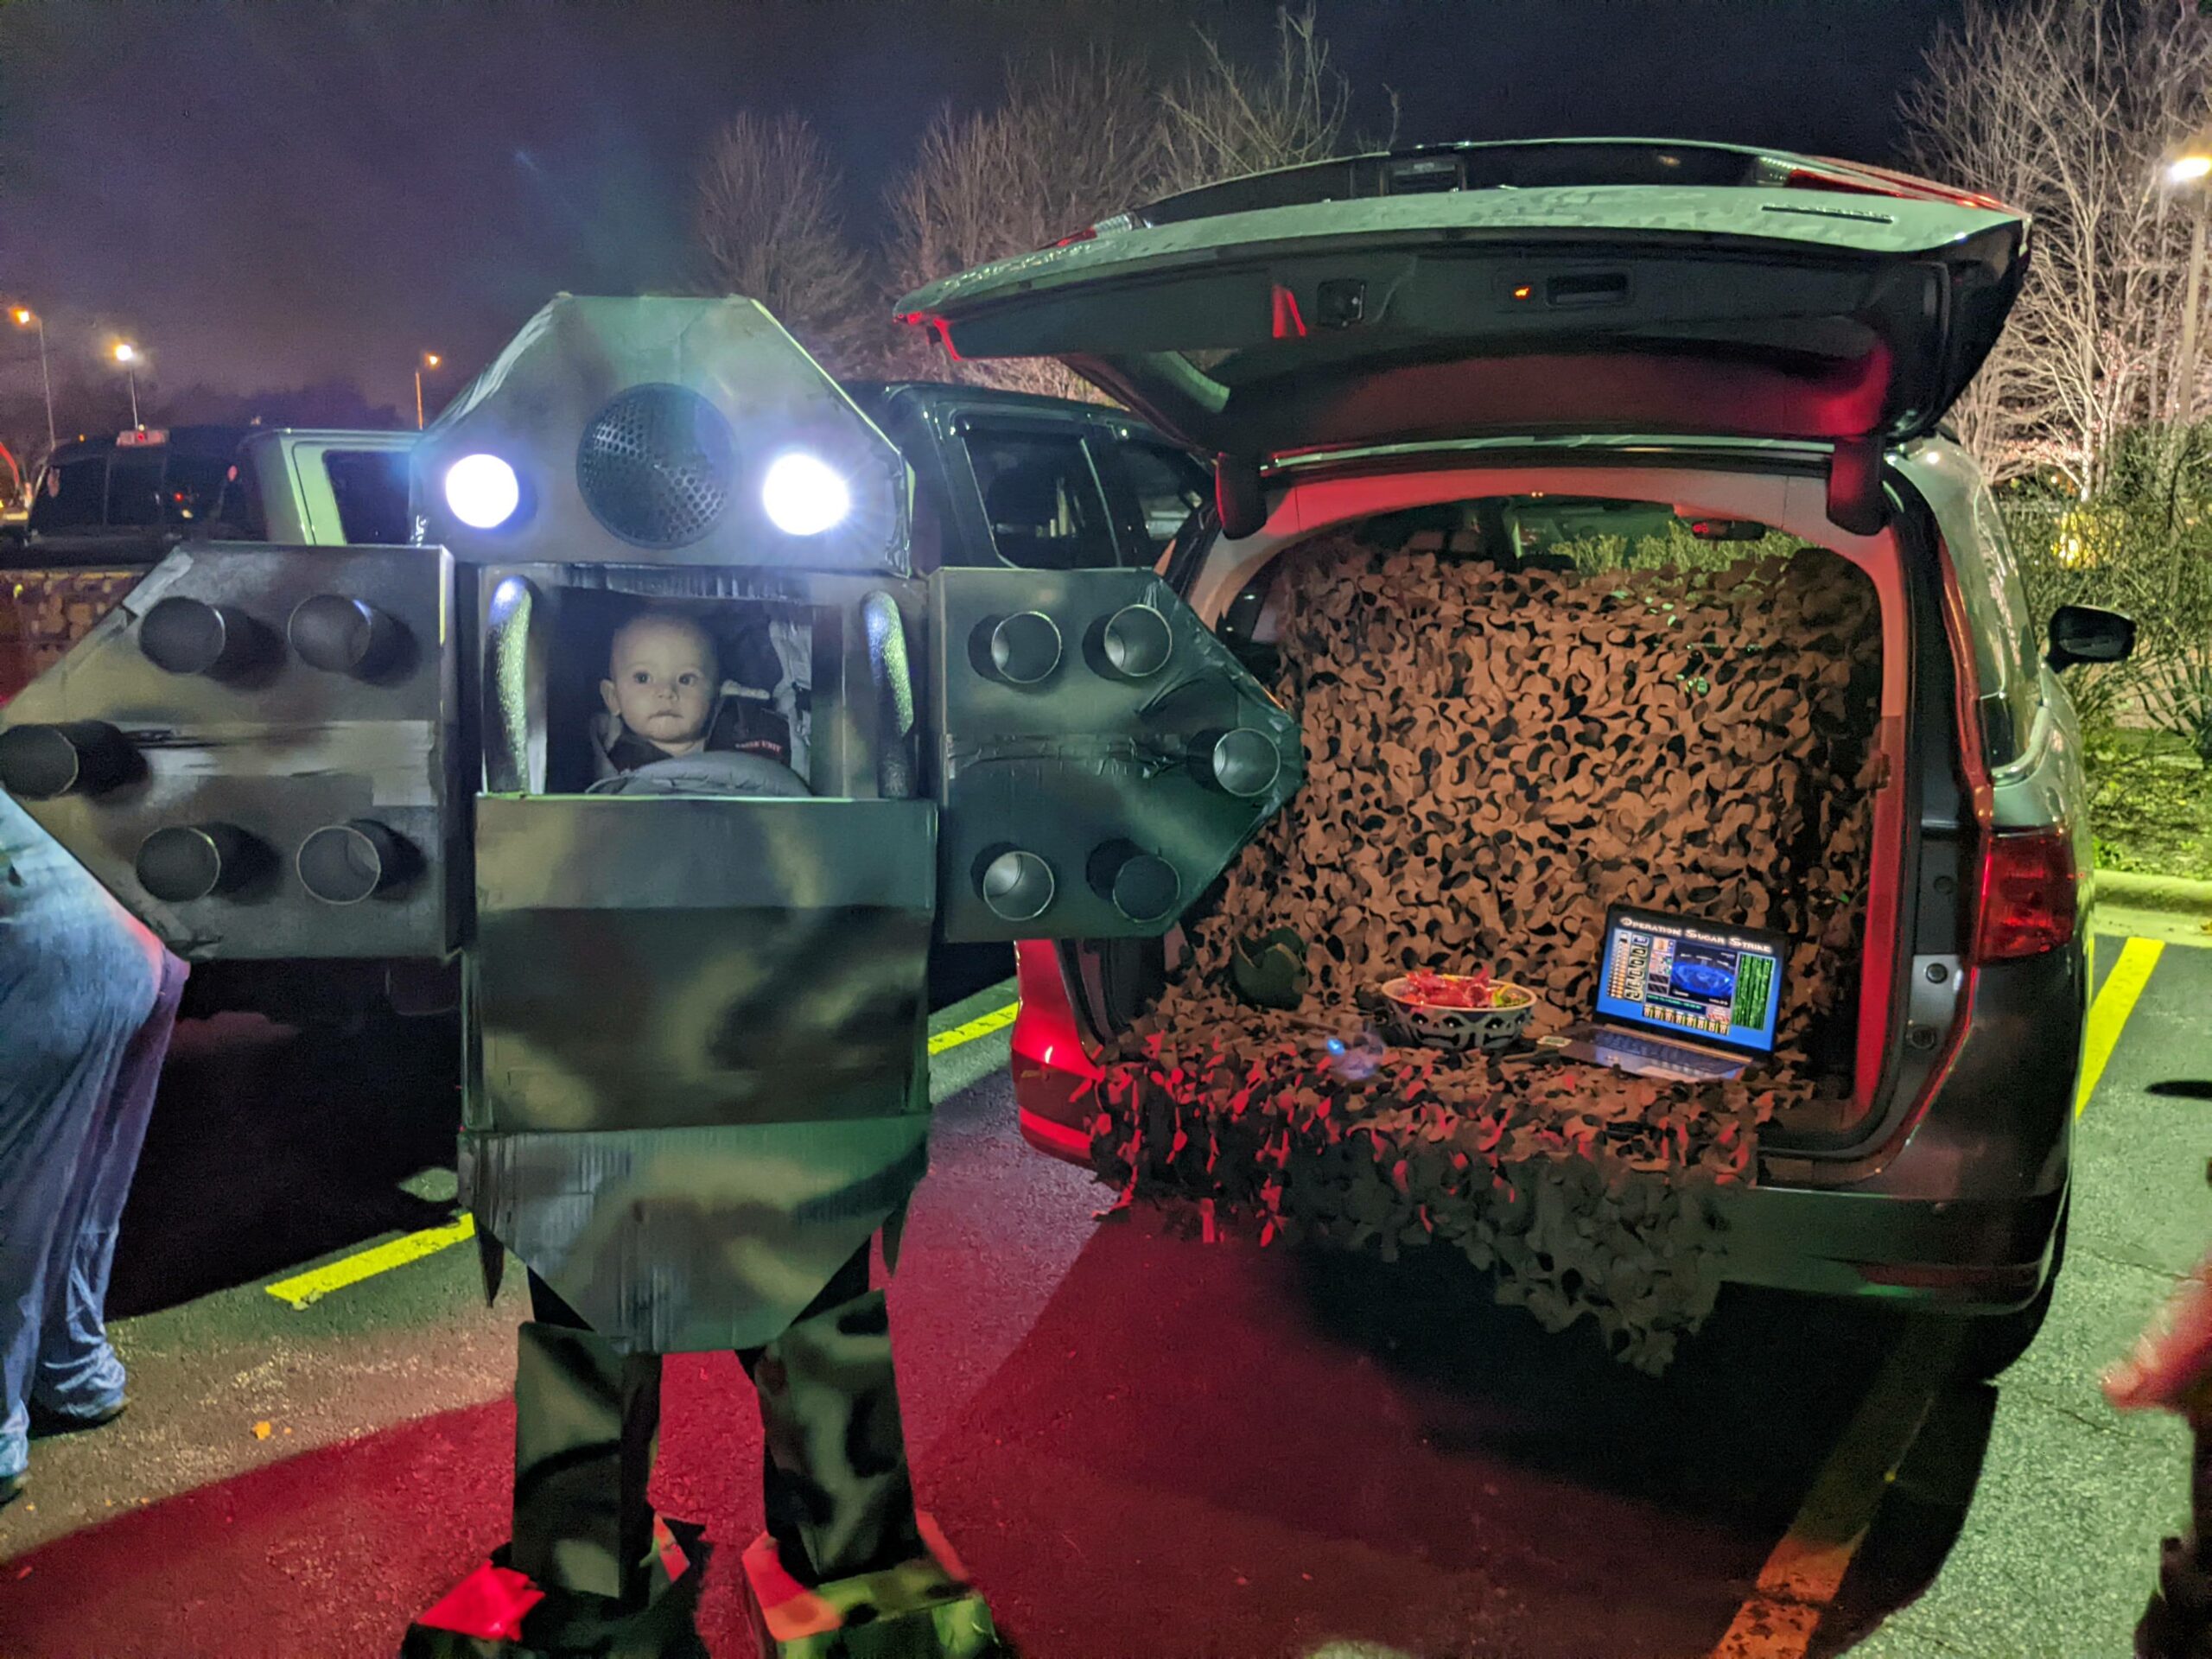
I knew when I had a son/daughter, I would make this happen. I felt so inspired and knew I only had a small window of time for this to work. It really was now or never, and I decided that it was now. So, Ladies and Gents, without further a due, I present to you the Giggler, piloted by my son Vinny.


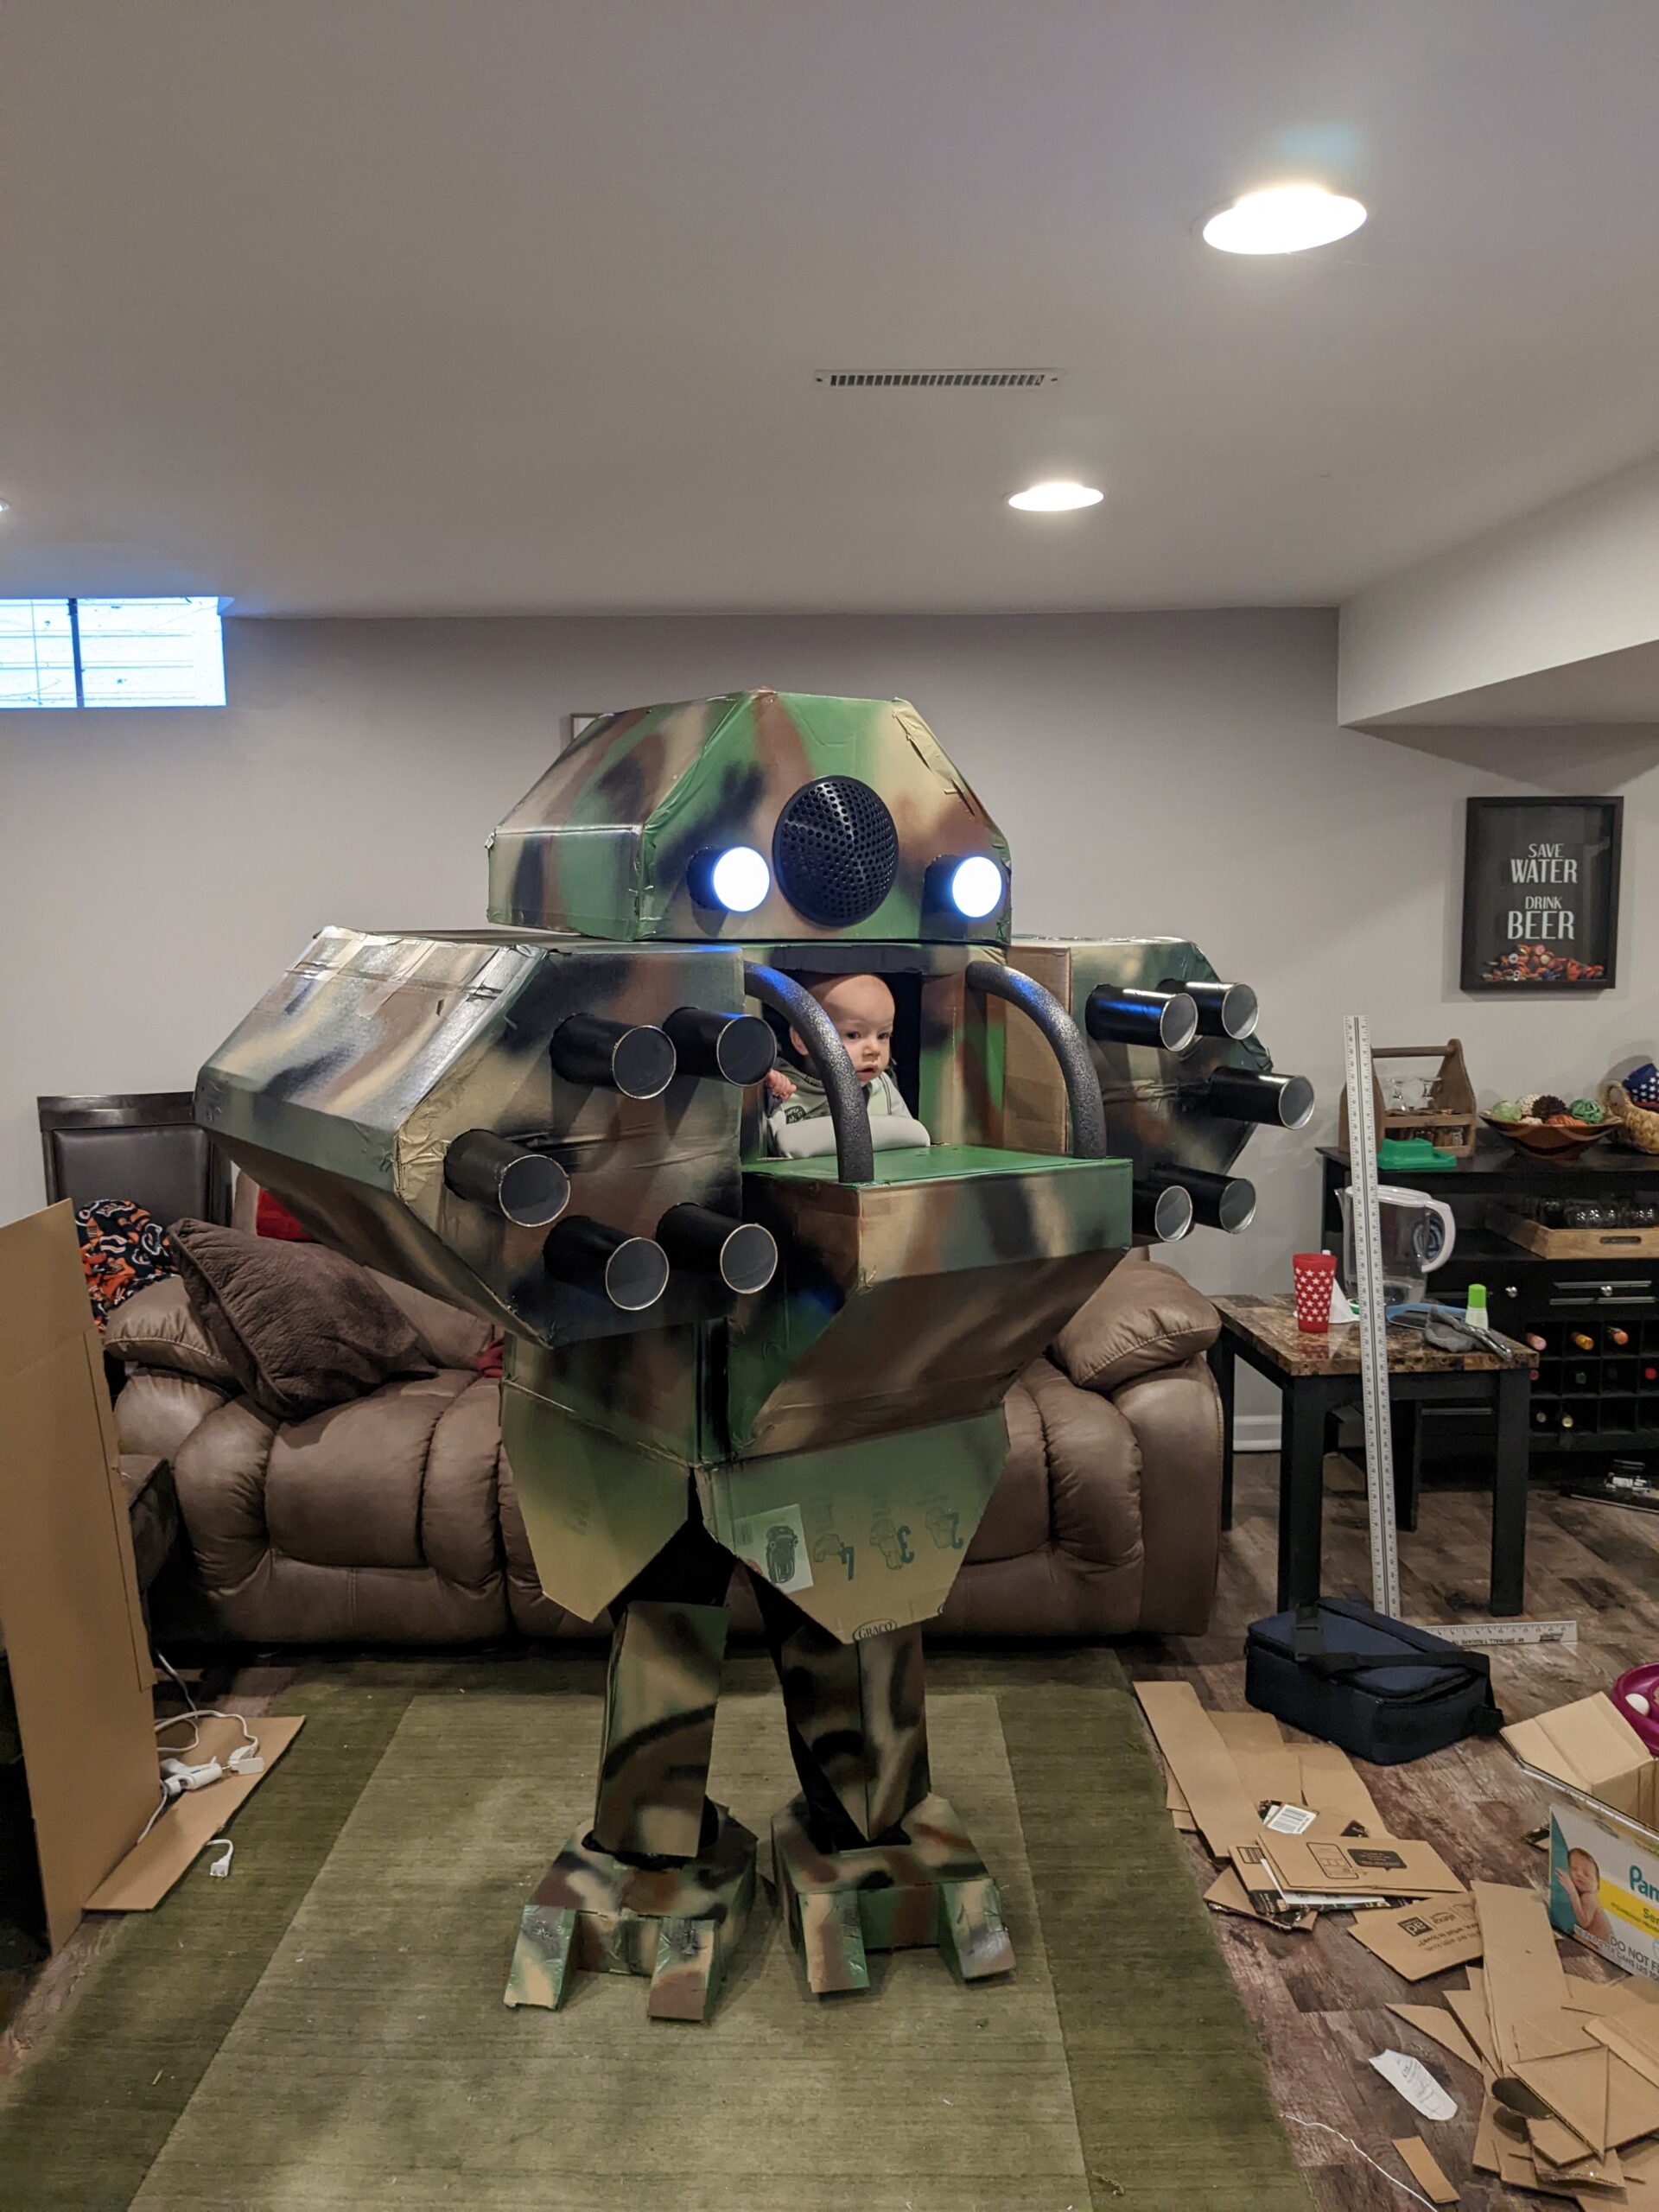

Standing at a light 20 tons, packing two SR5-ST rocket pods, and a top speed of 128 KPH. This little firecracker will run up on you, deploy it’s ordinance and be gone before you can register what happened. Named the Giggler, from the sound its SR5s make on the battle field, a mechanical giggling. Though this is nothing to scoff at. Enemies that hear its laugh, know their time is short.
So, how is such a magnificent machine made? Let’s get into it.
A MechWarrior needs a Mech
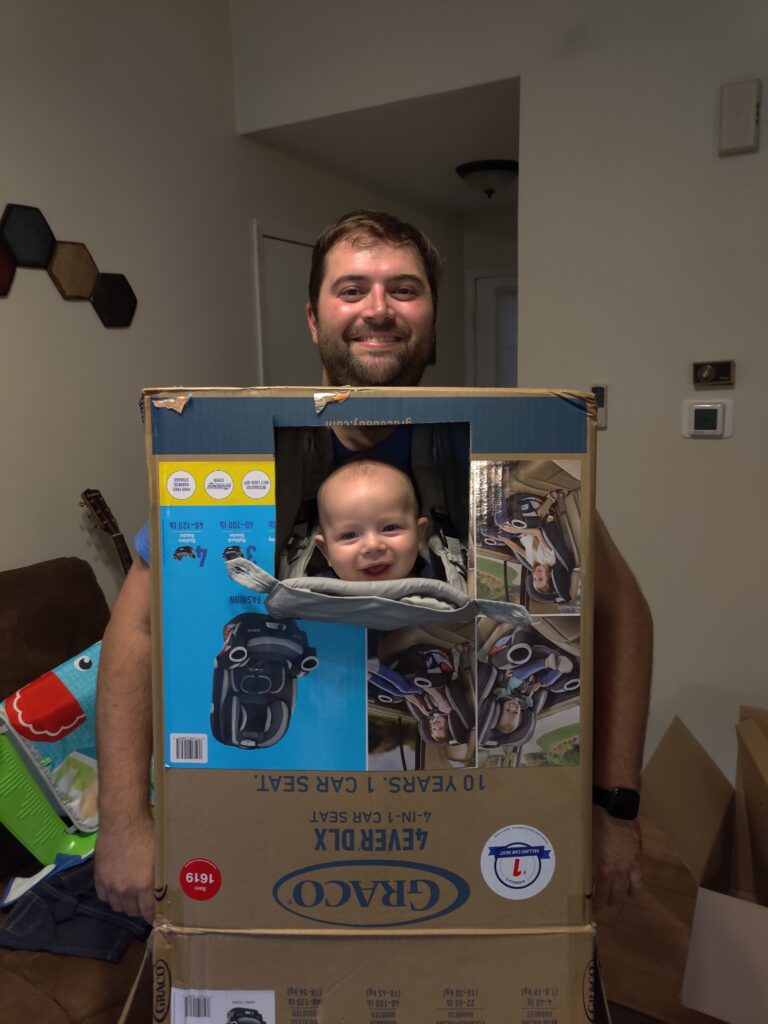
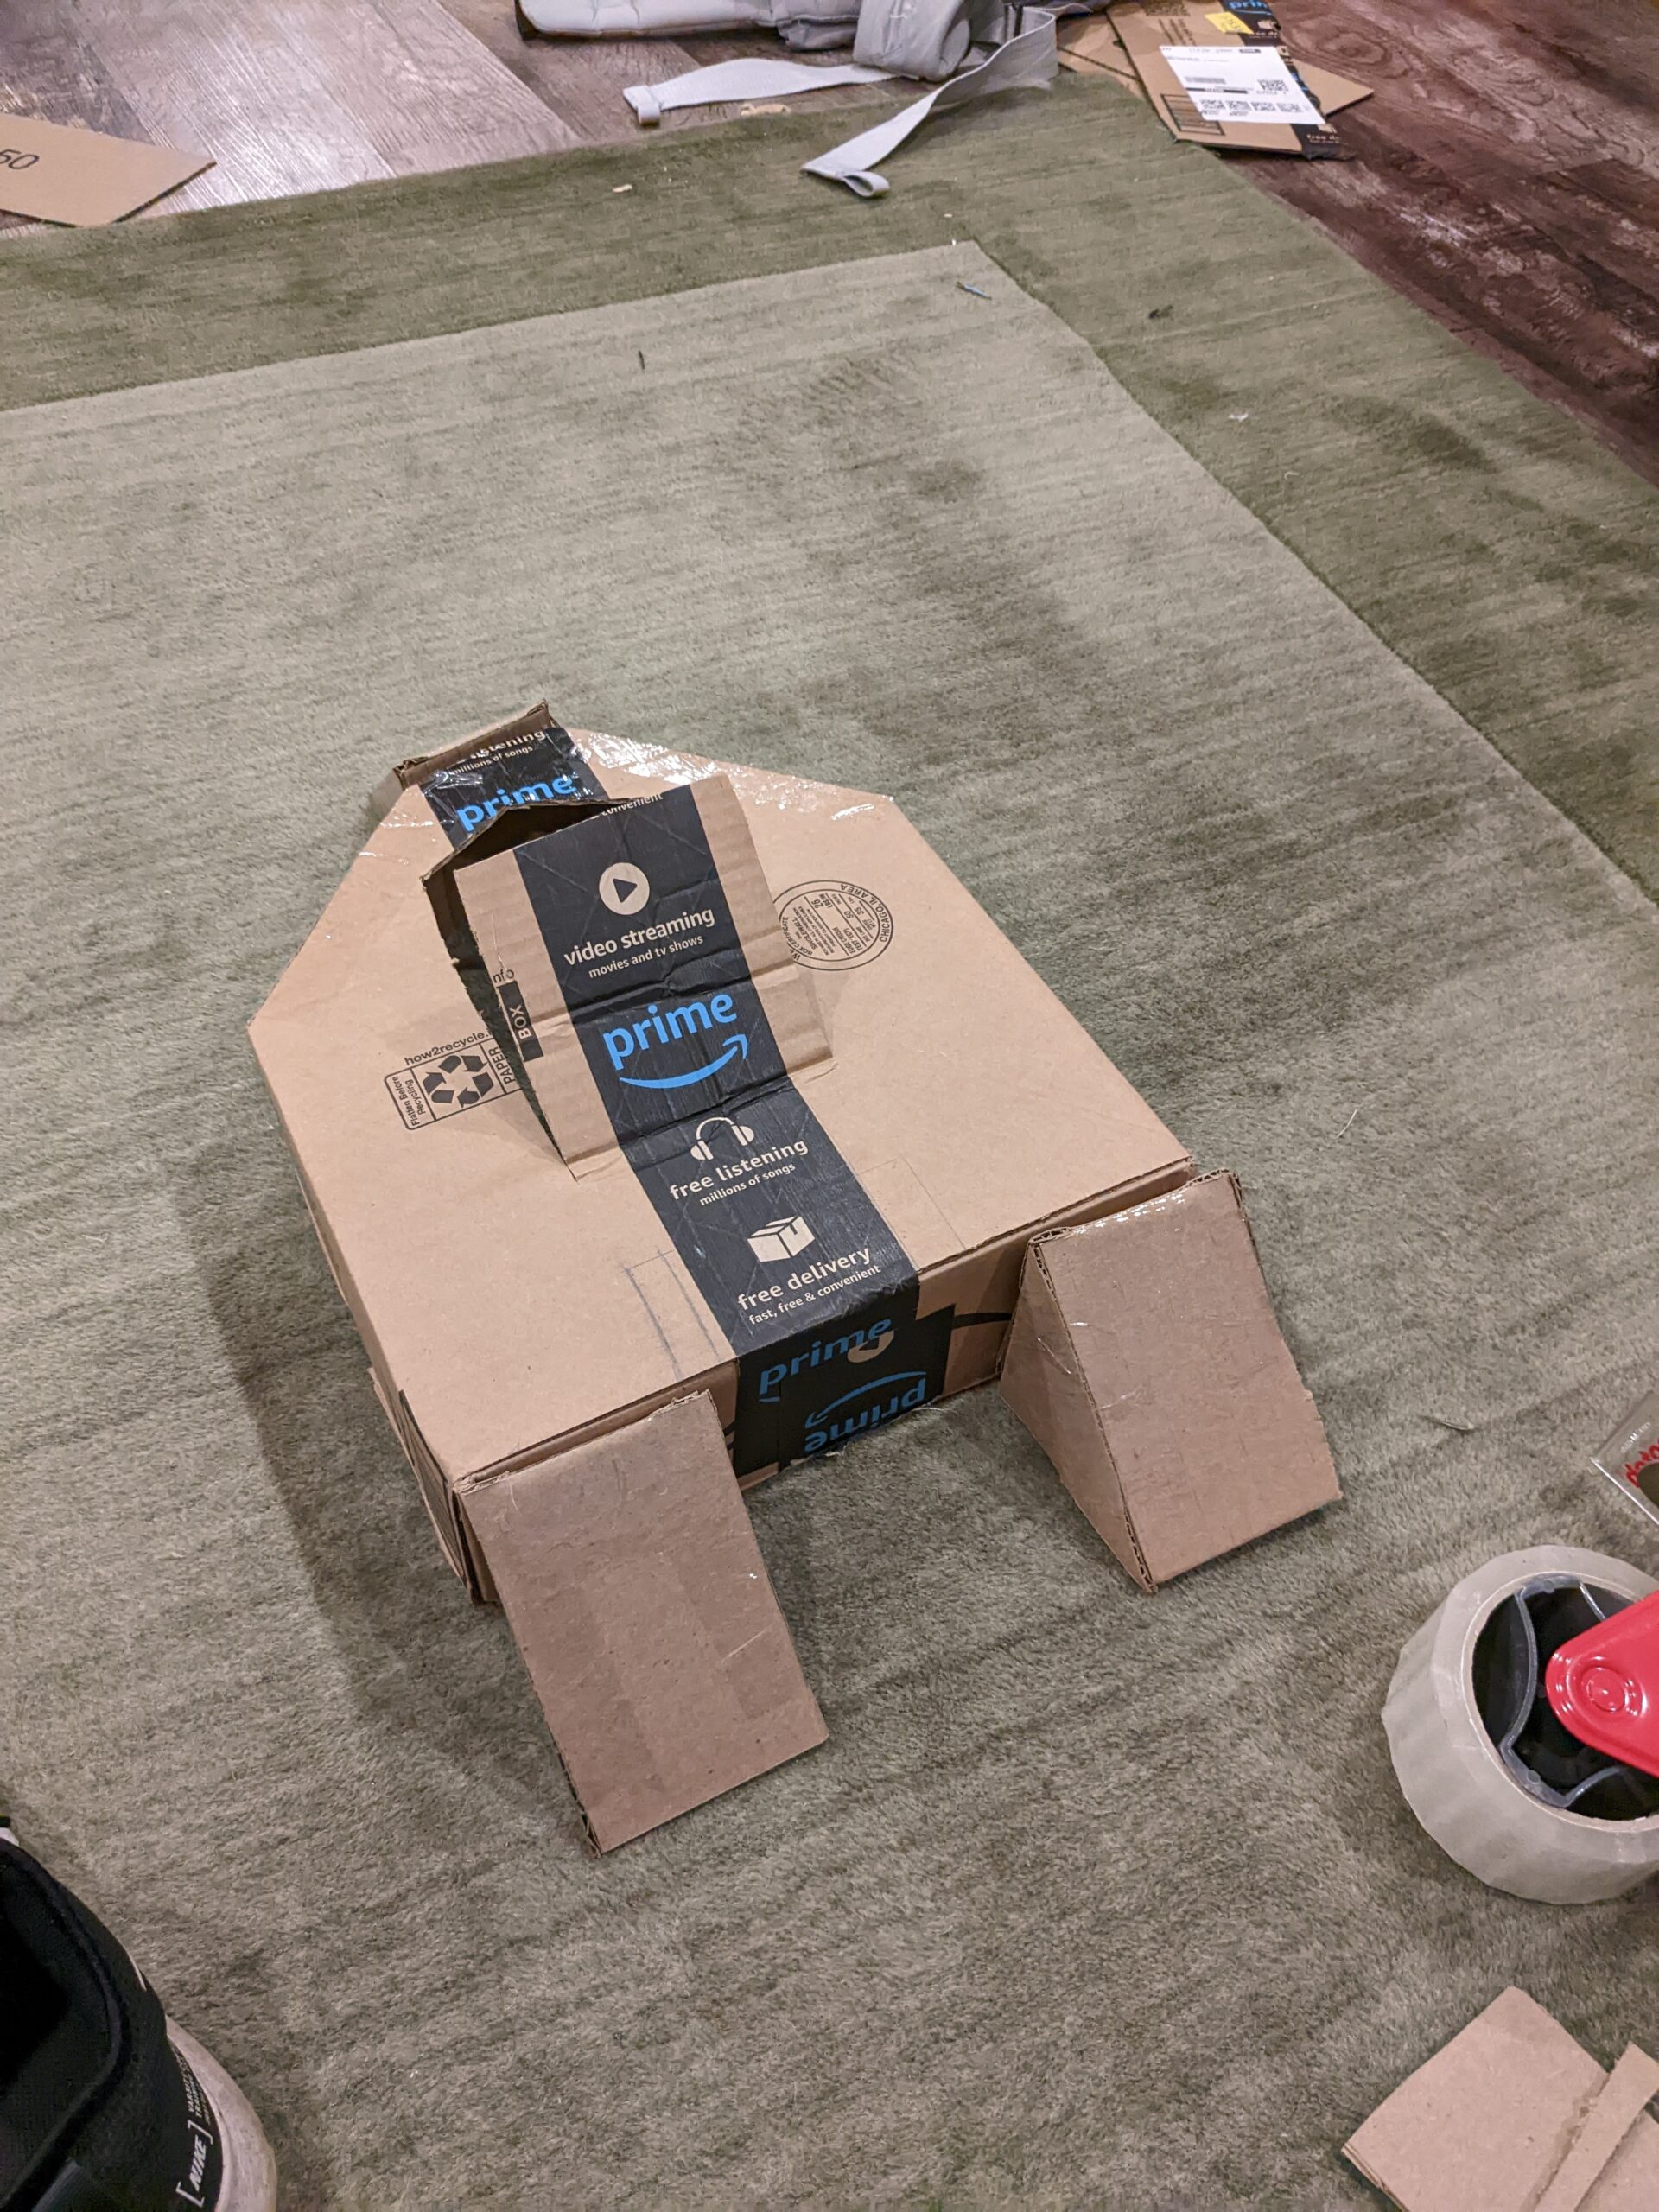
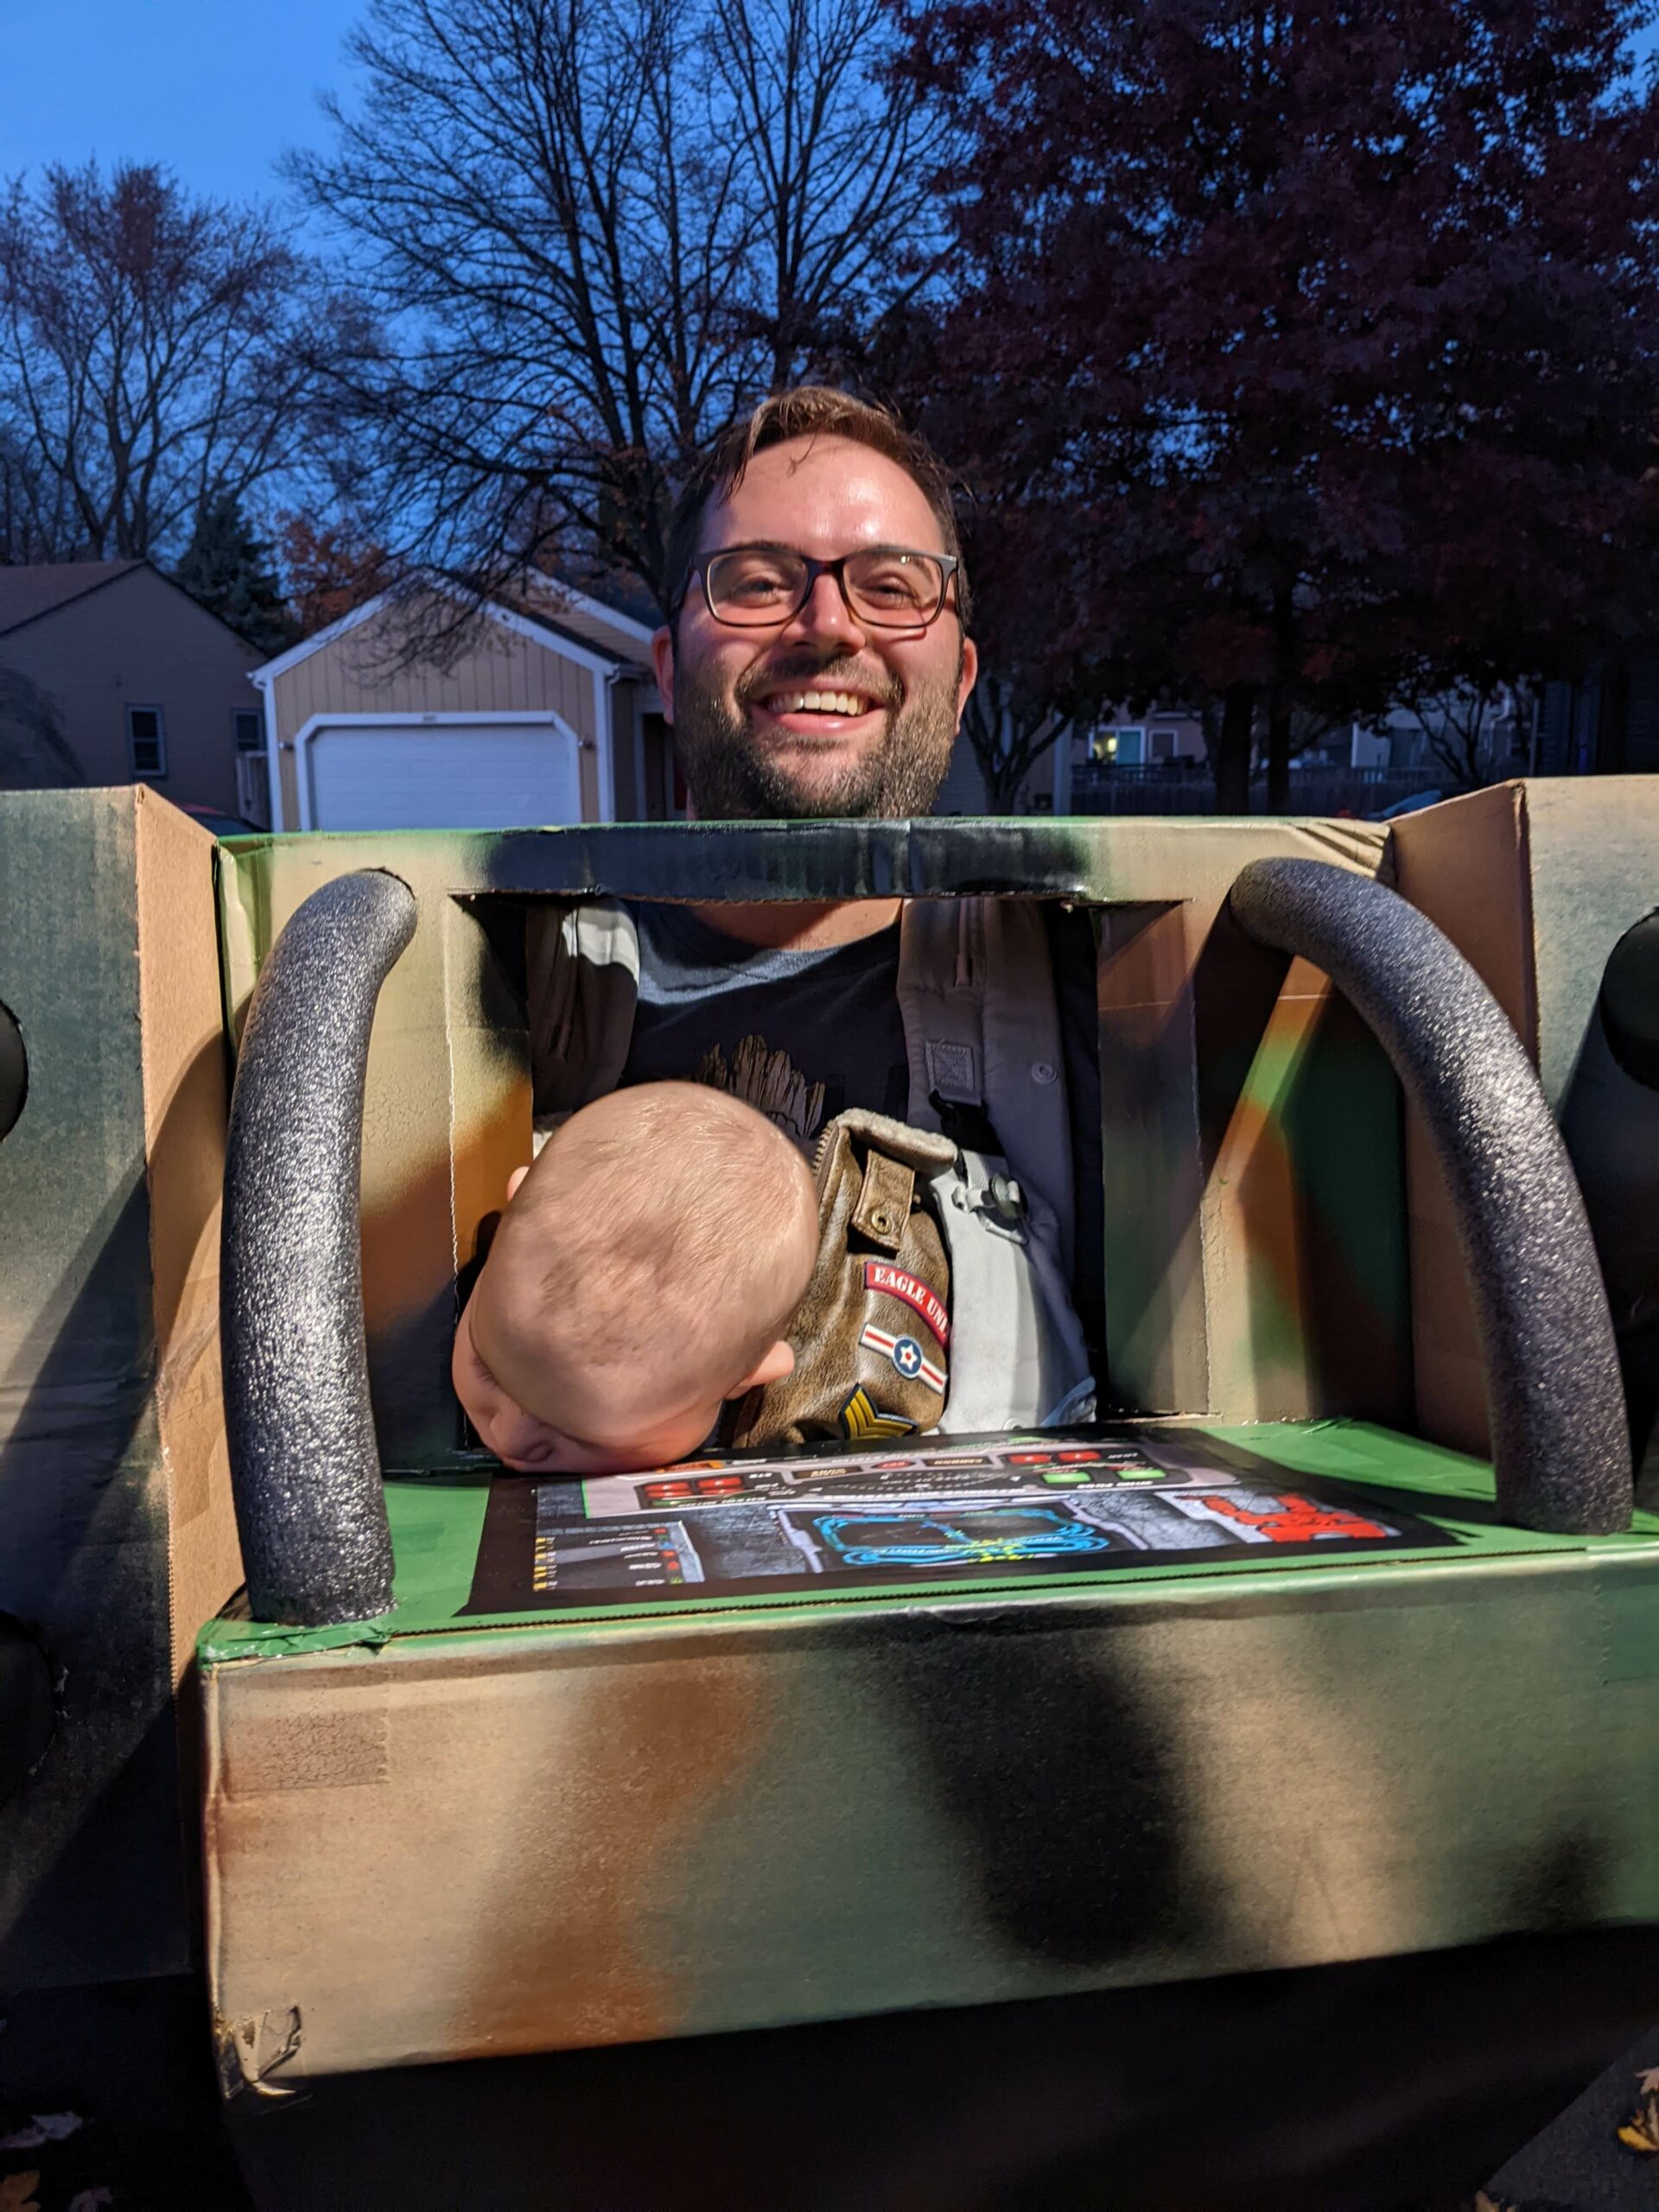
It all starts with a box. Specifically, the box Vinny’s car seat came in. That weekend, he was getting big enough where we can start using the larger car seat. I set it up in my wife’s van and was ready to throw the box away. But before I did, Vinny got all excited at the sight of it. So we played around with it, doing peekaboo and what not. I noticed that with him sitting inside the box, it dawned on me how large the box actually was. That’s when it clicked. I grabbed the baby harness, cut some holes in the box, put the box over my head with him attached to me and boom! We fit!
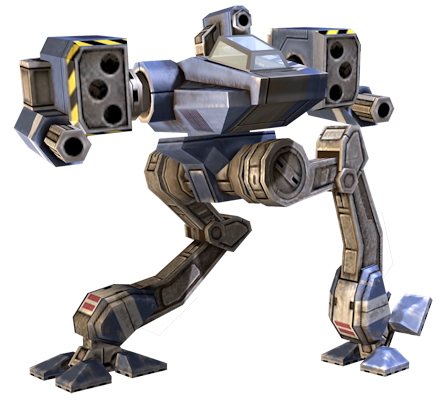
Thus kicking off the project! The first thing I had to do was brainstorm a vision. What do I want the end result to look like? I drew inspiration back to my child hood from the mech assault games I used to play. Going through the catalog of mechs in that game, I remembered loving the Hackman. Its a simple design, with rocket pods on its sides and small lasers. Unfortunately, I don’t have chicken legs or backward knees, so I had to come up with my own original design for that.
Now there was the matter of gathering supplies. The good news is working in a warehouse setting, you basically have endless supply of cardboard. Benefits being, I had a great platform to build from and plenty of chances to make mistakes. To which there was a lot… but thankfully I had my lovely wife to help my engineer my way through this project 🙂
Welcome to the Mech Lab!
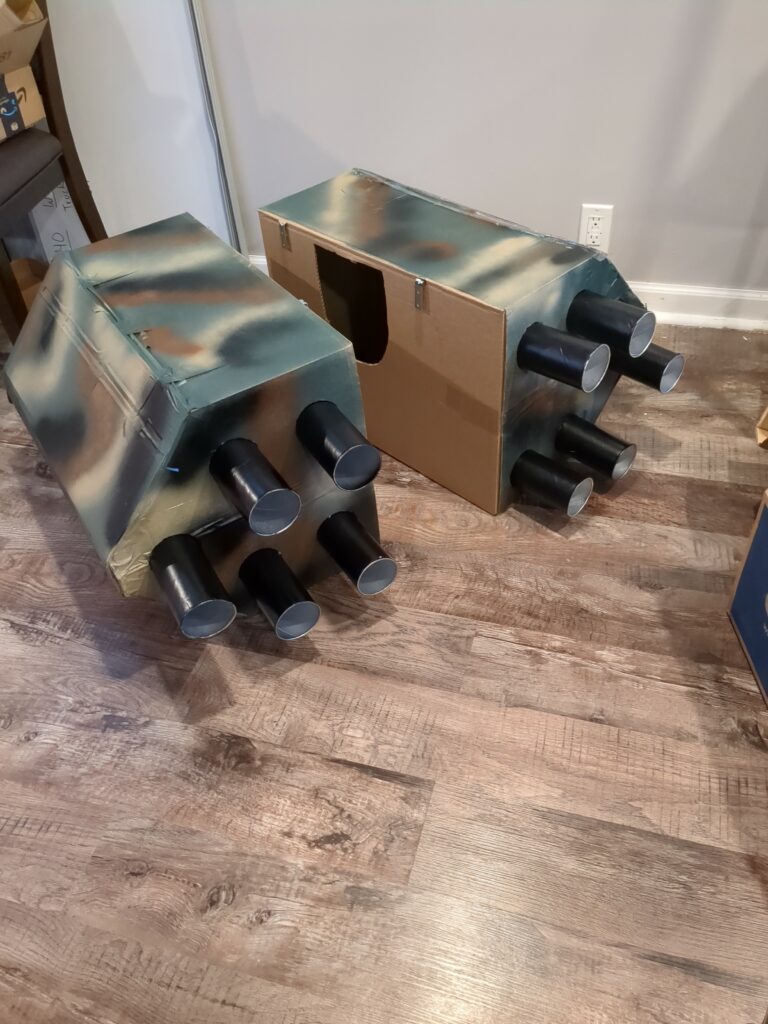
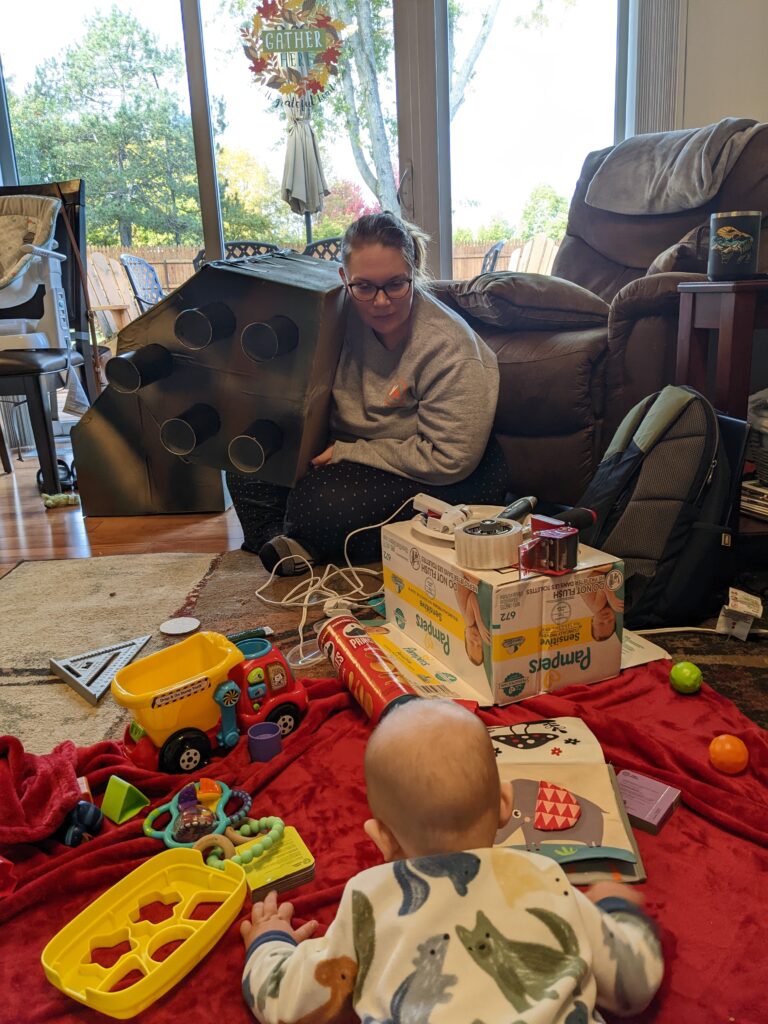
The first component (aside from the chassis) we stared with was the rocket pods. Using a metal triangle and lots of tape, we were able to cut the boxes to have slopes and angles. Giving them a less boxy feel to them. Attaching the Pods to the main chassis, we used metal brackets, glued to the top of the pod and sticking out of the side pointing down. With enough of a gap to slide into a hole cut into the top of the chassis. The pods brackets would then slide into the sockets in the chassis, taking all the weight. That way I wouldn’t get tried of holding the pods the whole time.

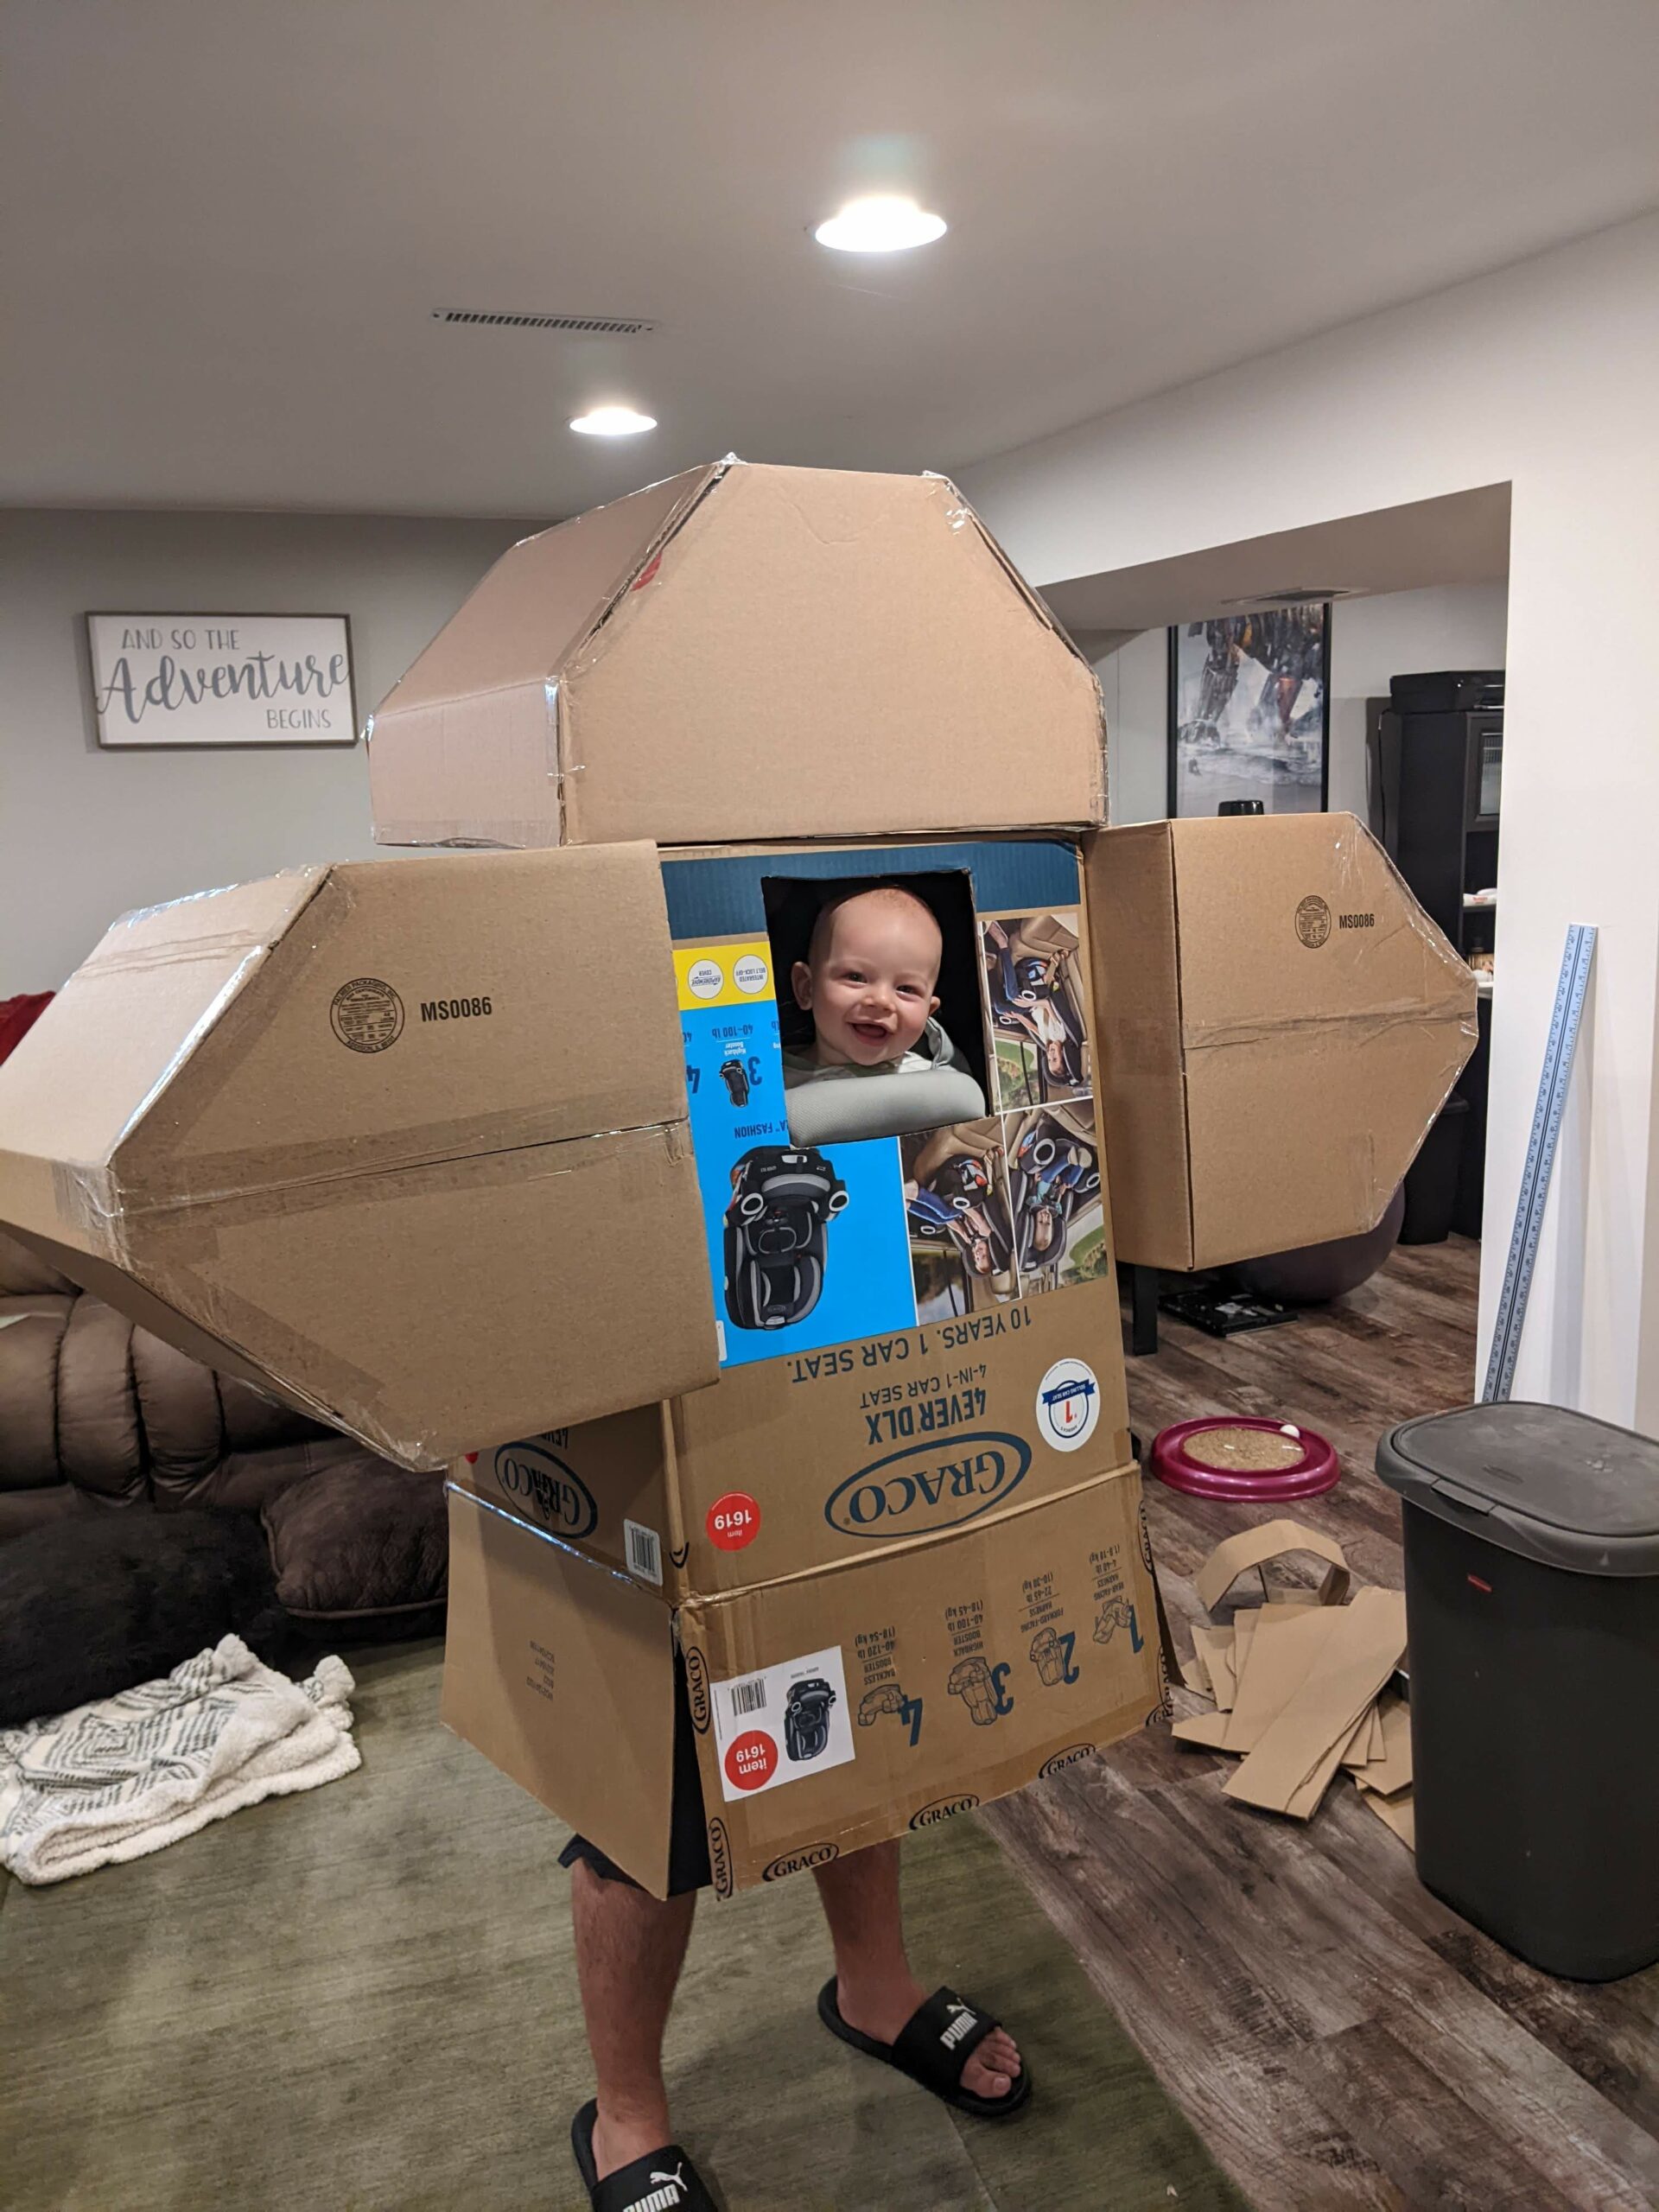
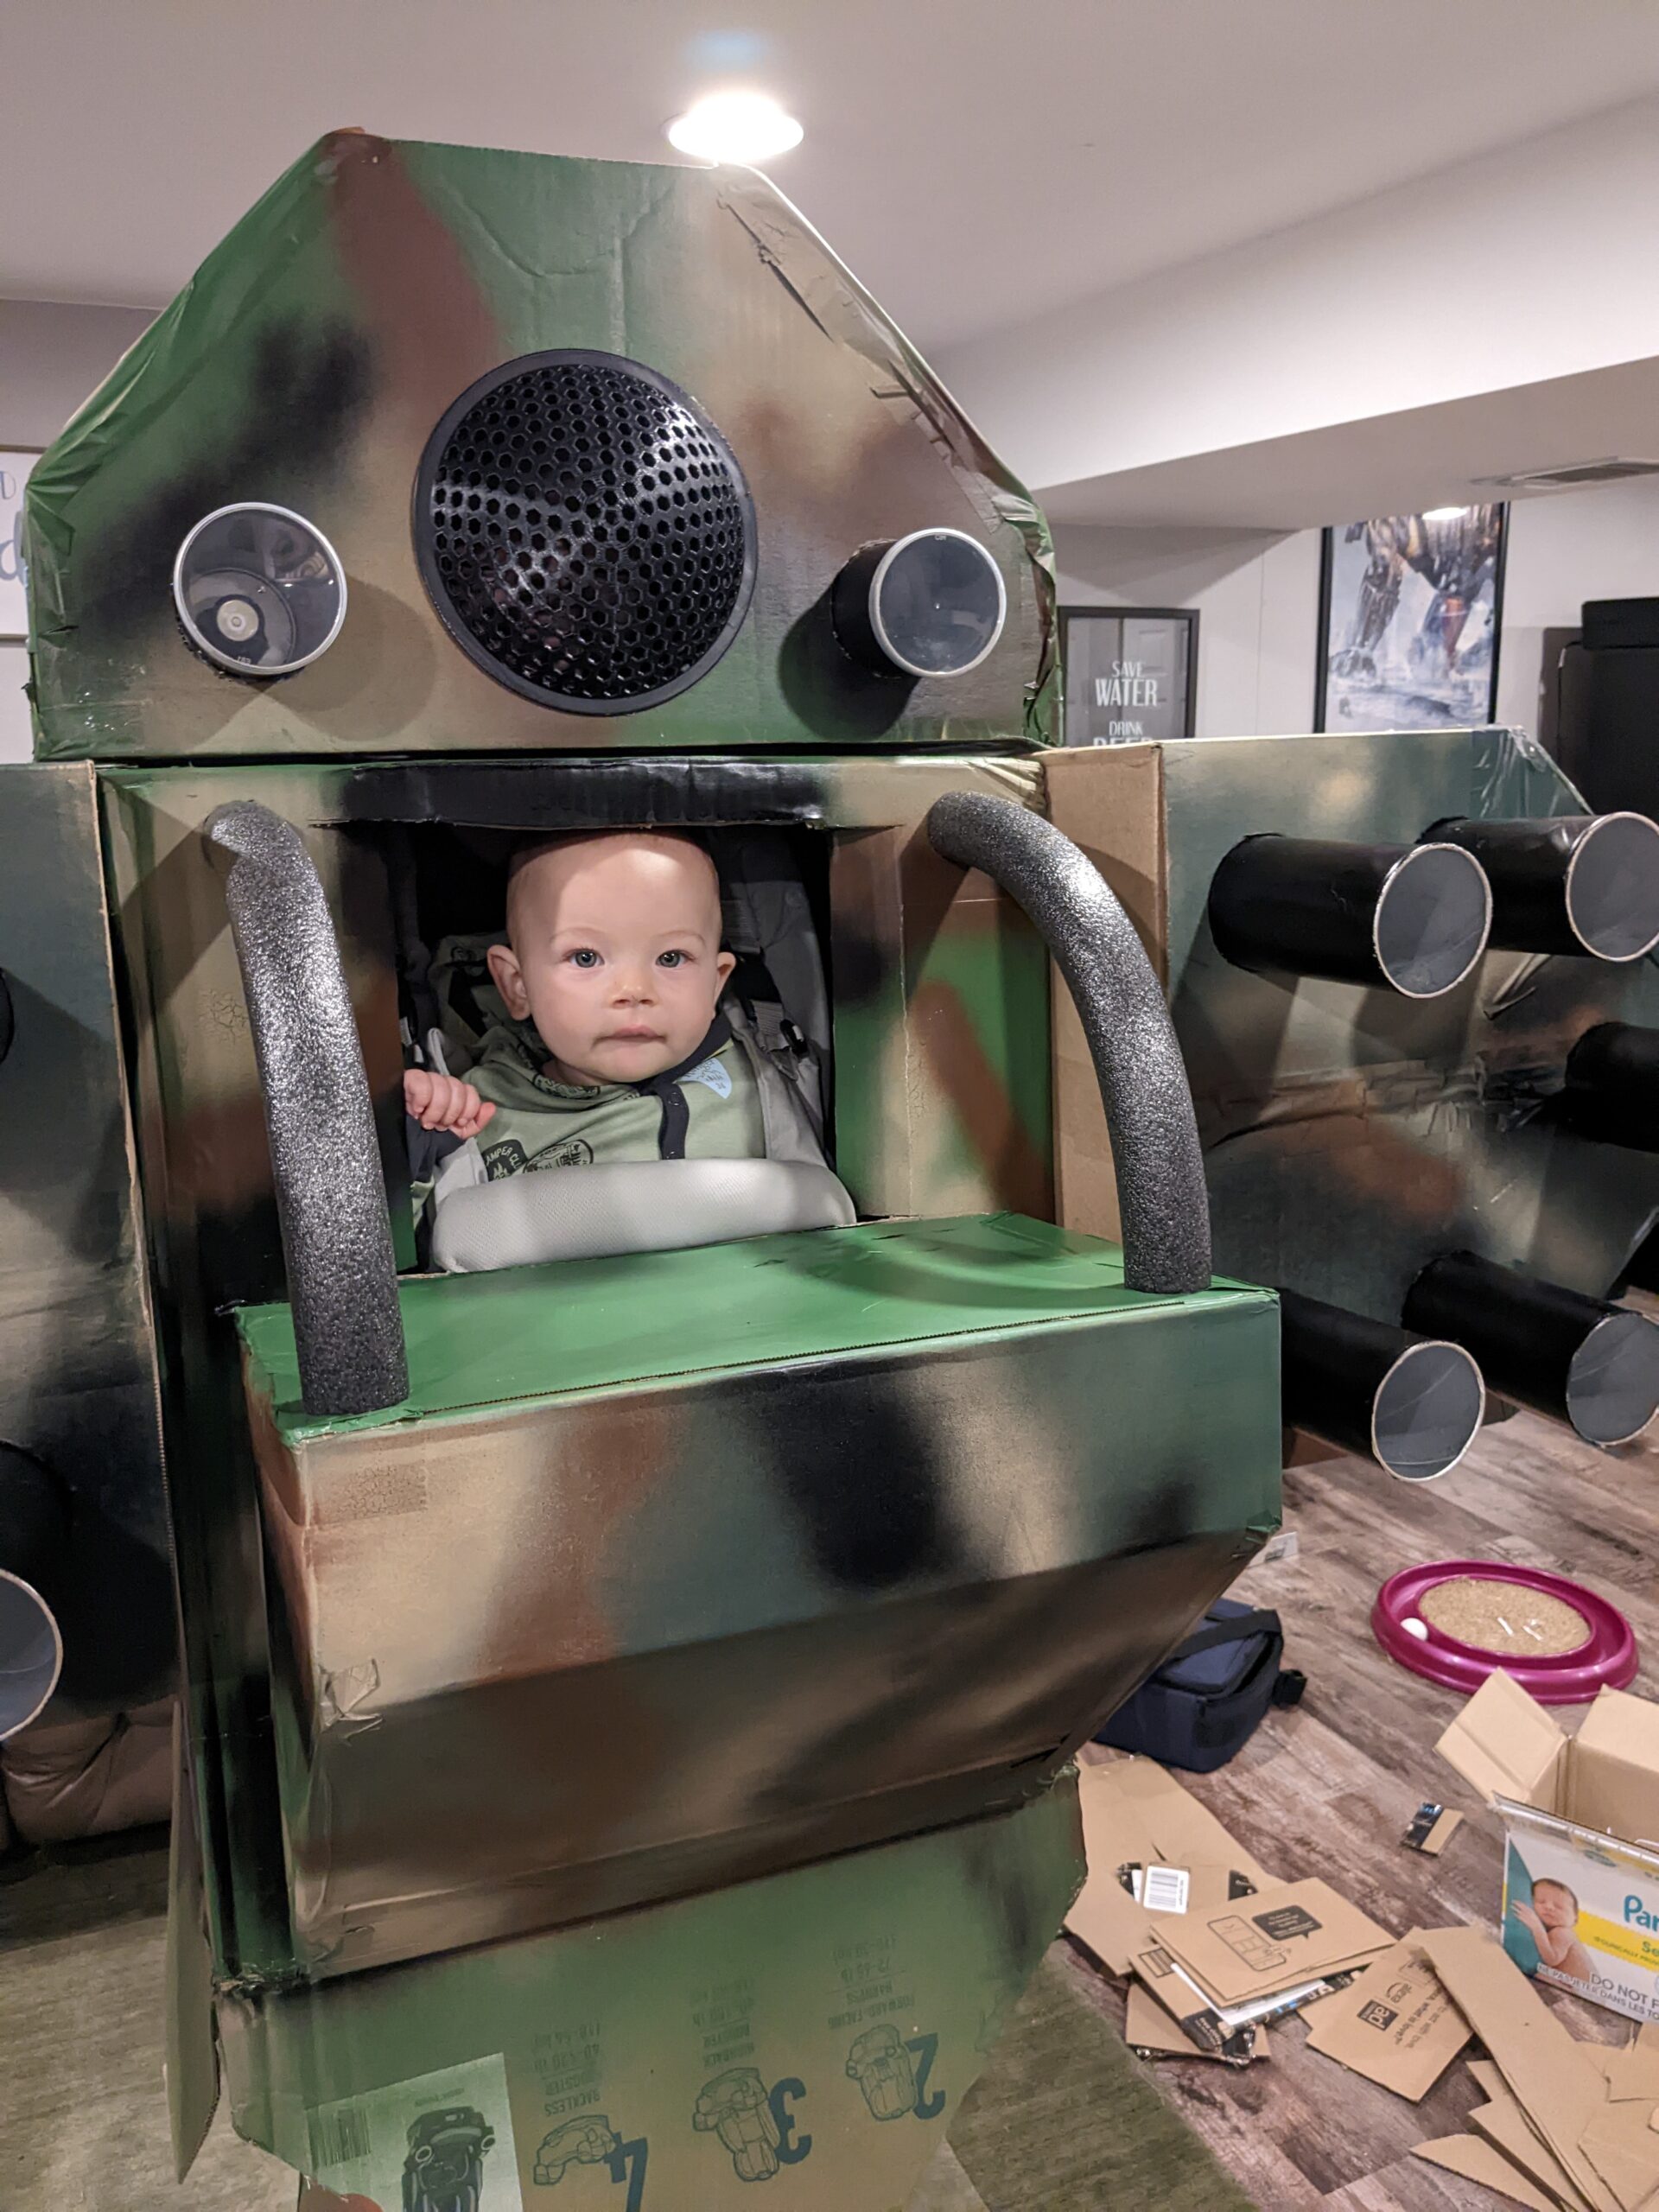
For the cockpit I used sharper angles since we didn’t want it sticking too far out from the chassis. No need to risk stressing the cardboard and adhesives. But out far enough where I can add some kind of dashboard for the MechWarrior.
Next came the head. Made very similarly to the rocket pods just not as tall. The head hole needed a bit of resizing since every time I’d put it on my glasses would fall off. Remember MechWarrior’s, a blind mech is a dead mech.
BACKWARD KNEES?! What am I a chicken?!
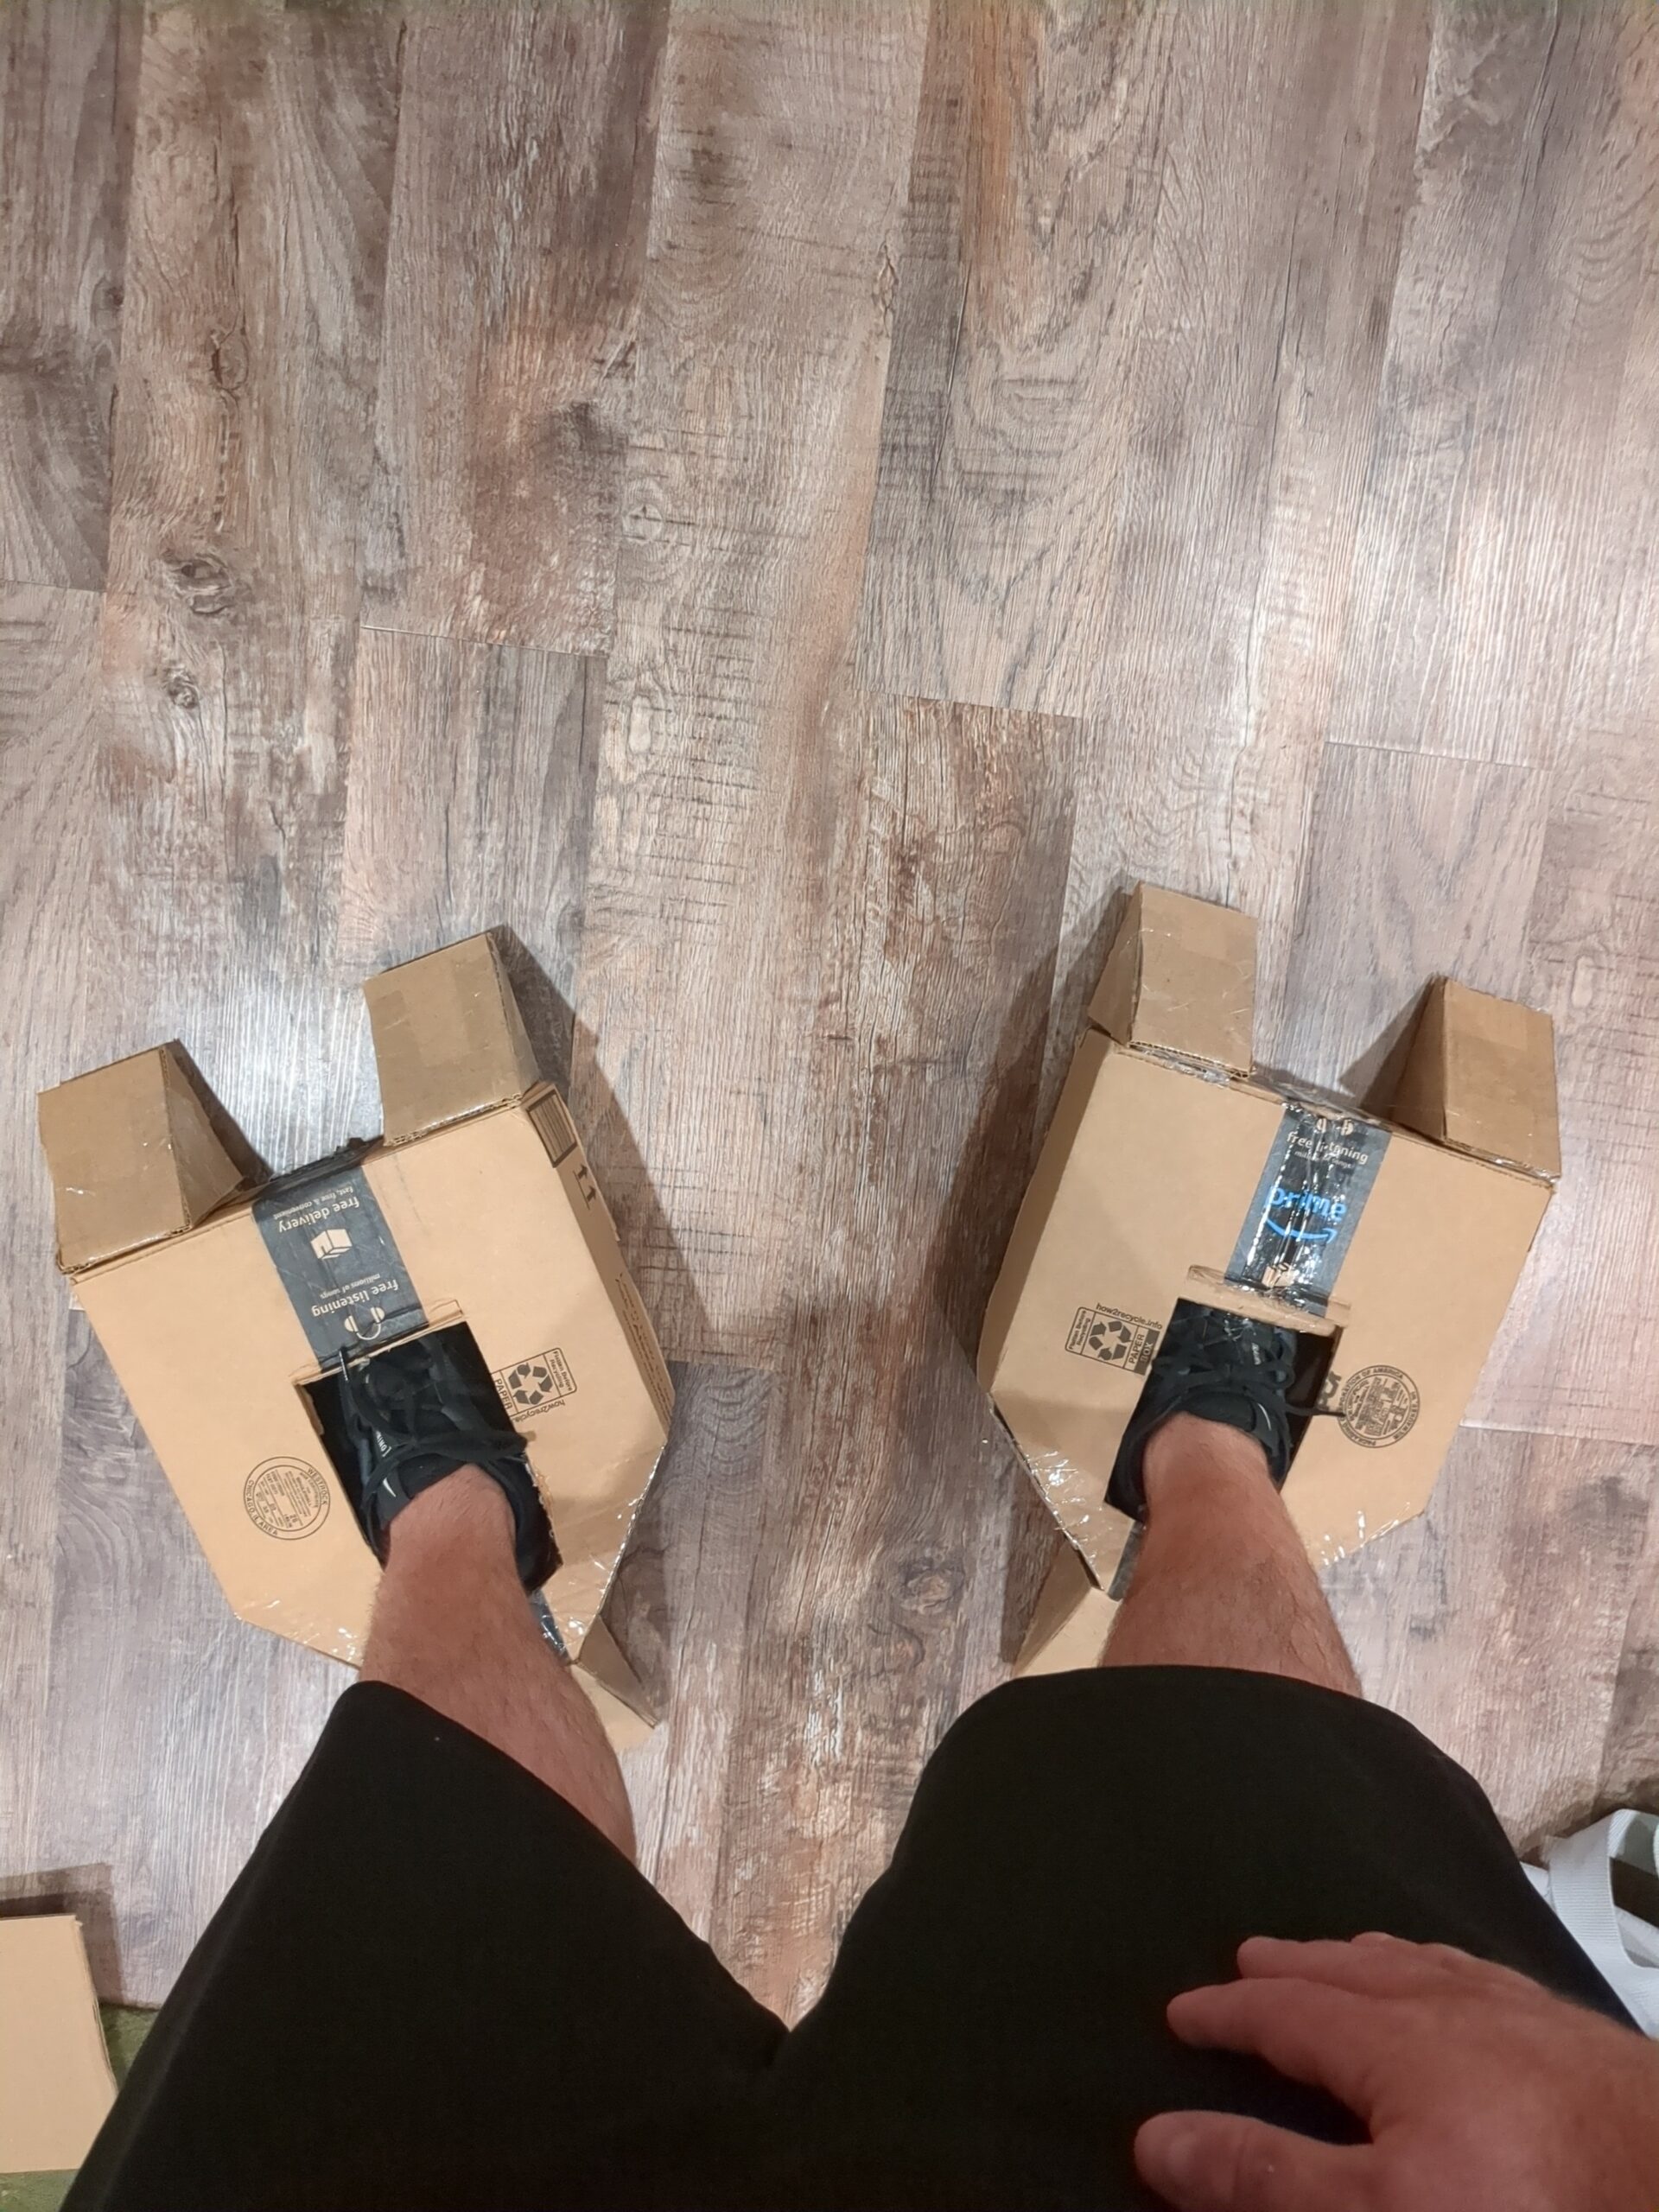
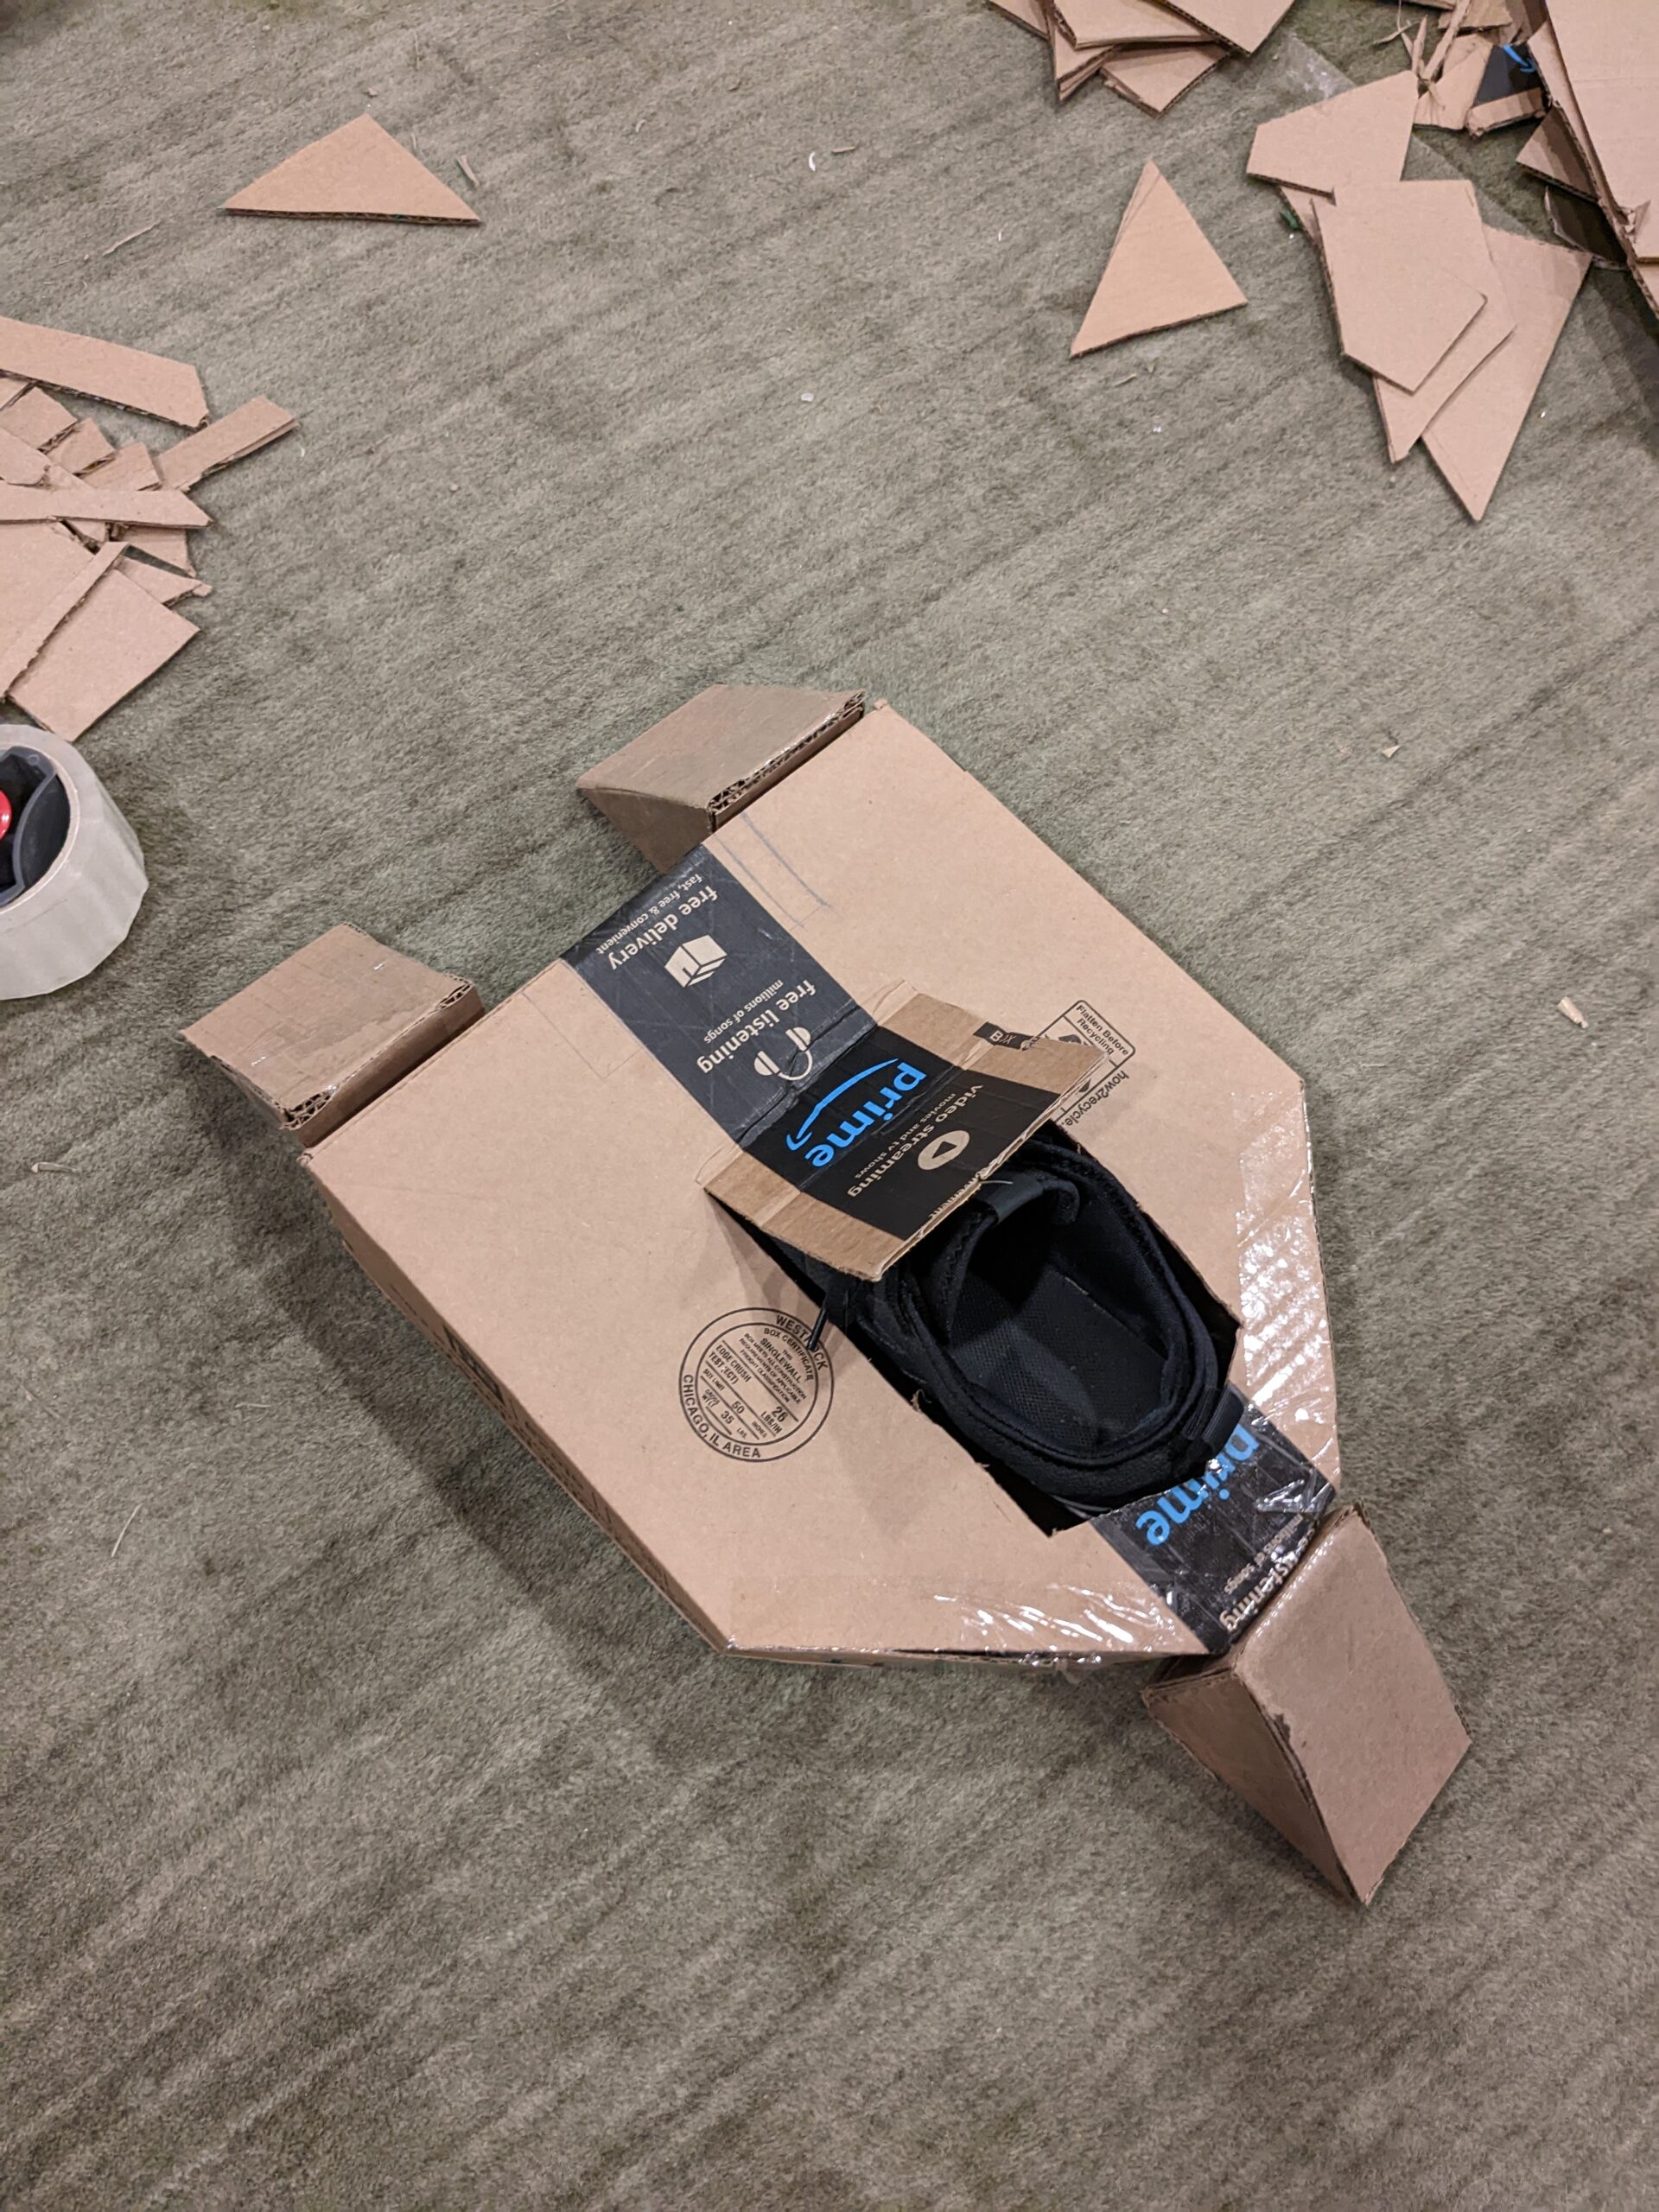
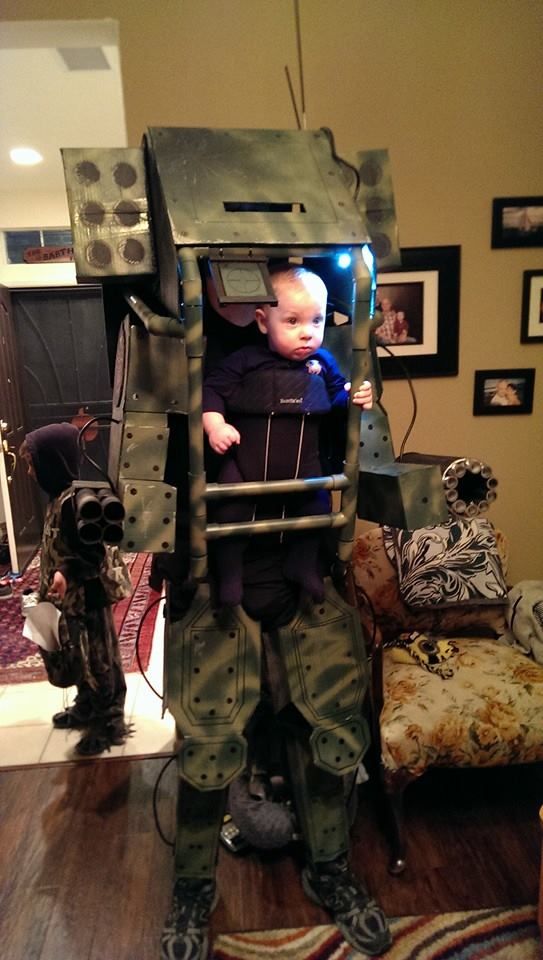
Finally, the feet! For each foot, I had a smaller amazon box that would cover my shoe. From there, I’d cut small triangles and tape them together to make “toes”. Two in the front and one in the heel. Then using a METRIC SHIT TON OF HOT GLUE, I’d attach the covering box to my old shoes, as well as the toes to the box. The shins made from the left over box materials, cut into angled plates that I would glue to some workout pants I nabbed at Goodwill. This is also where our first 3D printed part comes in!!!
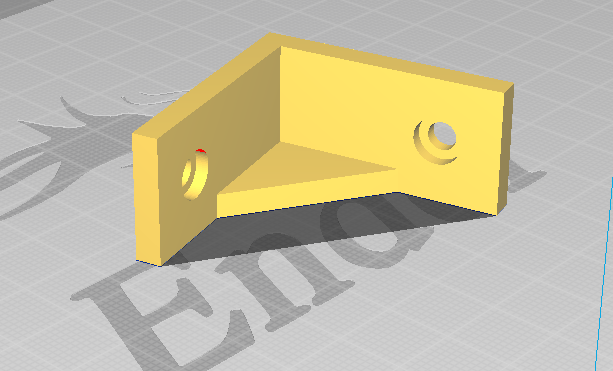
The plates were not sitting quite right on the pants. So I printed some right angle brackets to attached the cardboard to itself first. Then I’d attach the whole piece to the shin part of the pants. Again, using a METRIC SHIT TON OF HOT GLUE.
Remember MechWarrior, You Can’t Shoot What You Can’t See
Now we get to the fun part, spray painting! I’ve done camo before, but its been a while. Last time I did it was to make my Ghillie Suit. Except this time, instead of masking my mistakes into the chaos of the fabric, the colors and patterns will be very clear on the cardboard.
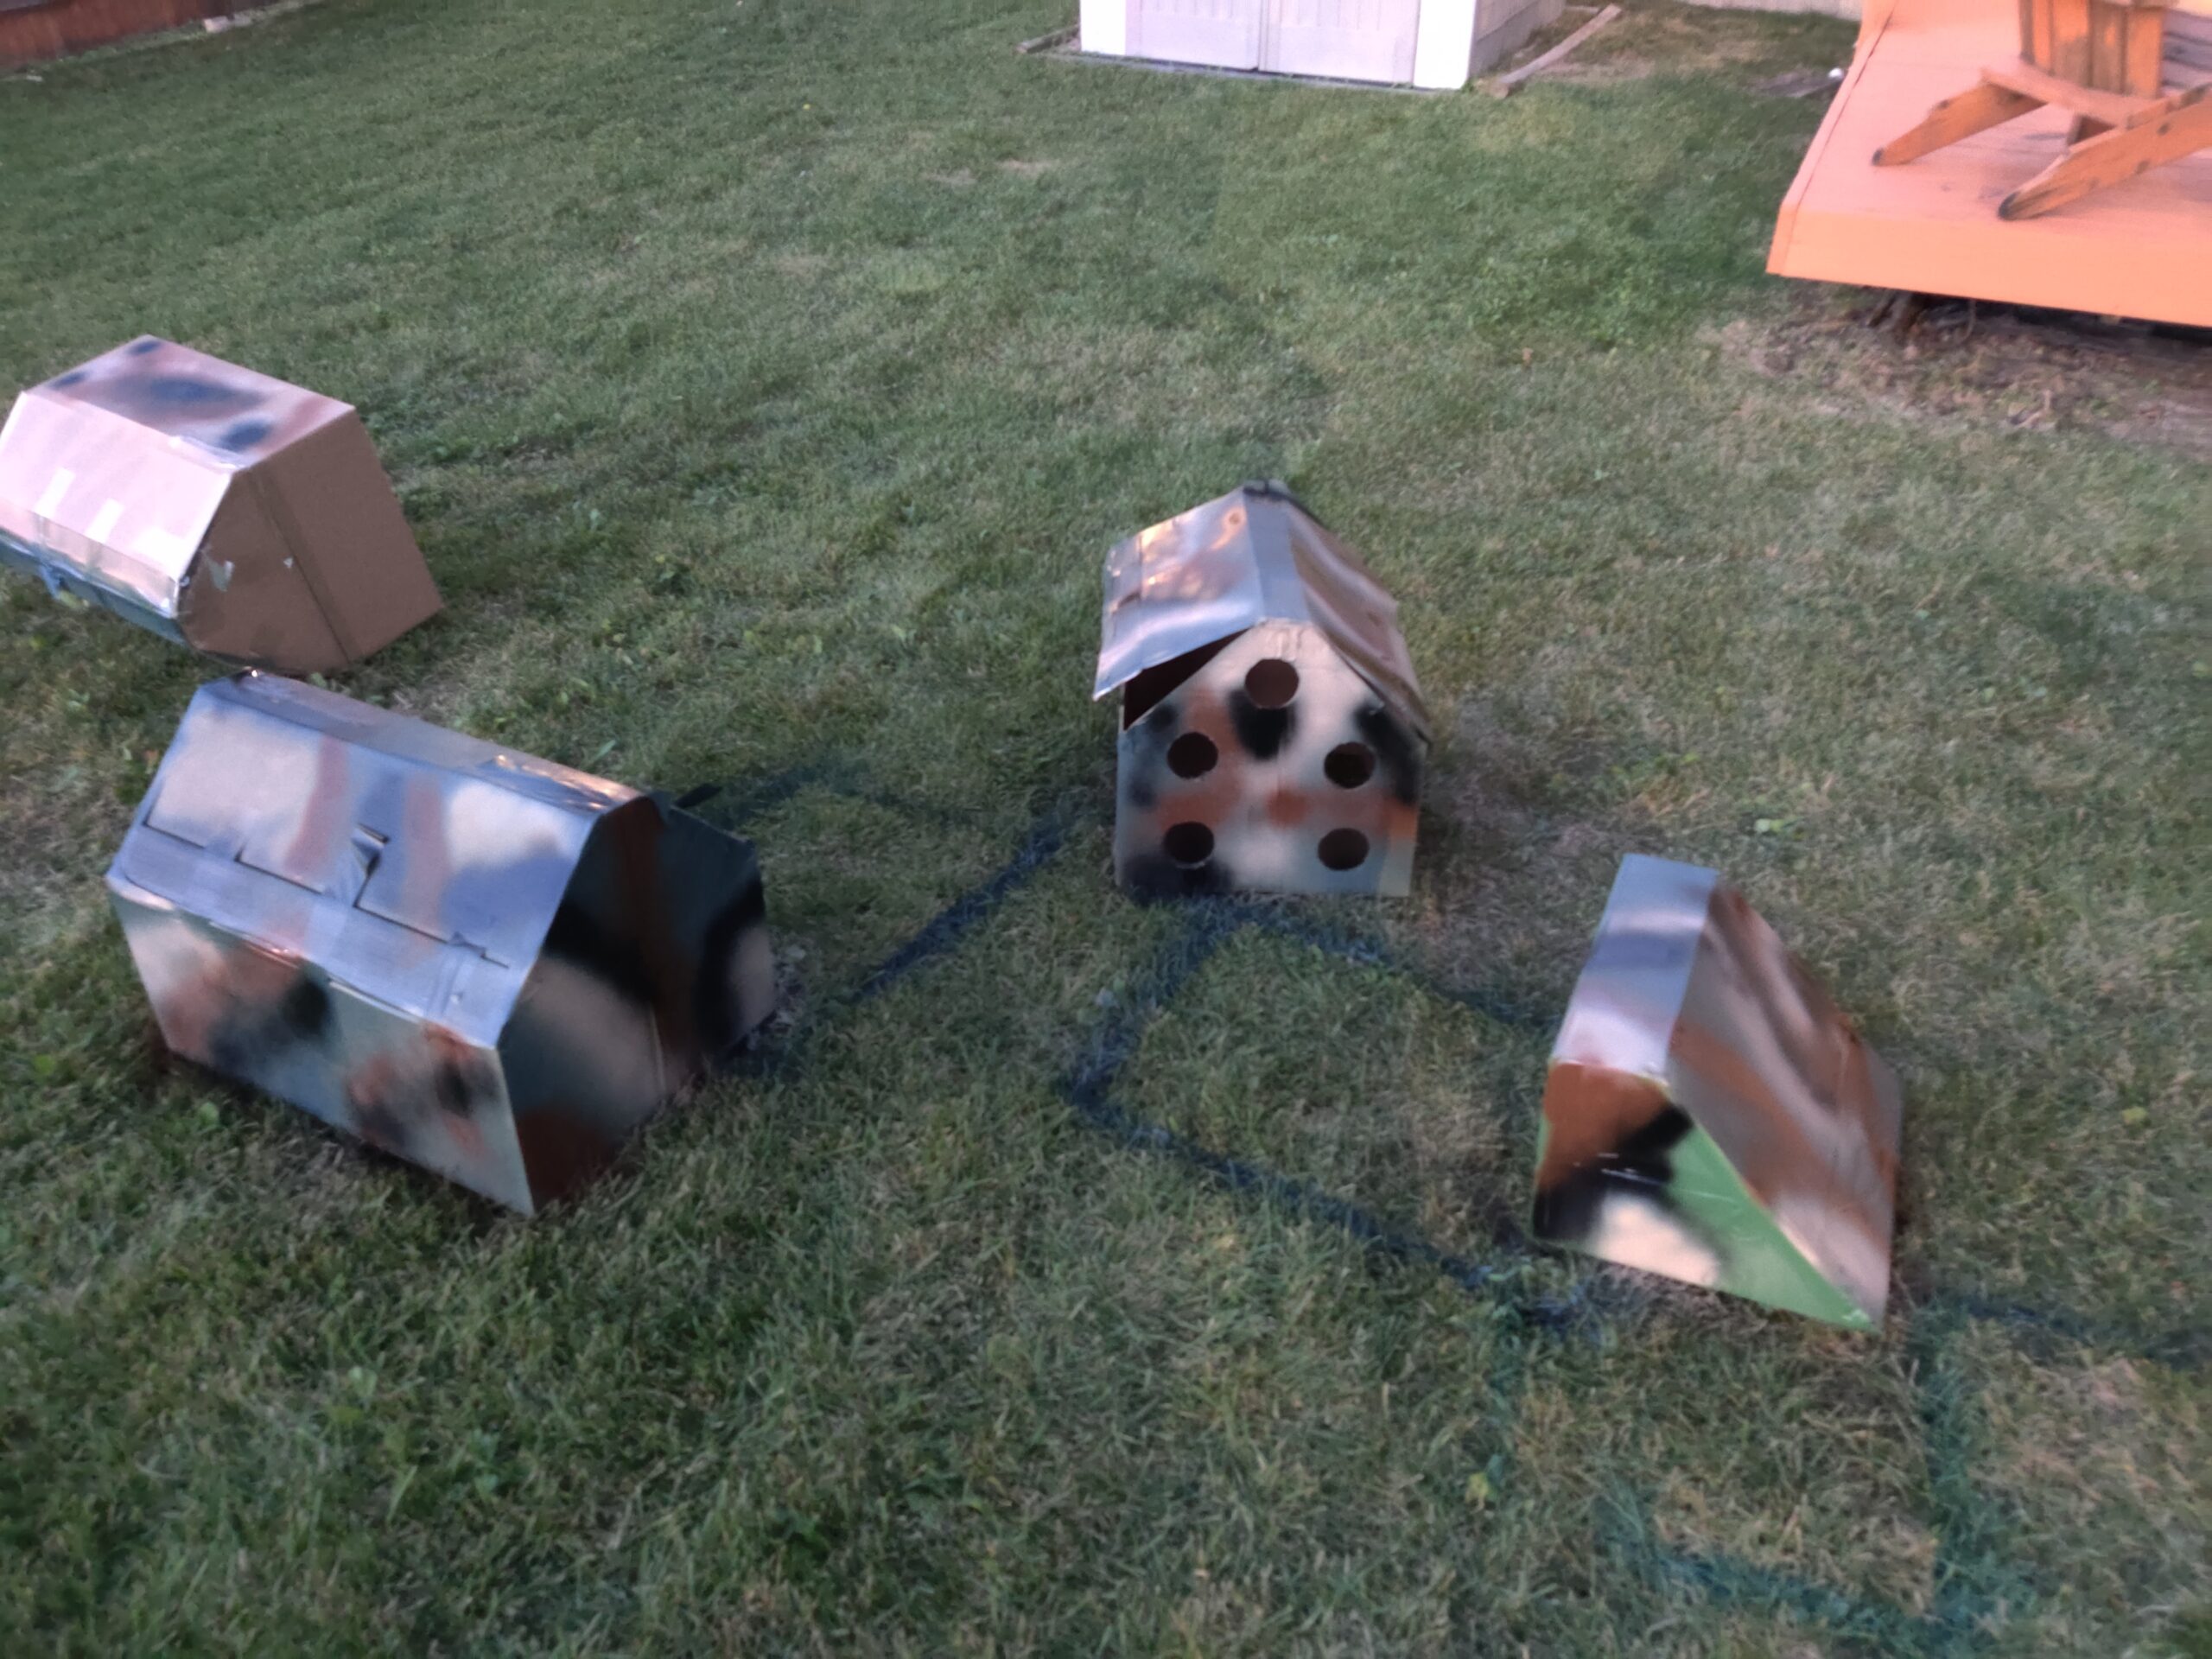
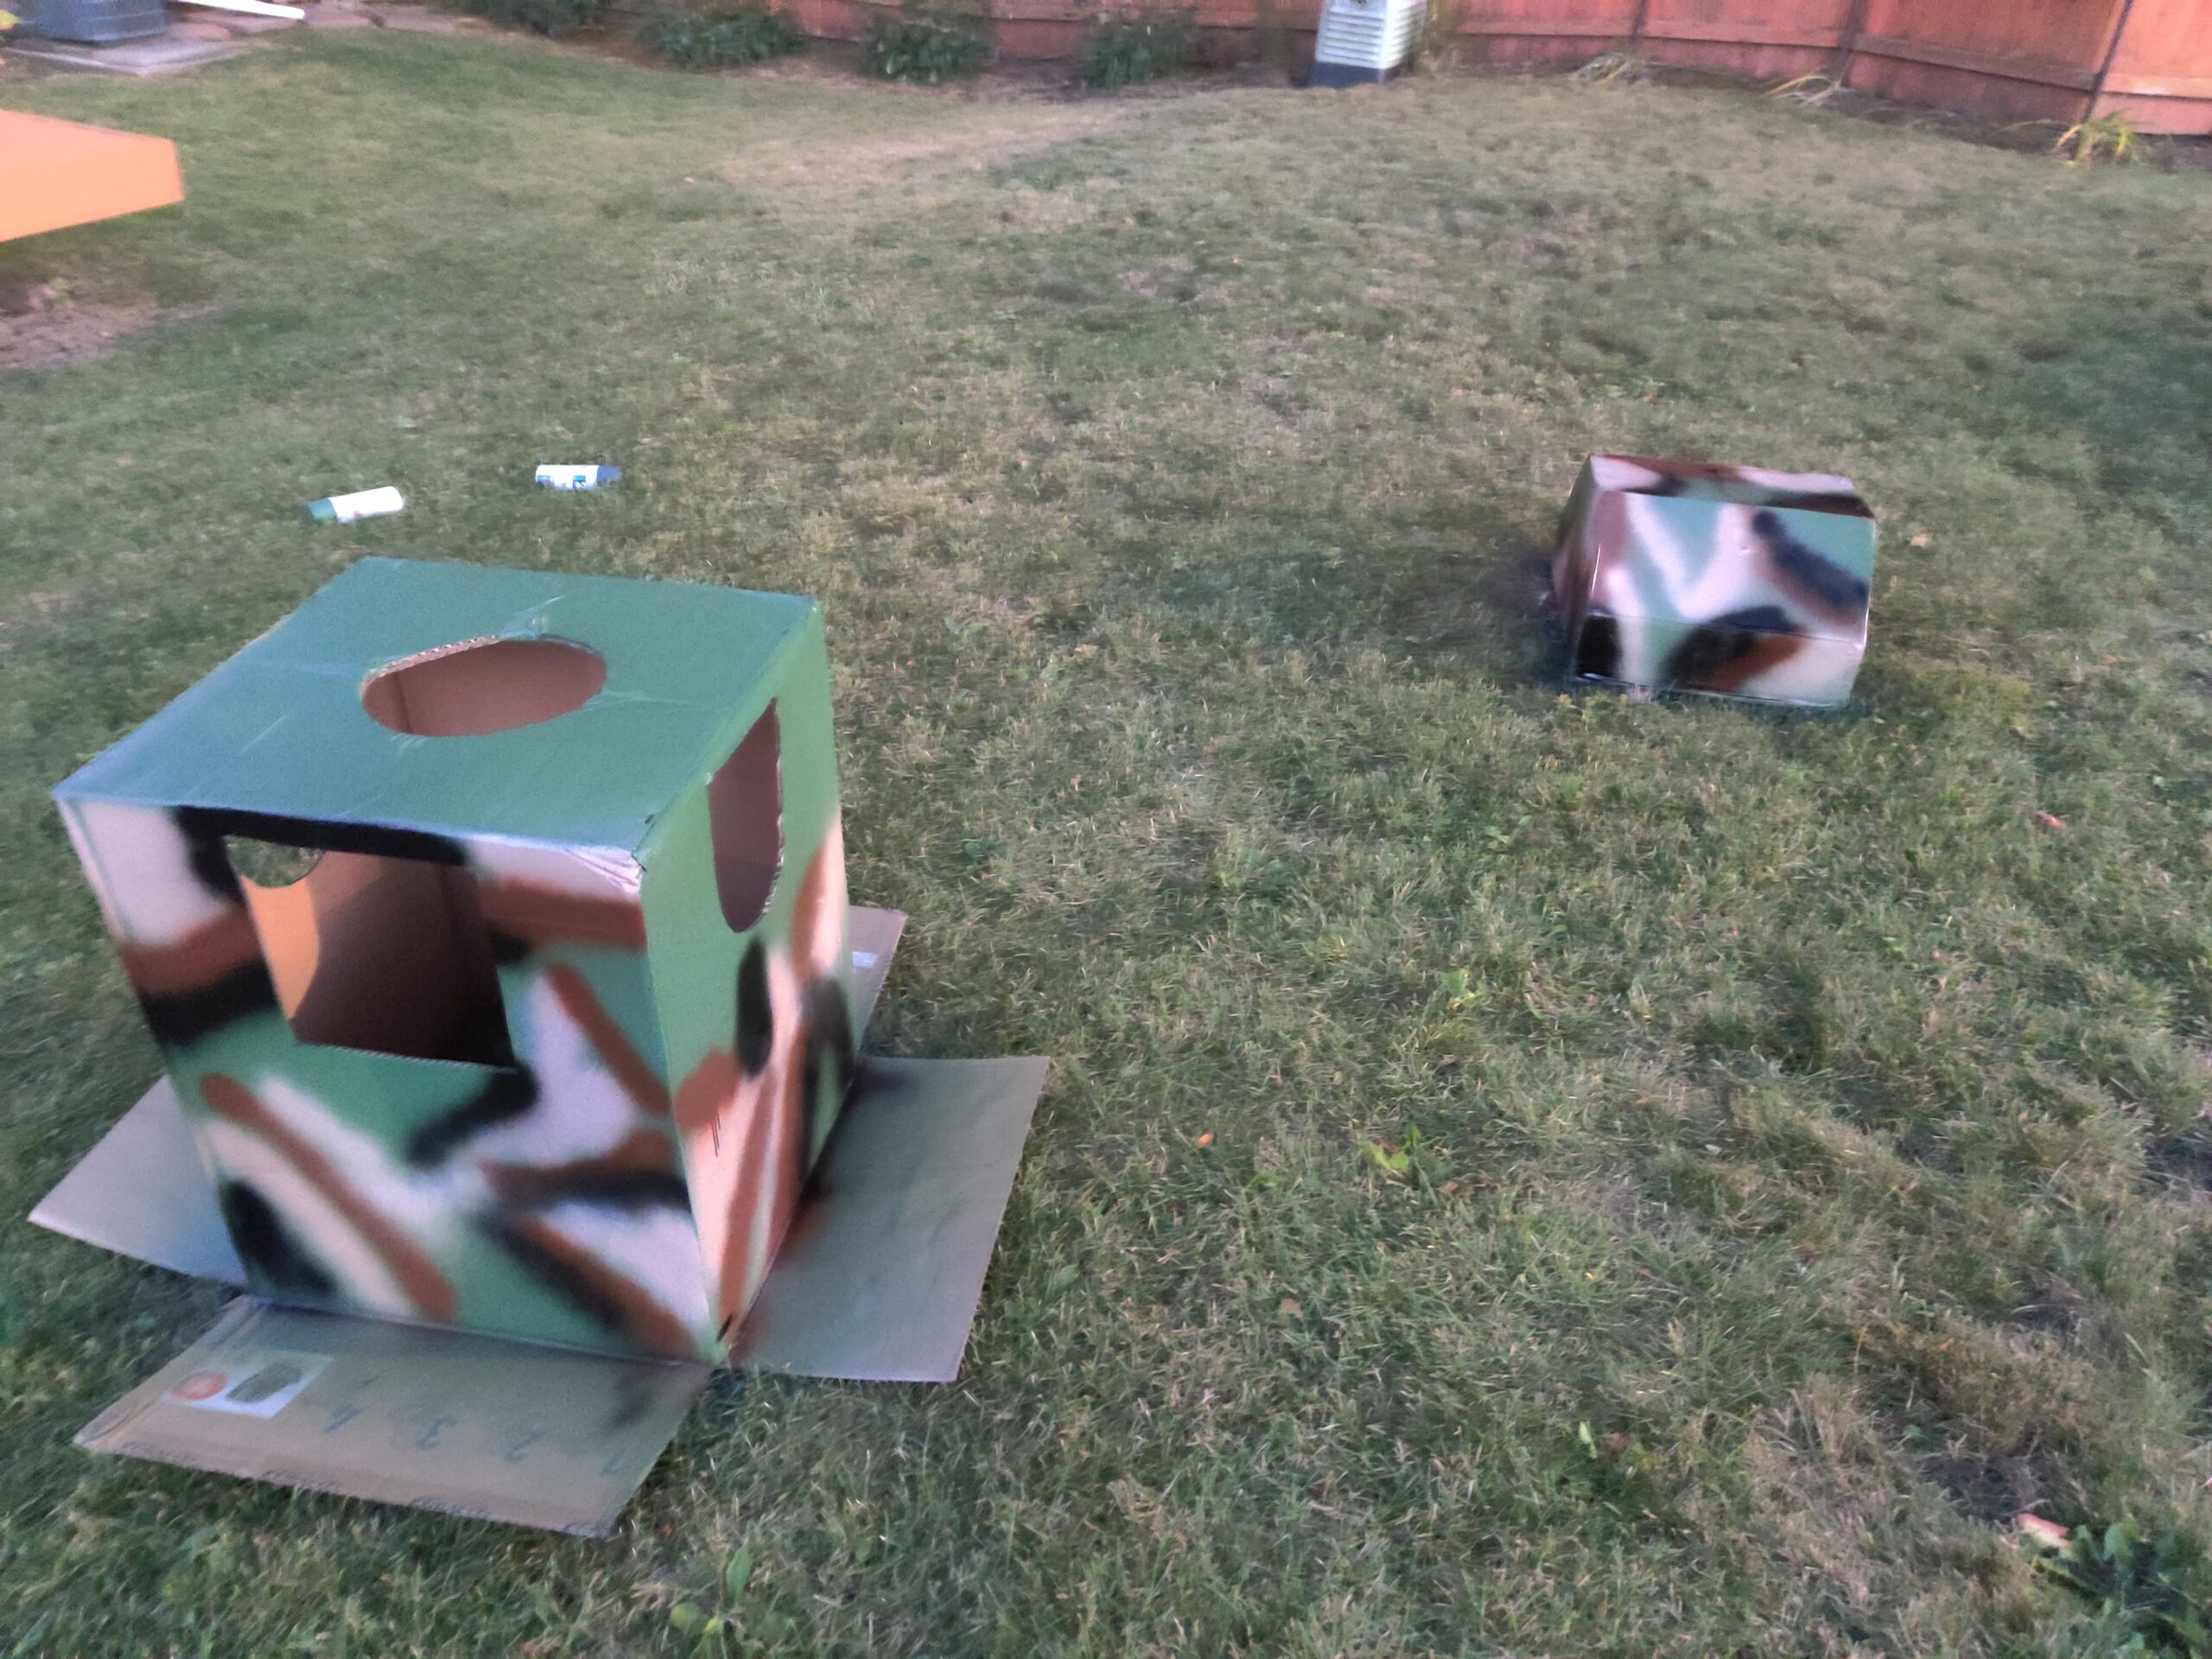
The key to painting camo is pick a base color, then 3-4 secondary colors. I decided to go with a woodland camo with a base color of canyon green. My secondary colors are brown, black, and coyote. The rocket pods I decide to do a slightly darker pine green. Just to make them a tad more distinguished.
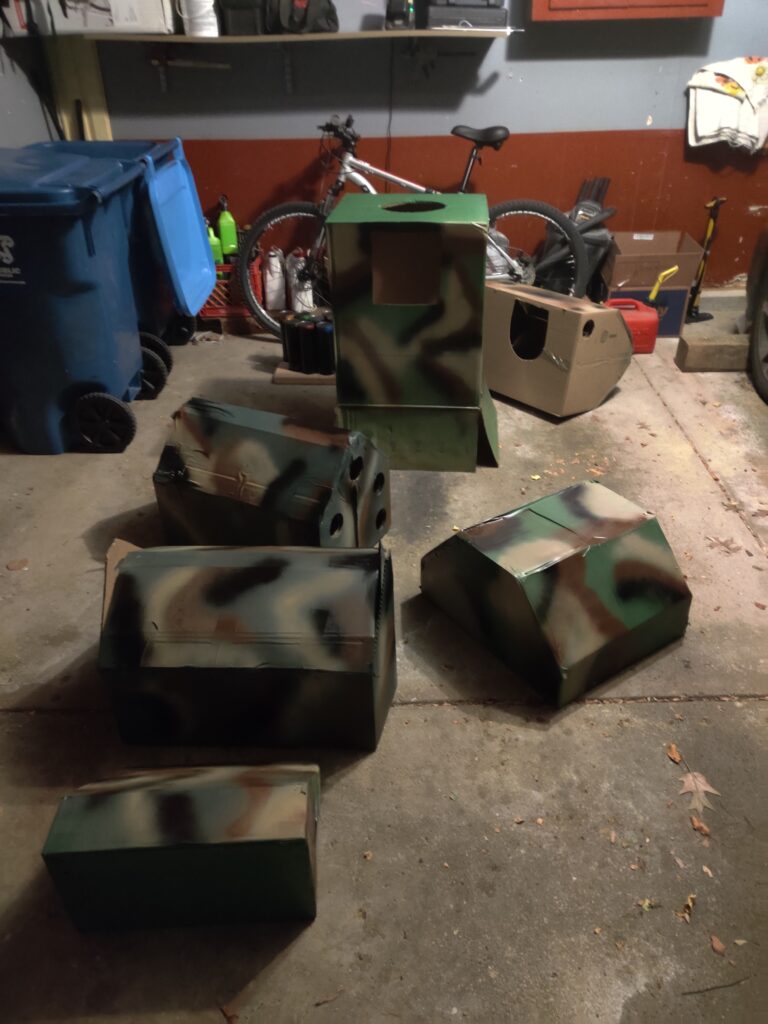
PRO TIP: Don’t be sober when painting! Camo is kind of an art, and in art there is no thinking, just feeling! Let the spray paint fly and see where it takes you. No patterns, no predictability, that’s what makes good camo! Ok, that’s not entirely true… take ASAT (all season, all terrain) camo… with the perfect pattern that shits just confusing….

Reactor Online
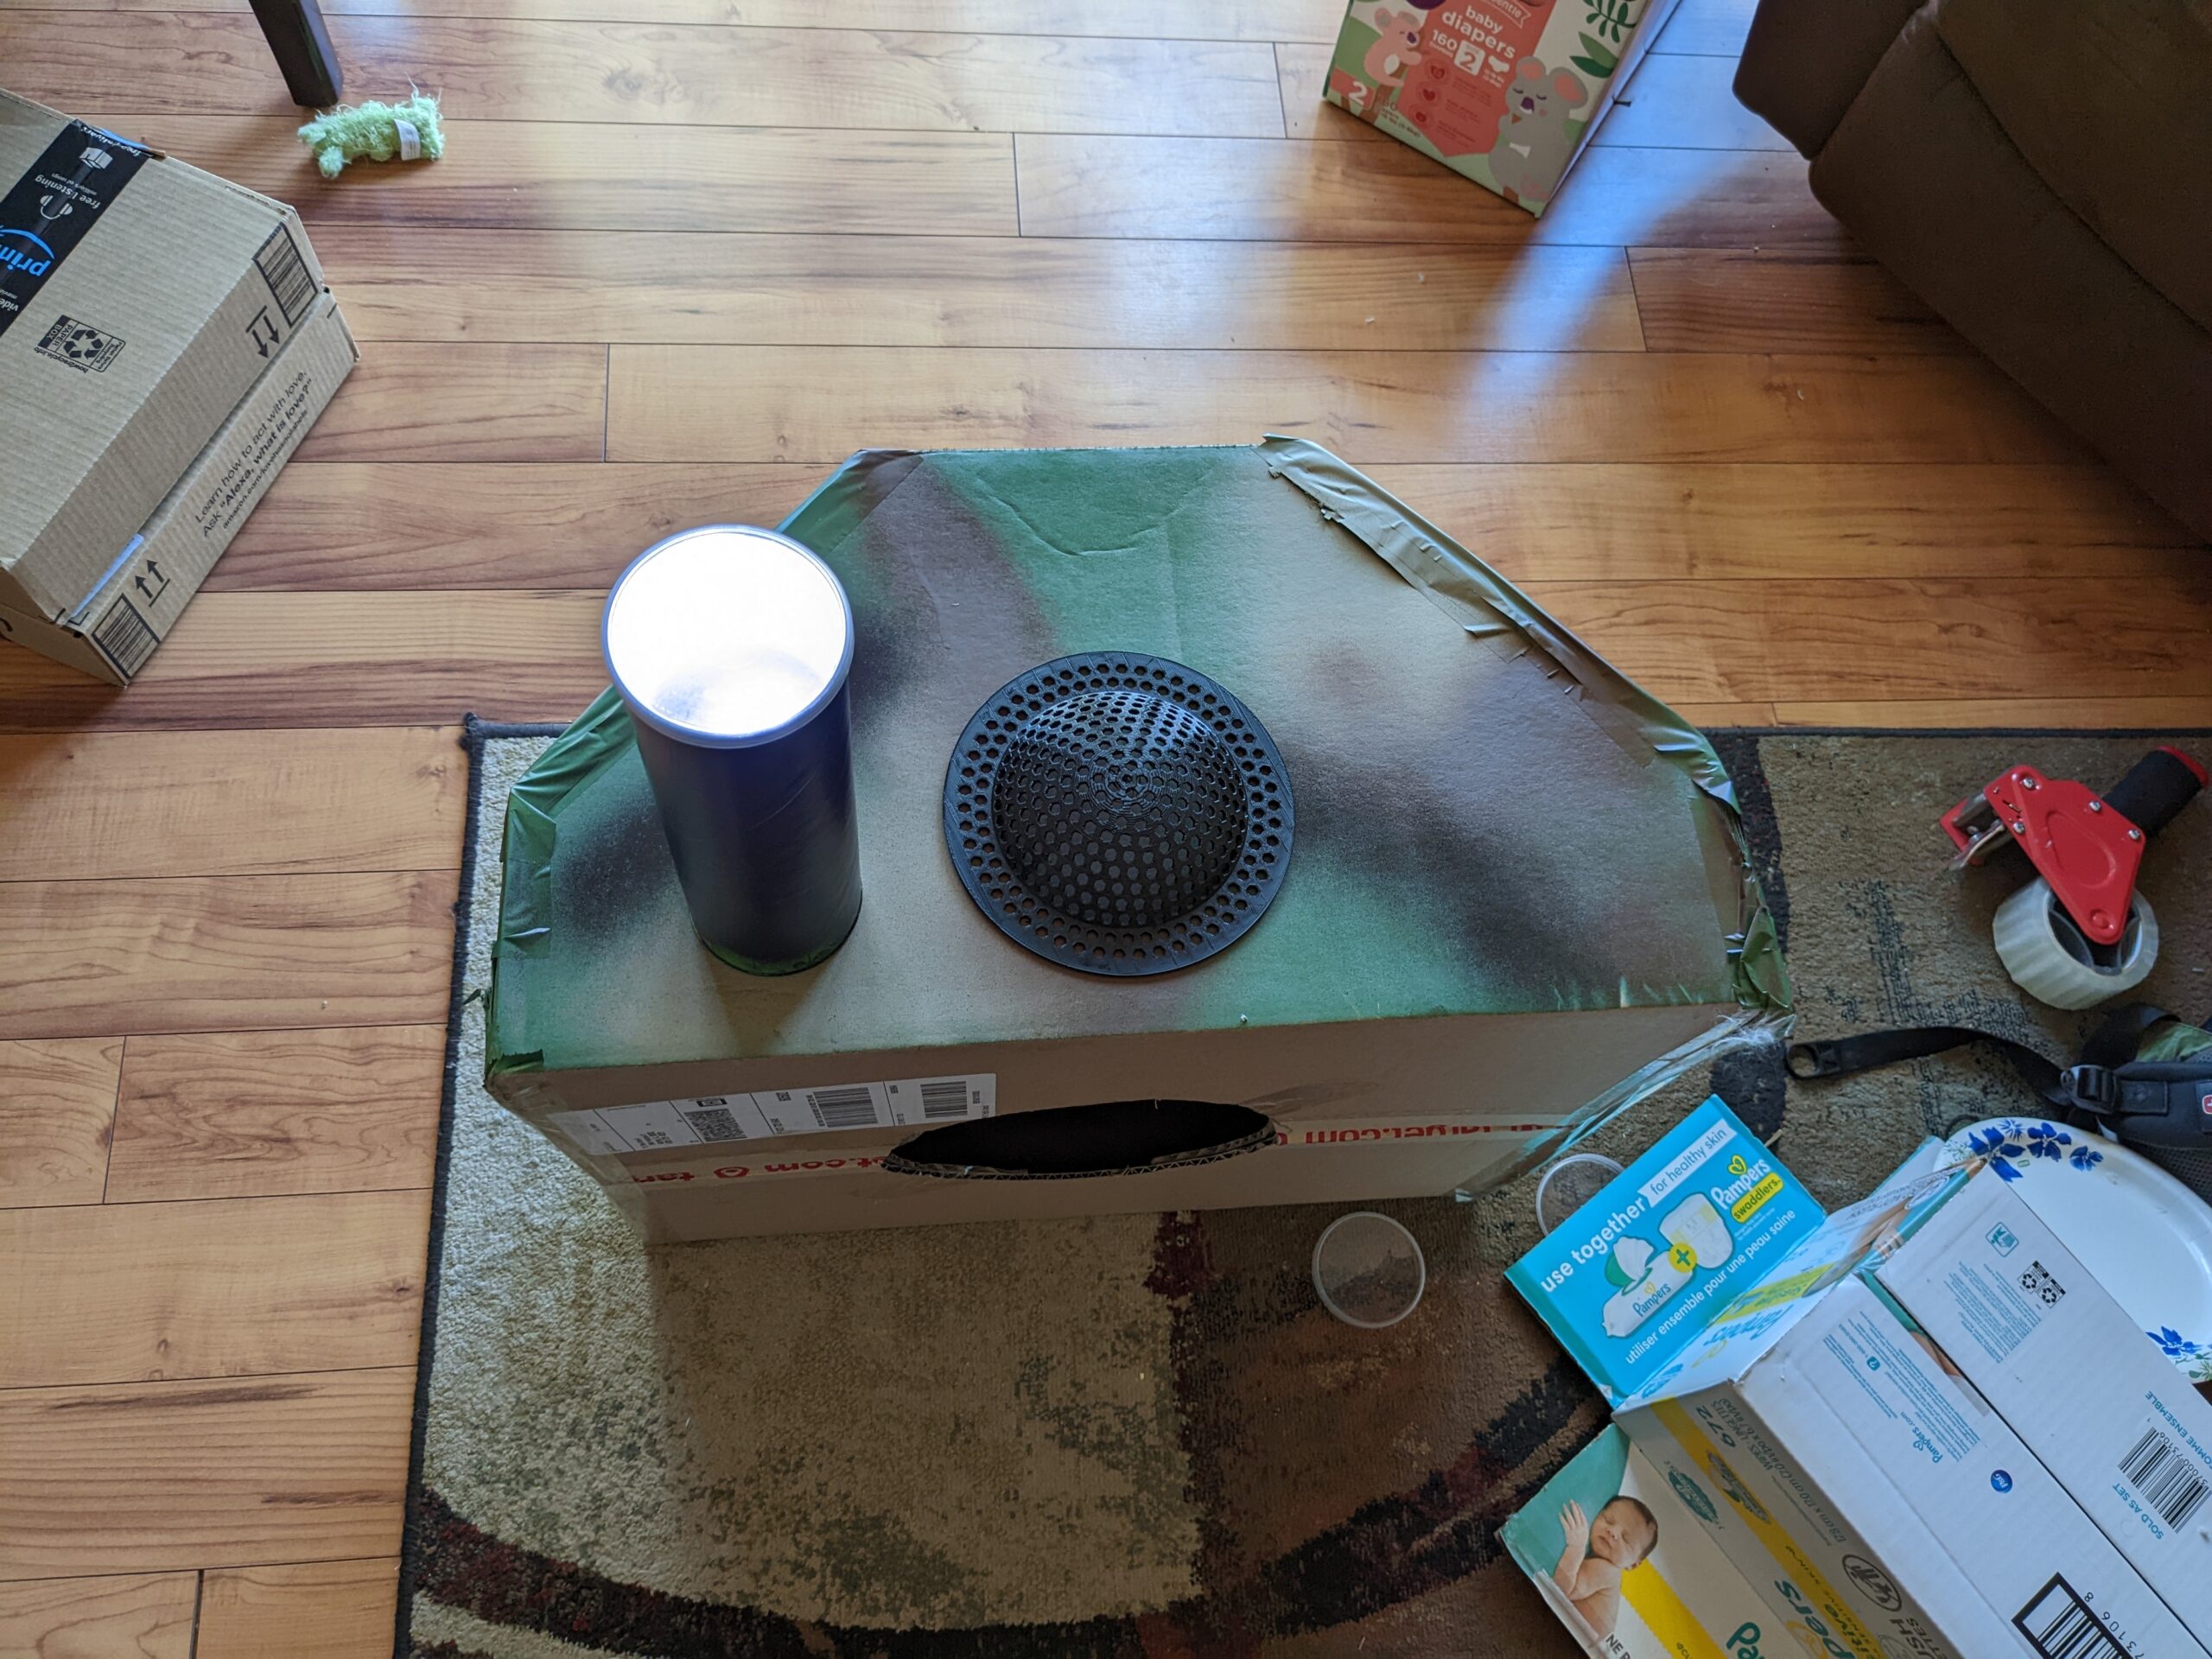
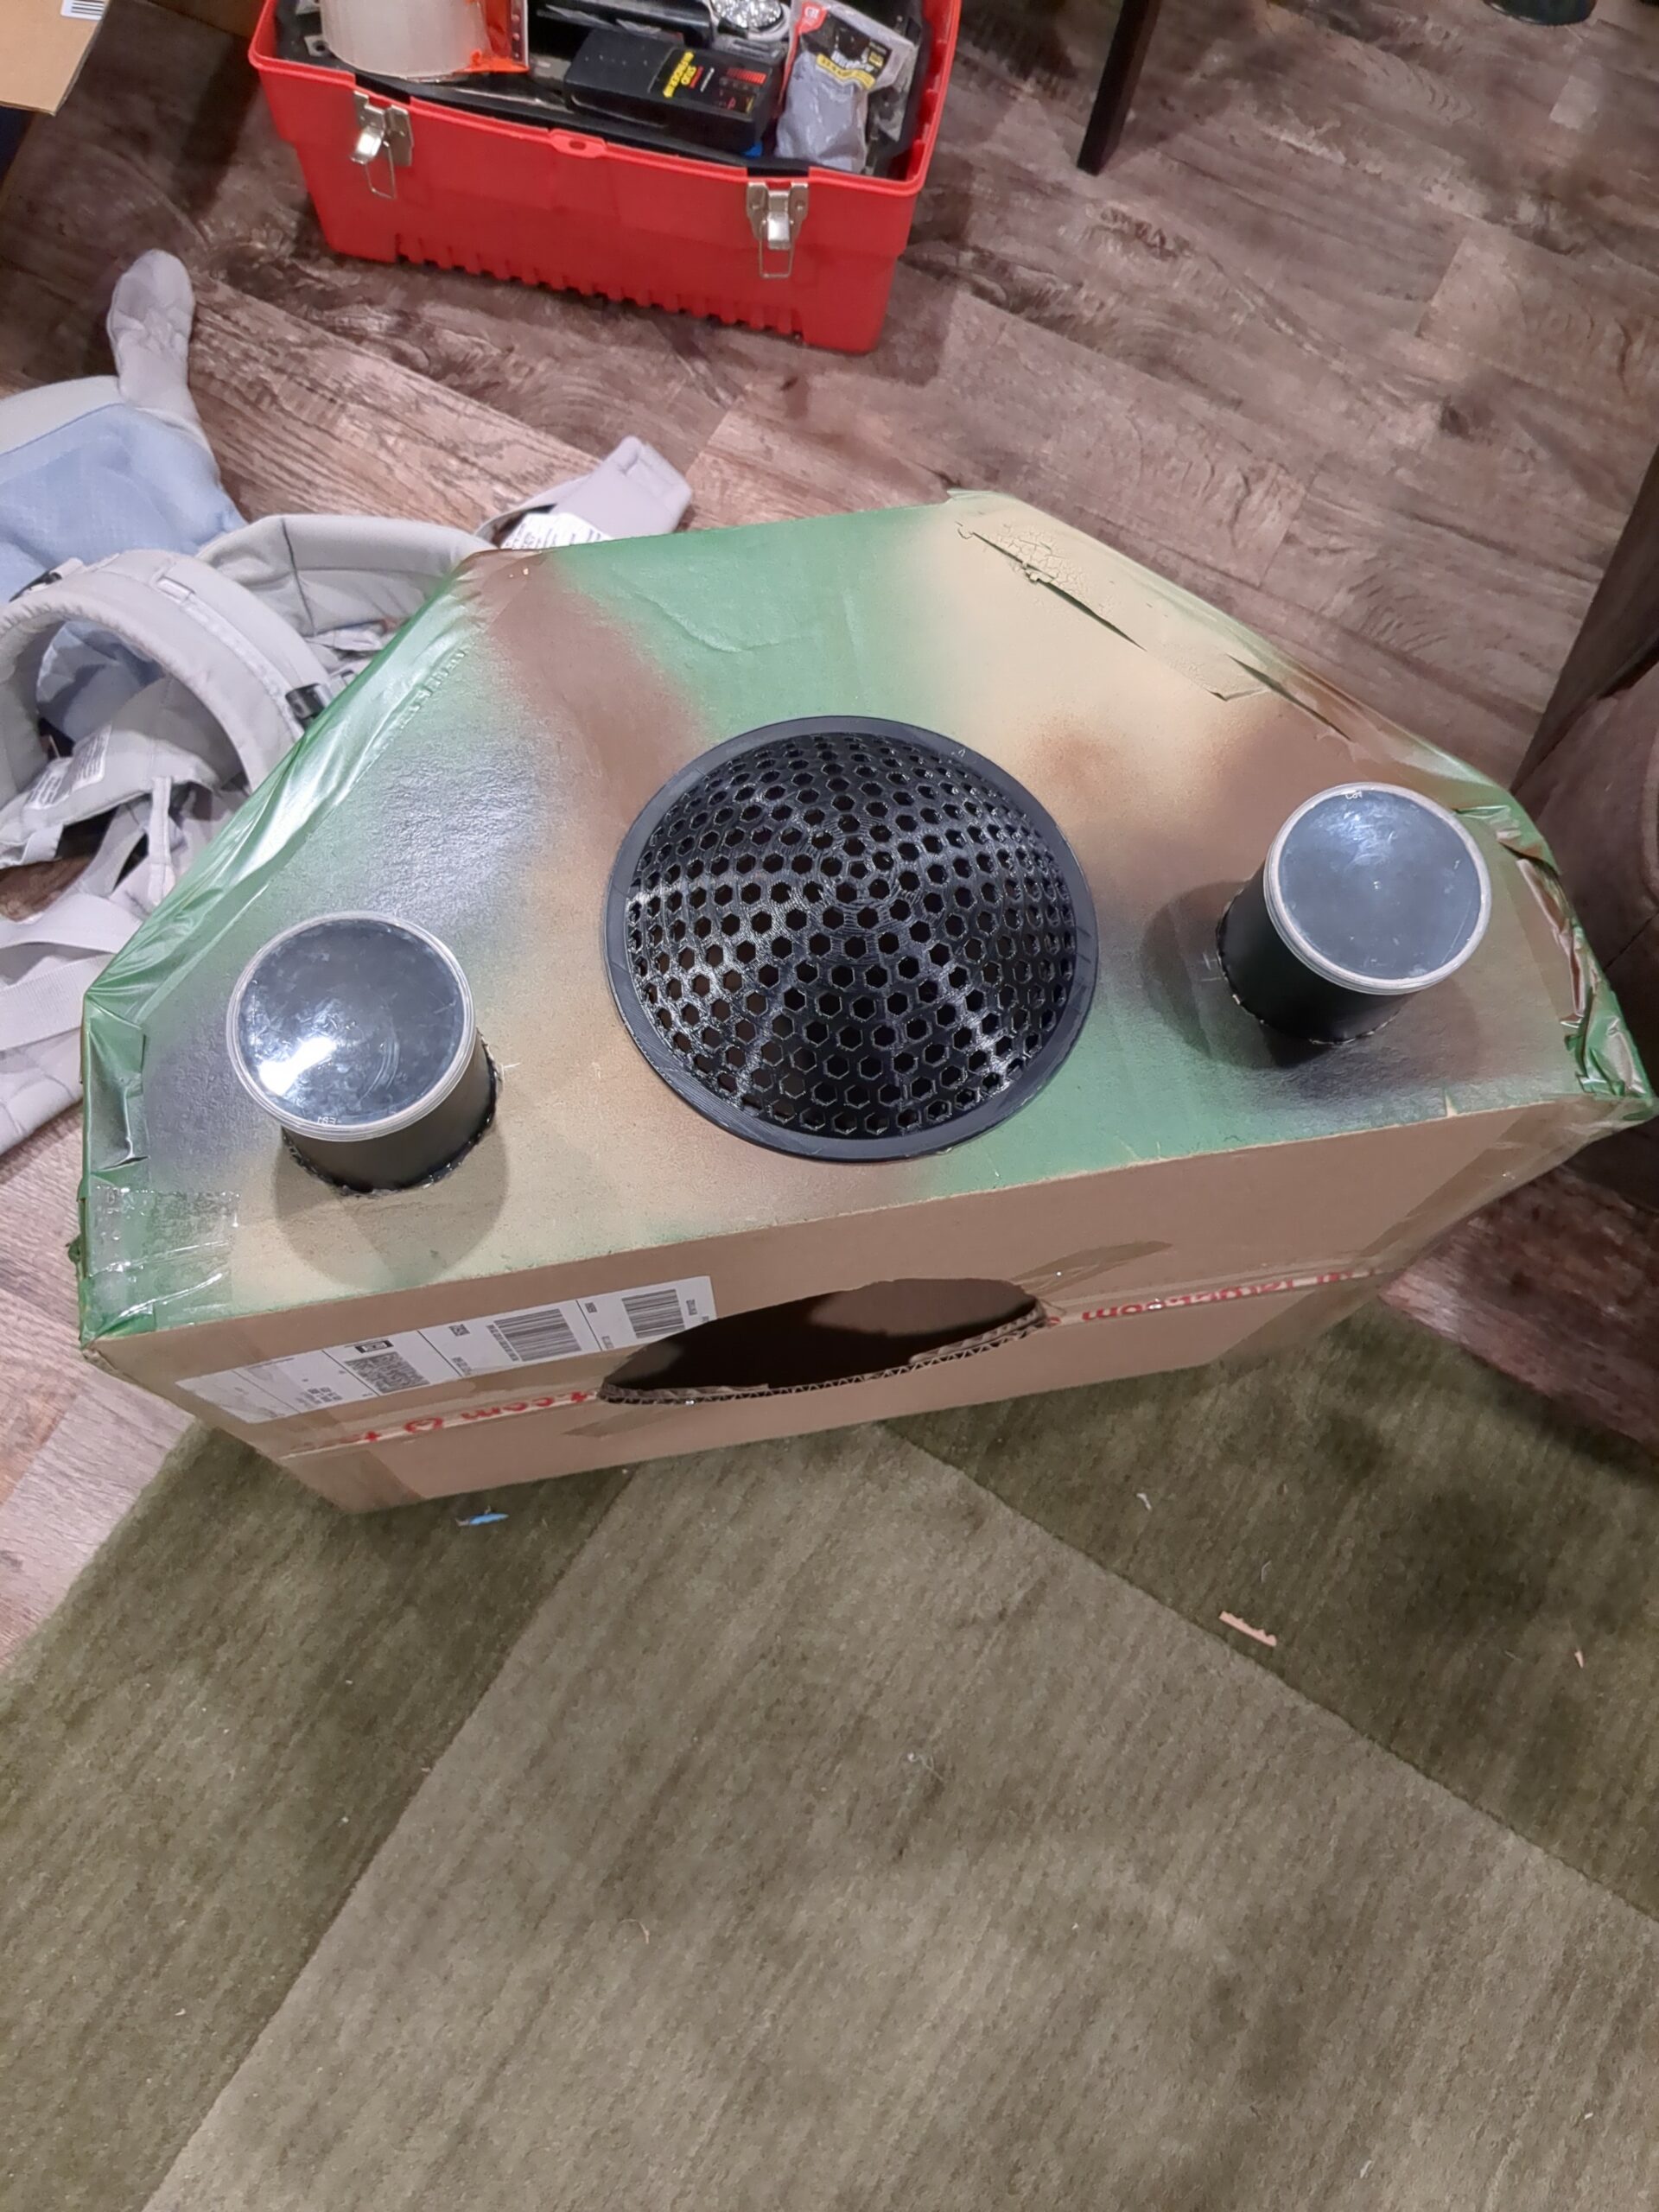
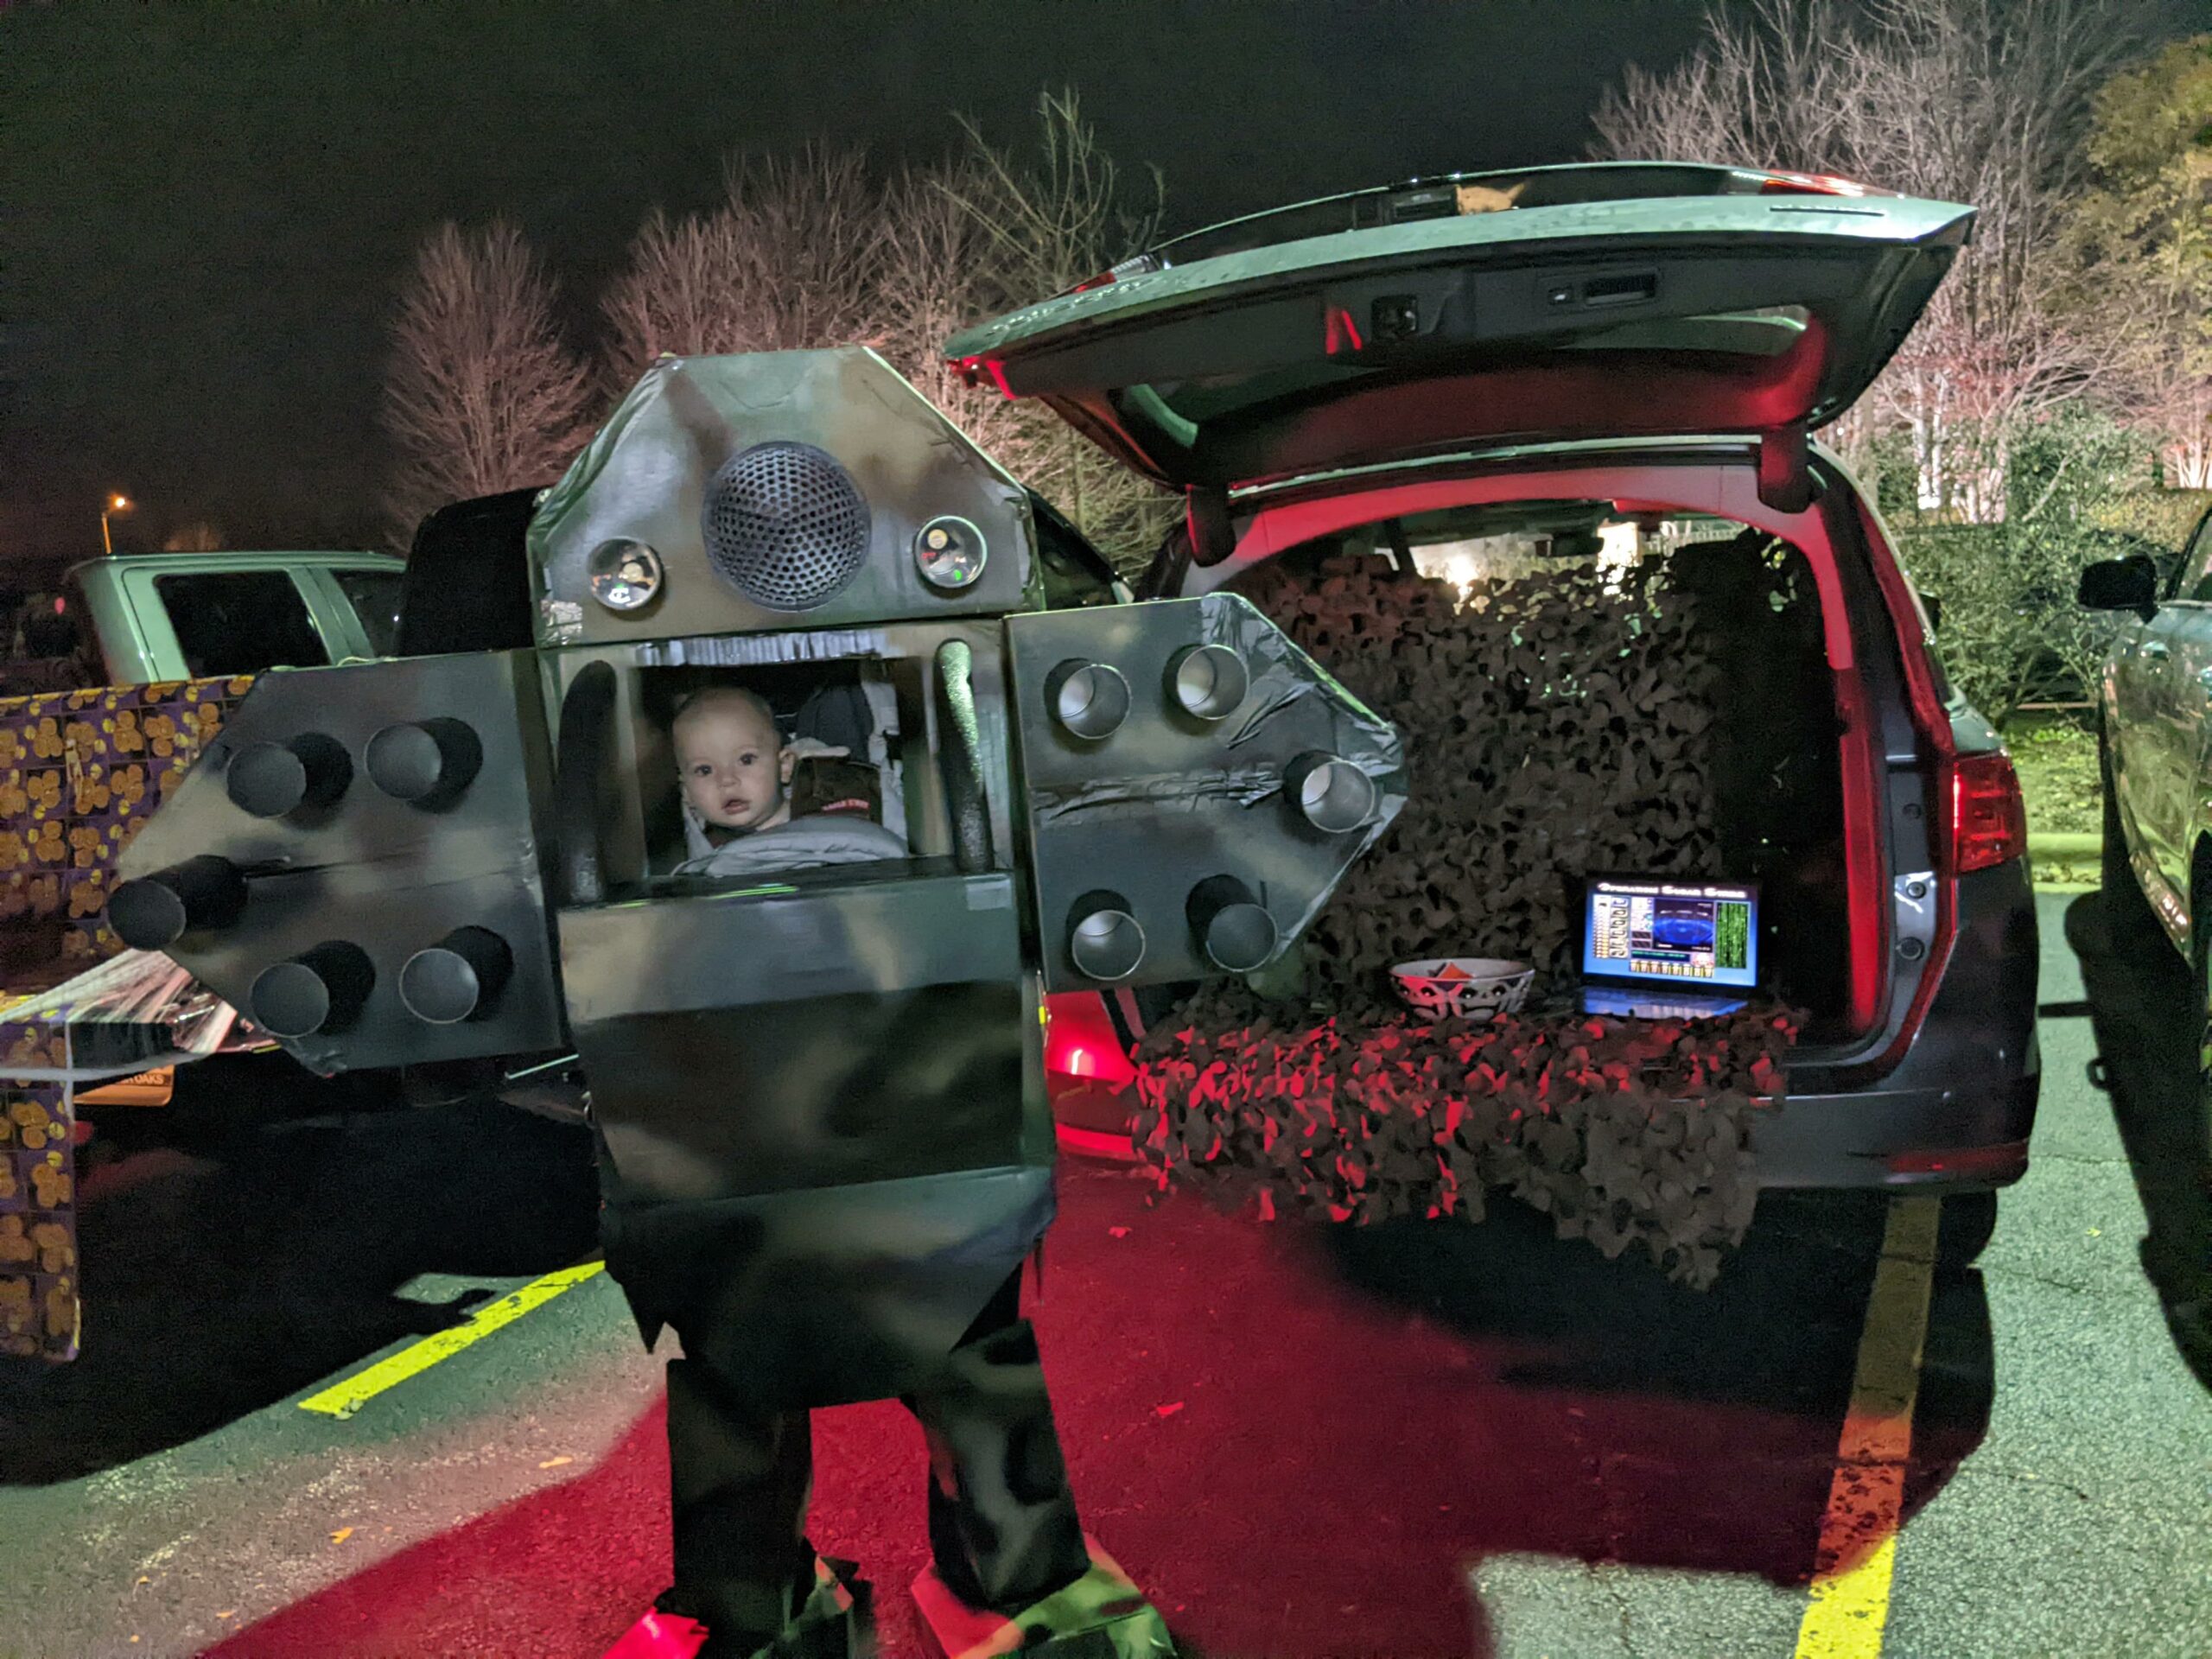
First, the head. Probably the most complicated component. Aaaaand the component with the most 3D prints on it! But first, lets talk headlights. The Pringles cans came from my wife’s school. They were doing a lab with ice core samples, and the Pringles tubes were used to store the frozen ice. After they were done, I repurposed them for the rocket tubes and headlights.
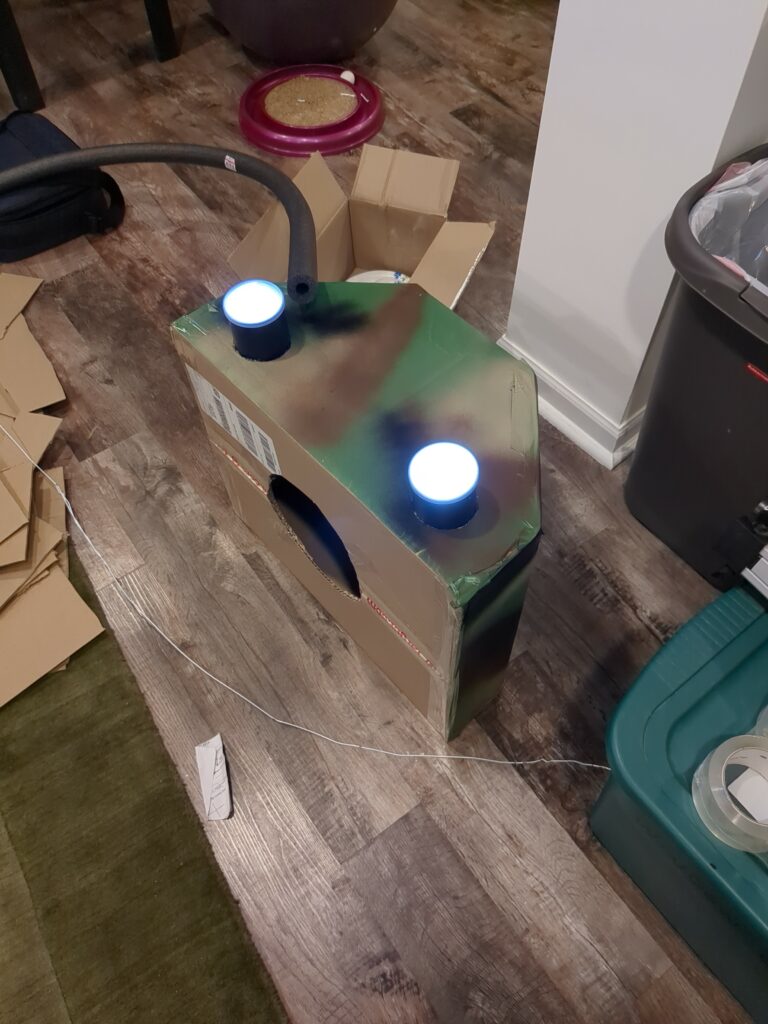
The headlights were trickier than I thought. I ended up cutting the bottom of the tubes, making square holes for the ends of the LED flashlights to fit through. Then using a METRIC SHIT TON OF HOT GLUE, got the LEDs to be fairly centered in the tube. So, reaching into the head hole, its pretty easy to click the lights on and off.
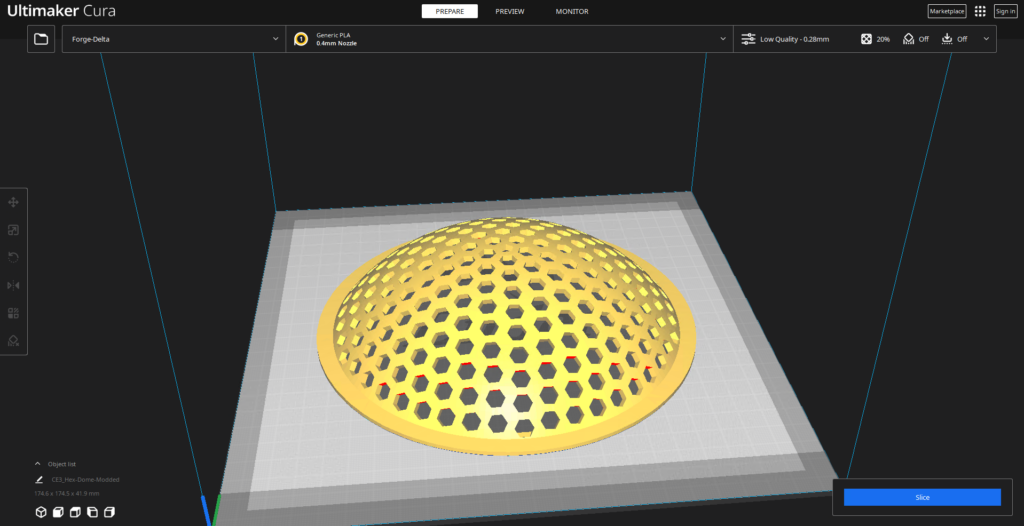
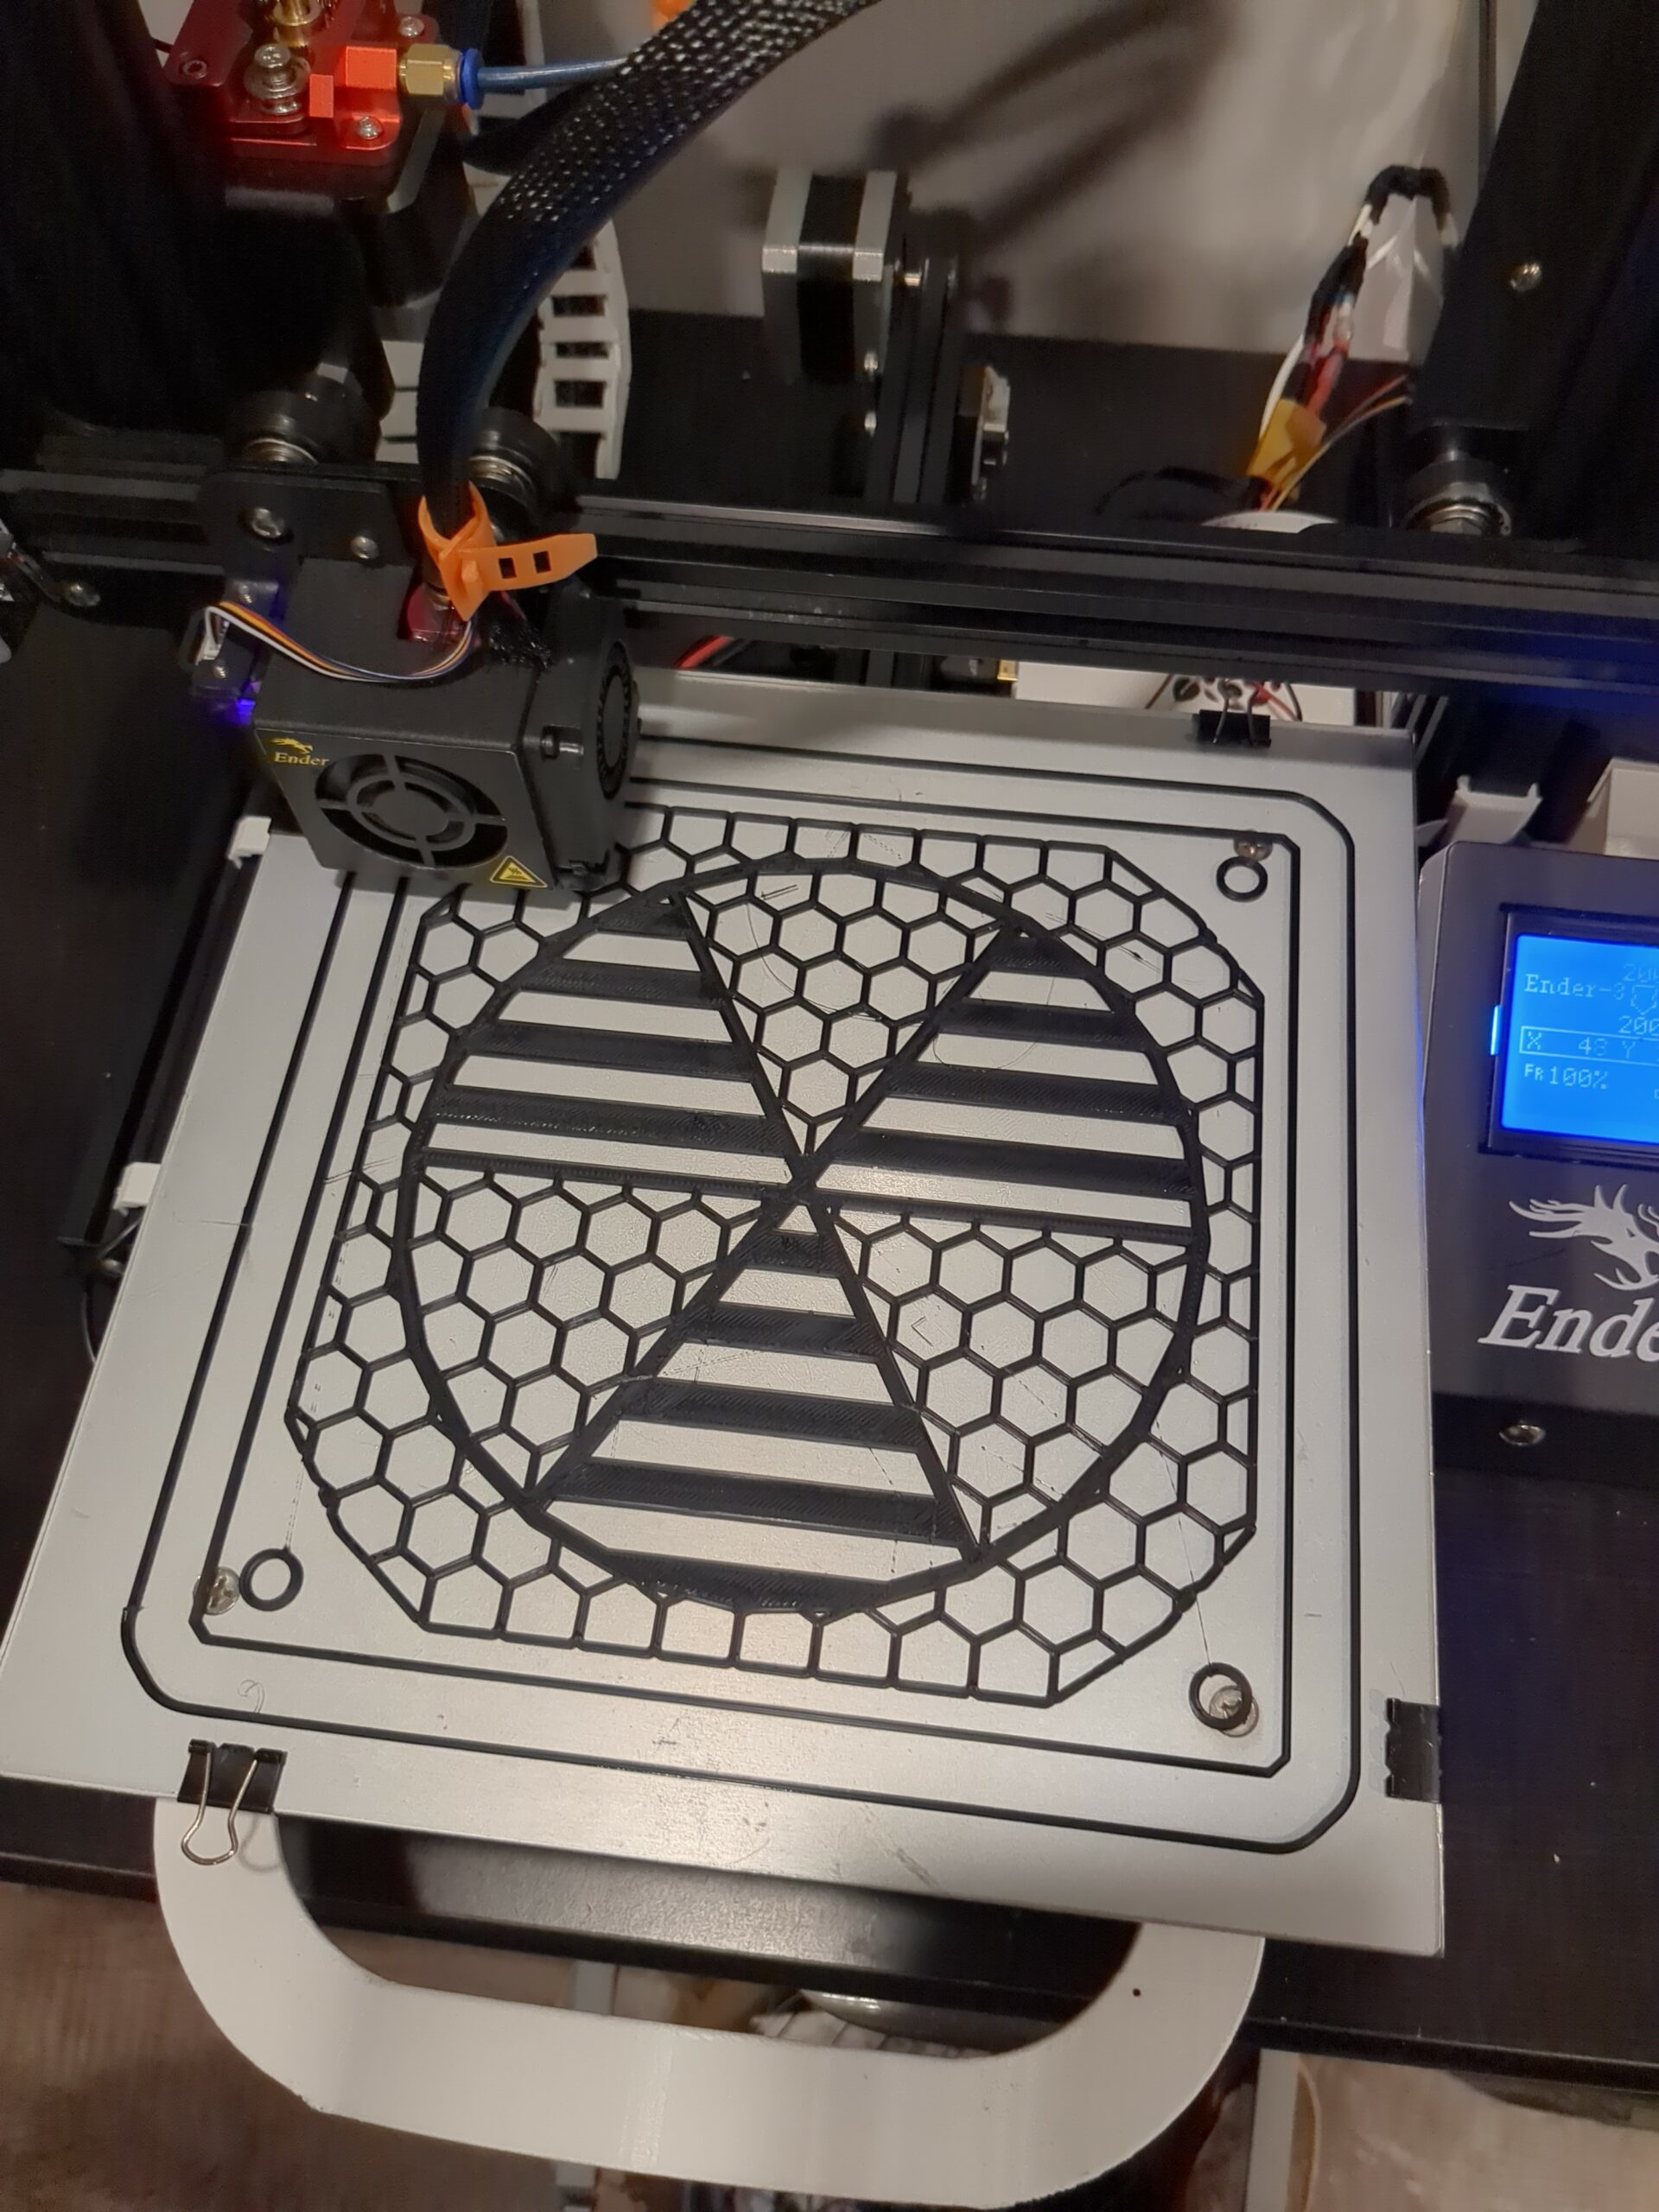
Like I mentioned before, a blind mech is a dead mech and I need to see where the hell I’m going! So, on Thingiverse, I found a sink strainer. I threw the file into Blender and modified it a bit. Removing the large flange and made it a bit taller. In Cura I scaled it to just fit the whole bed, meaning maximum visibility for me! The end result came out perfect 🙂
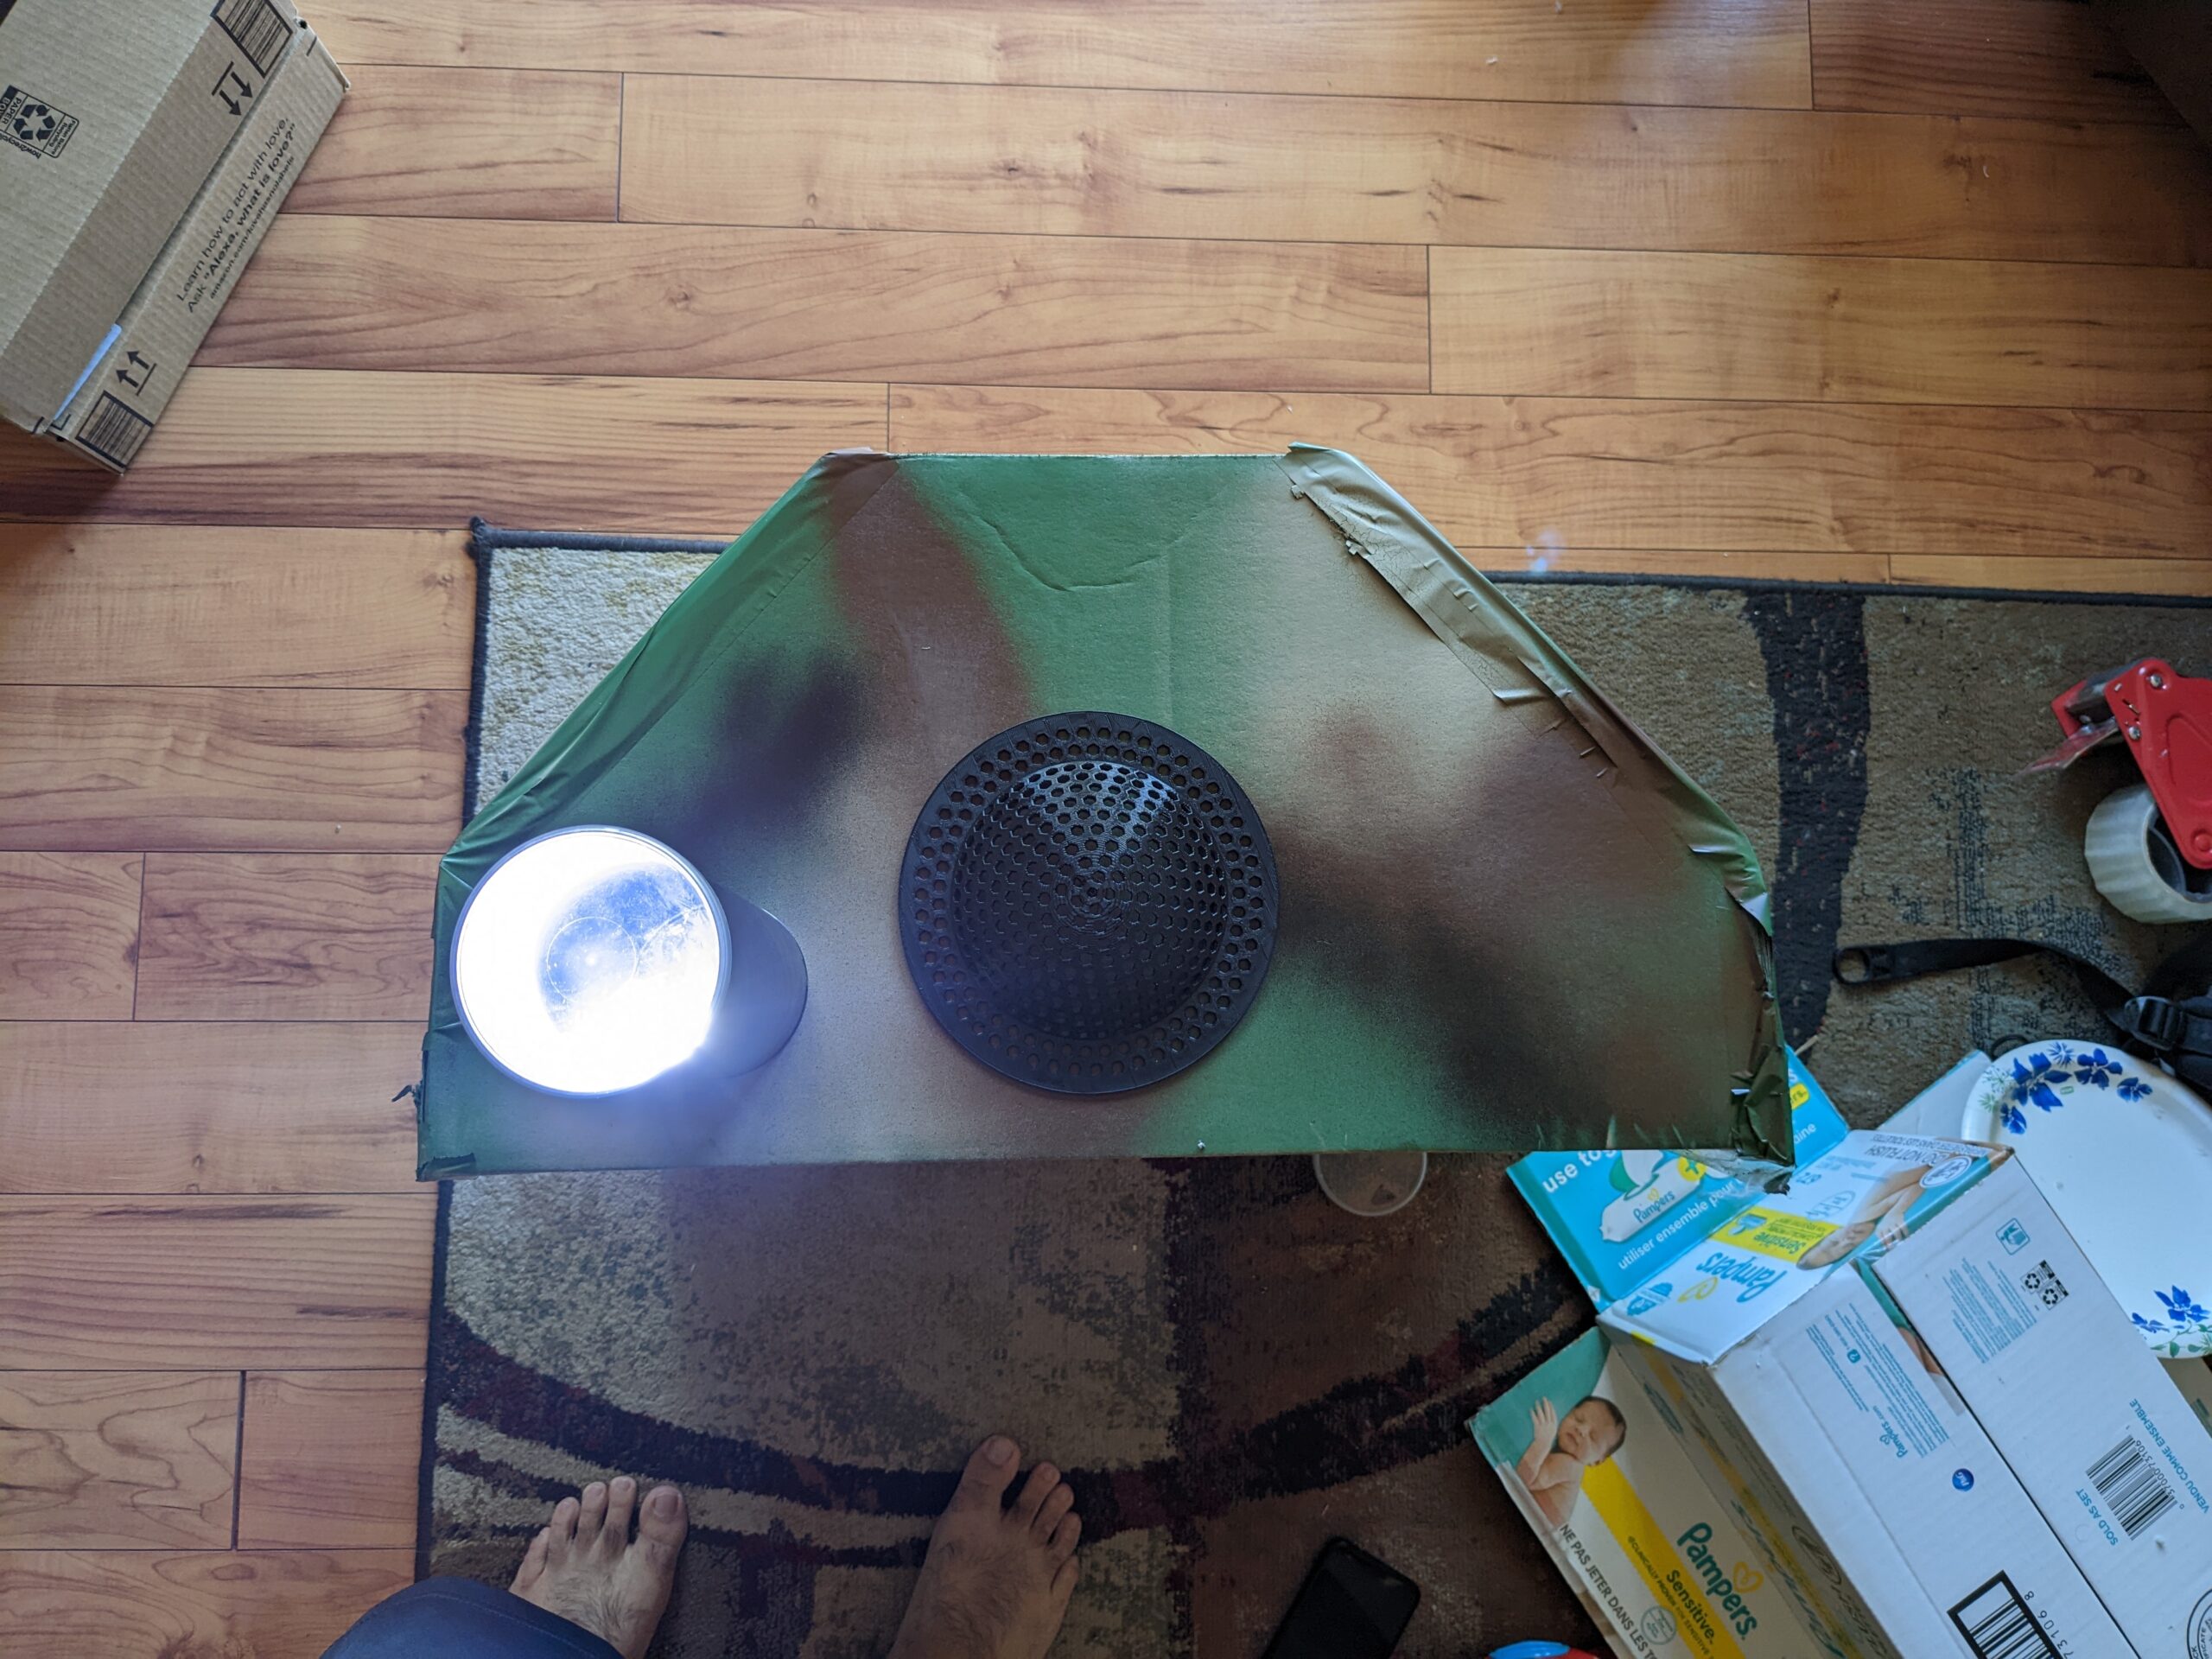
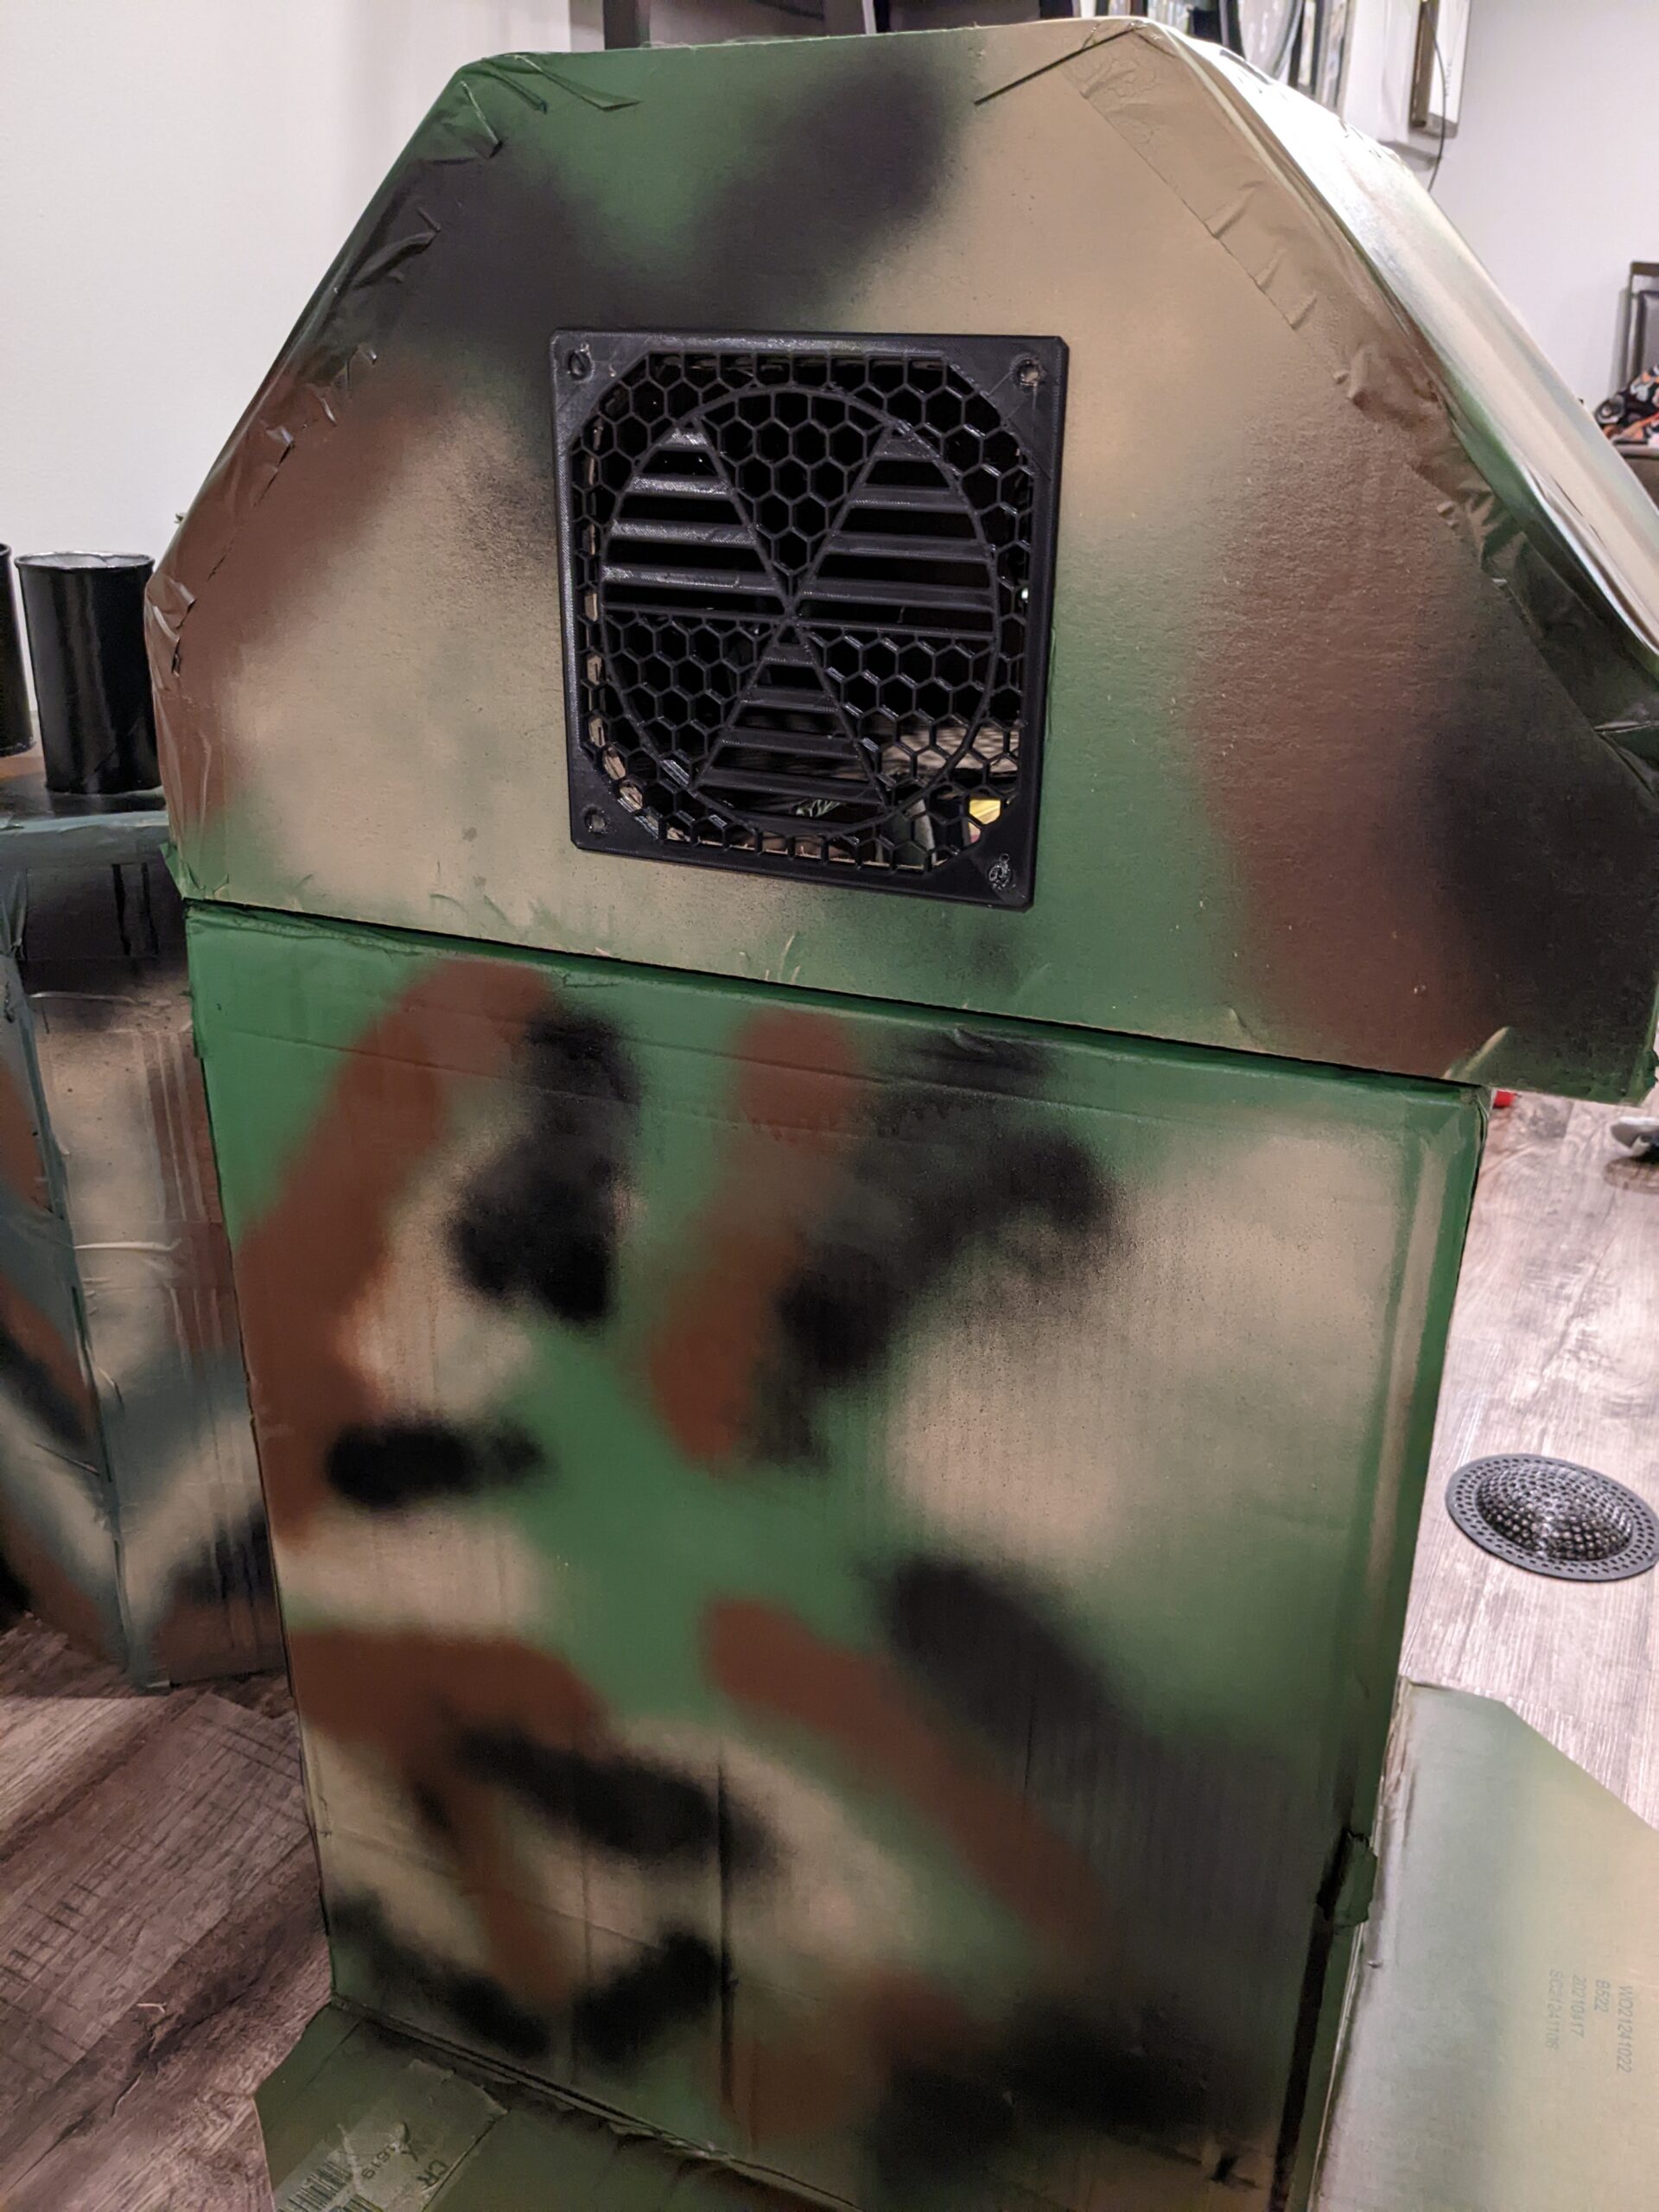
With extensive testing, one problem I ran into was overheating. Not the mech though, I have plenty of heatsinks 🙂 The problem was me… I needed some kind of ventilation. But not just any vent will do, we need to show that this is a nuclear mech!
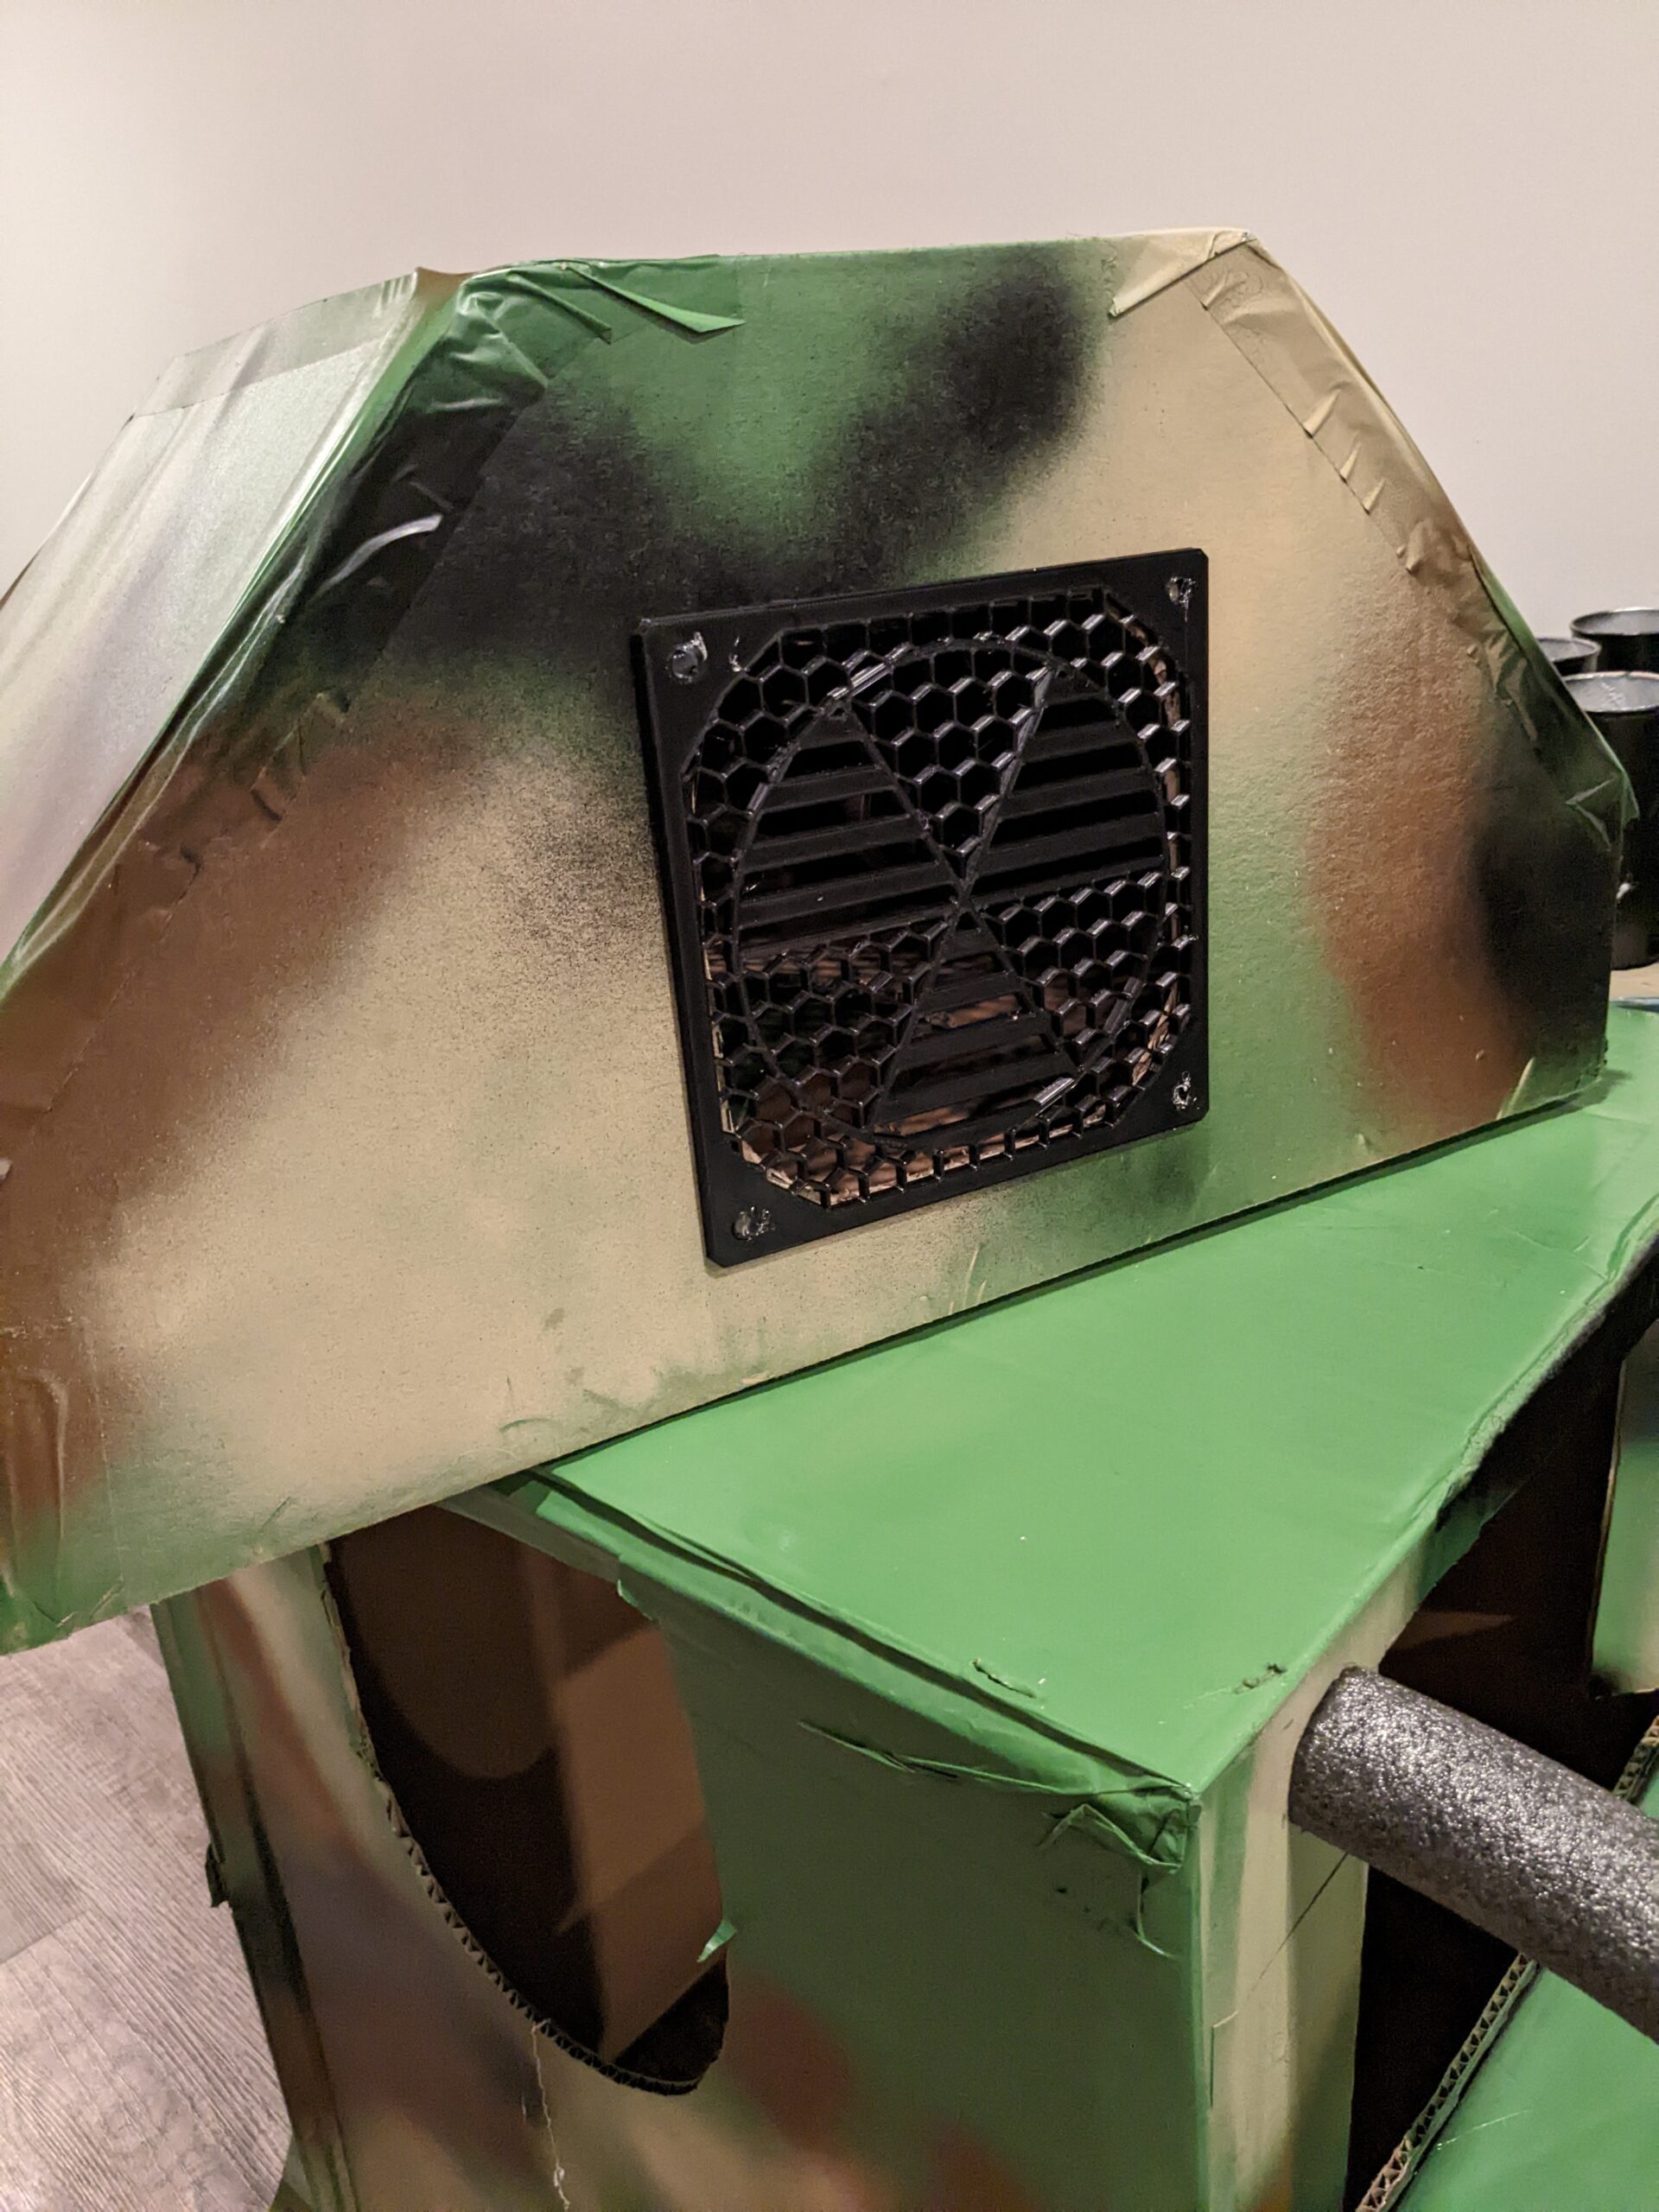
Sensors Online
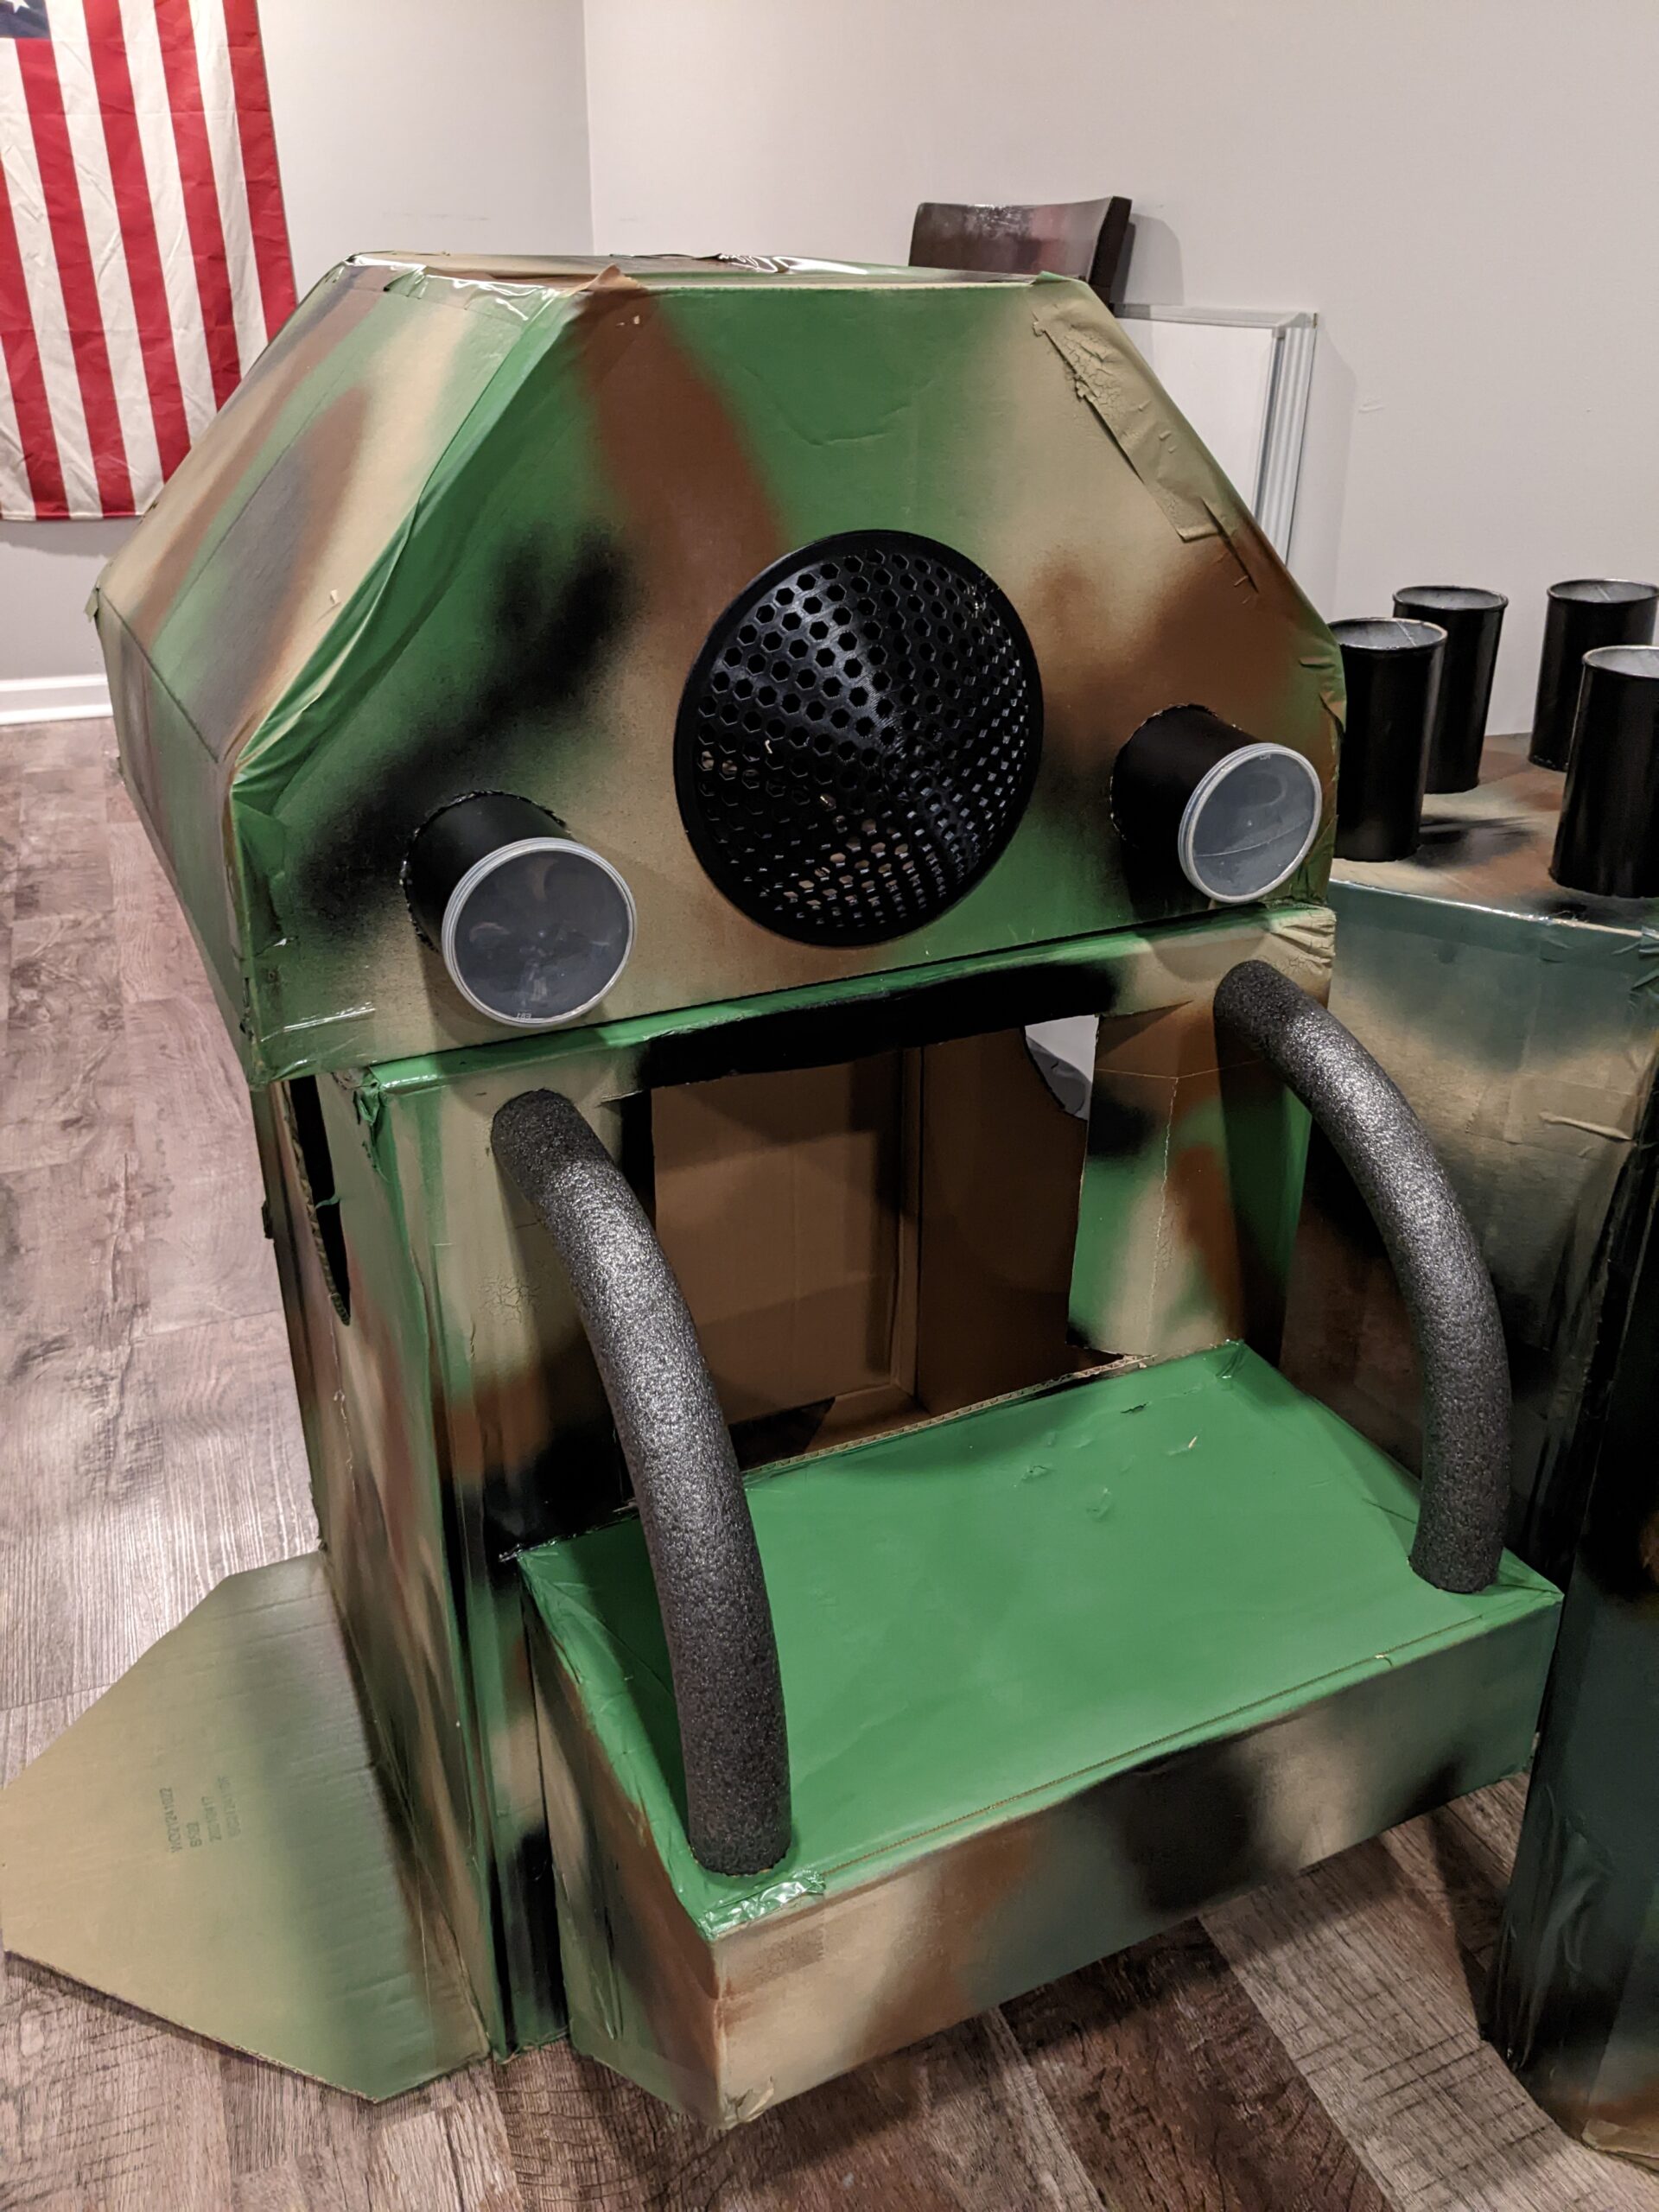
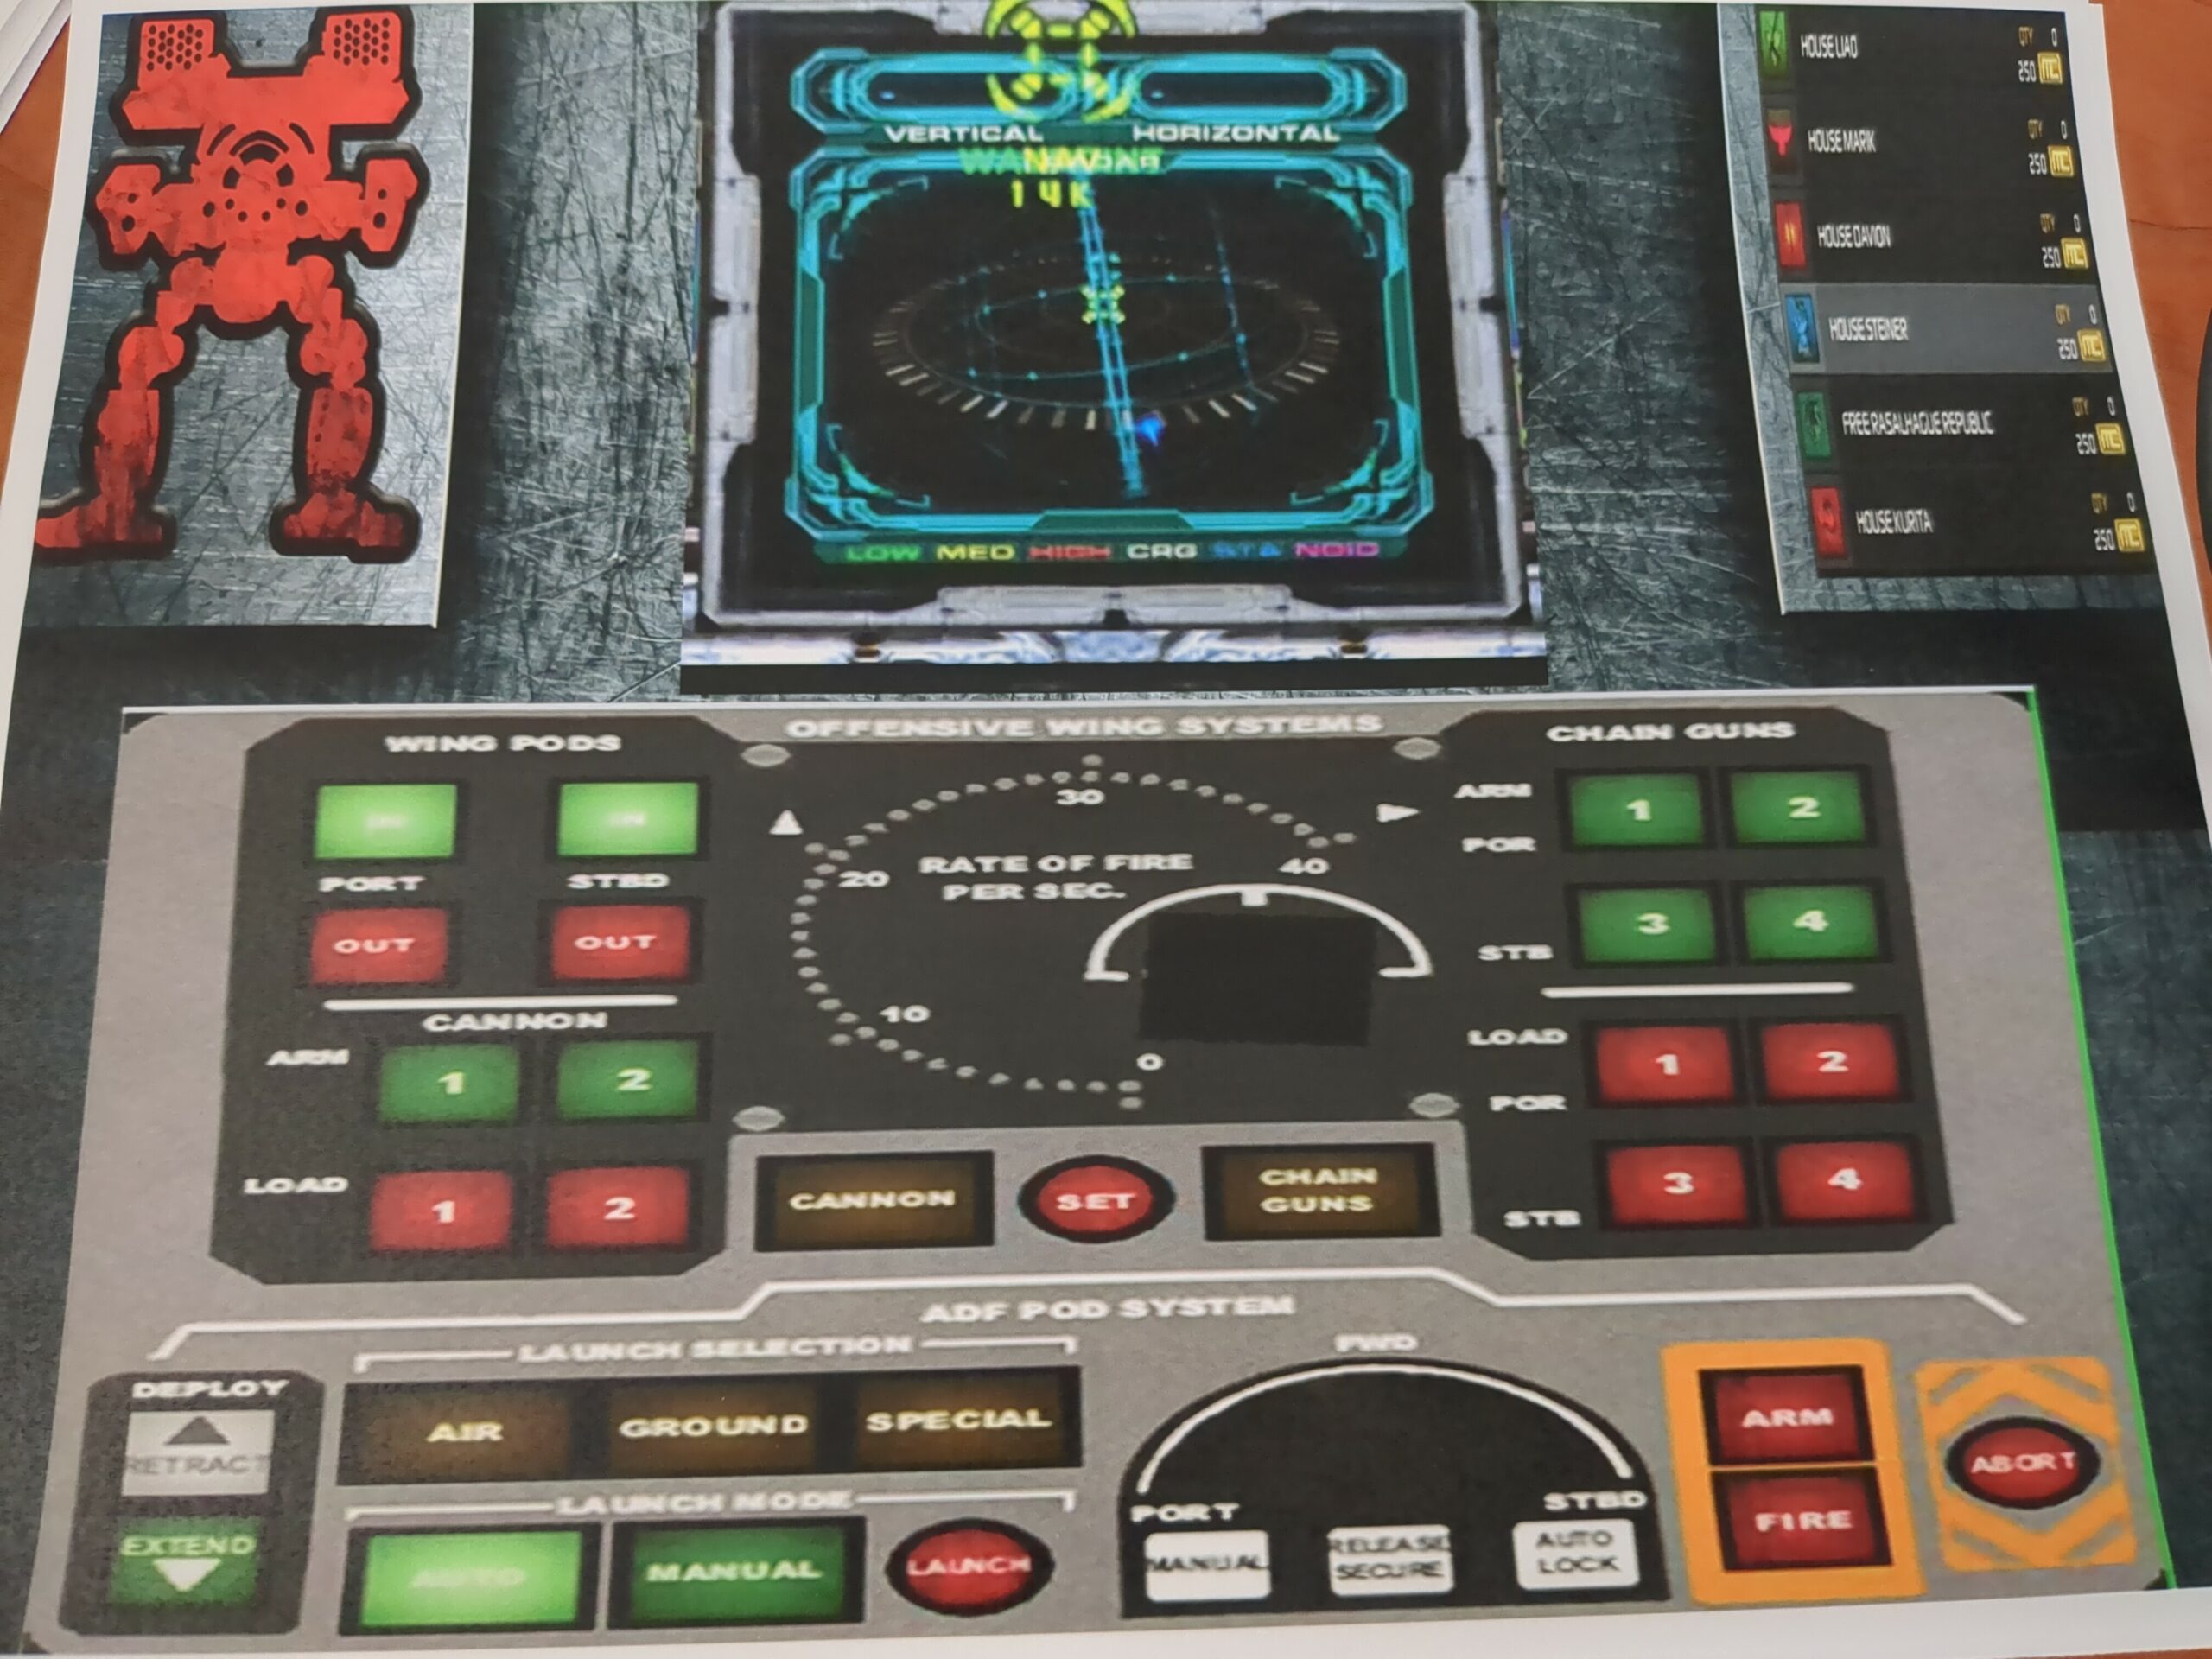
Next the cockpit. This was just attaching the dashboard to the chassis, again using METRIC SHIT TON OF HOT GLUE. Once attached, I had to cut small holes in the top of the dashboard and at the top of the chassis, just large enough to fit the foam pipe. Basically a pool noodle but meant to keep pipes warm in the winter. Gave the cockpit a windshield look and feel. And speaking of Dashboard… I even made a mock HUD and interface for my little MechWarrior. With full sensor suite and targeting system. 🙂


Weapons Online
Rocket pods were the easiest thing to wrap up. I just needed to decide on how far the cans sticks out from the box, mark all the cans, then attach them with a METRIC SHIT TON OF HOT GLUE.
All Systems Nominal
And that completes the mech lab tour! There was just one final item to print. A helmet for our little MechWarrior. Again, on my favorite website Thingiverse, I found someone ported the Halo 2 Marine Helmet. Rigging that to print in Cura was a pain, there was no quick way of printing this helmet. Slice time in total ended up being 30 Hours, and that’s with low density, low quality, and tree supports.
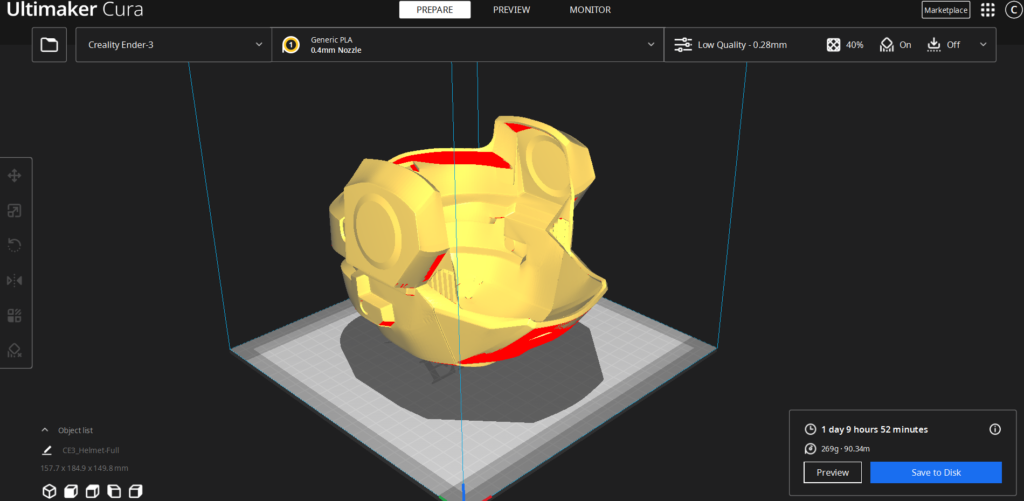
To make sure this was even going to work, I threw the helmet into Blender and cut in half. Just to make sure this wasn’t going to be a huge waste of PLA.
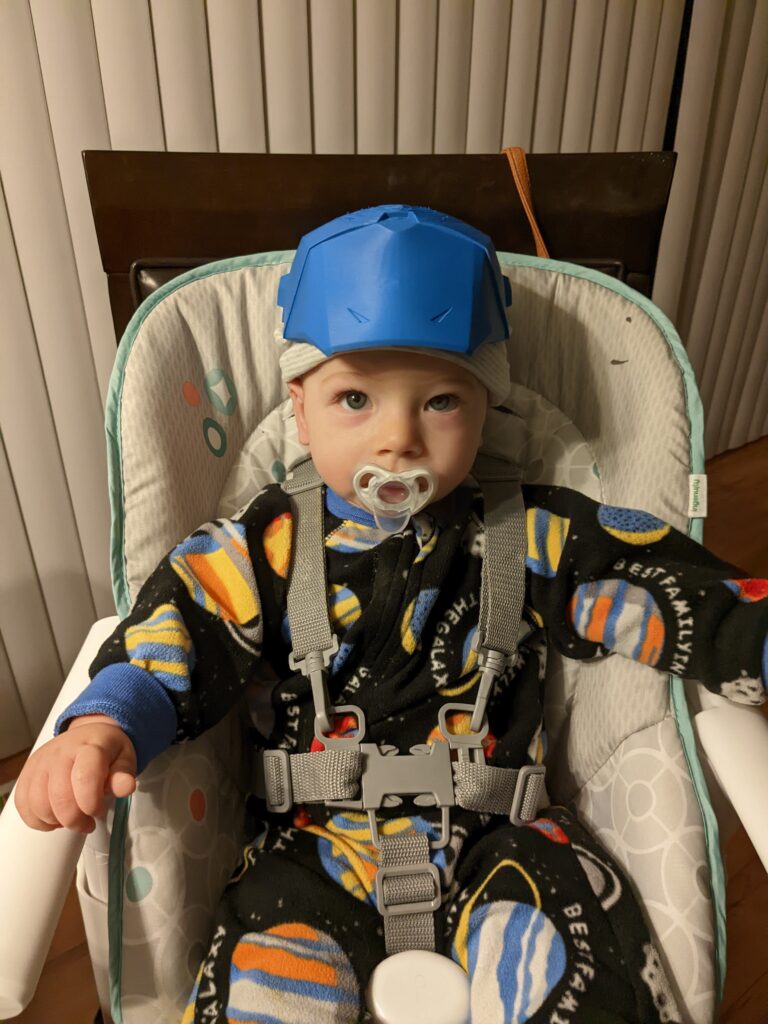
In the end, it was. I decided to go for it and print the whole thing. 30ish hours later I had a finished MechWarrior helmet!
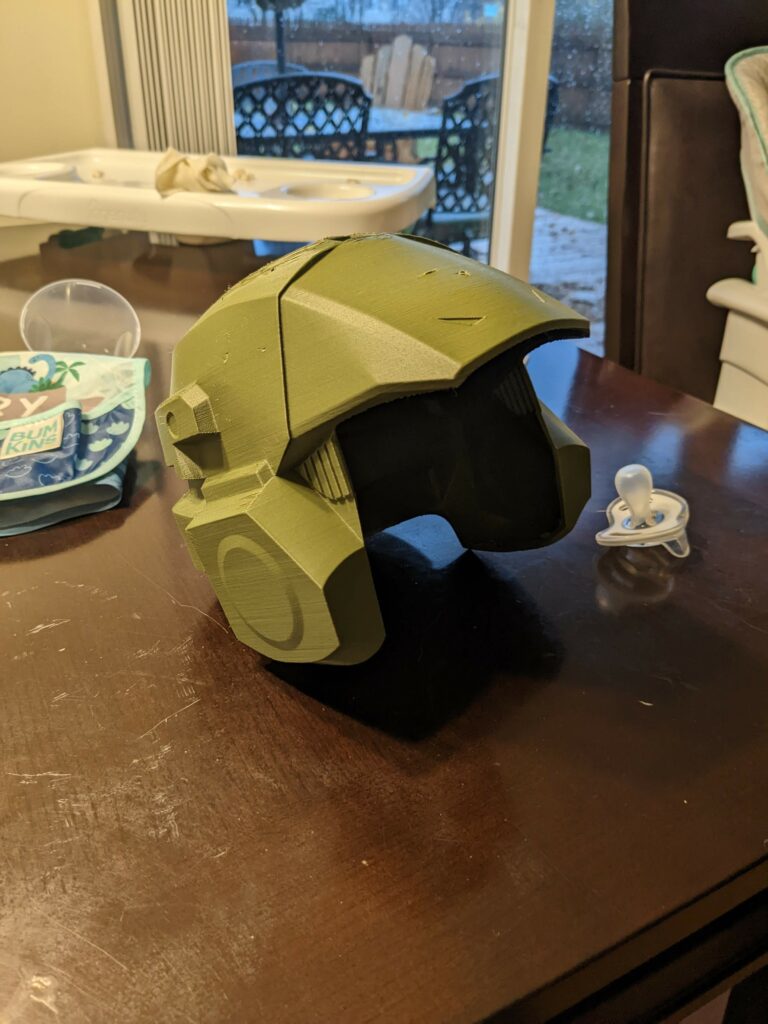

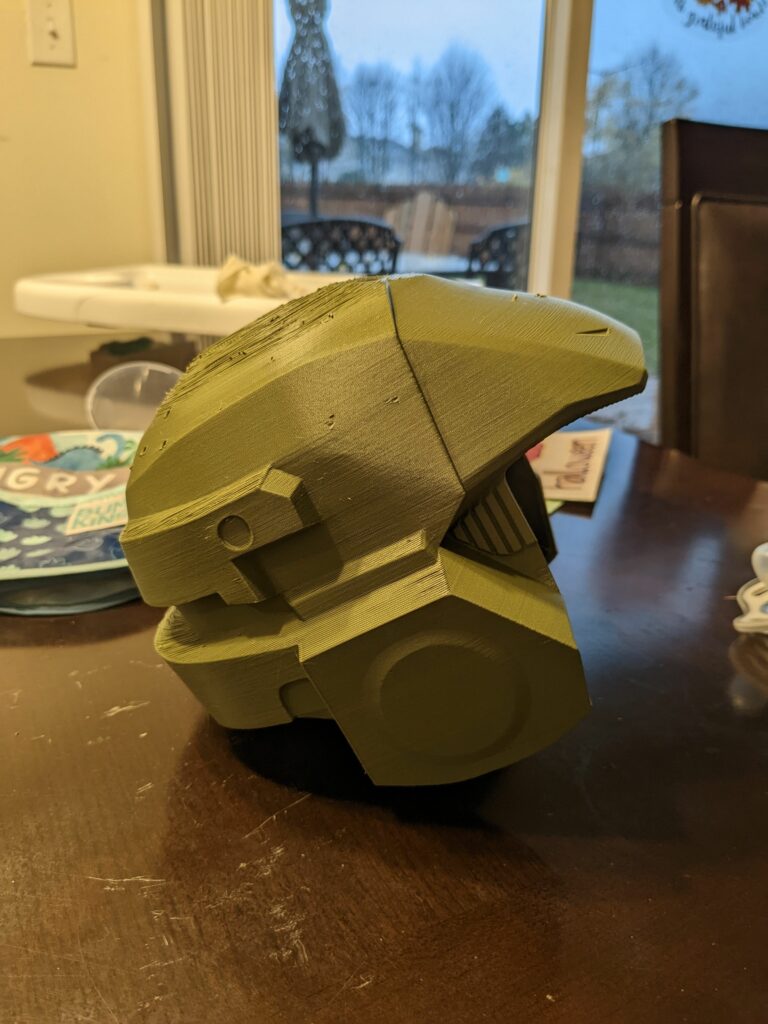
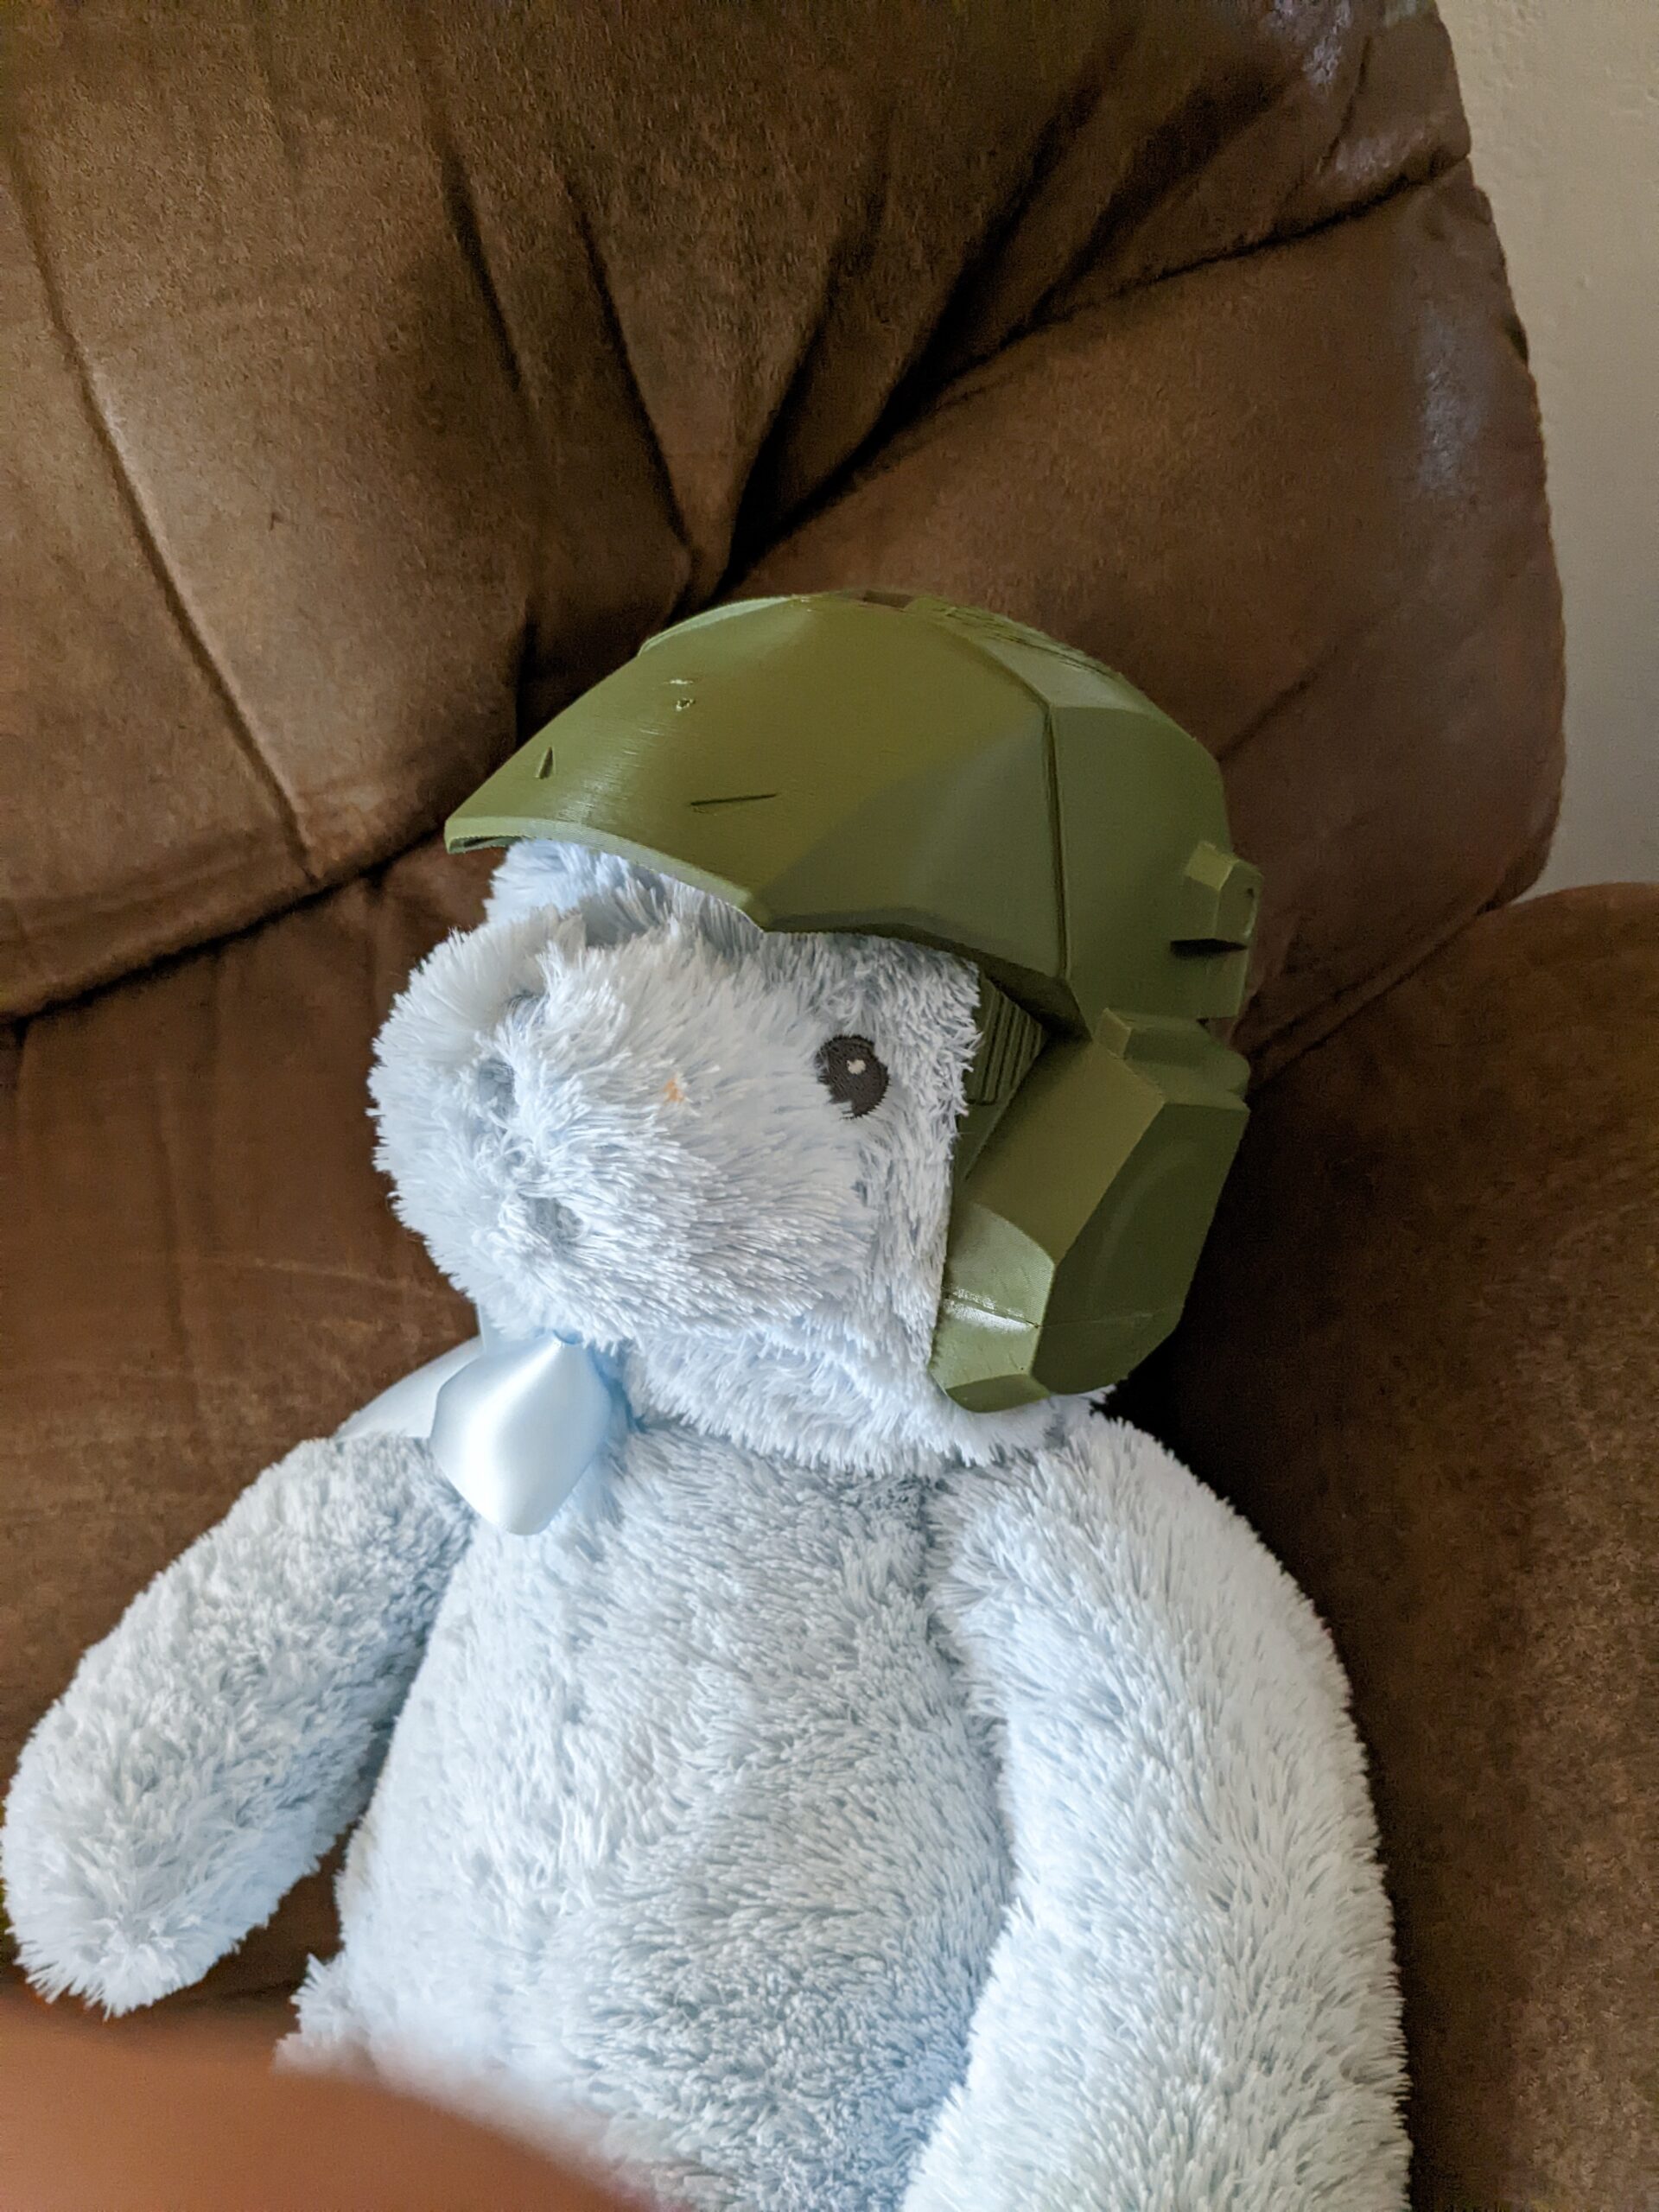
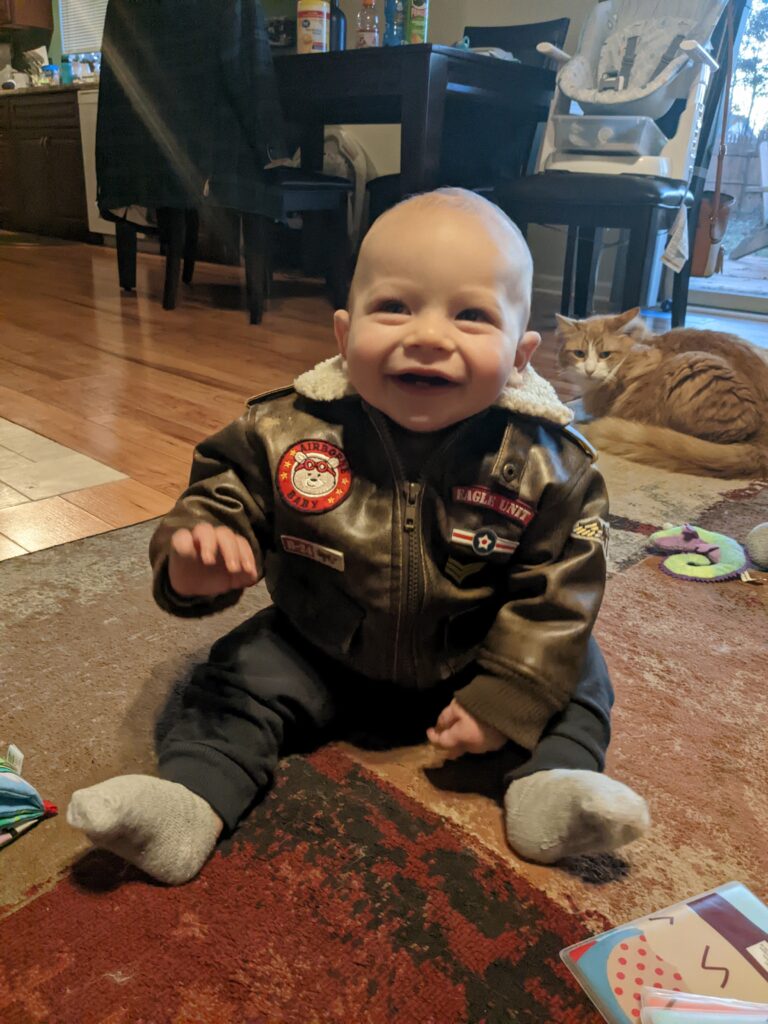
Sure enough, my son’s head was too damn big… oh well. At least he had a cool MechWarrior jacket that night. 🙂
For our launch, we were assigned three missions…
Operation Sugar Strike
Operation sugar strike was a crucial mission for the Giggler’s success. It was also Vinny’s first time in the field. I’d be lying if I didn’t say that he did exceptionally well. All objectives were completed and we managed to salvage quite the loot.

We even received acknowledgement for best equipment and won awards for our courage on the field! Needless to say, the Giggler couldn’t have found a better MechWarrior 🙂

Operation: MechWarrior Candy Raid
The following day was operation. Being that our MechWarrior Vinny had little time for R&R, this mission wasn’t his best performance. We got basically no loot this time around and our time in the field was cut a little short.
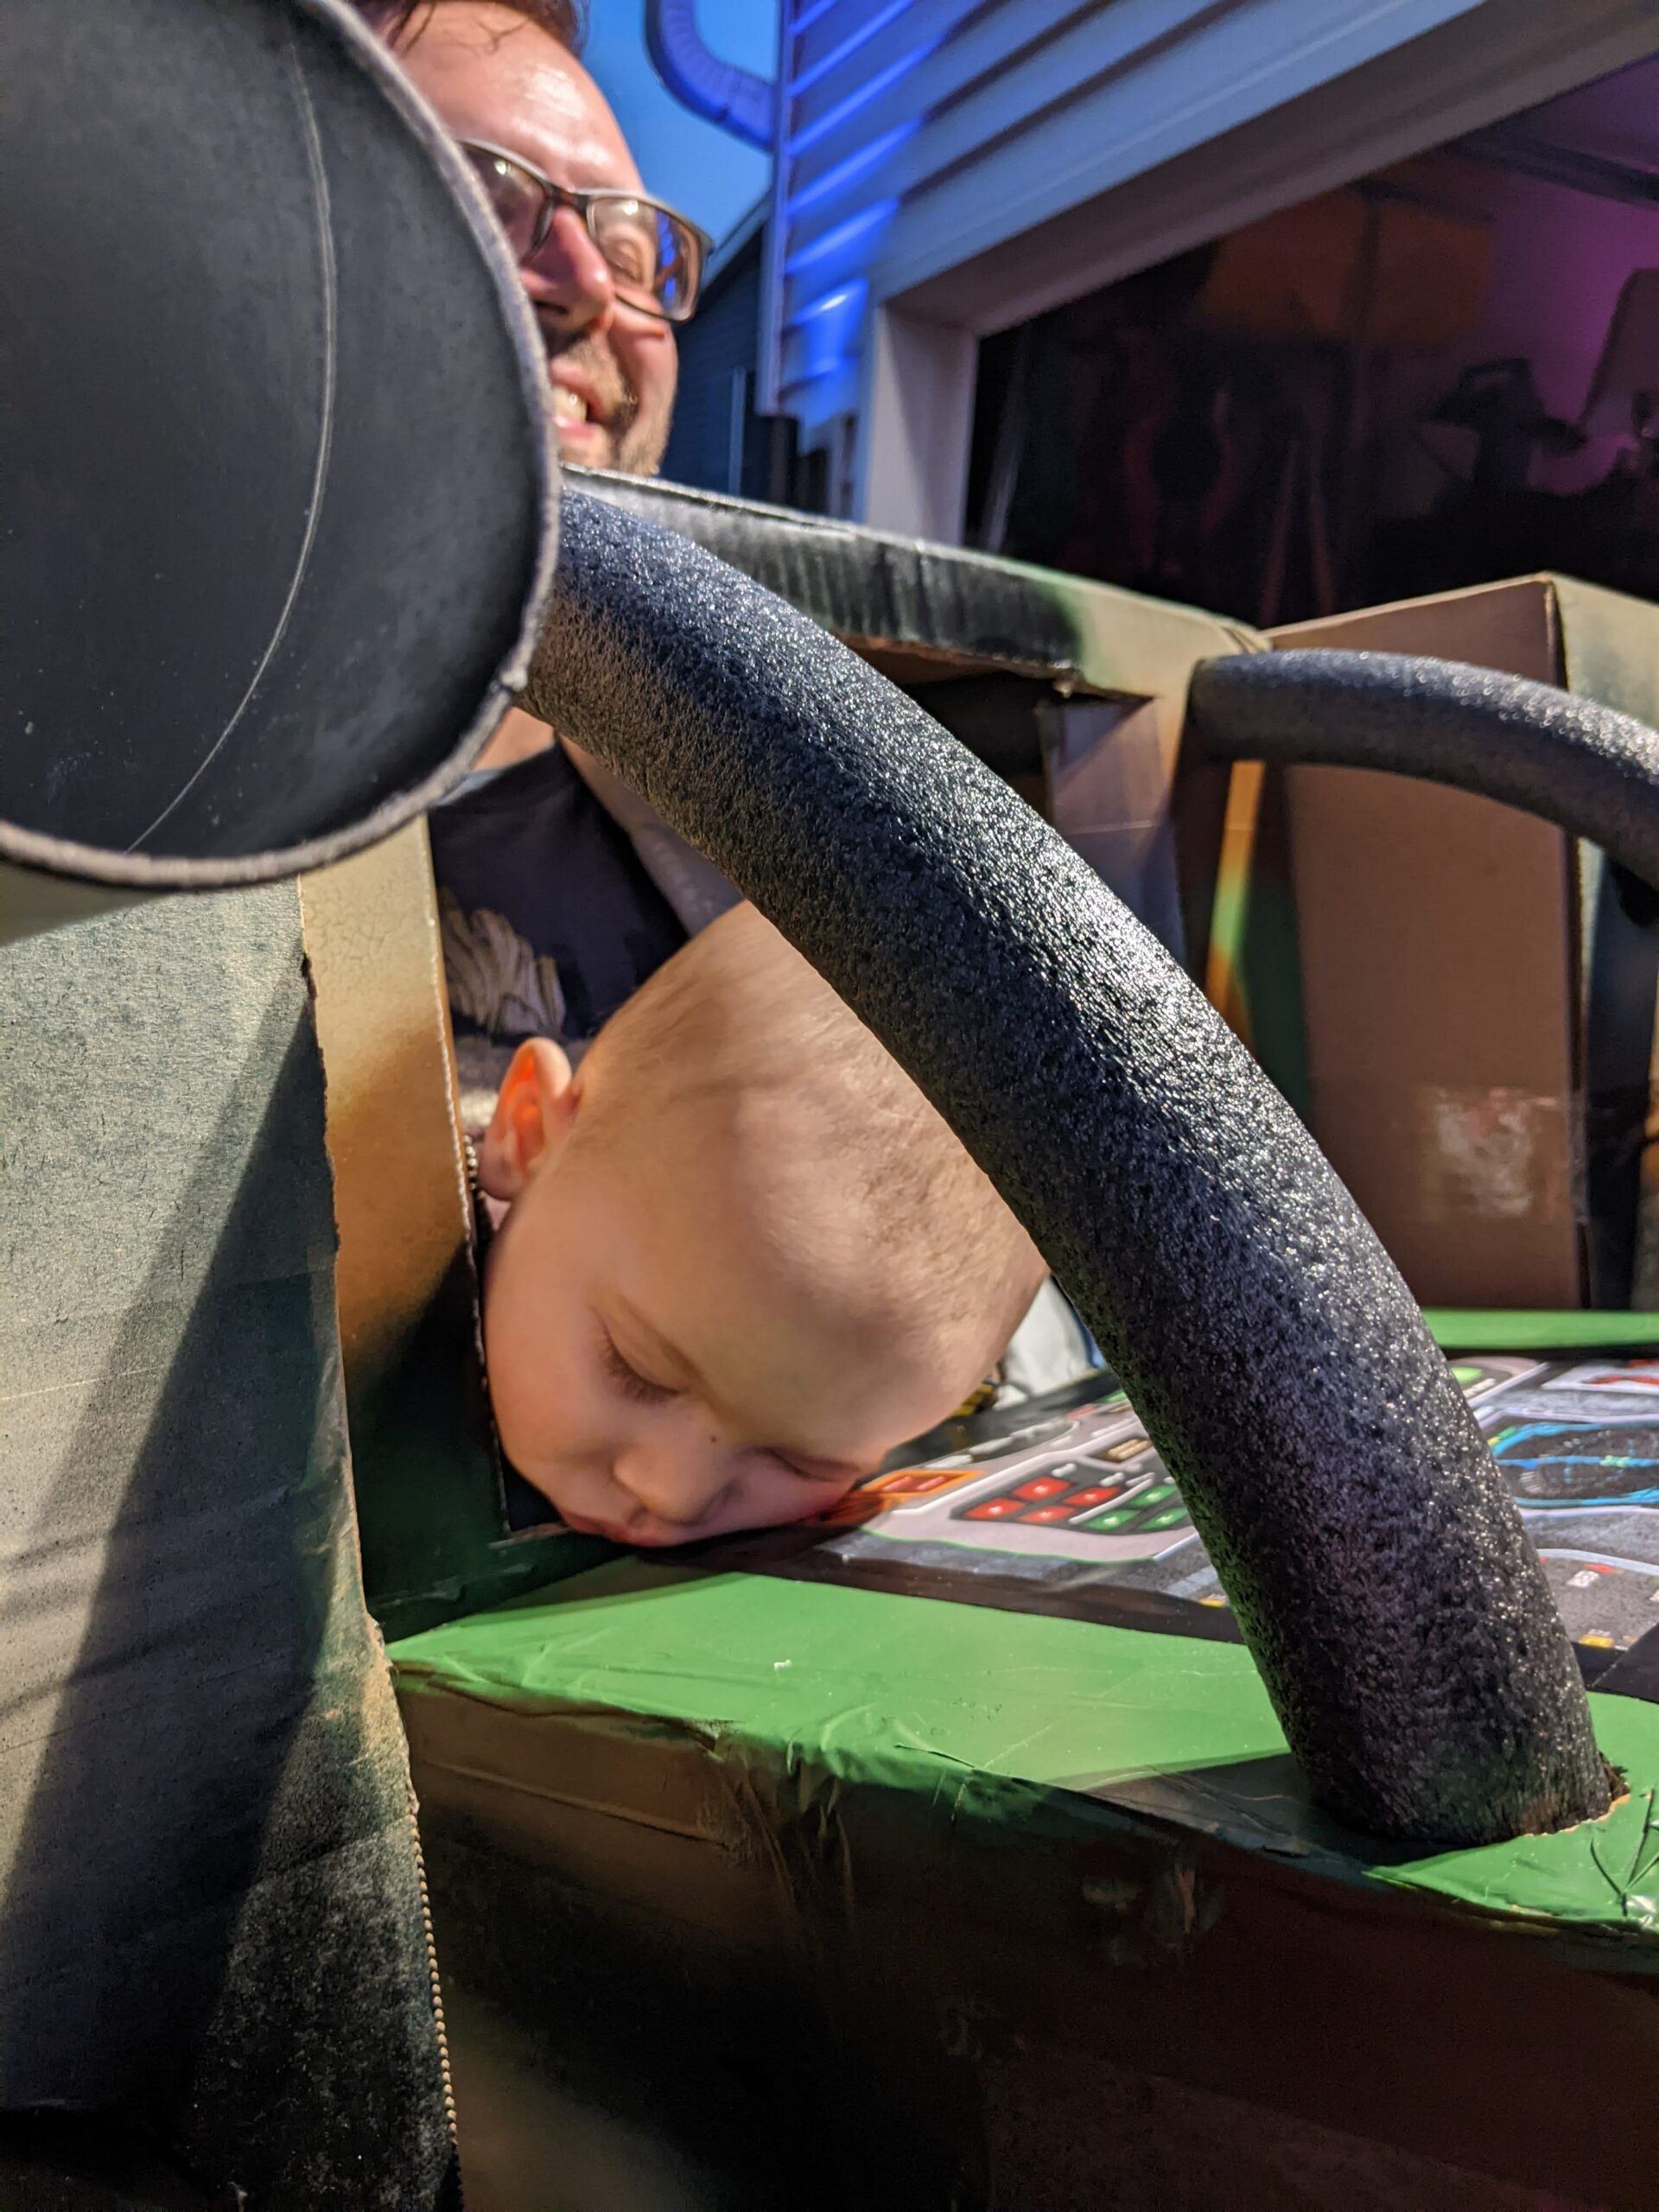
I can’t blame him, driving the Giggler around all day can get very exhausting!
Operation: Live Fire
With Vinny well rested, we set off for our final mission. The objective, get shots for a final movie for online submission. As I was building the Giggler in the Mech Lab, I had plenty of ideas of how I wanted to create a movie trailer. Well, instead of me just rambling about it for another 6 paragraphs, lets just roll the tape!
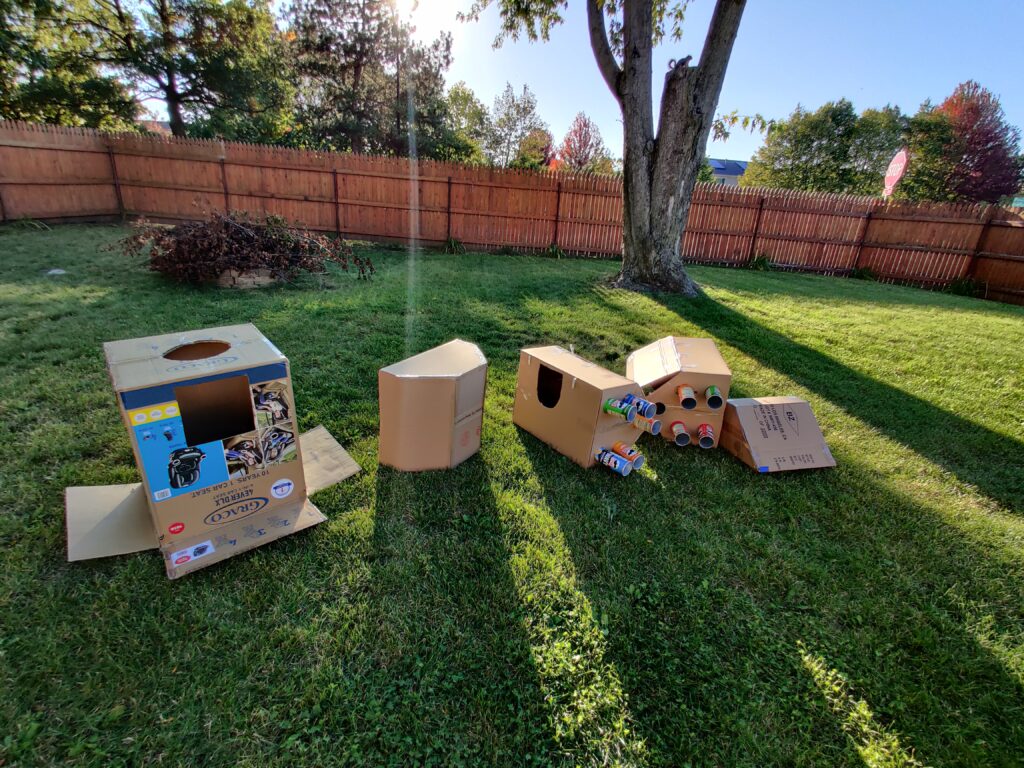
A Retiring MechWarrior and Putting the Giggler in Cold Storage
Its sad to stash such a magnificent machine. Knowing that its use is only temporary, and that its MechWarrior will quickly out grow it and move onto mechs with more tonnage. However, its important to enjoy the scout/light mechs when used. Take the time and smell the roses per say. And its not the end, there will always be another MechWarrior that will need it.
I’ve decided next year though, I won’t go as nuts with Spooktober. I’m thinking just a pillow case with holes, he can just be a ghost 😛 Maybe this will be our gateway into getting into the cosplay life. Traditionally, I’ve exclusively stuck to Halloween, but we’ll see where things take us.
Well, that’s all for this post! Next will probably go back to upgrades. There is going to be some server stuff on the horizon, so stay tuned my home lab nerds. Until next time! 😀