Sweet jumping hiatus batman! Its been too damn long since I’ve written something on this joke of a site. As I mentioned in my last post, we moved and I’ve been pretty busy with not 3D printing. In my current setup, my printing is limited, not to mention Starfield and Cyberpunk sucking up all my time. Anyway, lets get into what this post is about, UPGRADES!!!!

Yep, another upgrade post but this time with more color! Yeah, we updated our color scheme, to keep up with the cool kids. But not all of it is fashion, a good chunk of it is actually functional. Some of it was just throwing something at the wall to see what happens. Lets get into it!
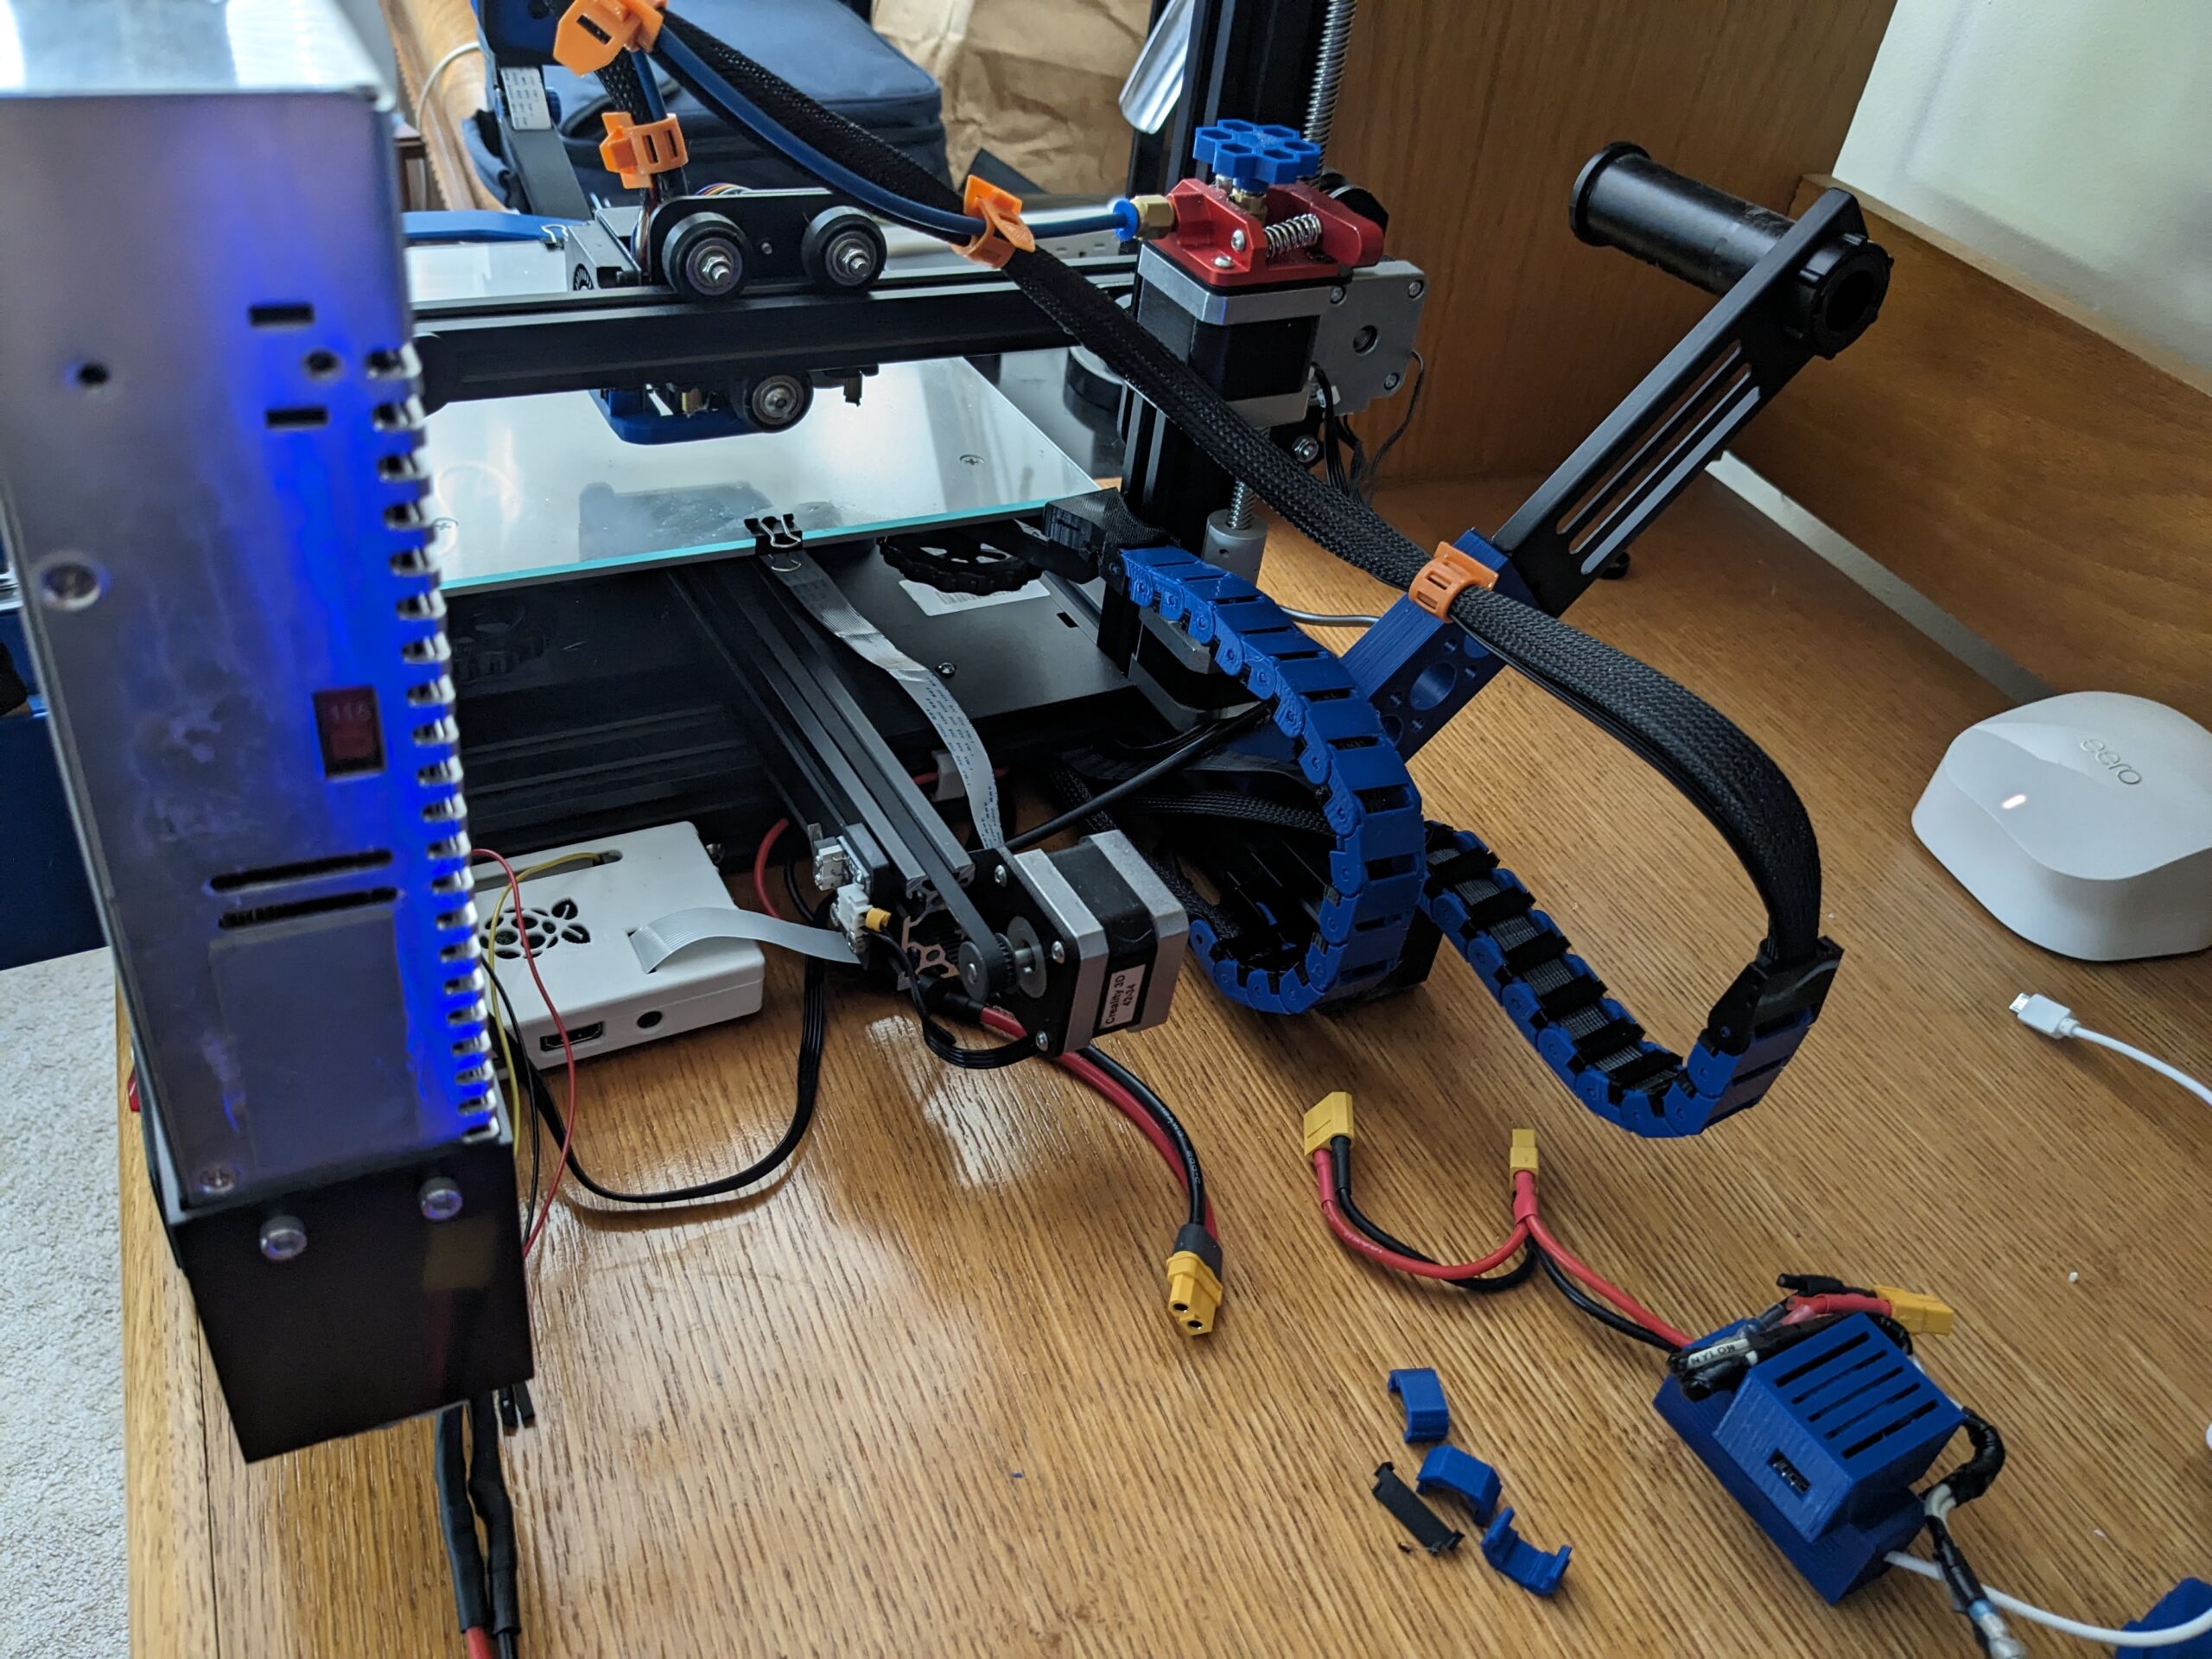
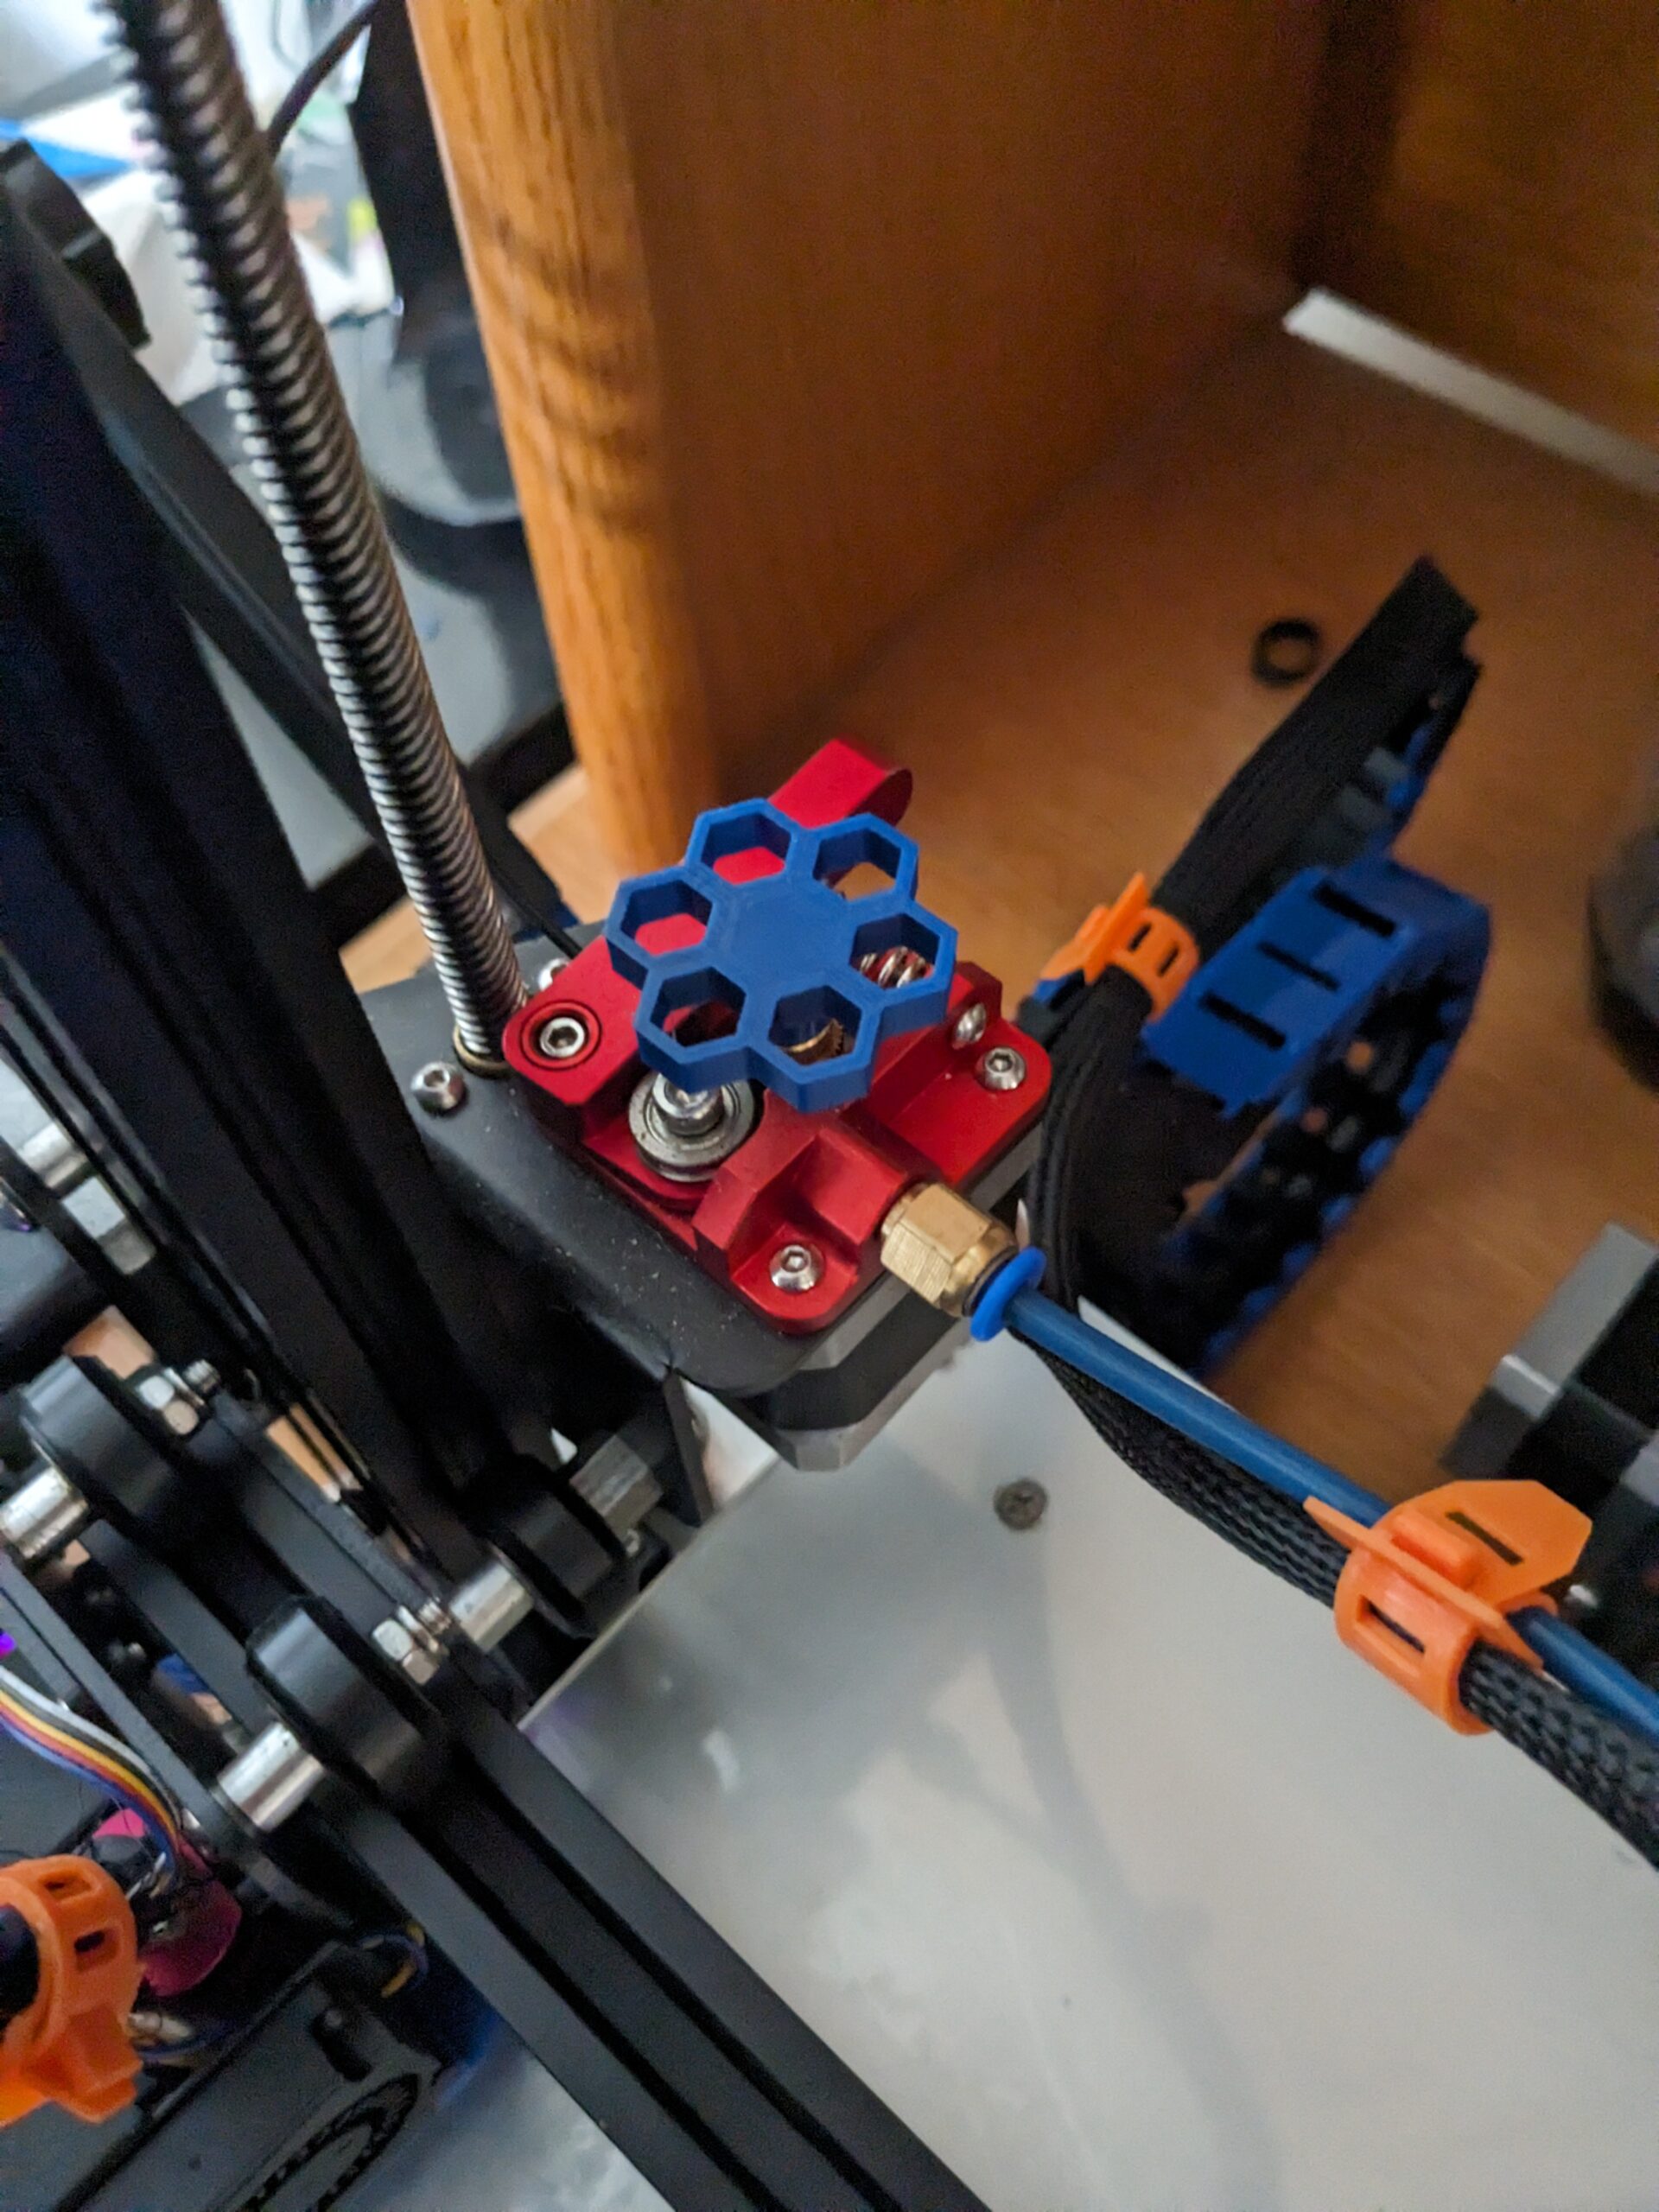
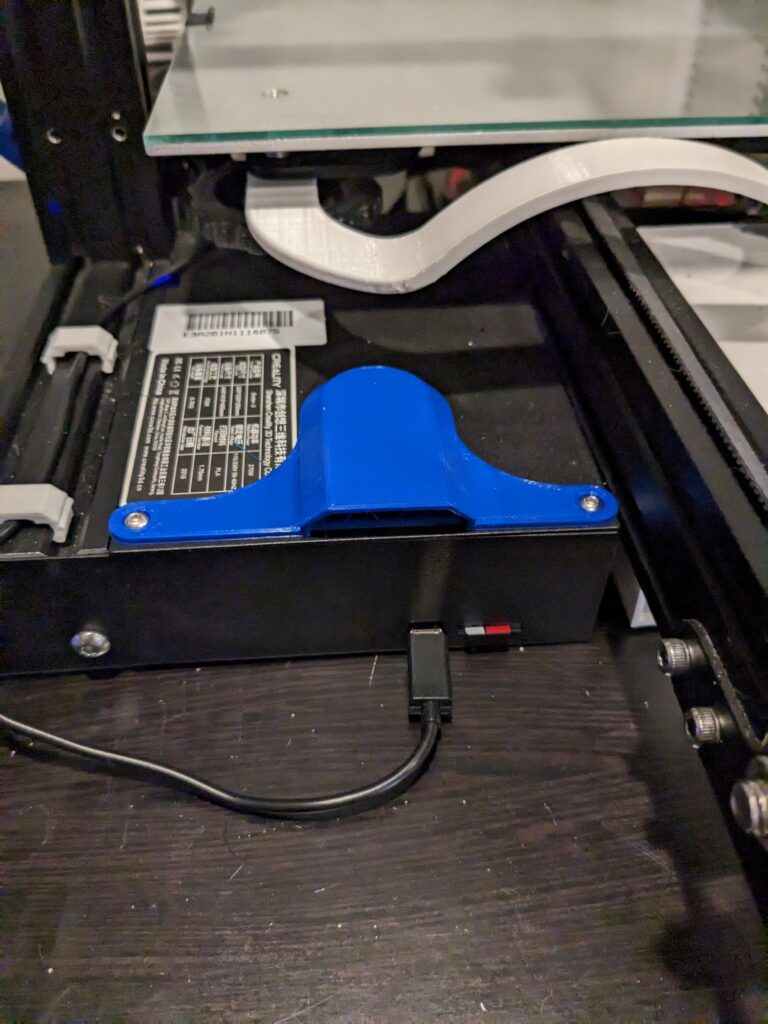
The Rocket Upgrade, like Elon, but Cooler
Well not really, there is no explosions or thunderous roar or anything. Unless that’s the sea of people applauding this awesome design. Found of course on the wonderful site Thingiverse! The problem this design fixes is the chance that filament would snap at the feeder motor due to stress. If you remember, I already have a filament arm guide to better guide the feed, but on occasion the filament would still break.

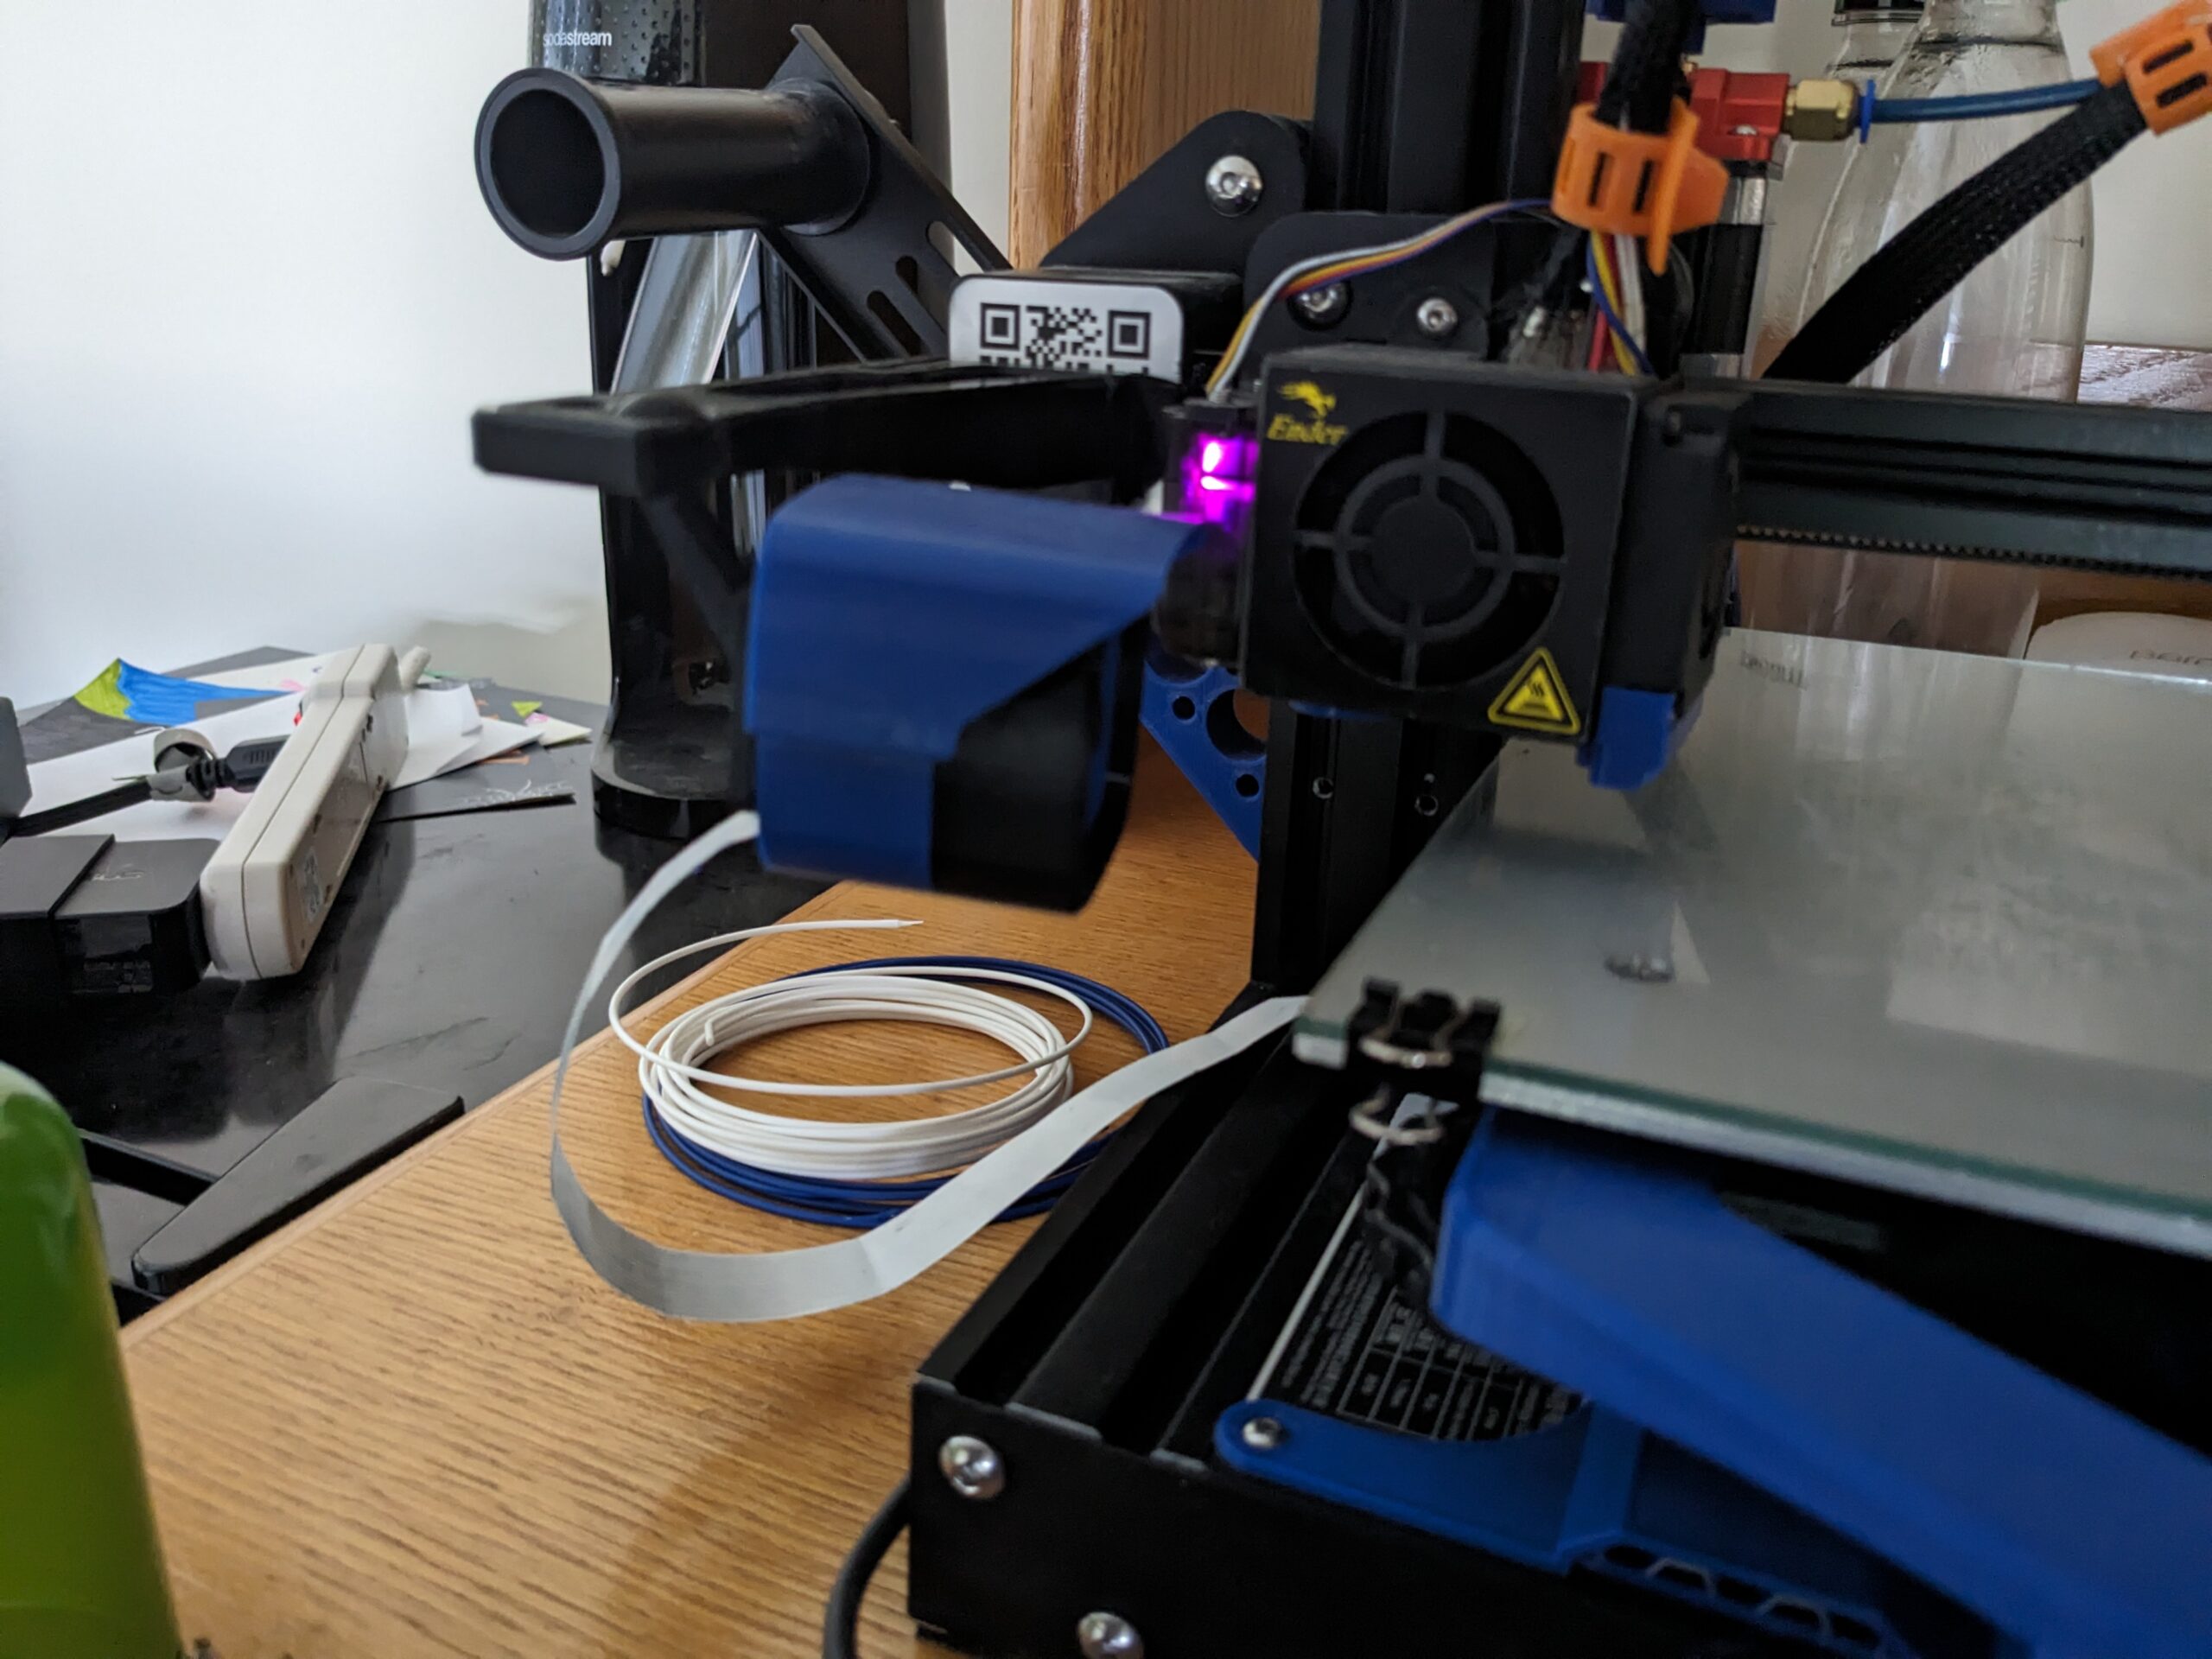
This is where the rocket comes in. By changing the location of the spool to the side of the printer frame instead of on top, this allows a much smoother angle of attack of the filament going into the feeder motor. The smoother angle of attack, the greater reduction of a snap event, for both the filament and the operator! 🙂

The rocket comes in a few variations, both for style and for function. Length of the rocket is the biggest factor. Longer the rocket the better that angle of attack will be. But your printer will have a larger footprint, so it might not fit in its original spot anymore. I went for the medium sized one with circle infill. It offered the best print speed for me and the perfect filament feed angle. Plus, this is how my Pi-Cam is rigged up, so I can actually watch the spool in action!
Enough about rockets! Lets move onto something cooler, airflow!
The HVAC Upgrade
This upgrade affects how we print. The stock Ender 3 cooling fan and vent, only blows air on one side of the print. This can cause filament to lift when doing the first layer and cause warping later in print job.

What we need to accomplish is an even amount of airflow surrounding the hot end nozzle. What we need is to download another genius design from Thingiverse. Note that this EZ vent here is a remix of the original. What is modded here is a little tab that hooks into the extruder metal box frame. Without that tab, the heat from the extruder would cause the vent would sag. Eventually, it will contact with the print below.
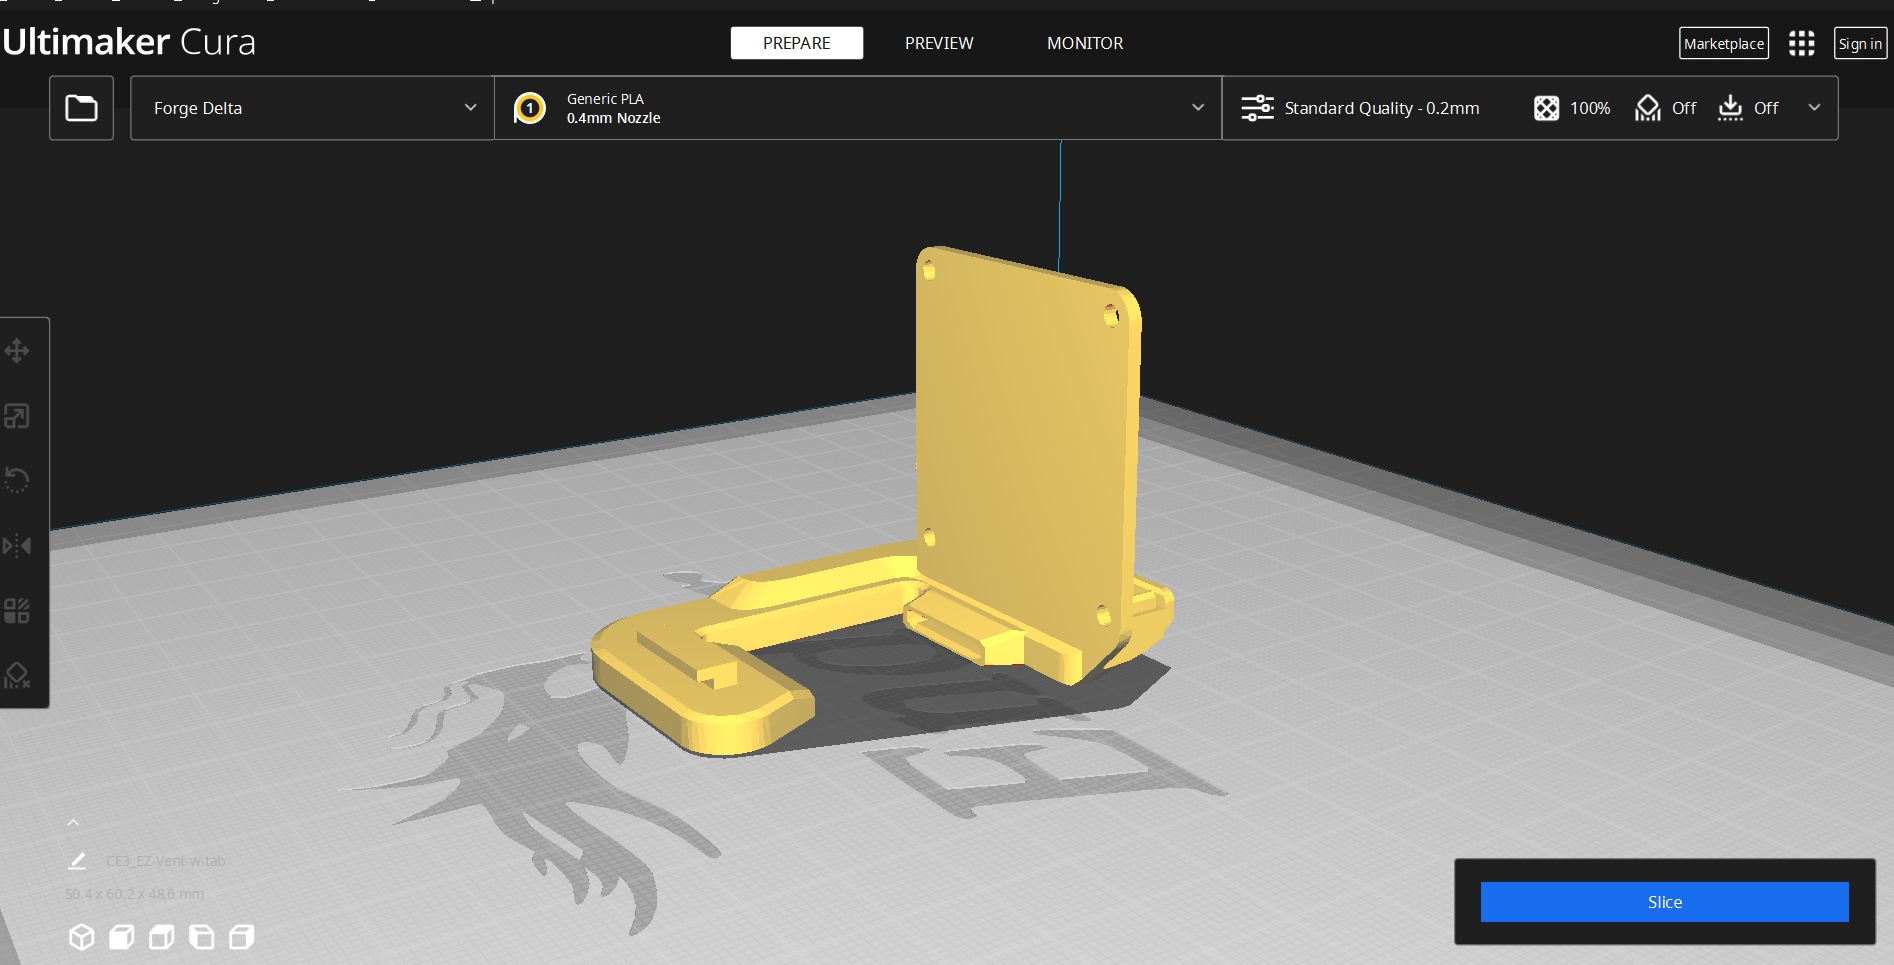
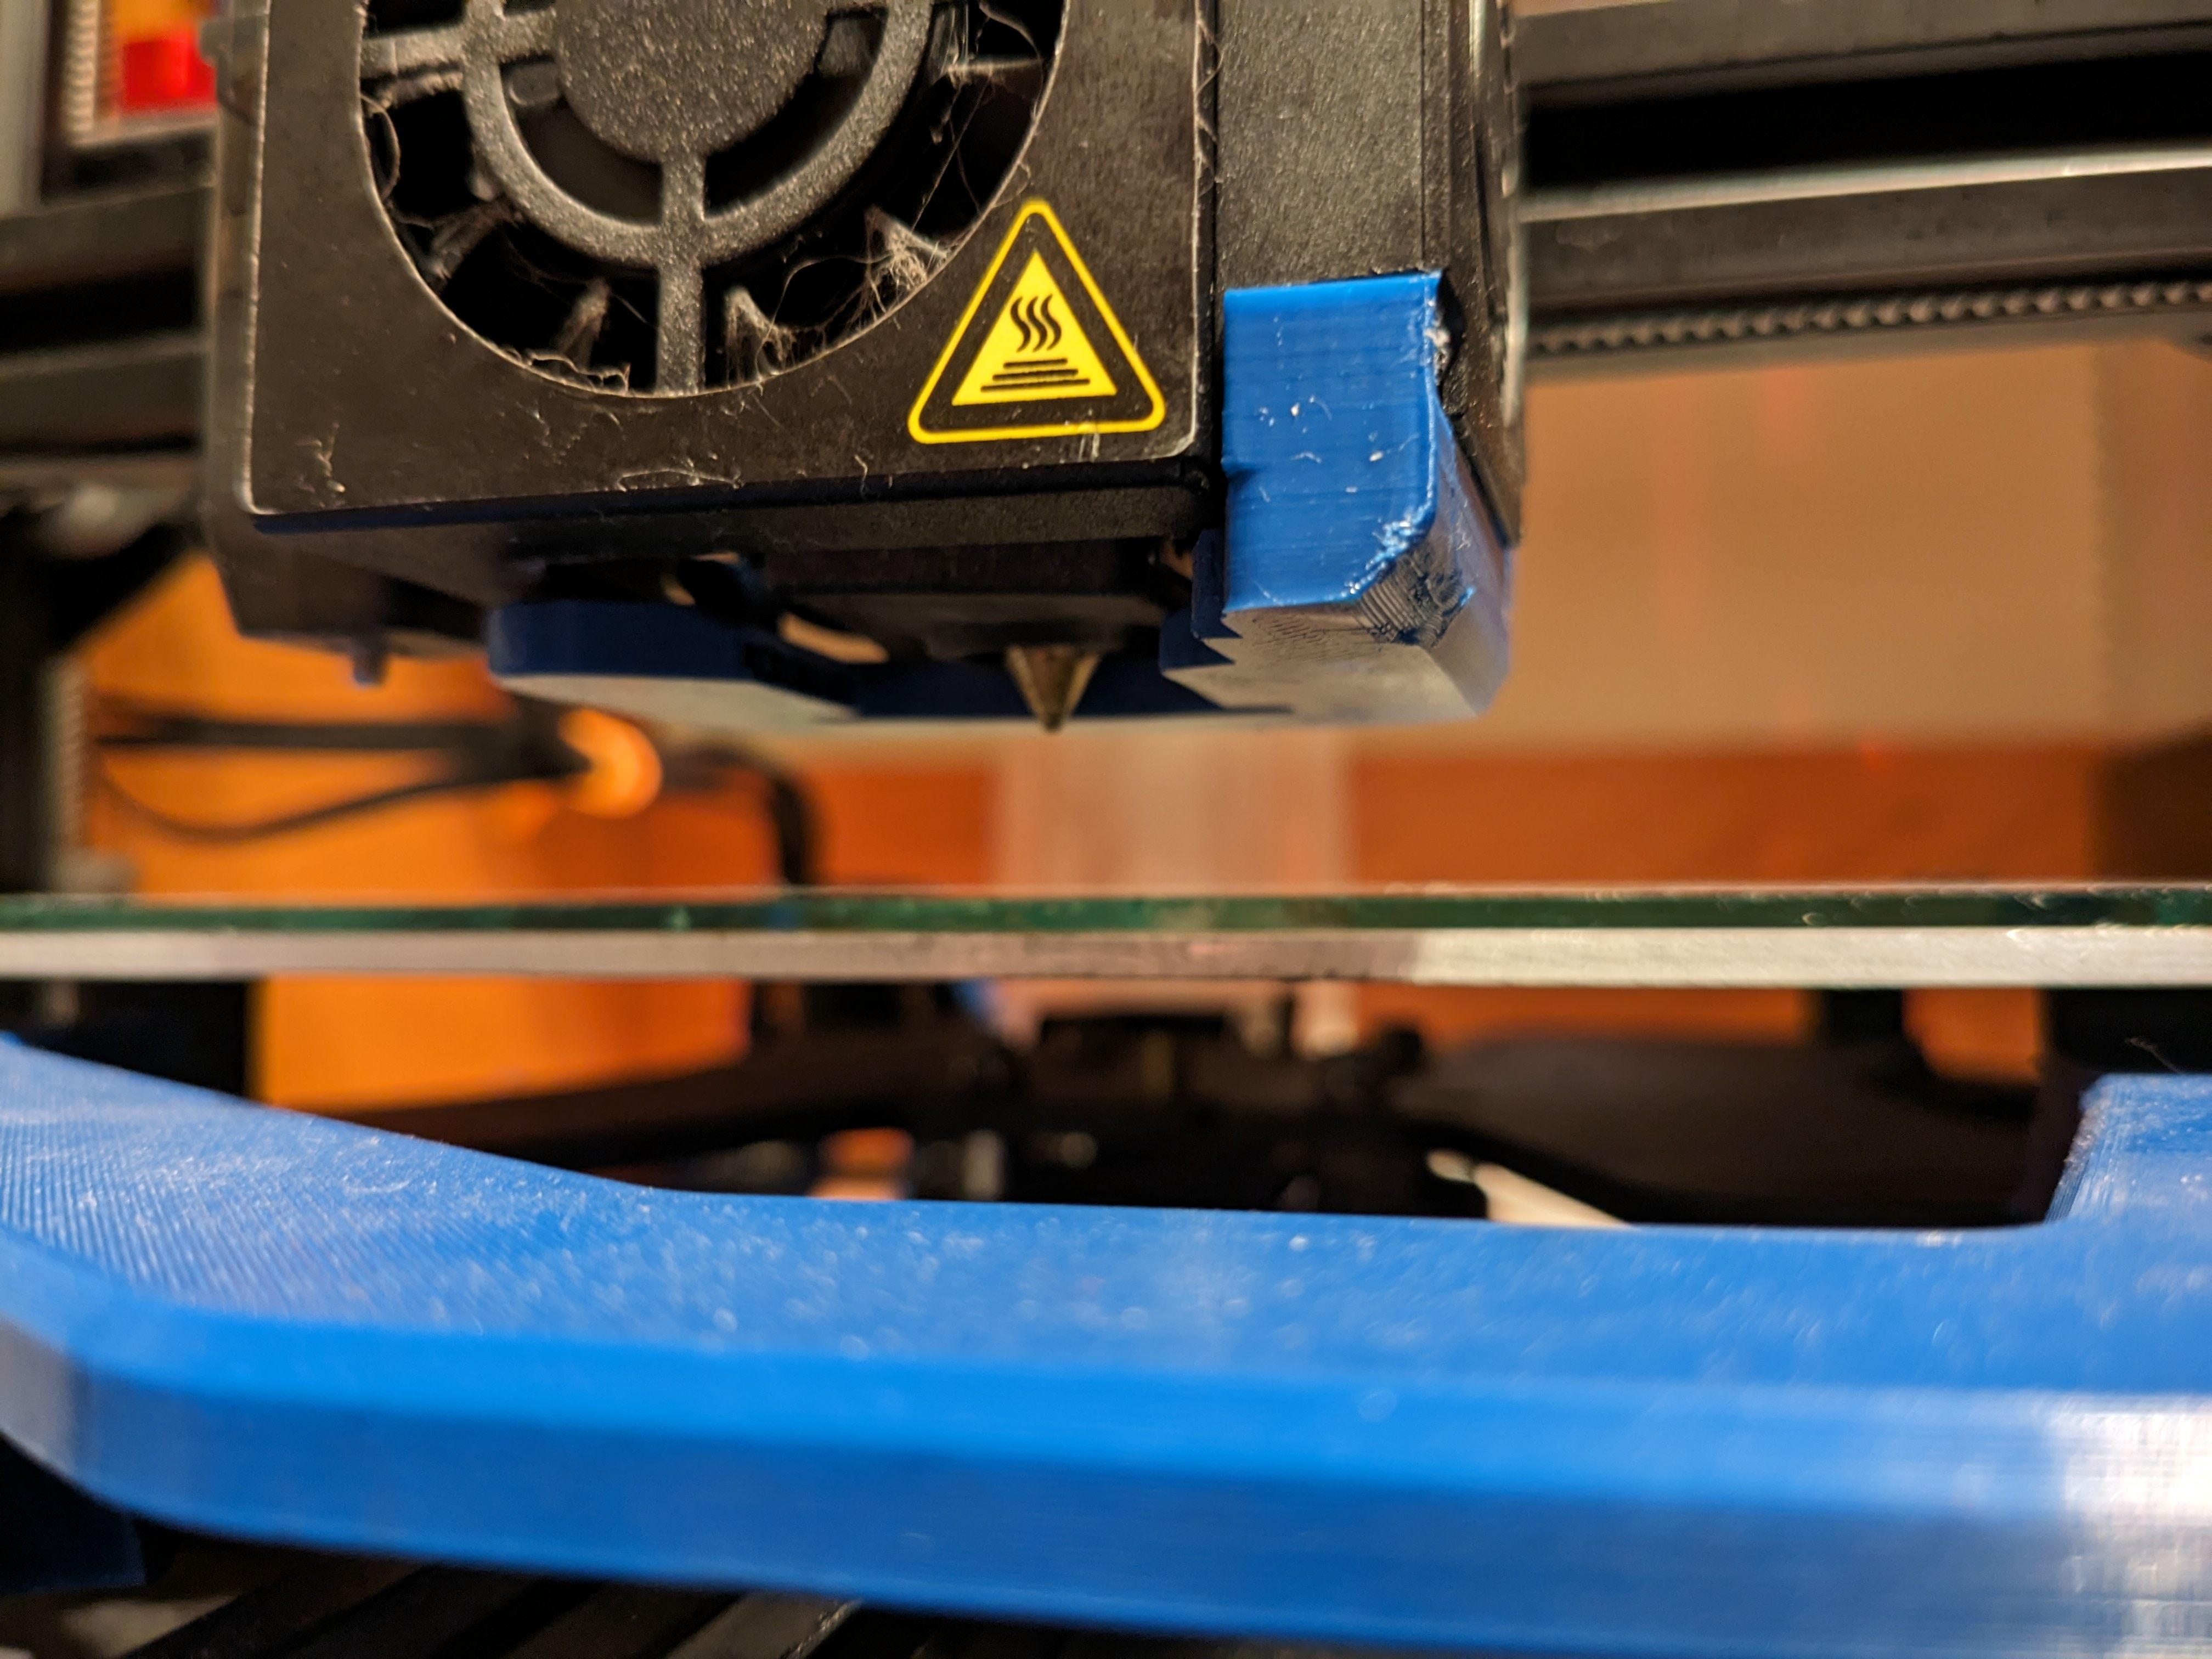
The other reason why I like this design is because this one is ABL compatible. But not all designs are perfect, and this one has one little draw back. On starting the print job, when clearing the nozzle, the vent will snag a blinder clip holding the glass bed. Its not exactly fun to hear a binder clip ping off somewhere and have to figure out where it went…

Ok I’ve “vented” enough 😀 Time to move onto knobs!
The Polished Knob Upgrade
Have you ever gone through life struggling, finding out something exists to make it easier, and now you don’t know who you are anymore? For me it was the extruder knob.
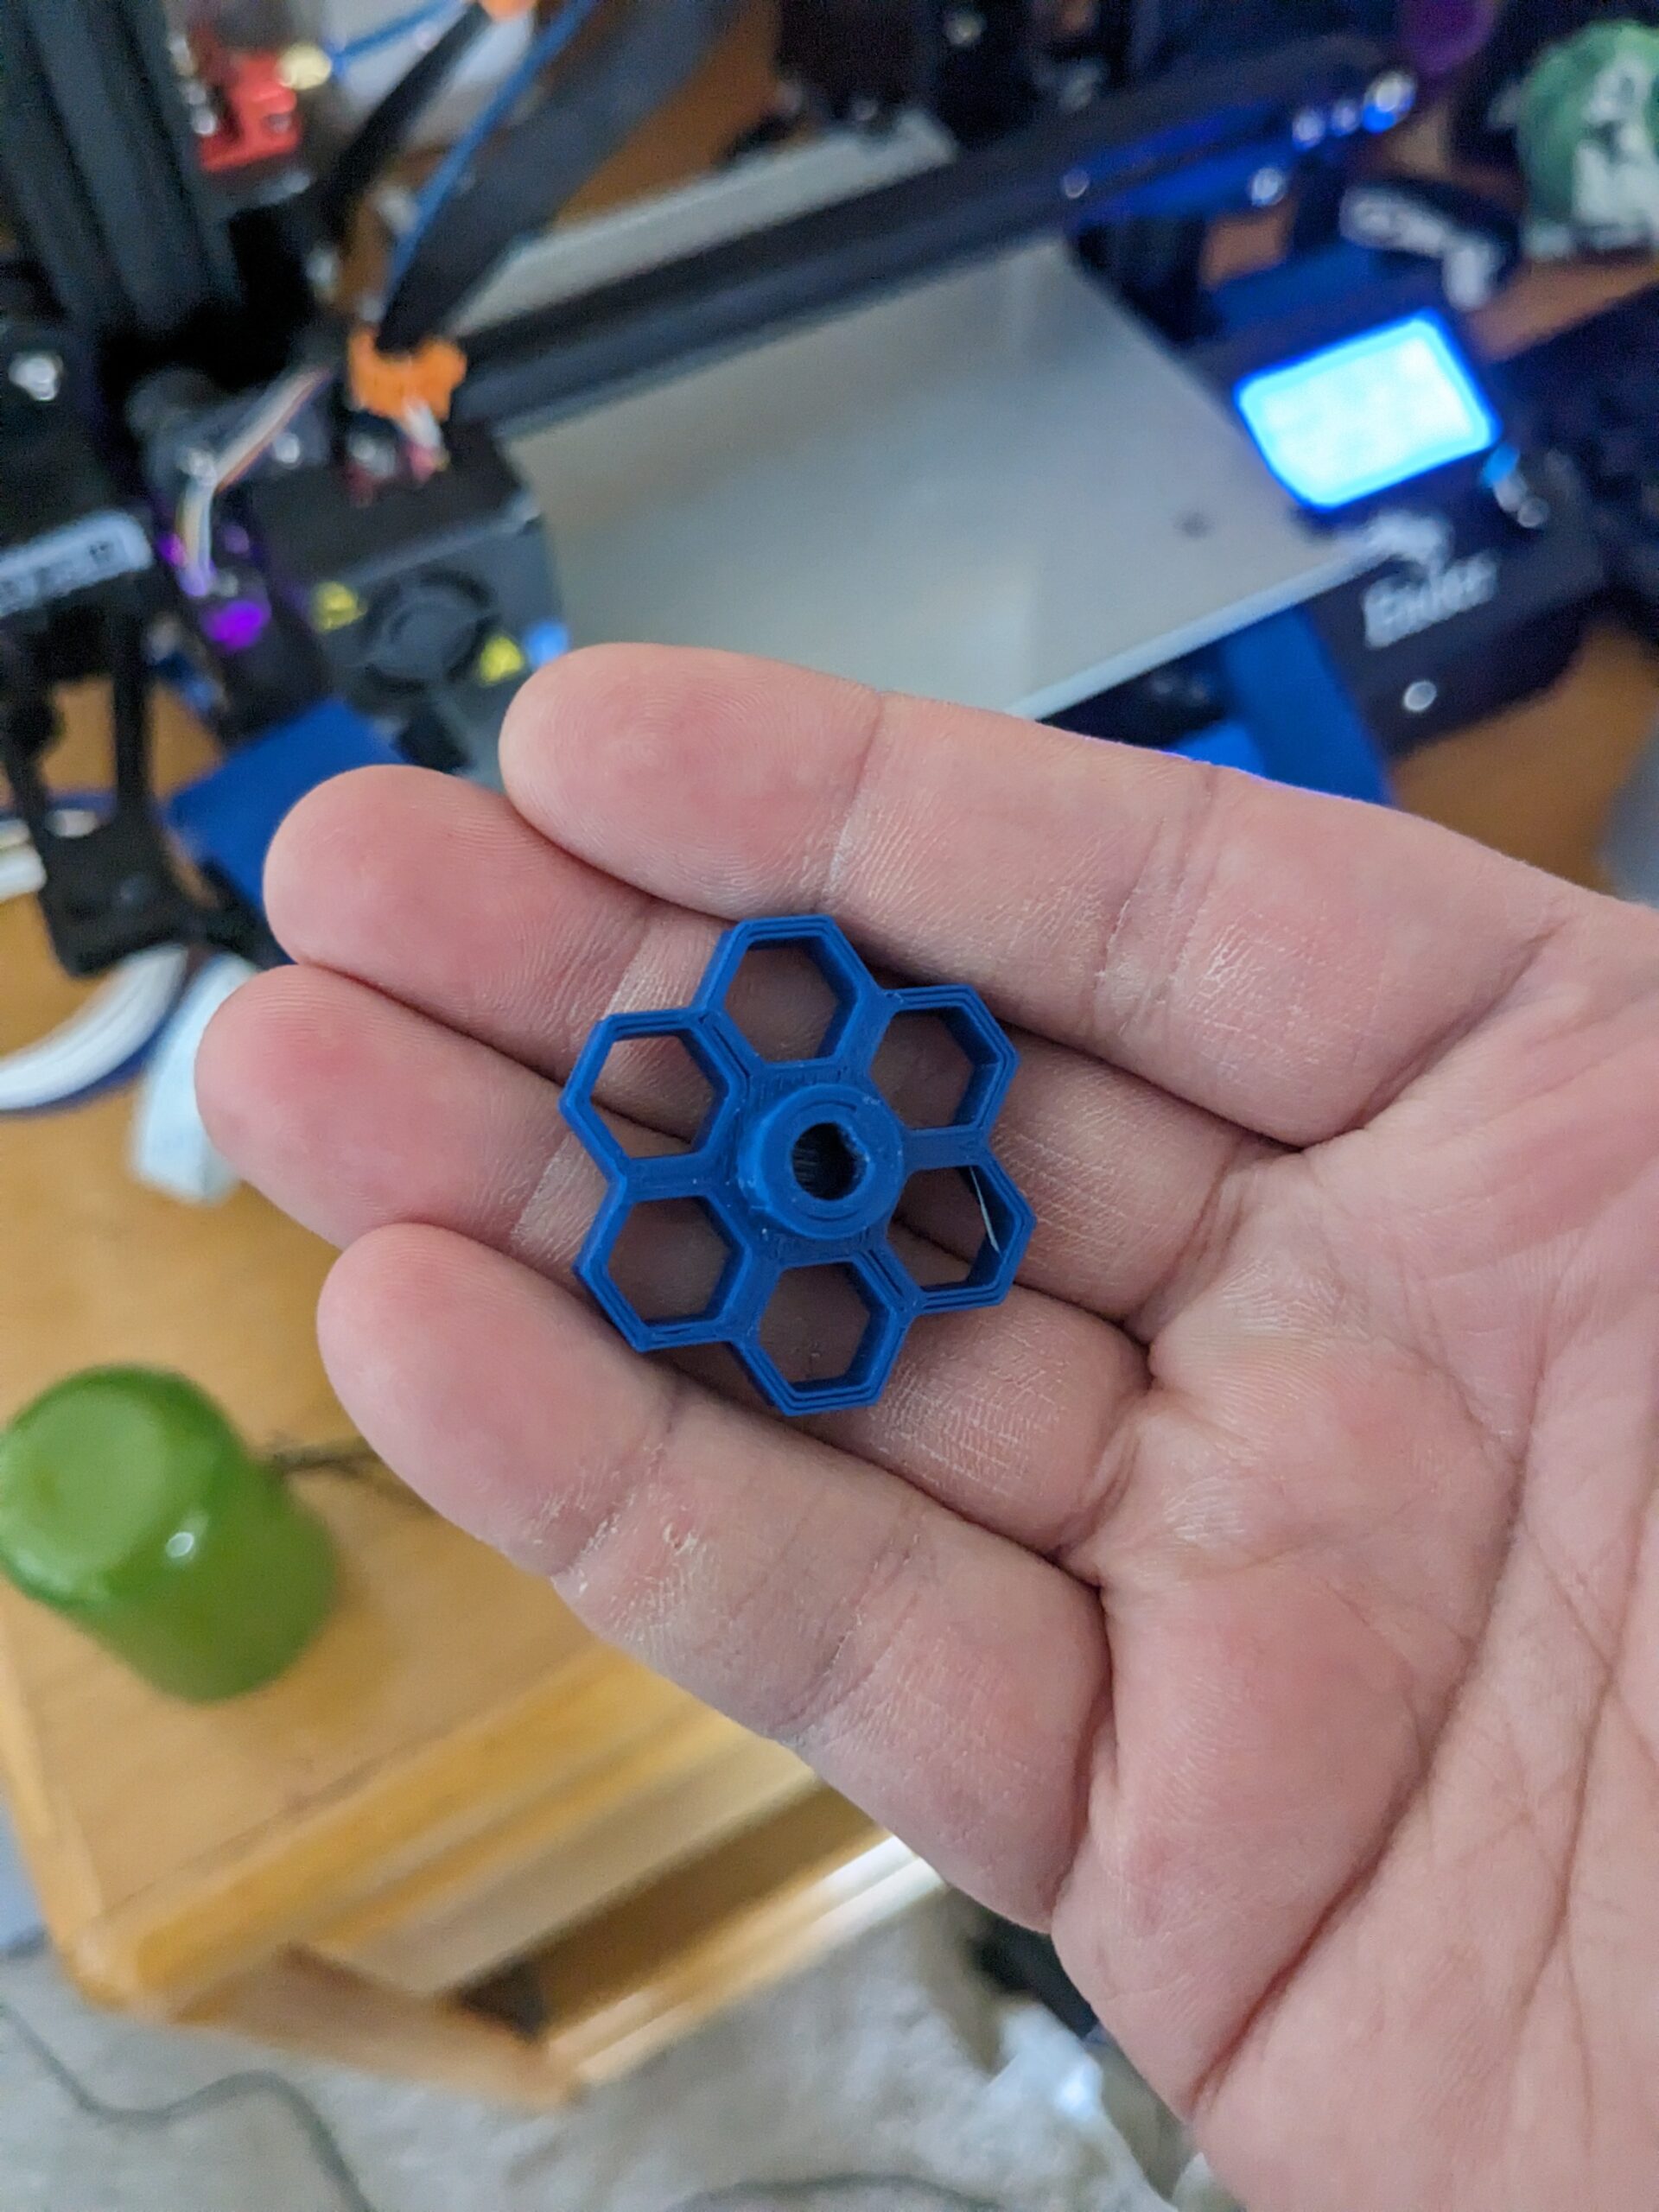
Again, I found this gem on my favorite website of all time. This little nifty upgrade will forcefully and violently put filament through the extruder motor, into the Bowden tube and down into the extruder. With the knob attached to the disengaged extruder motor, it gives me the torque of a cargo ship engine.

No more will I have calloused fingers, broken nails and sleepless nights, struggling to get filament fed into my printer. Ok I might be exaggerating a bit but the night and day difference with this upgrade it might as well be true! Just remember to turn off the extruder motor, don’t want to completely destroy the motor being mad with power!
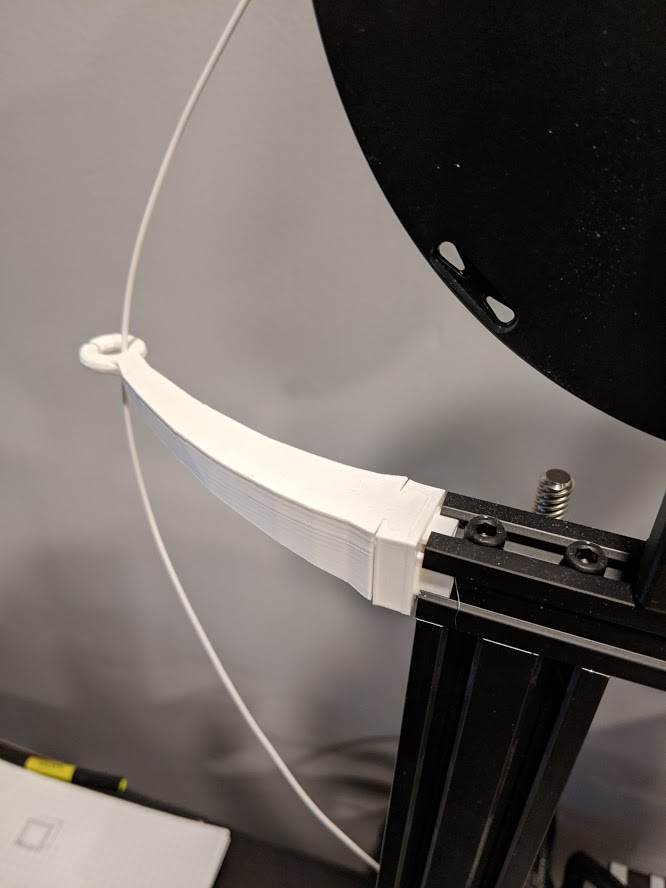
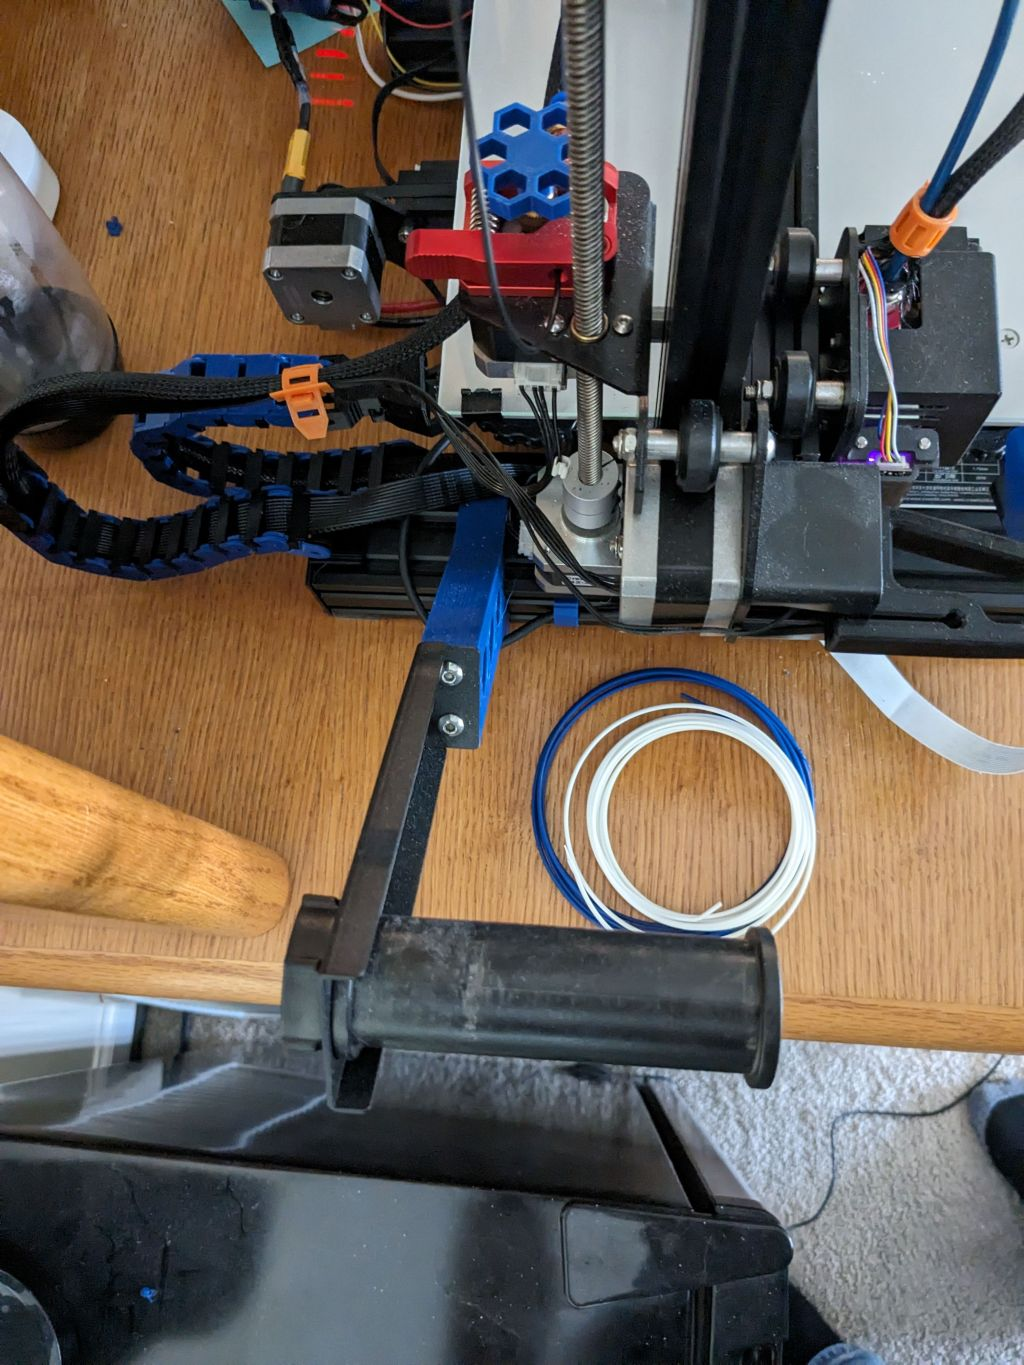
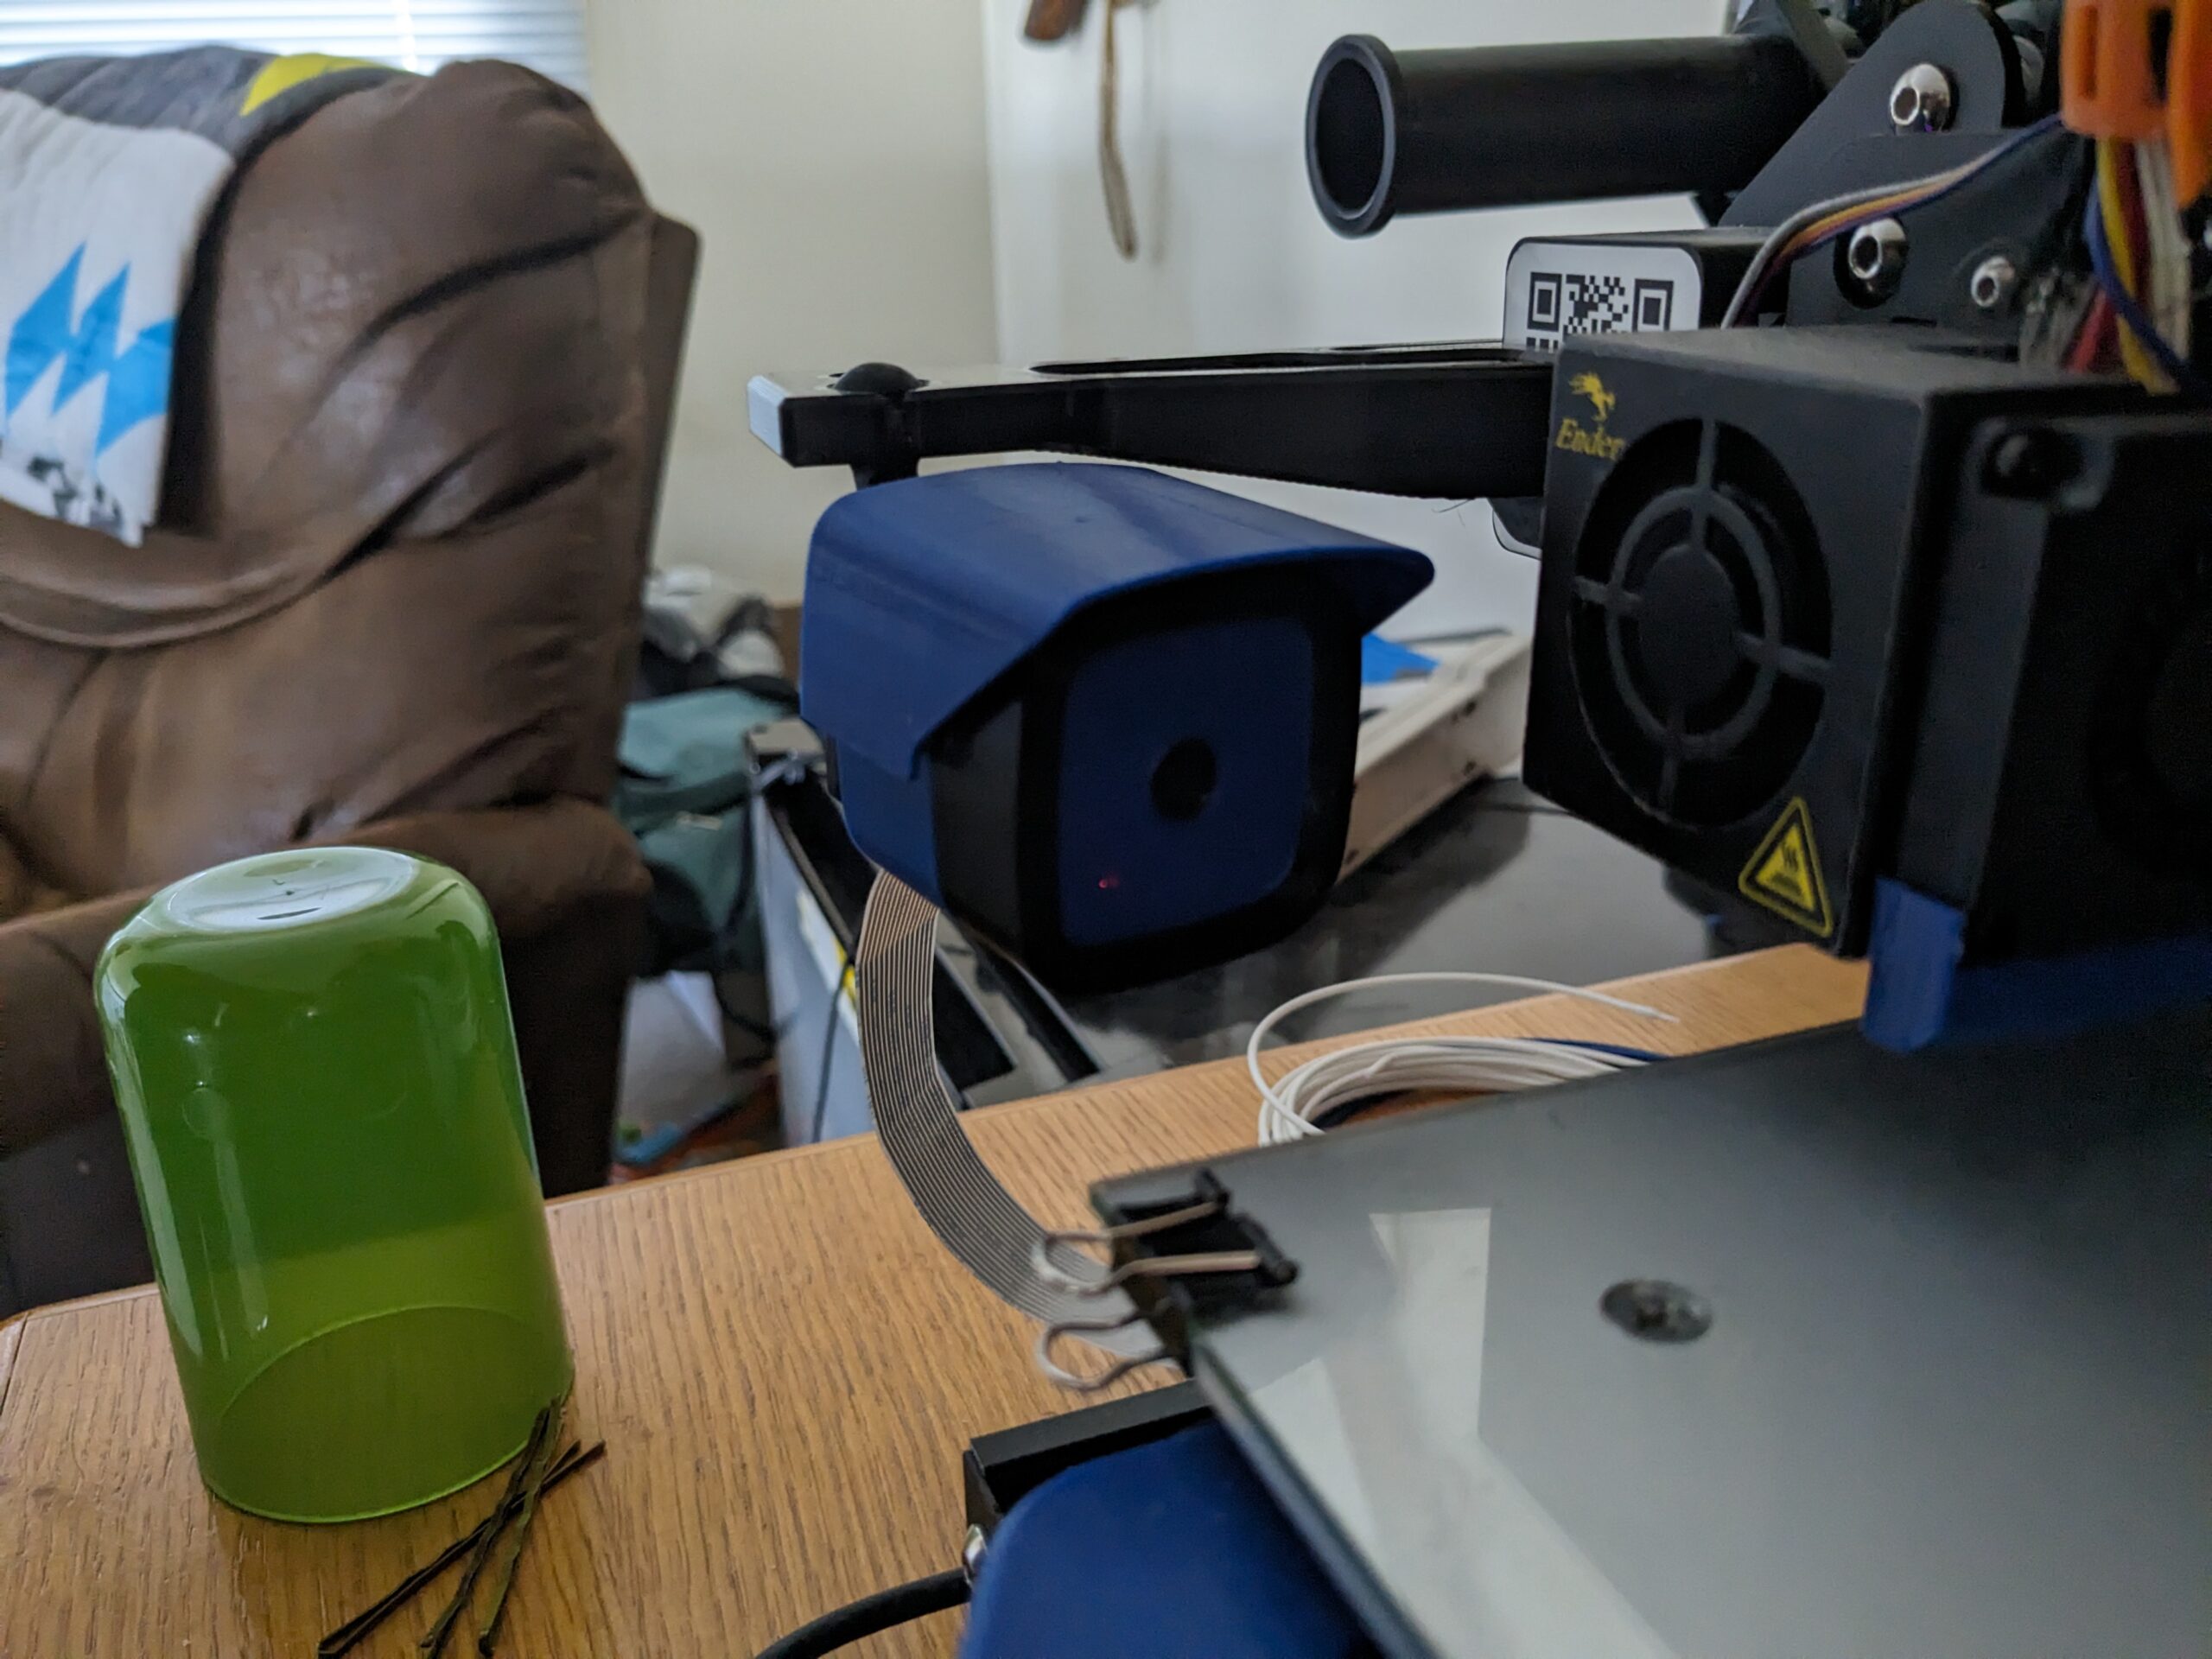
Another Pi Cam Sideways-grade?
Yep, another Pi-Cam change… I don’t know why but I can’t seem to find a good design that I like. My original ball and socket setup kept falling down even with the aide of super glue. To replace that, I found one that acts as a bed handle and a mount for the camera. I really like the camera housing on this one, it protects the camera very well and keeps parts from falling out. Plus, even using a long ribbon cable to connect the camera to the pie, this design allows me to hide a large amount of ribbon is the camera case!

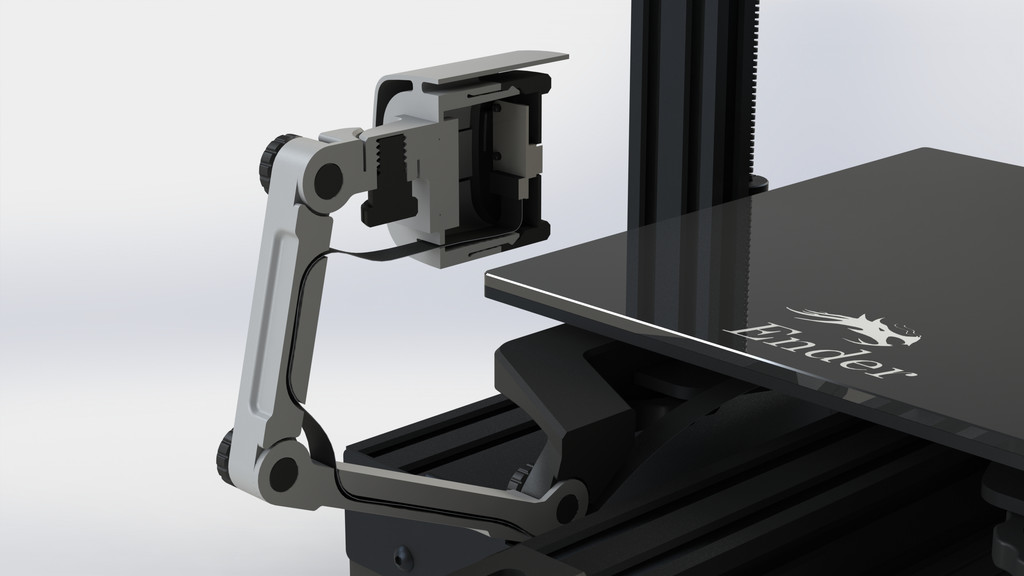
Using this mount overtime, I quickly learned that where its placed causes major vibrations which shows up as squiggly lines in my prints. Going back to the drawing board I found a design that has that same camera casing but attaches to the QR Code frame.
However, again… not all designs are perfect, and in this case this design wasn’t ABL compatible. Luckily, there are a lot of smart people that love to remix. Scrolling though I finally came across the perfect version. Now I can keep a good close eye on my prints and not have to worry about super glue or dealing with squiggly lines in my print jobs.
An Upgrade I didn’t Print!
Not all upgrades are printable… This next one was something I had to purchase, due to PLA not being able to handle heat very well. The problem this upgrade fixes is variability in the springs and the bed. While the ABL upgrade does fix a majority of this, I don’t want to have to run ABL every time I accidentally press down on the bed. Every print job, when I have to scrape and pry the print off the bed, there is a very good chance that I press down on the springs below the bed.

The solution here, Silicone Stoppers! Little rubbery cylinders that sit between the adjustment wheels and the bed plate, offers a little give but nothing like the stock springs. Now when I press on the bed to remove a print, its only a very small variance where an ABL re-run is not necessary.
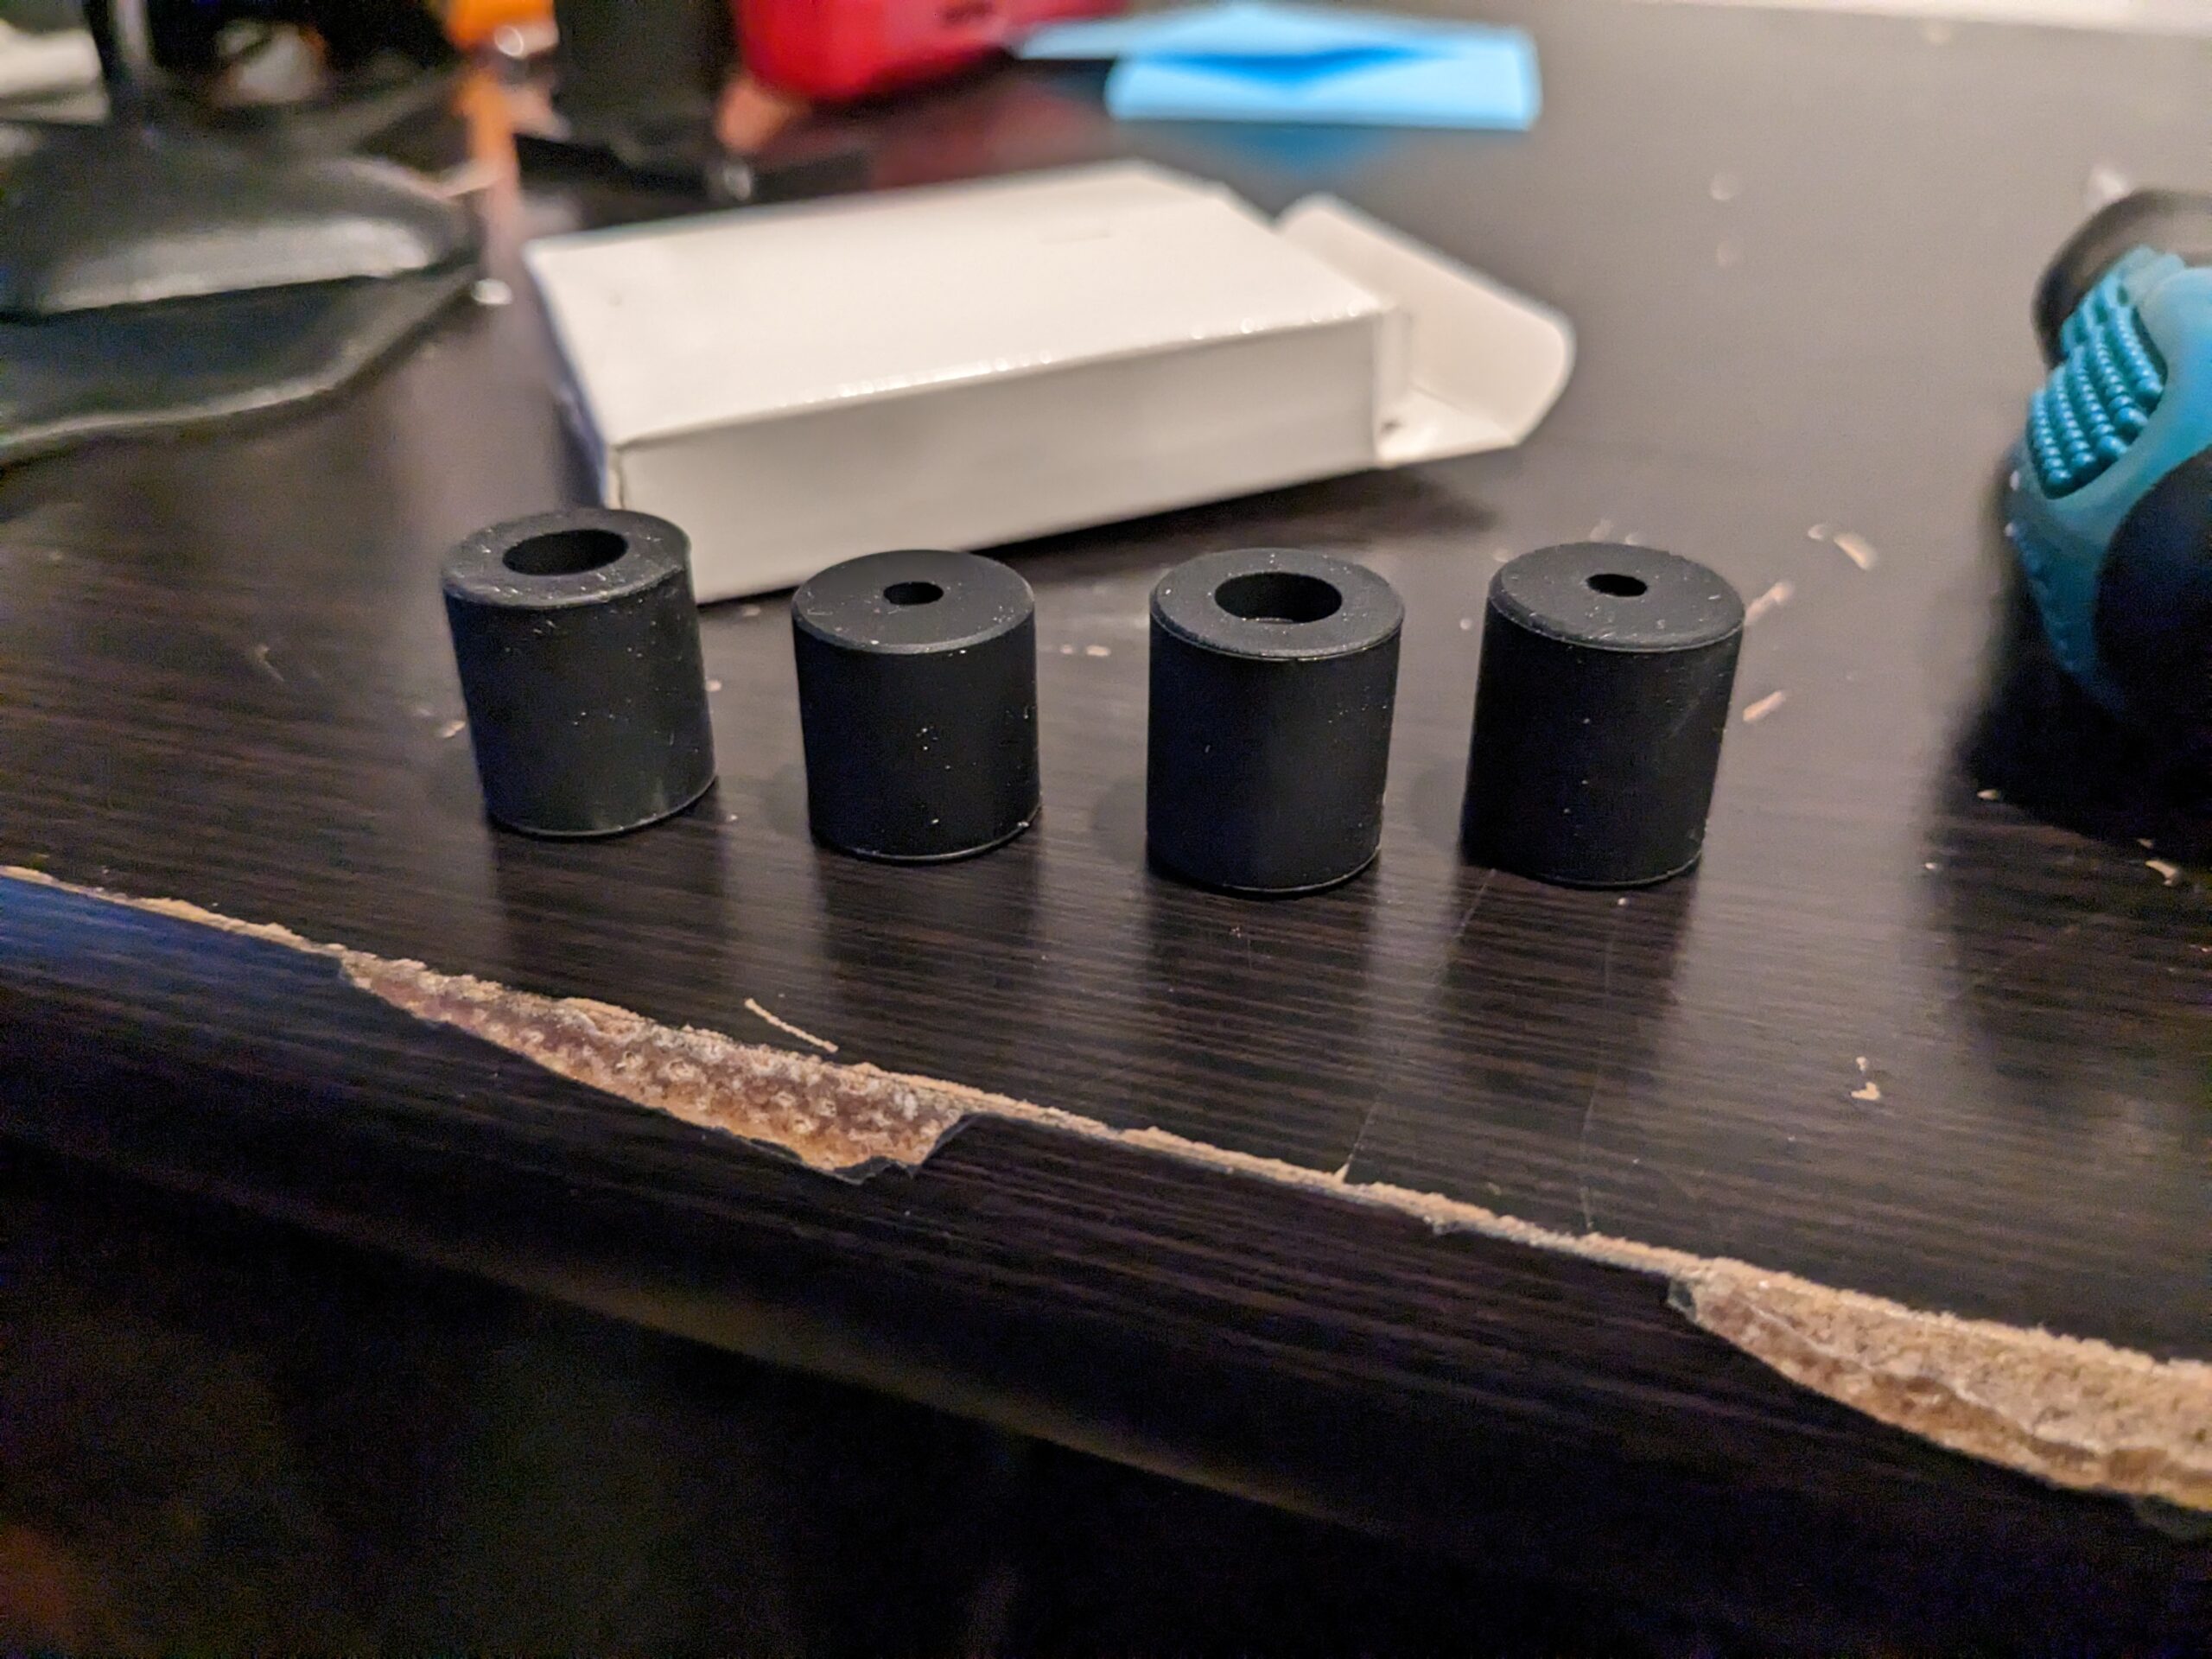
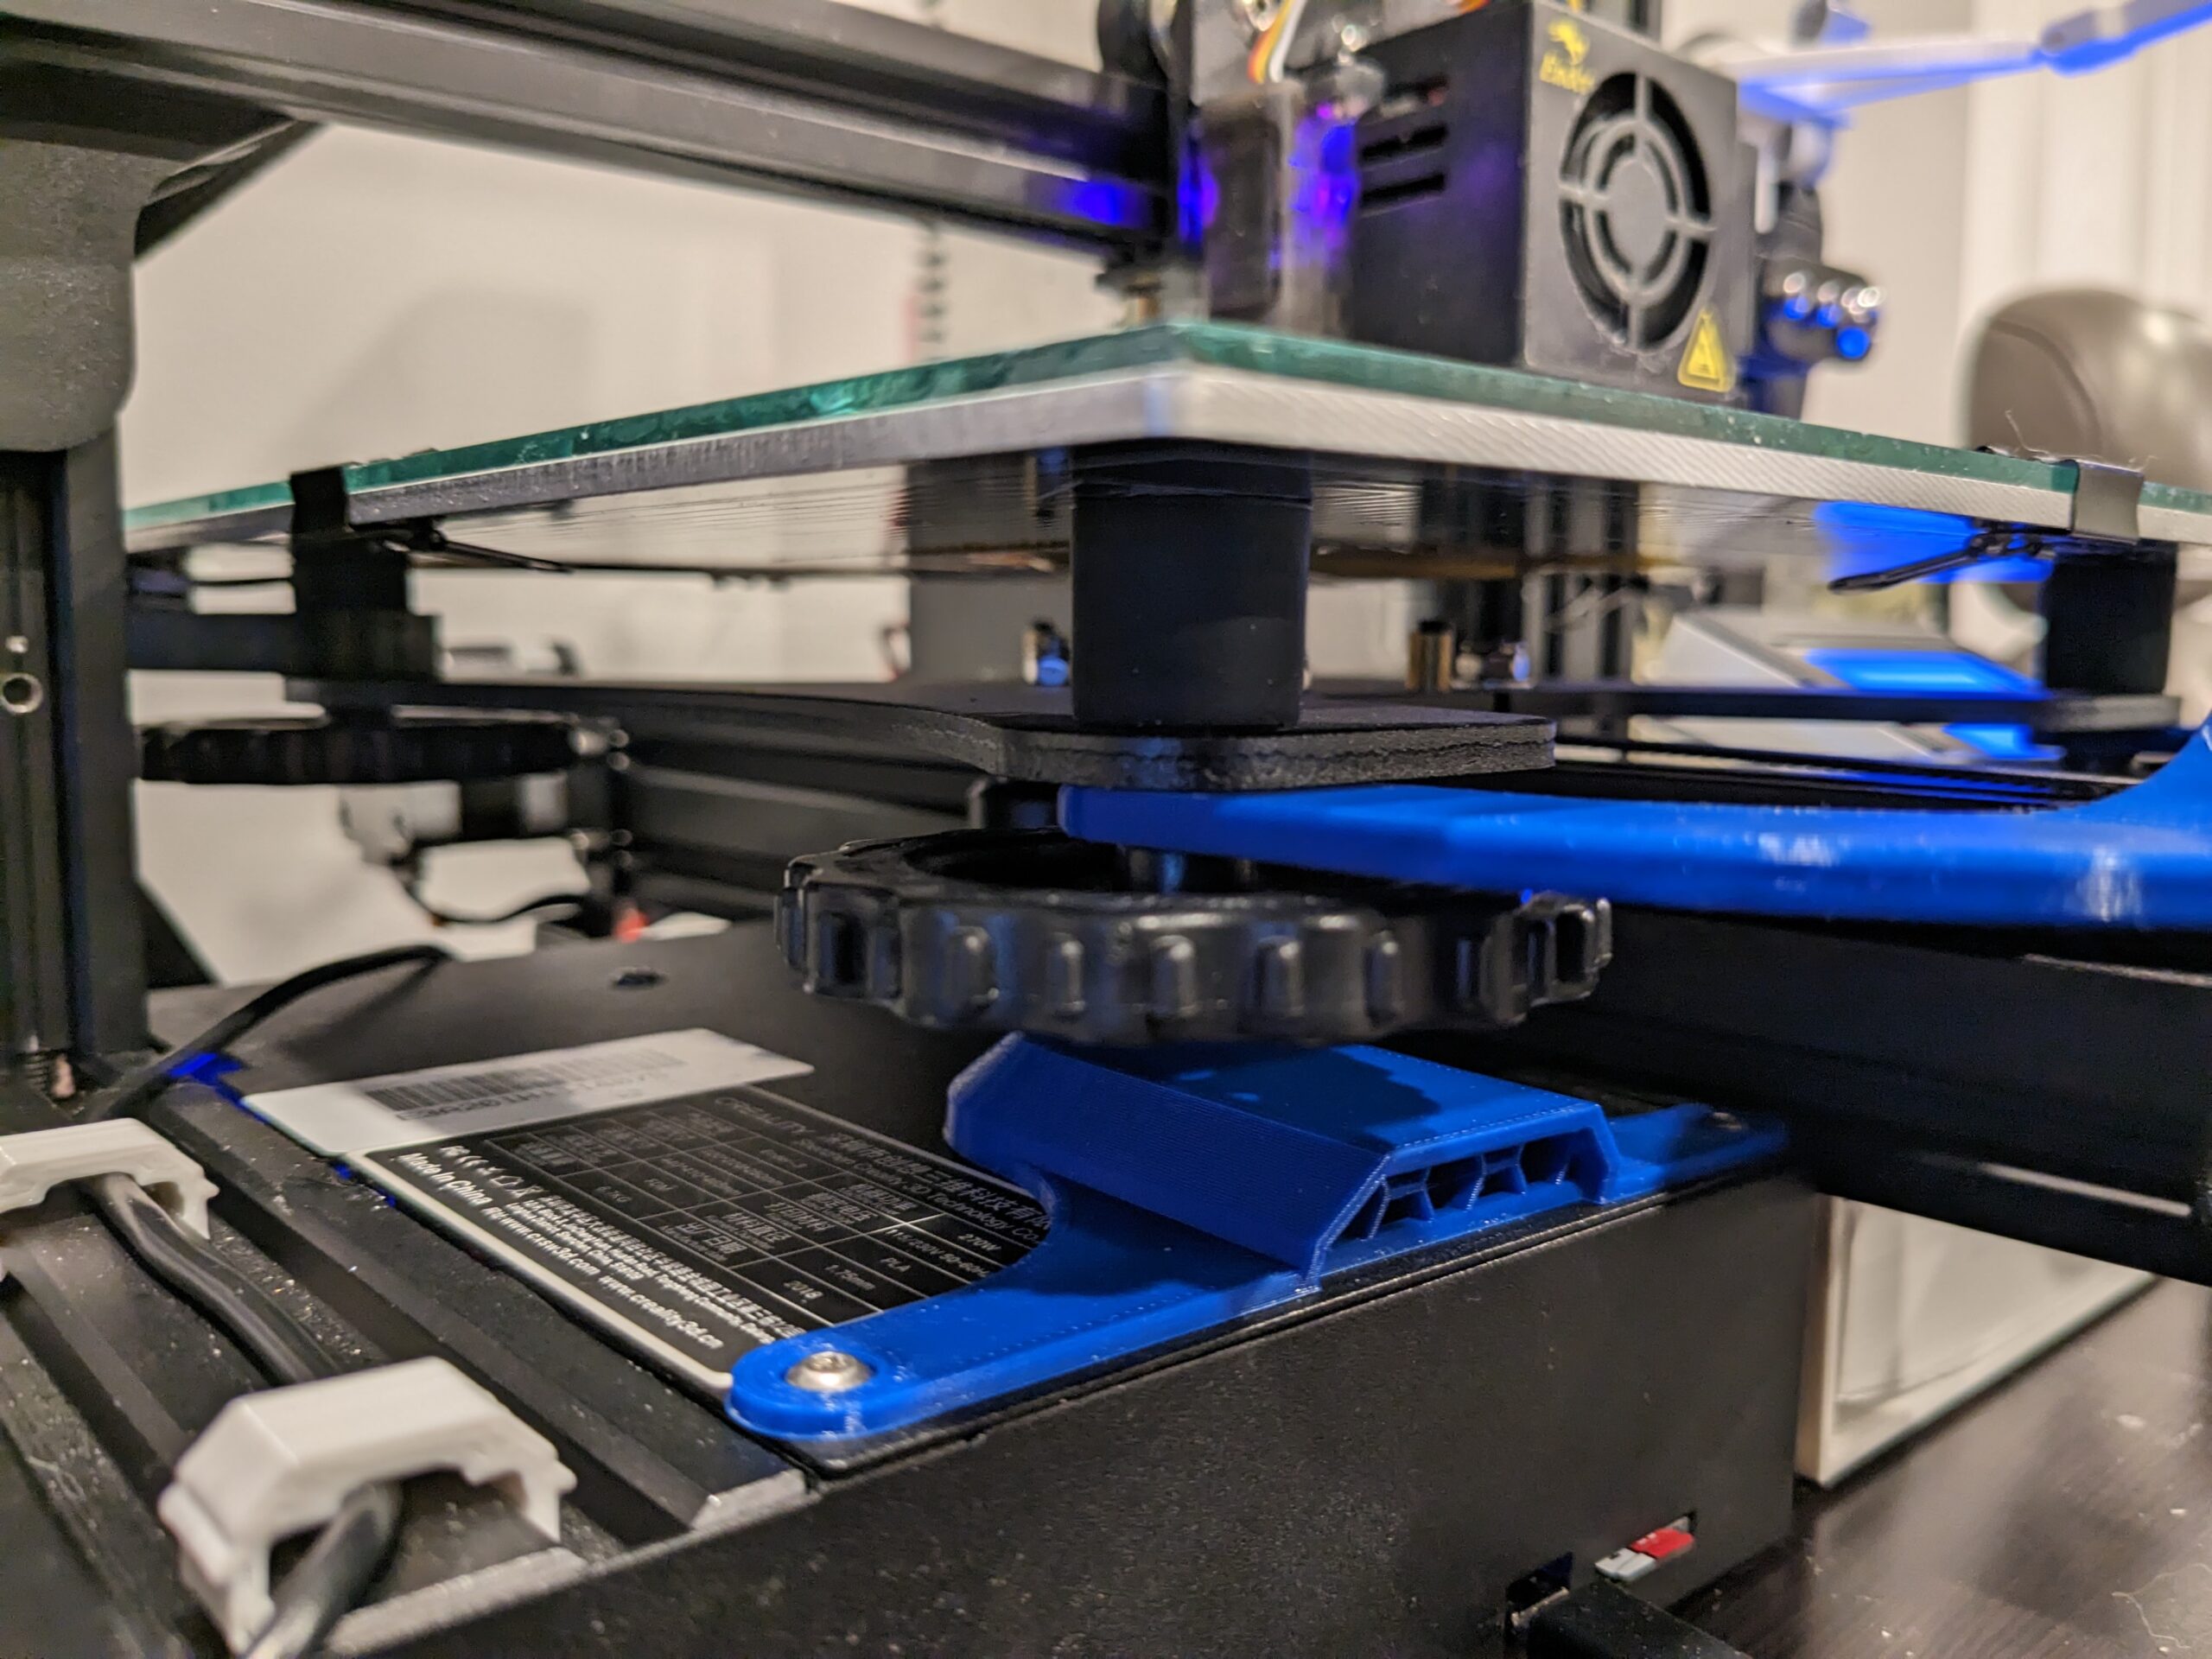
The big Pro here, we should only have to adjust it only when we have to take off the adjustment wheels. The Con, there is zero give. Meaning, if I severely screw up the z-offset or click the wrong button in Octoprint, I could send the nozzle right through the glass bed.

Sooooo, I need to be super careful when it comes to my decimal places when adjusting. Only because someone maybe one time when adjusting moved the nozzle 10mm and not 0.1mm. At least the guy at Ace Hardware found it funny when I asked him why I needed a small piece of glass cut 🙂
Any Color you want, as long as its Blue!
You might have noticed in this post my color scheme changing. I wanted to get my colors away from dice, dalmatians and dairy cows to a dark theme with tactical vibes. This is probably the most important upgrade I’ve done to date. Because we all know fashion always comes before function, that’s why architects are way more important that civil/mechanical/electrical engineers.

Ok, ok, ok, all kidding aside… sometimes its worth it to give your printer a face lift. Just makes it feel better to keep sending it print jobs. But maybe that’s just me.
Alright well there you have it, hopefully my next post won’t be forever from now. We are in the middle of moving, so life will be a little crazy over the next month but I’ll sneak in some time. Until then, thanks for swinging by! 🙂