Hey all! Back from the holidays, from moving and getting this god awful site back online! Now that life is more or less back to normal and all my toys are unpacked, its time to get printing again! I promise its something real this time, not another upgrade post when I was living as a nomad. I’m talking real deal, actual hands on, good old fashion 3D printing project. I’m talking, a spice rack!

The Problem
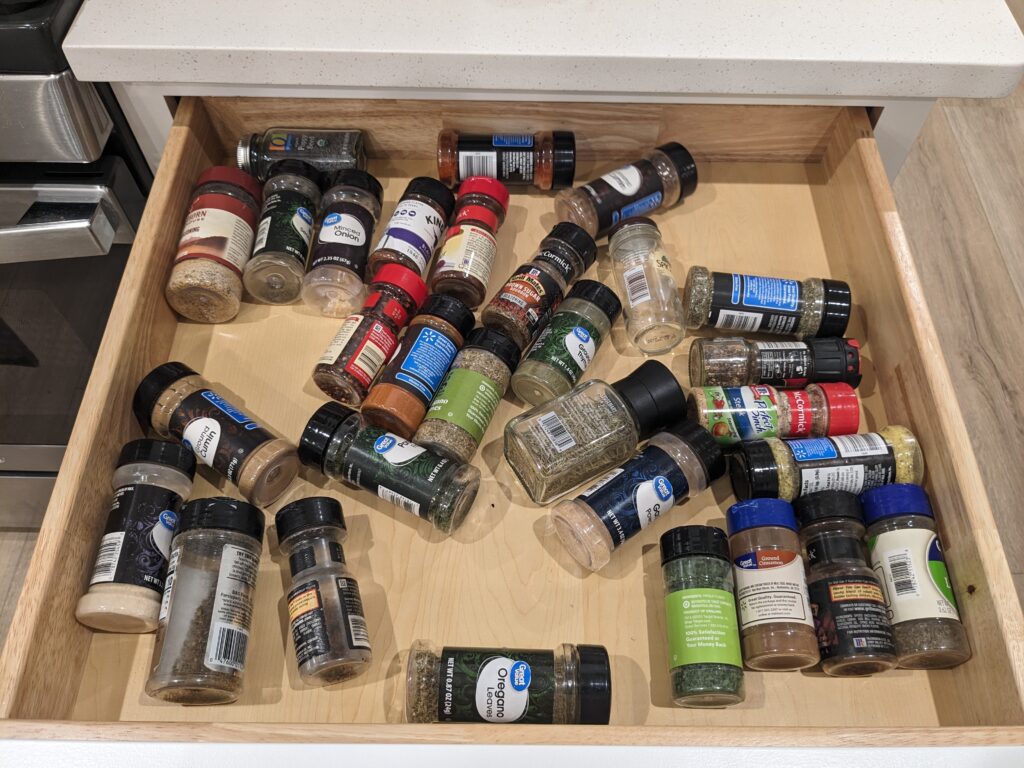
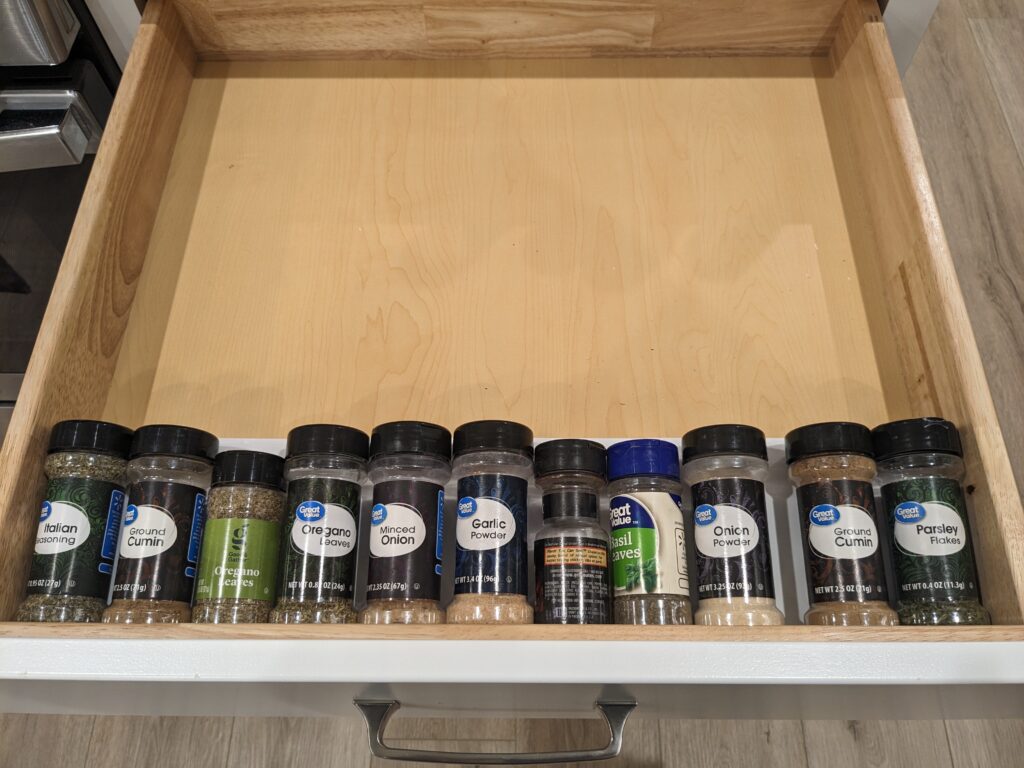
Imagine. Its Saturday, you’ve just watched 2 hours of Hell’s Kitchen and your inner Gordon Ramsay is roaring “its time to cook”! You scour the internet looking for a dish that will tame the beast and you find it! The list of ingredients are long but you are confident you have everything. You reach for your spice drawer and that’s when you see it. The chaos in its most pure form…

The Fix: Printing a Spice Rack
Oh no no no, this will not stand! My life demands order, structure, and reasons to use my 3D Printer! I cancelled everything on my agenda and went straight to Thingiverse to find someone’s design to save me from peril. Boy did I hit the jackpot with this one, this designer went above and beyond to make this drawer organizer.
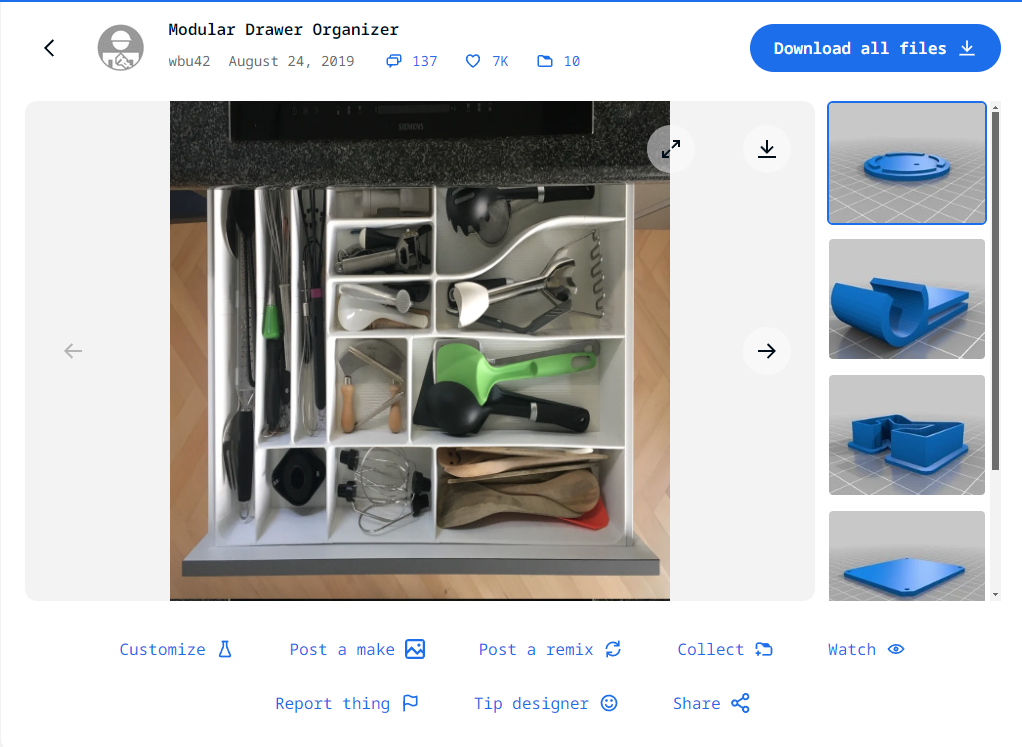
Its setup is very Lego like, modular with swappable parts, allowing me to make grids to drop the spices into. Printing out a few prototypes, I quickly realized that this wasn’t the one-size fits all solution I was hoping for. Even though the author did an amazing job laying out all possible combinations of all their parts at varying sizes, the feel was just not right. Mainly, reaching into the cell to get the bottle wasn’t easy and the amount of cells that would fit in the drawer was not a lot.
Taking a step back, I needed to reassess and find some inspiration elsewhere. Elsewhere being Google and what the hell an actual store bought spice rack for a drawer looks like. Flipping back and forth between Thingiverse and Google trying to find a good match I was falling short…. However I wasn’t ready to give up.
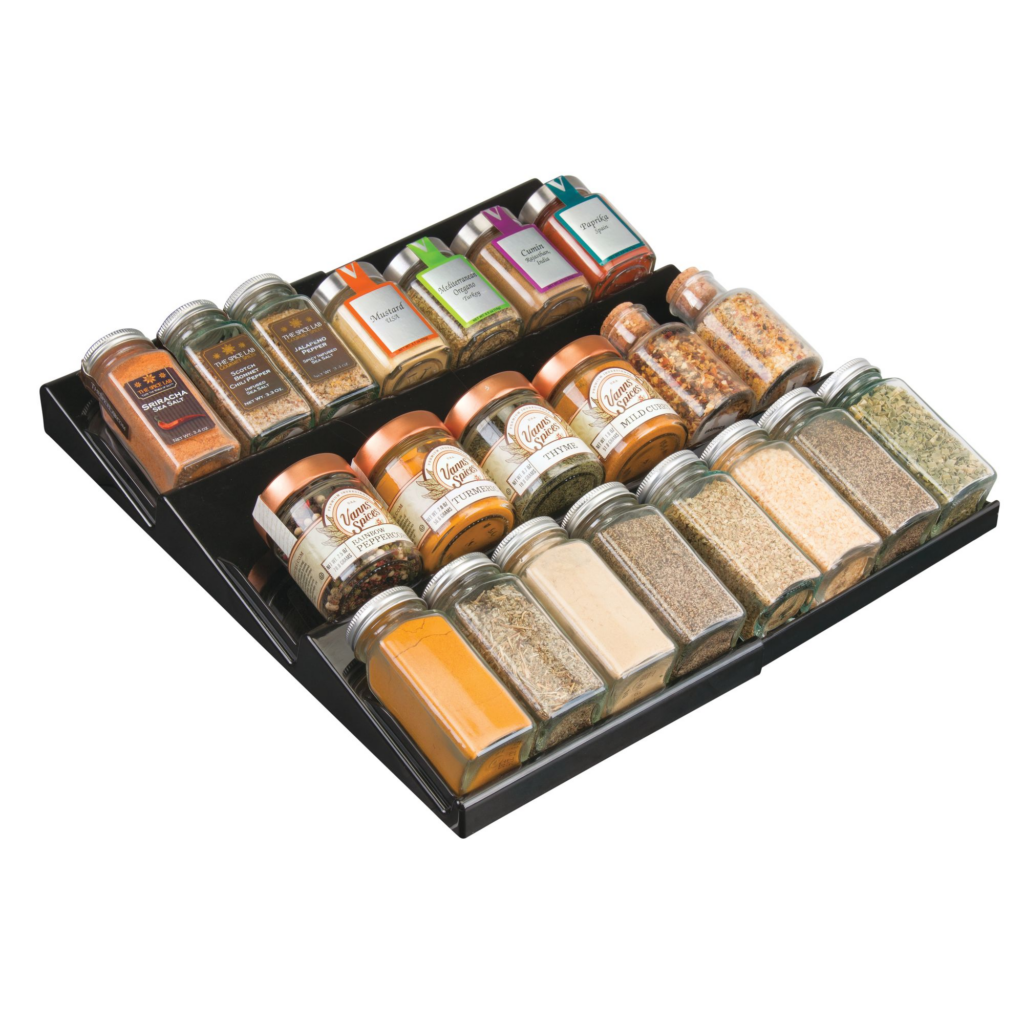
Taking a closer look on Amazon at some of these drawer racks, some vendors posted their dimensions and specs. With that, I had everything I needed to do a little copy/paste work in Fusion 360 🙂
The Real Fix: Making My Own Spice Rack
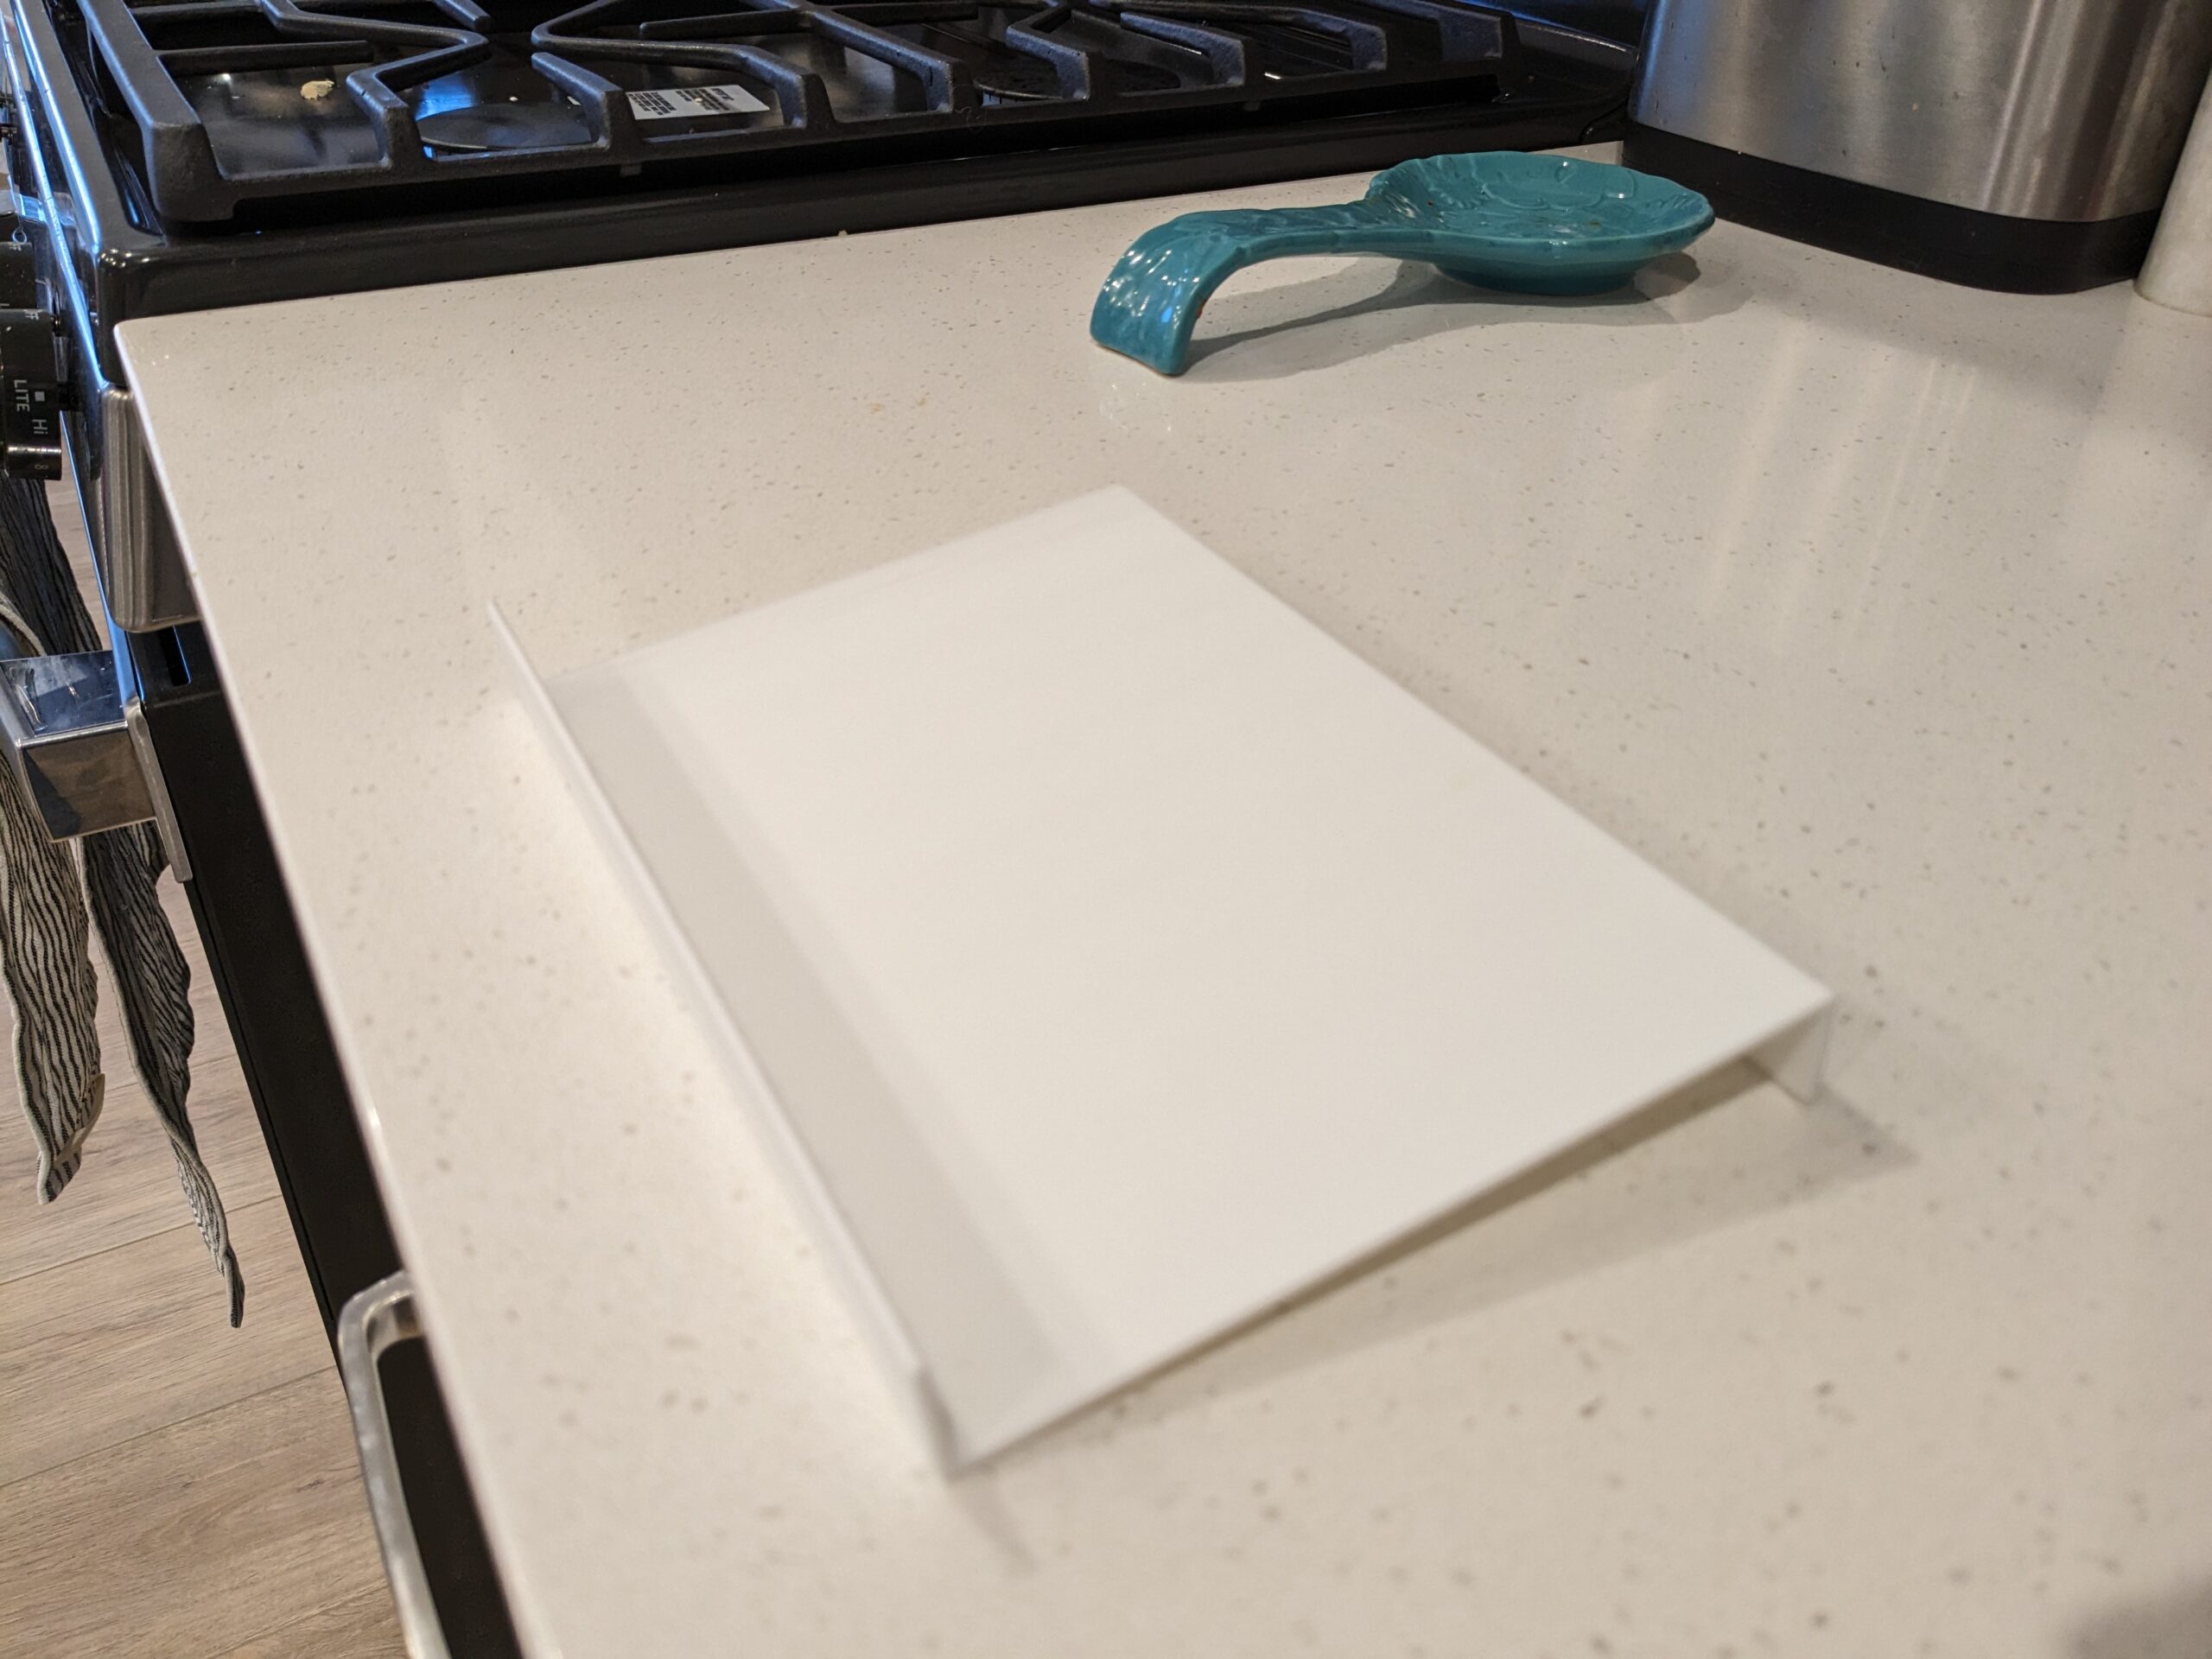
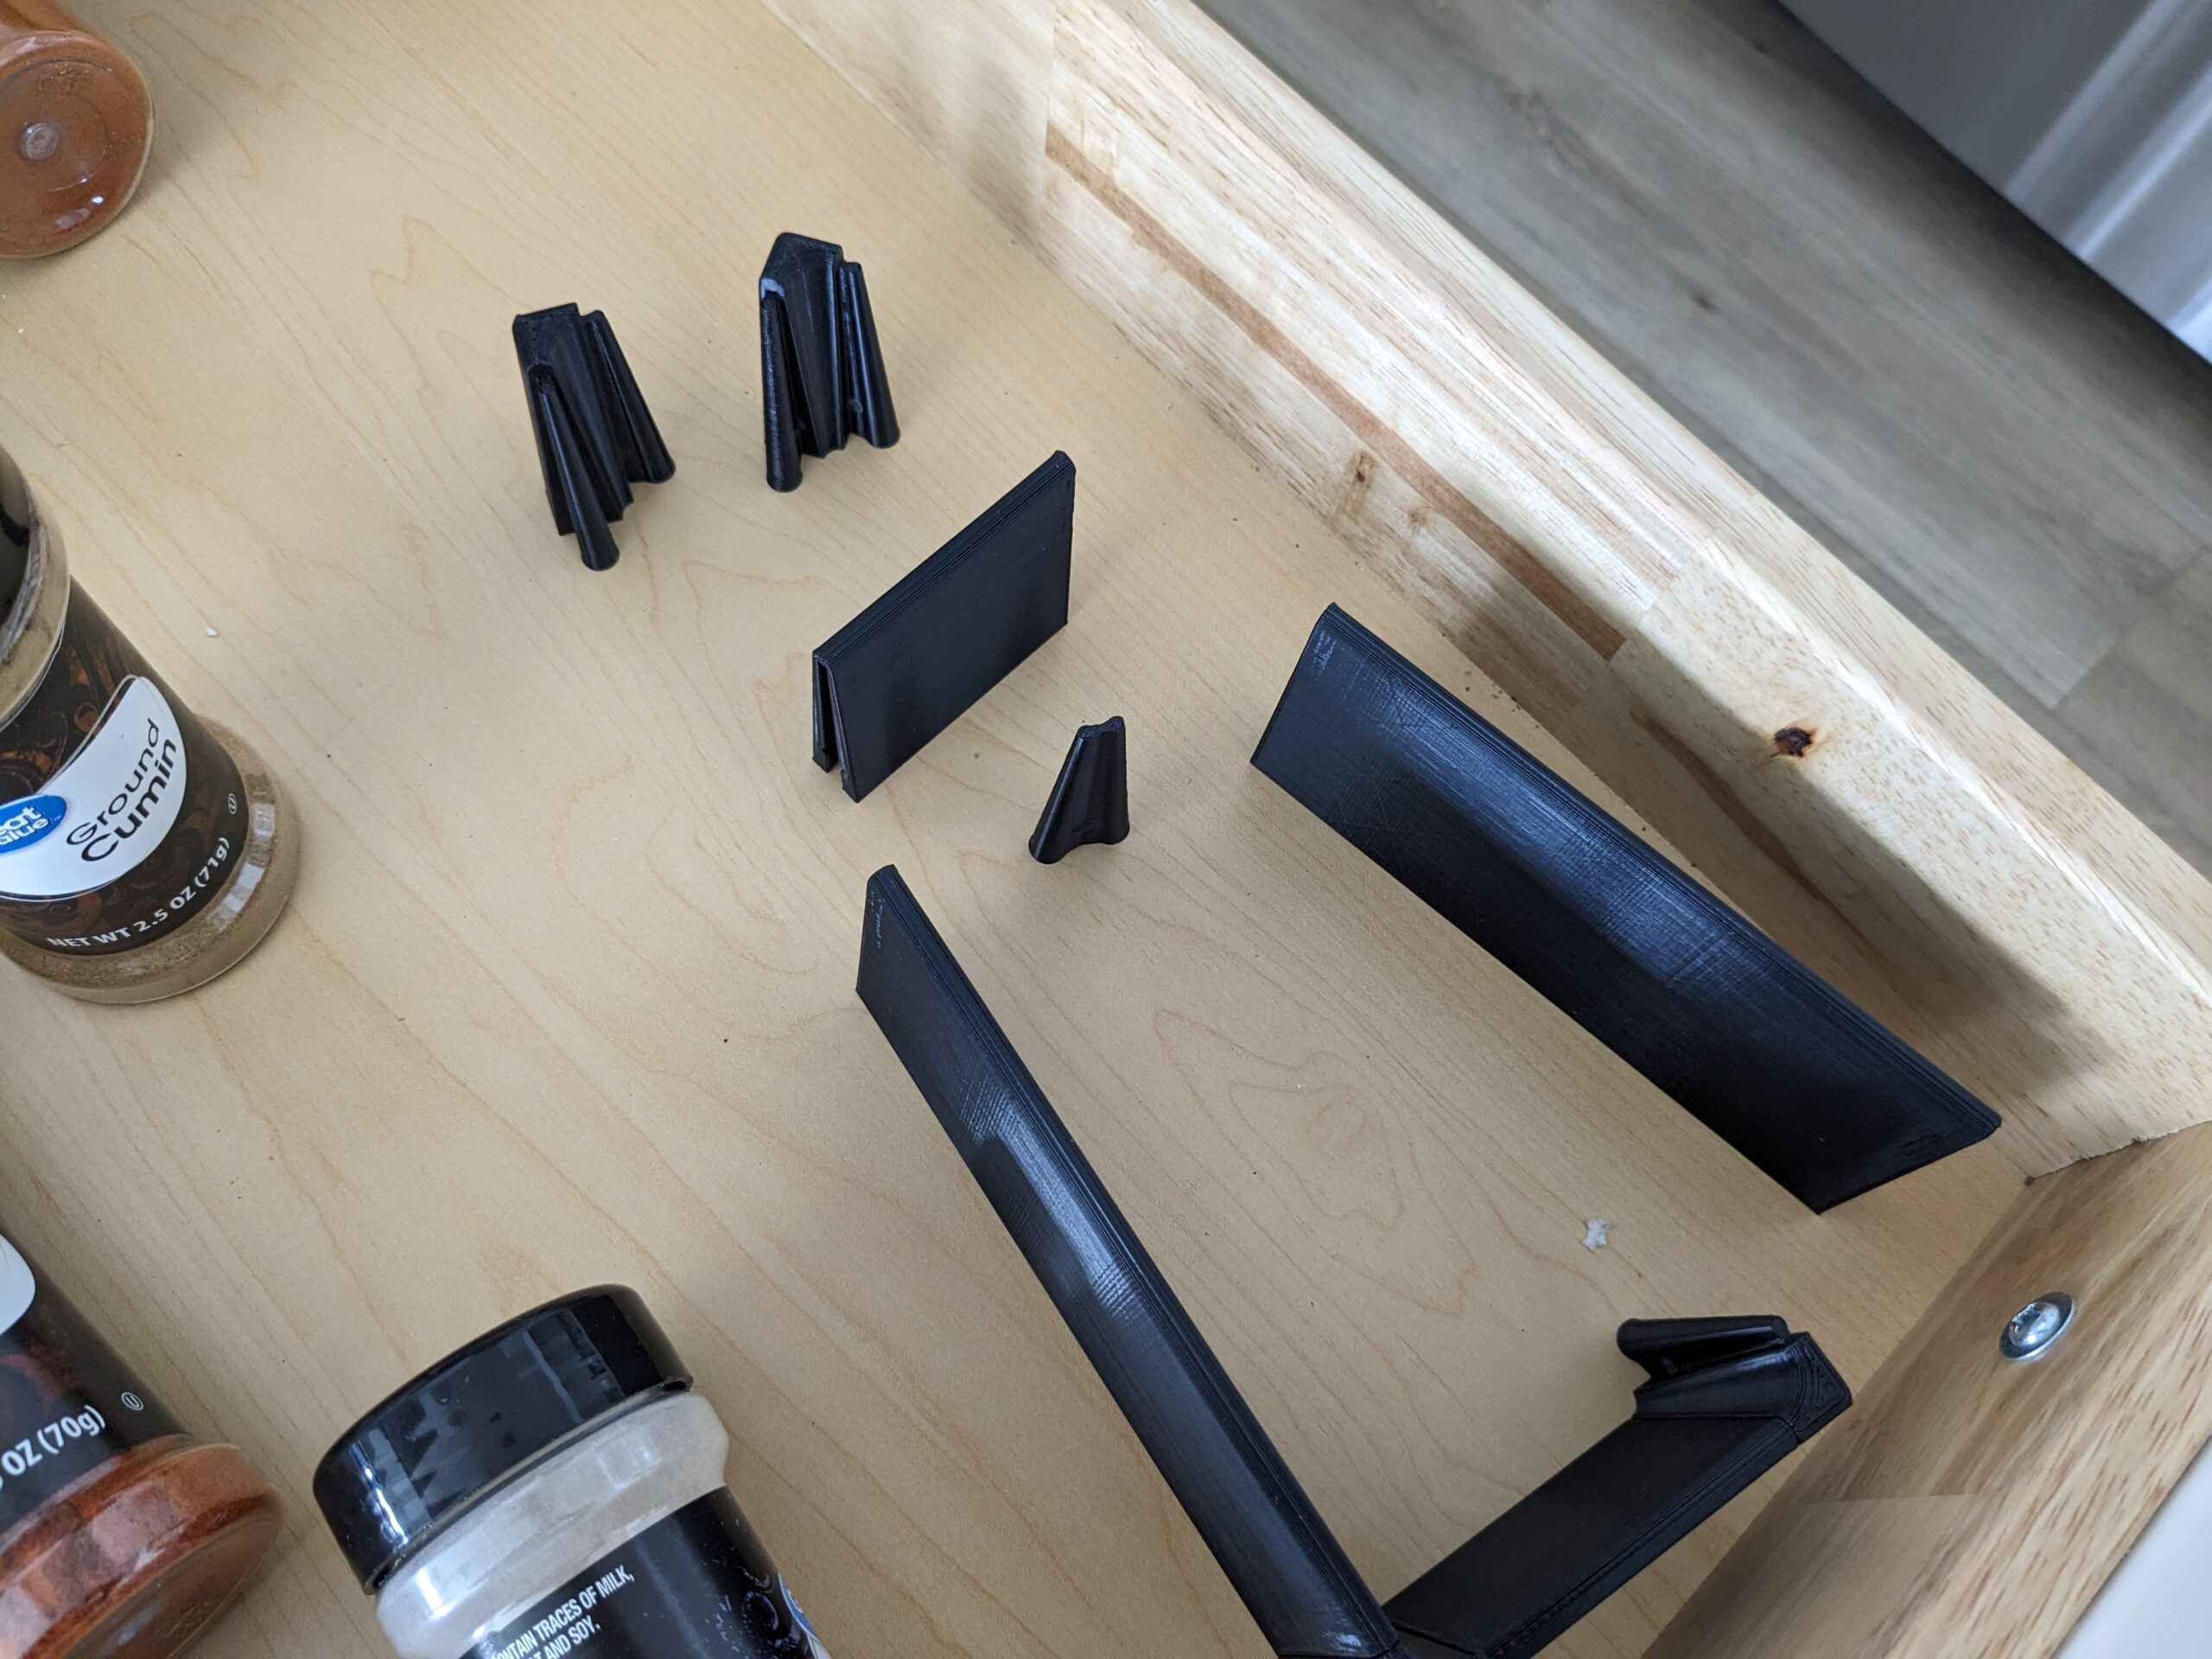
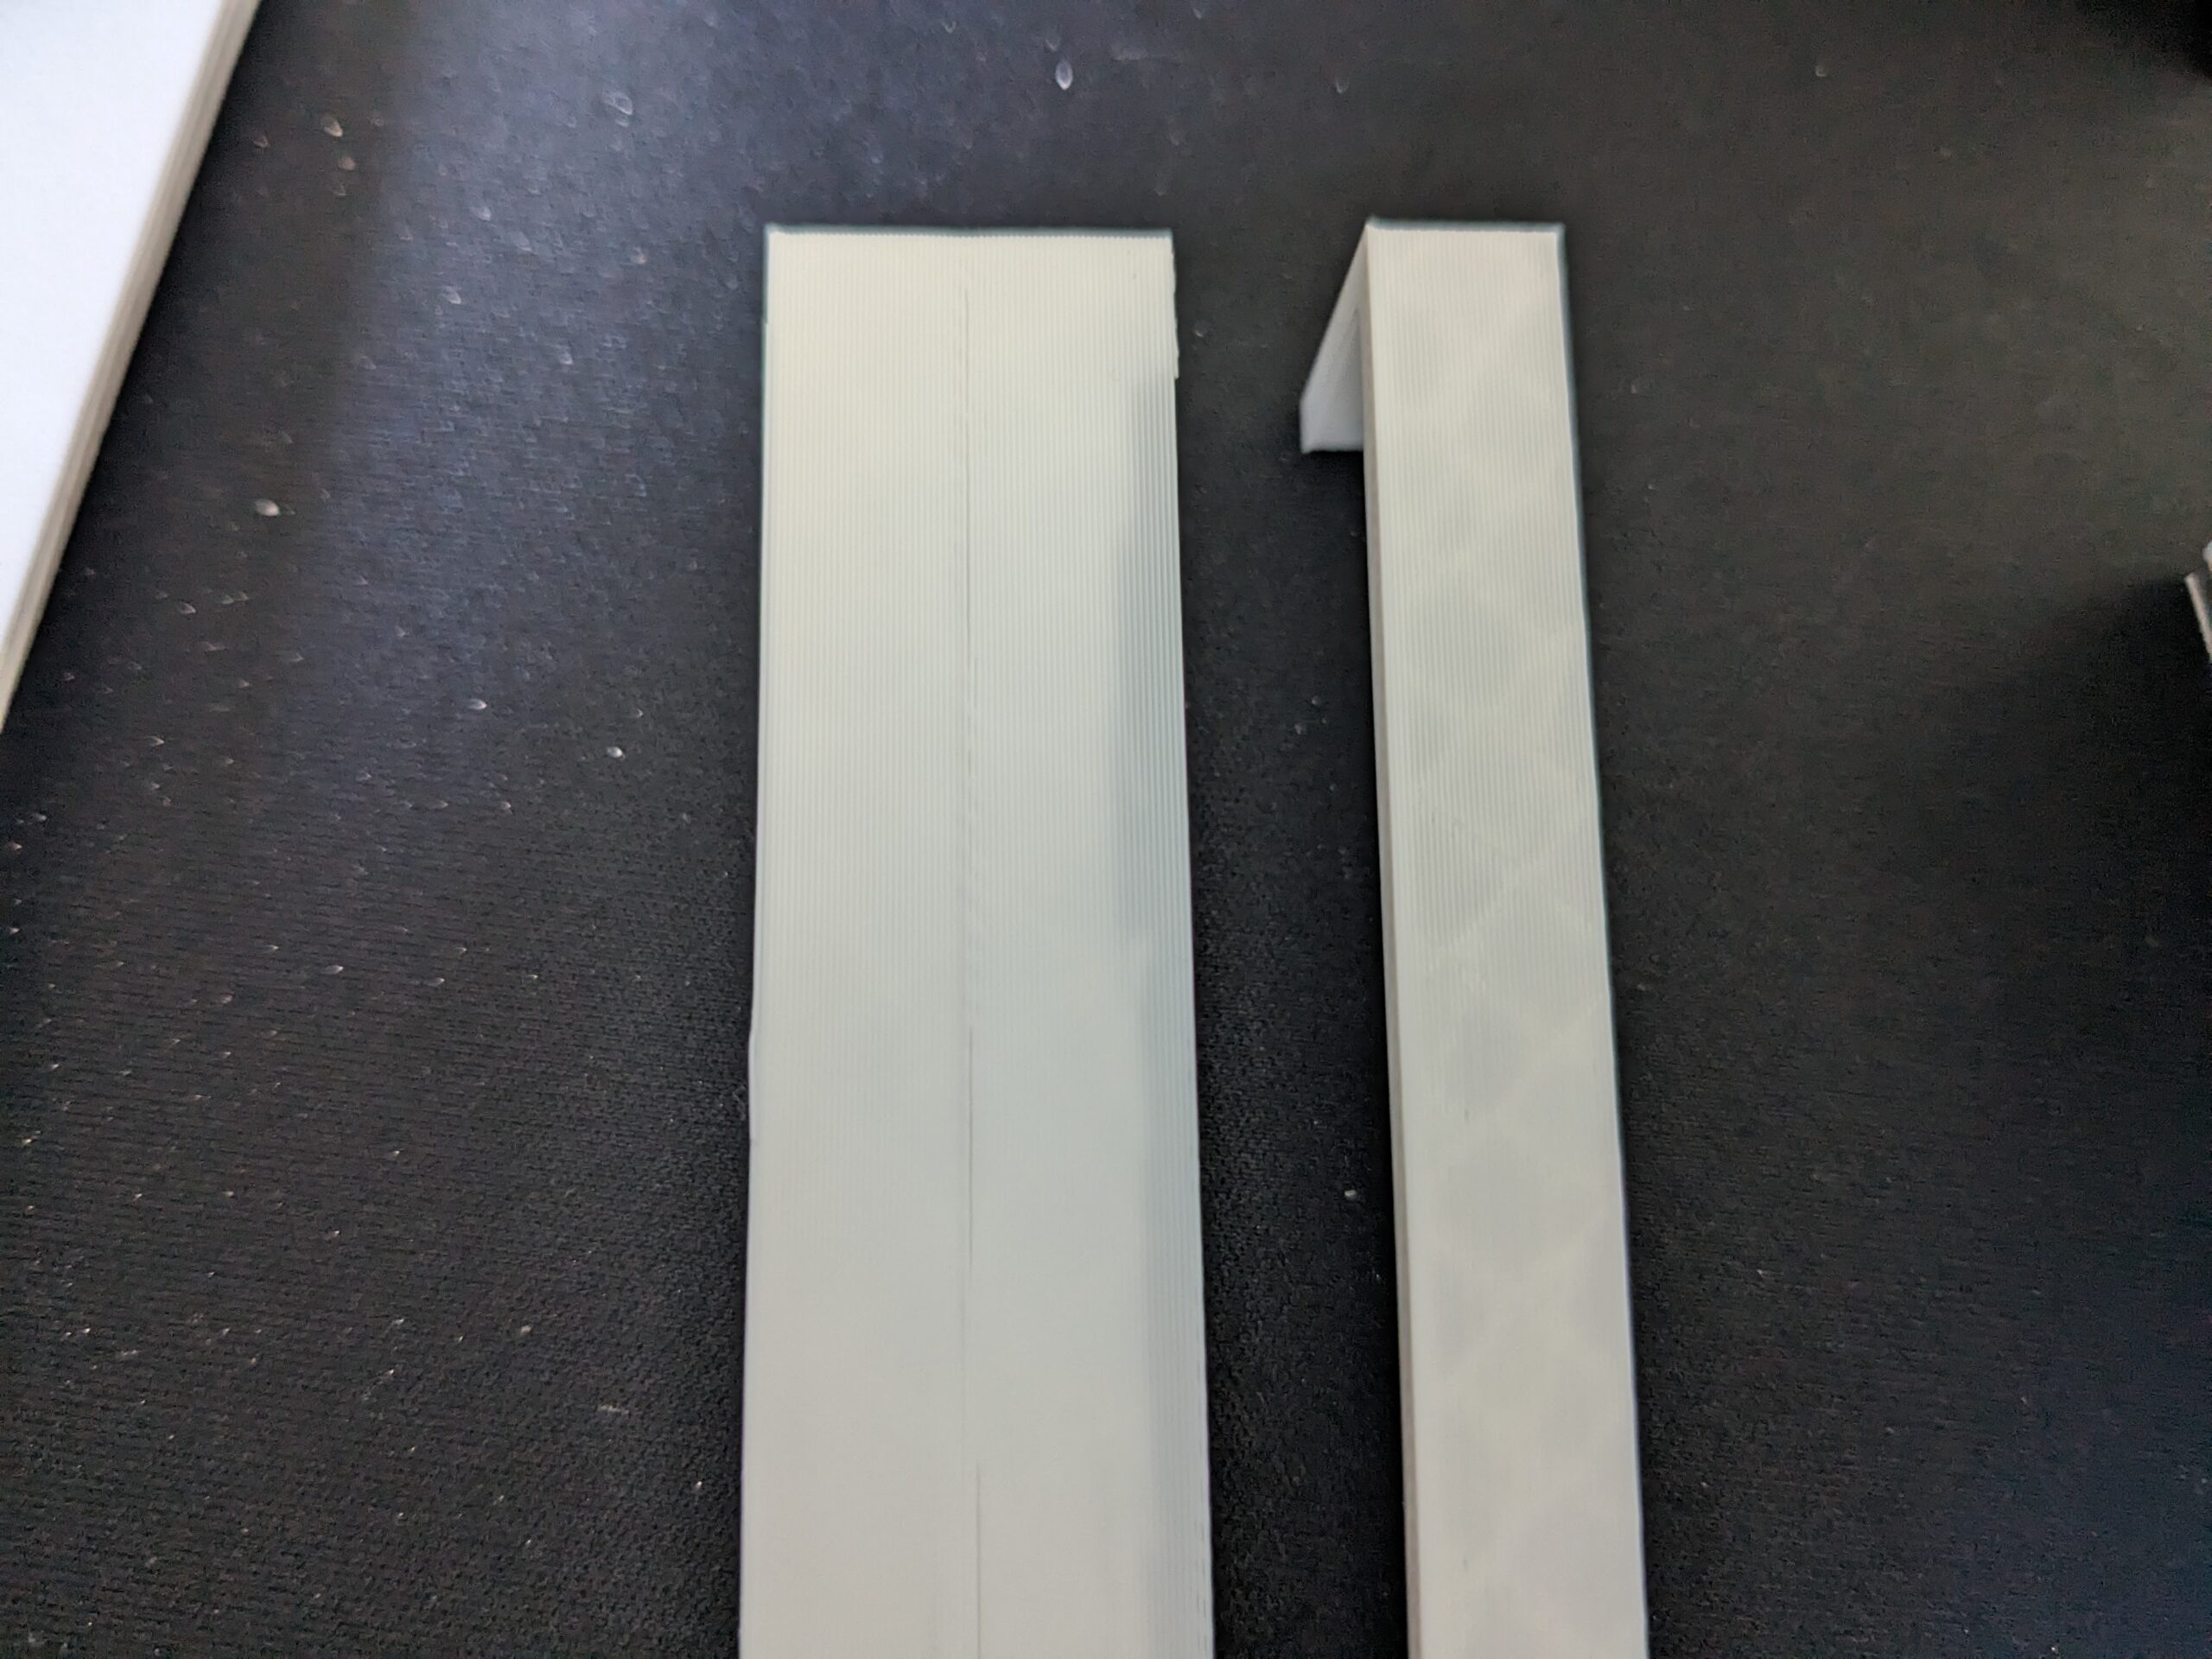
The design is very basic, make a Z shape roughly 2-3mm thick and high enough to hold a spice bottle and long enough where there is a gap between the top of one bottle and the bottom of another.
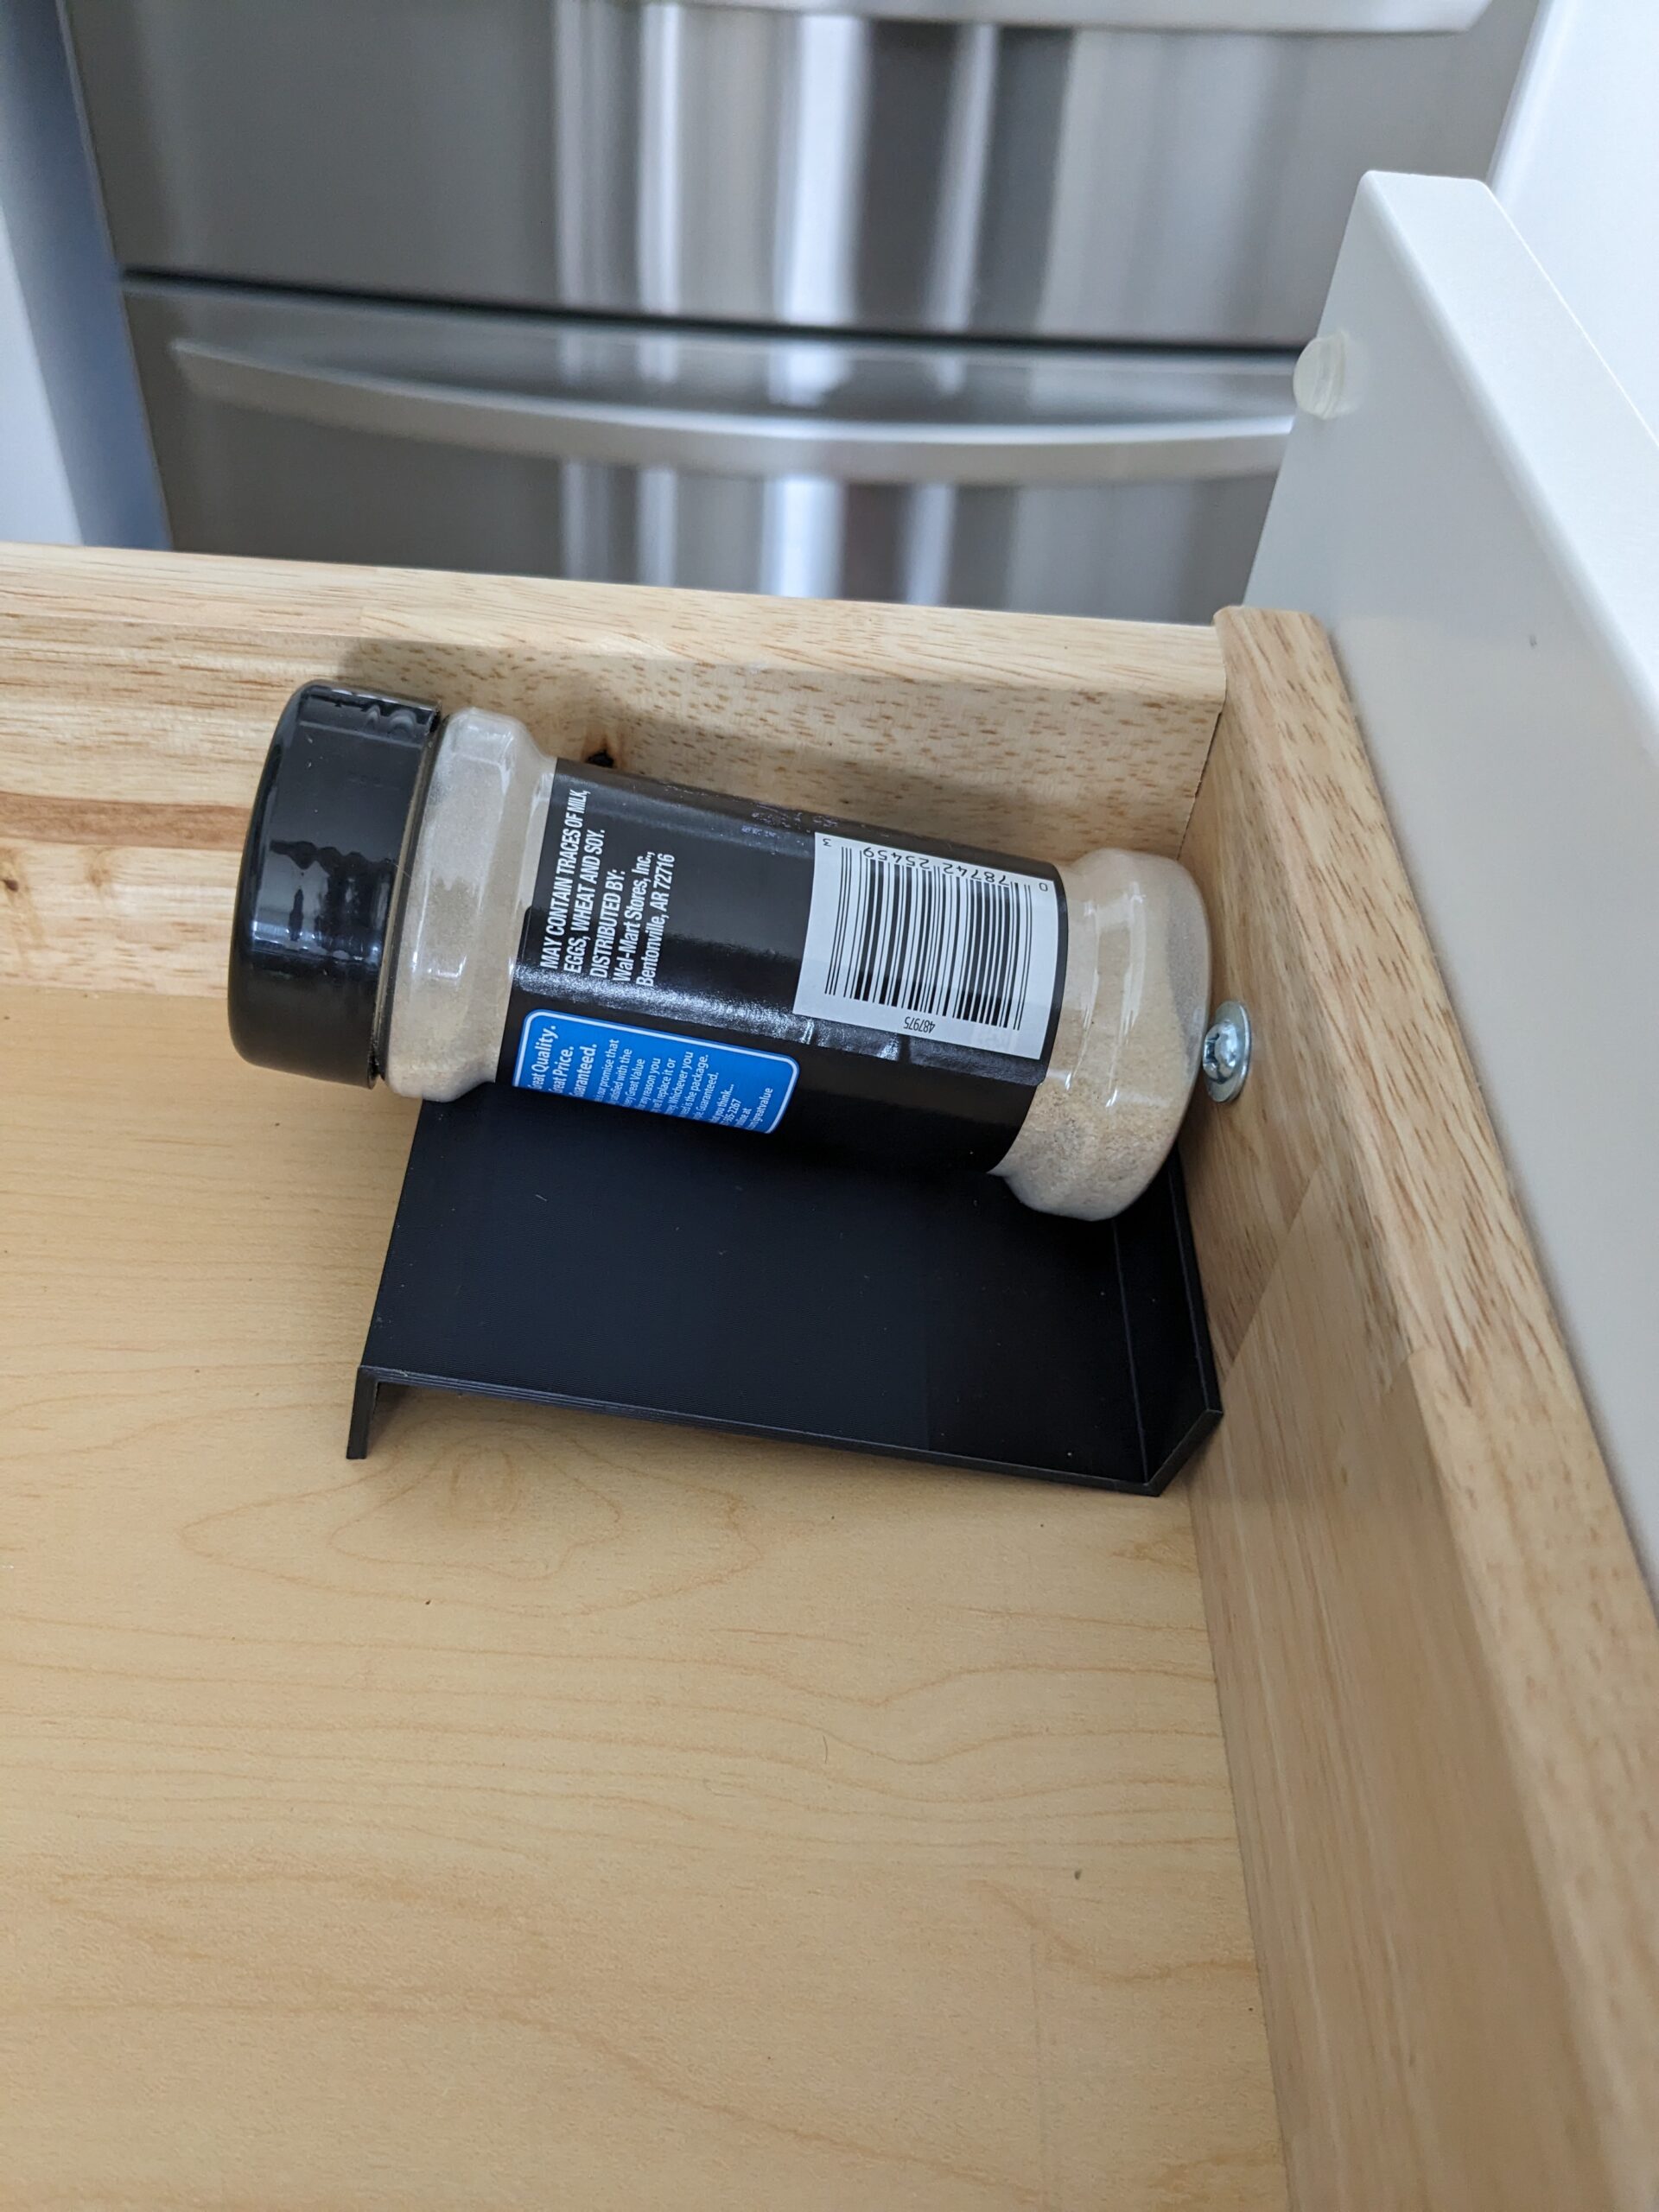
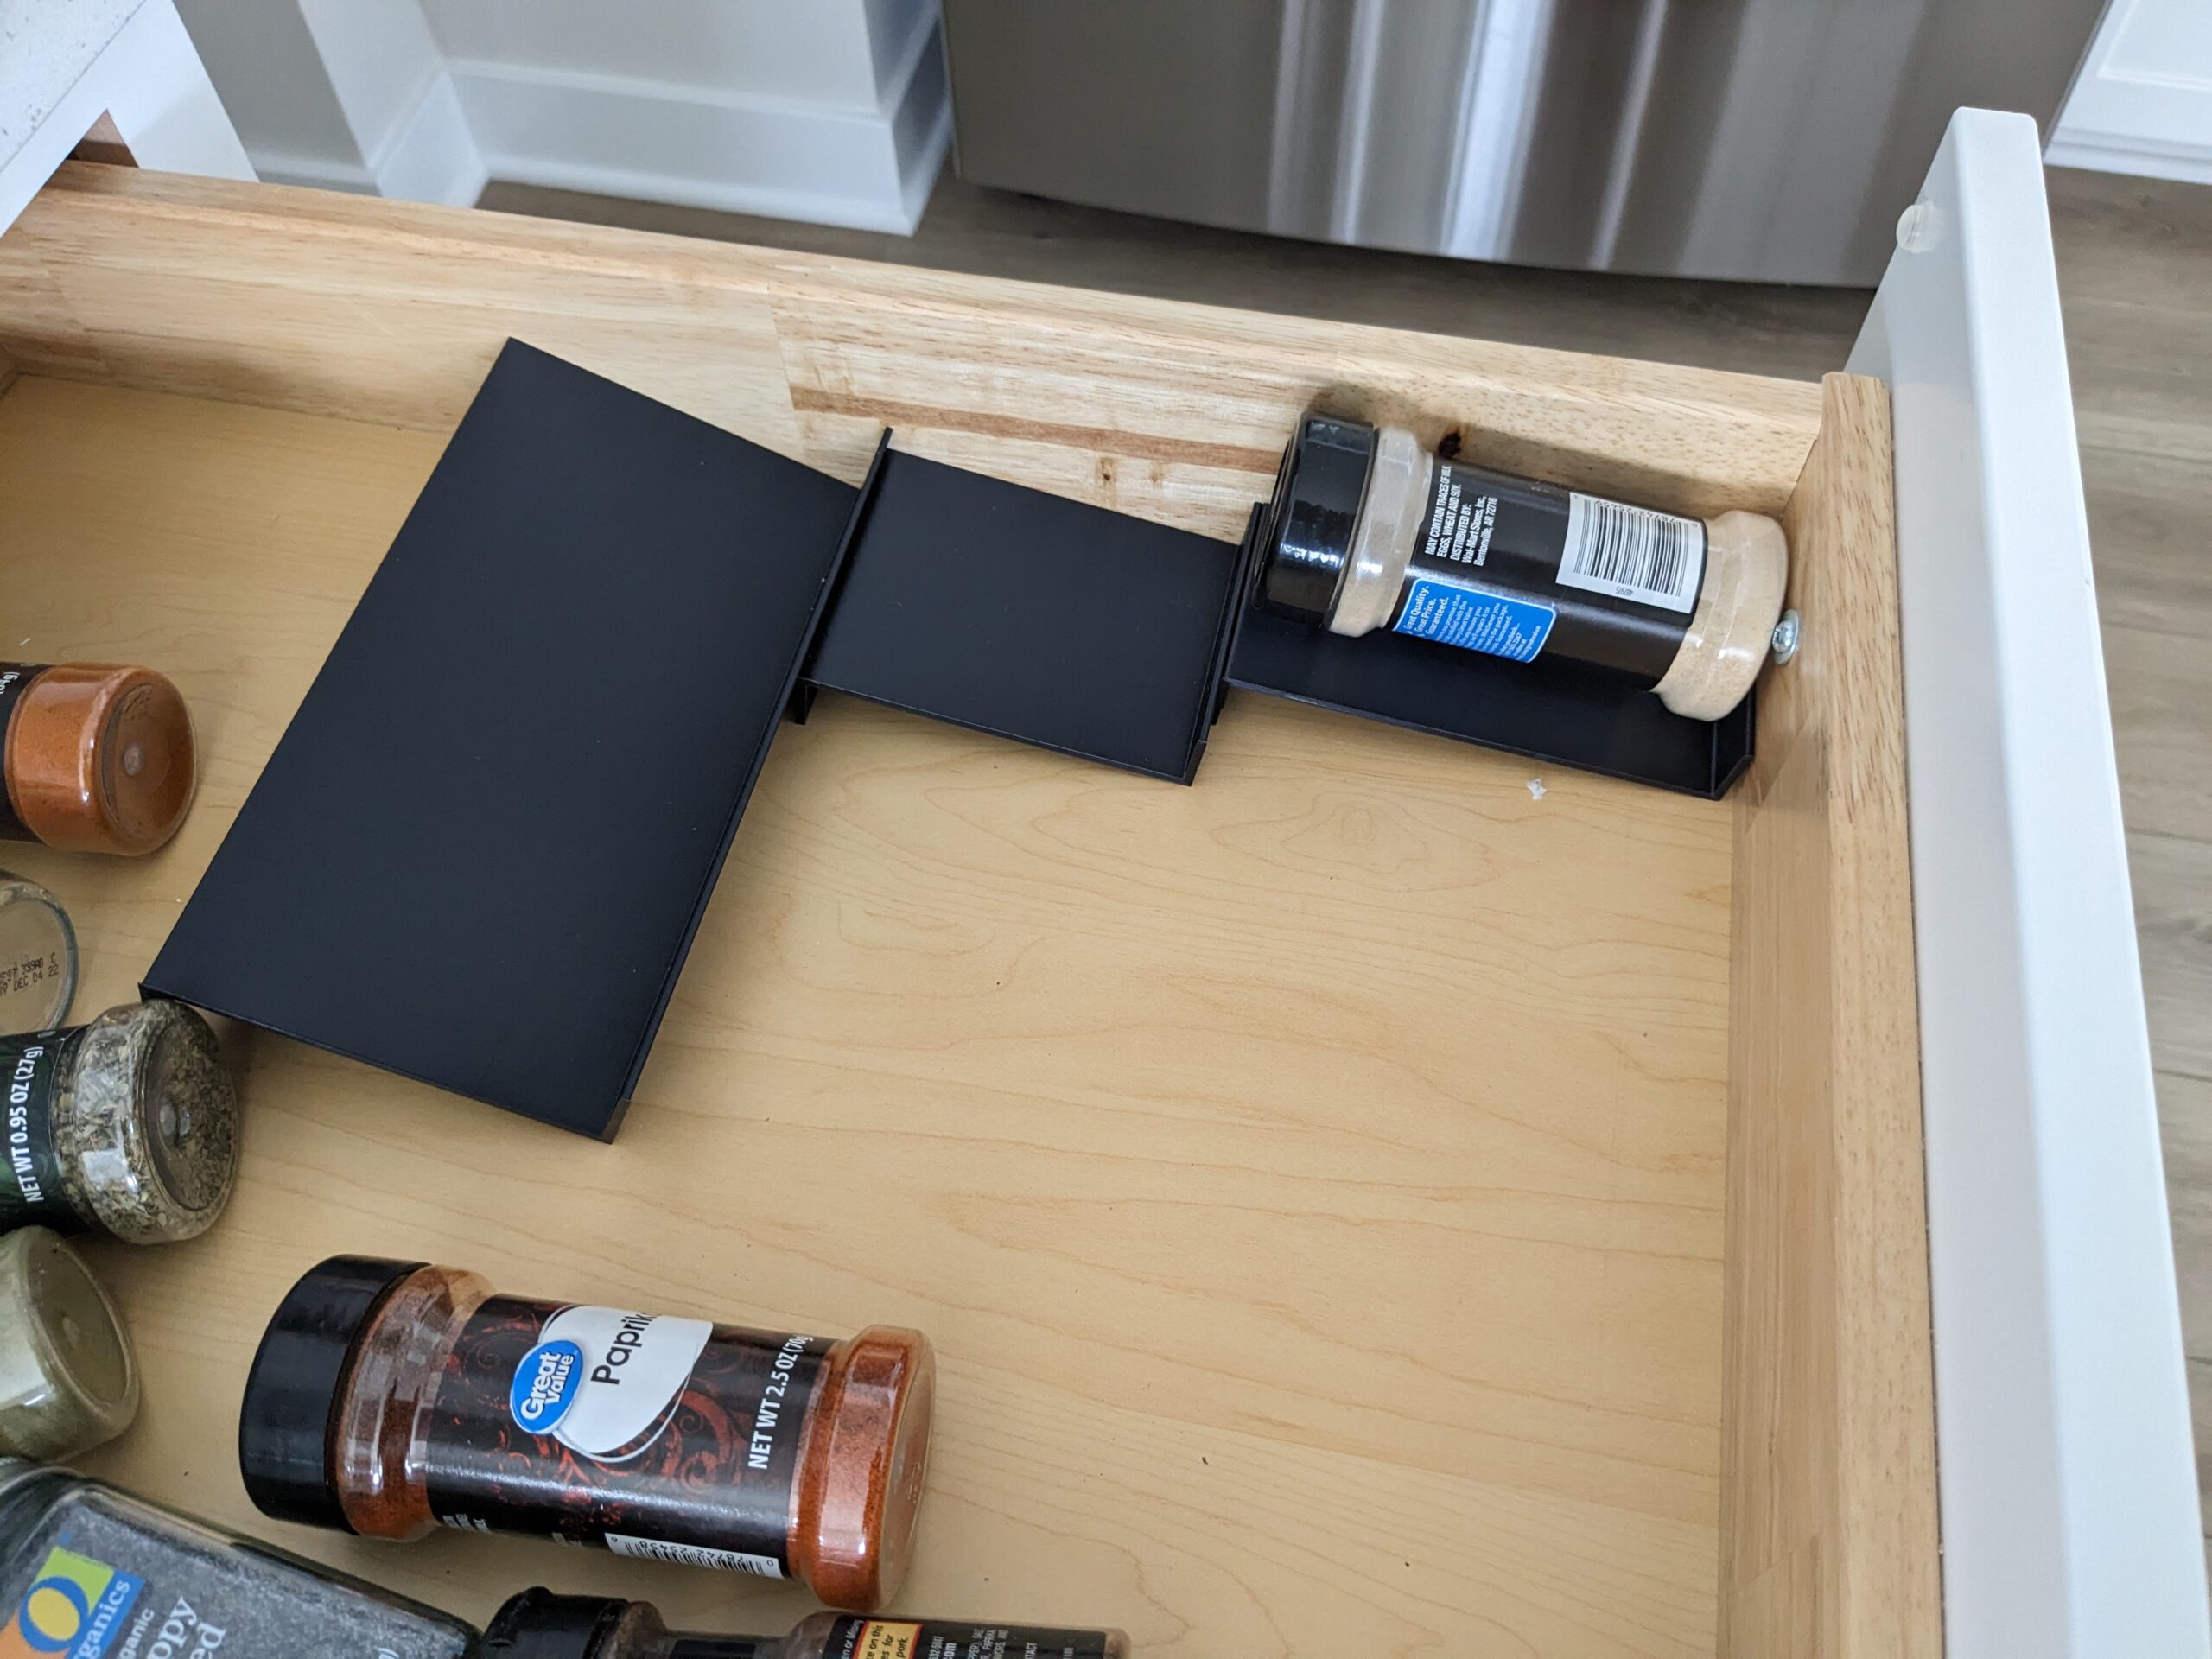
While the copy and paste job worked great for the height and width of all my bottles, I didn’t account for how deep my drawer is and well…
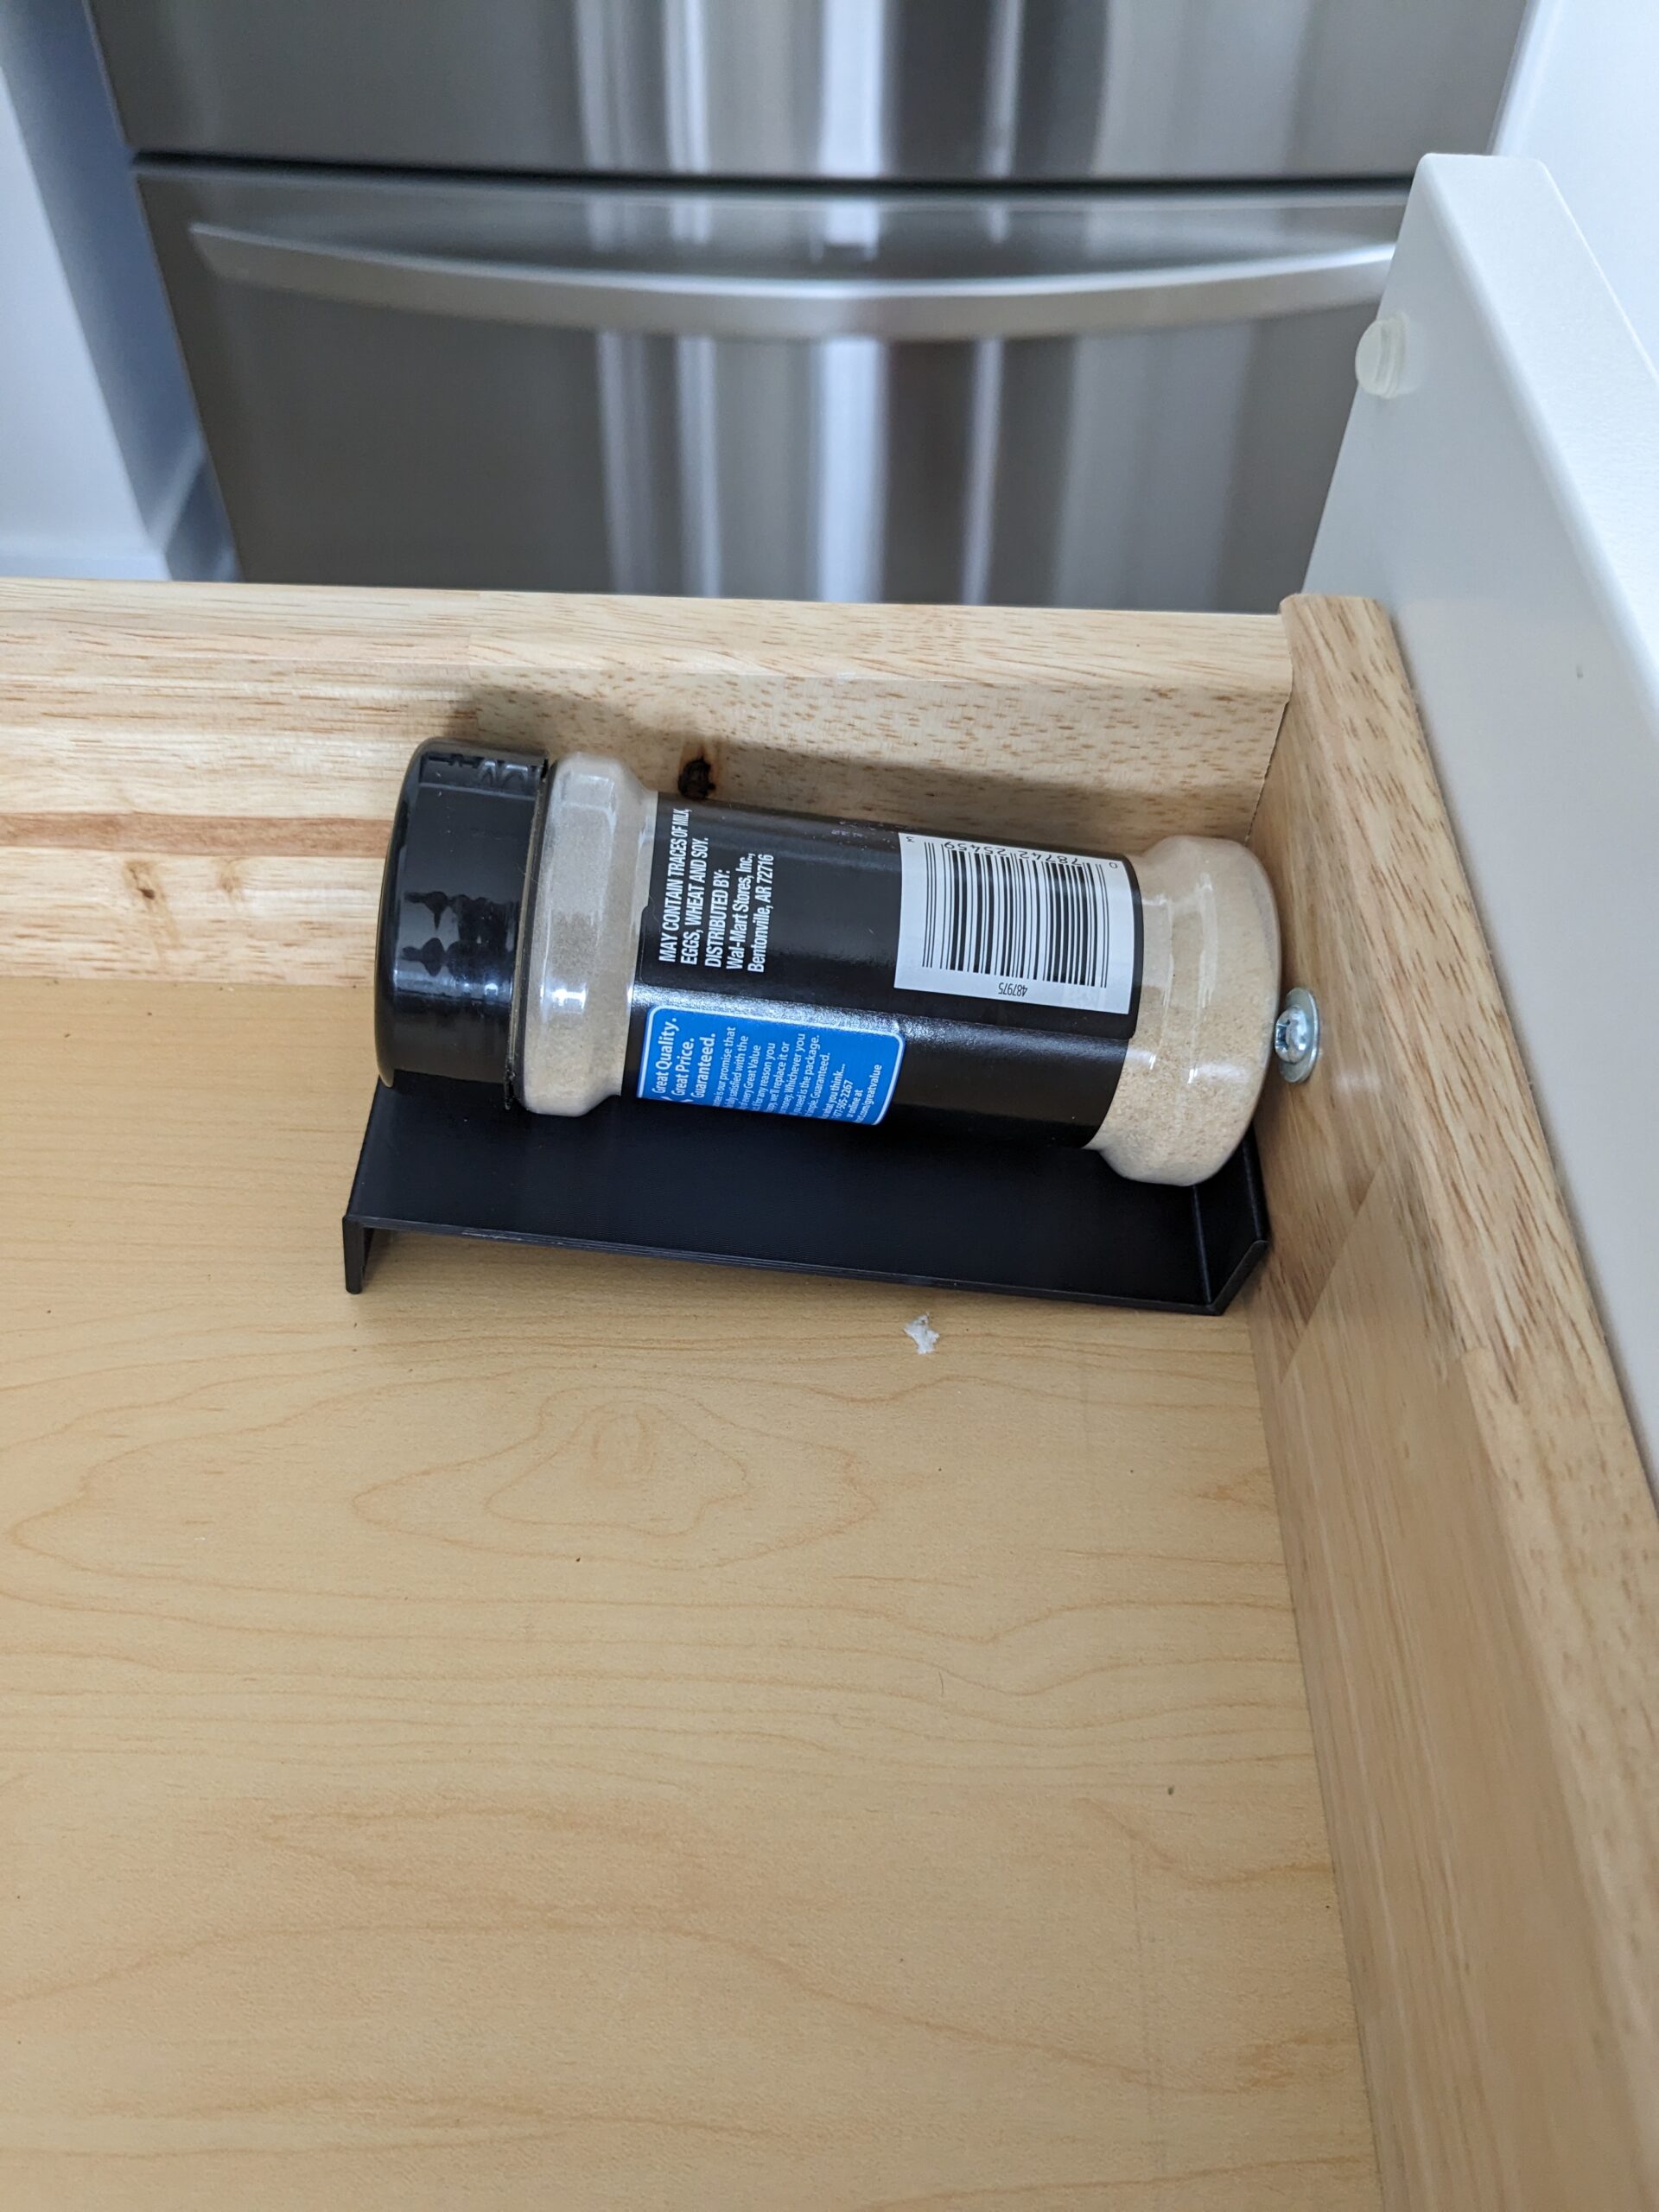
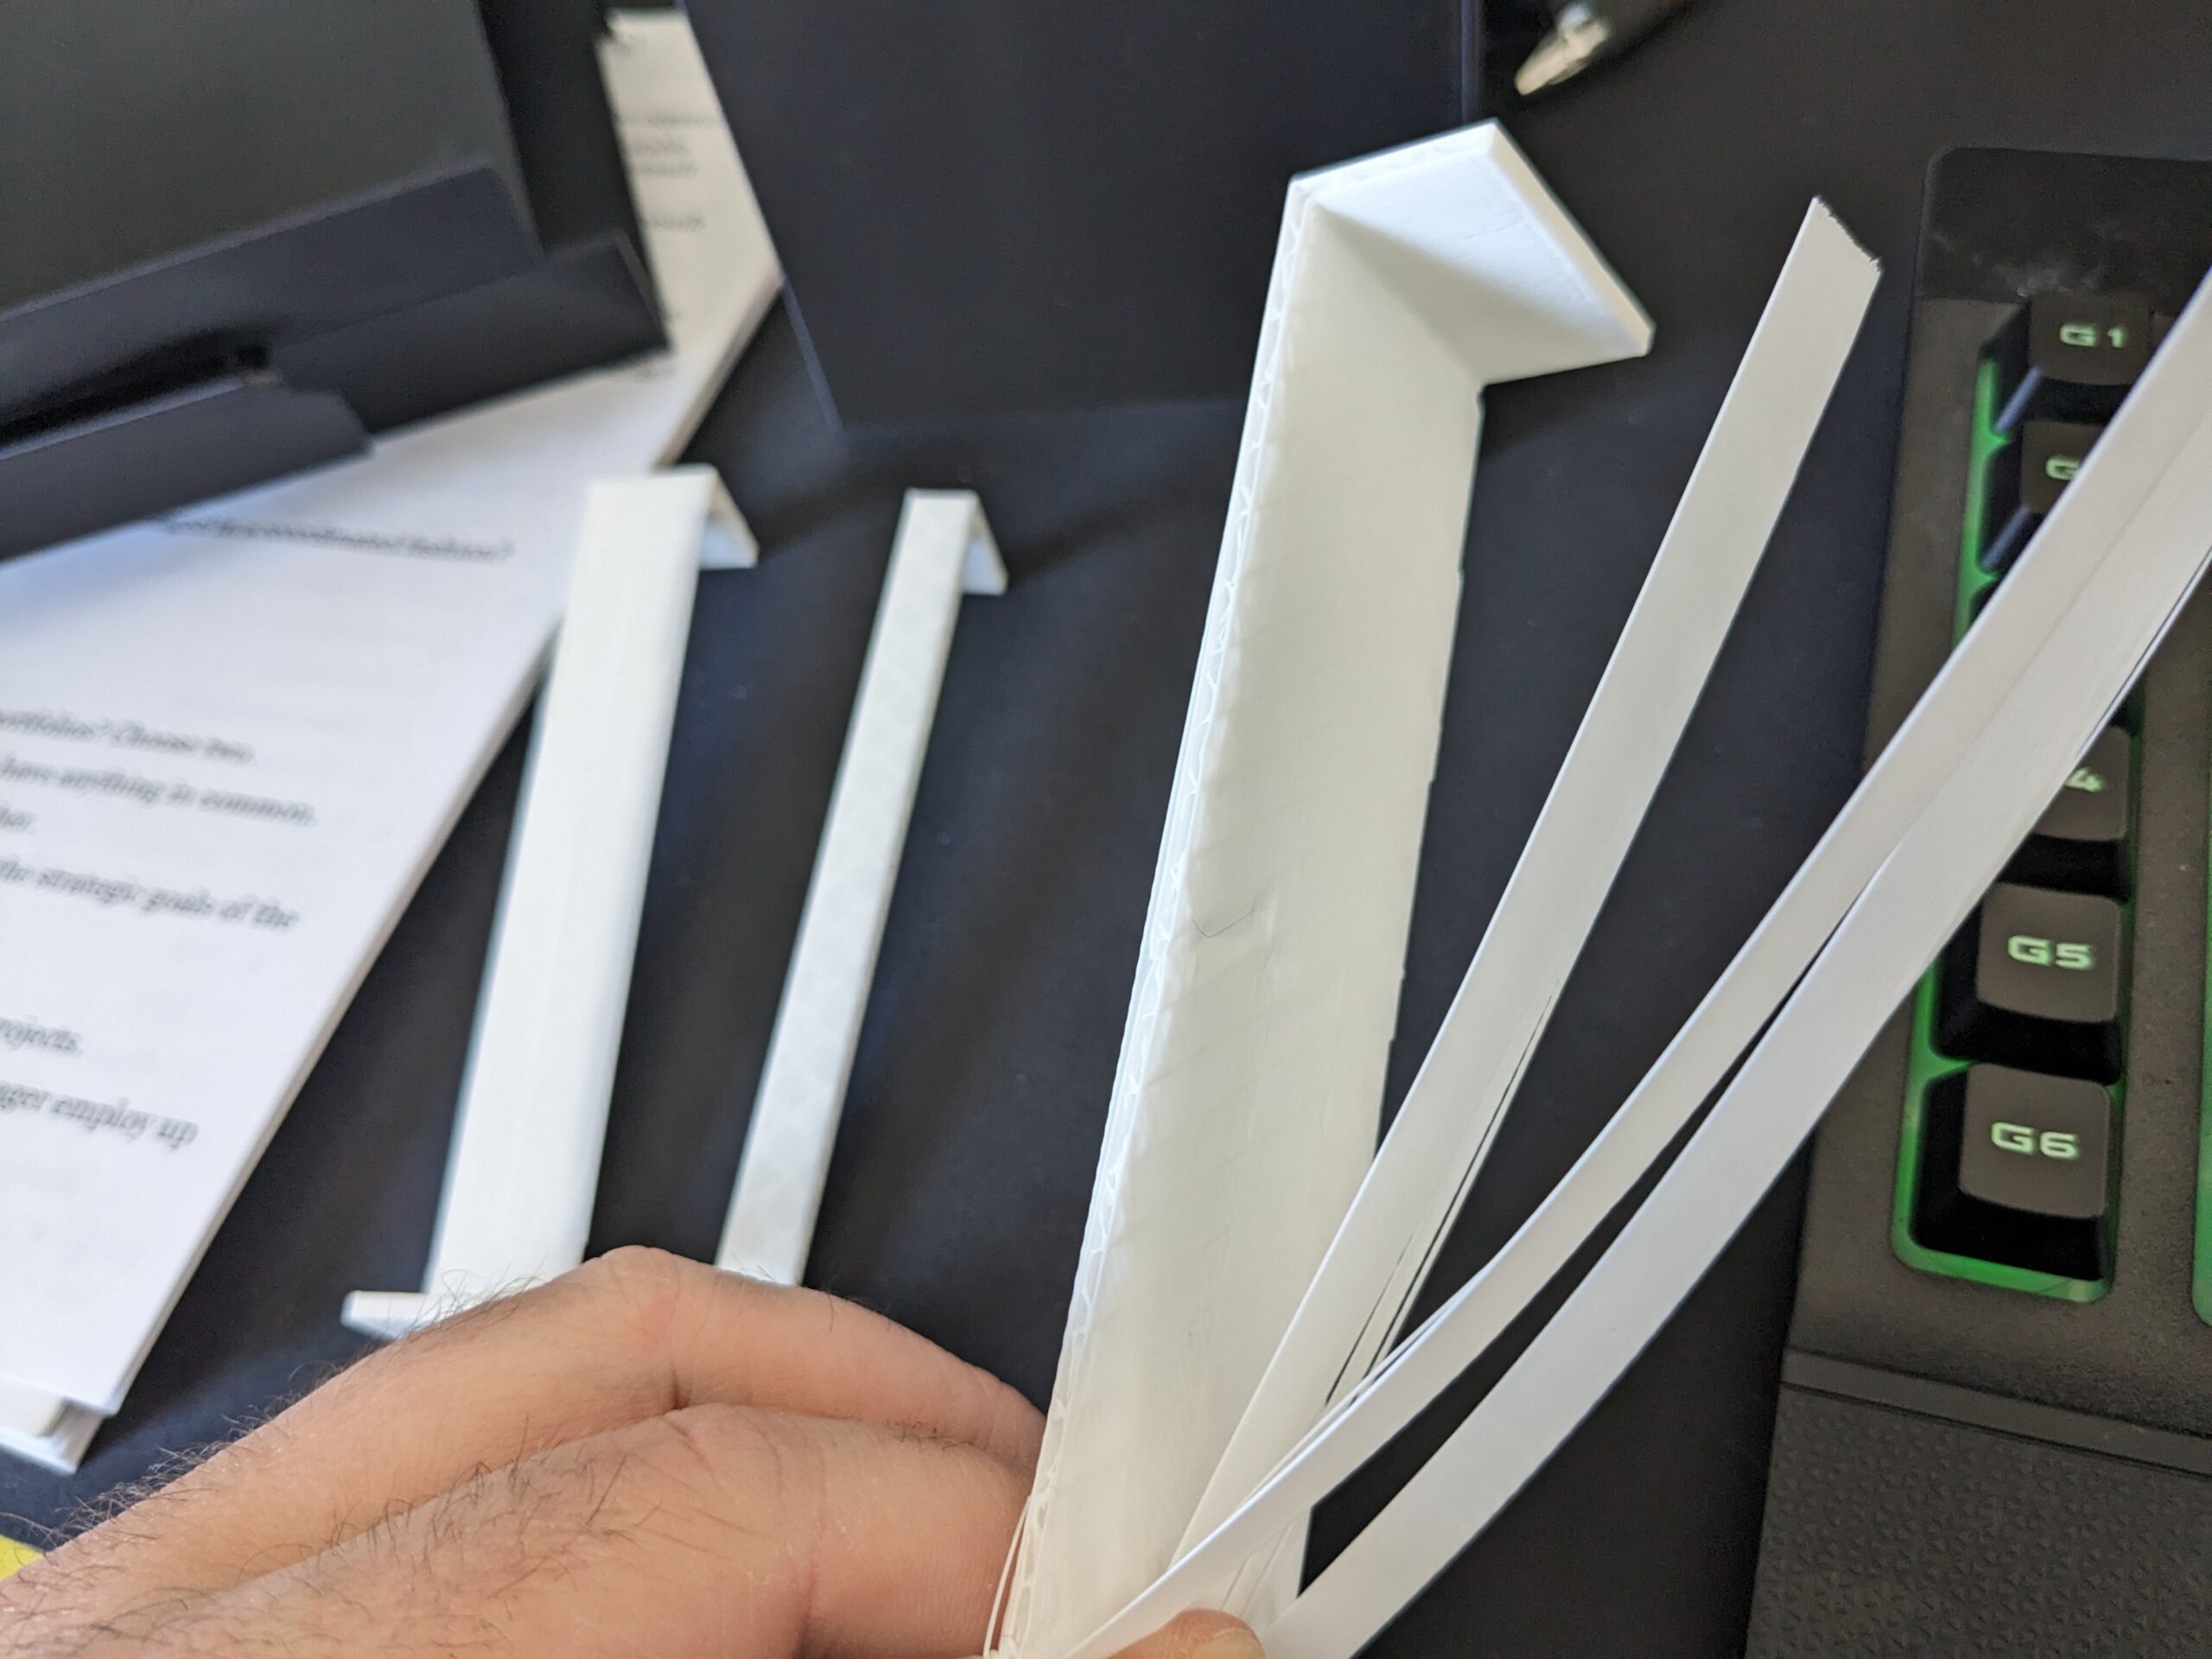
I couldn’t exactly get my drawer closed now. So, regardless of how much you planned, always keep your caliper handy! Measuring the new height of the drawer, I was able to reprint my prototypes to fit this time. Next, I needed to finalize the width. Simple math in this case, my printer bed max is 220mm and I needed a total of 555mm, so divide by 3. 28 hours later, I had 3 rack segments that fit perfectly. But now it was time to get fancy. Time to change up the color and start cranking out these parts!
Rapid Manufacturing: Engaged!
7 Hours a print at 0.28mm and I need 9 of these things? Psssssssh…. Lets slap this in turbo mode. By merely swapping my nozzle from 0.4 to 0.6, it shaved off 2 hours. Dropping the infill to 20% also shaved off 30 mins. Total time on a segment now is just 5 1/2 hours. Combined with starting print jobs remotely and clearing the bed during my lunch, the entire project shrank down to just 3 days.

With speed taken care of next we need to work on style. I ordered a spool of White Gloss finish PLA from PolyMaker, my usual go to material. All my prototypes up to this point have been with Black SainSmart PLA. So I have to go with a color scheme that is going to match with the kitchen, wasn’t my main concern but my wife strongly suggested I take it into account 🙂
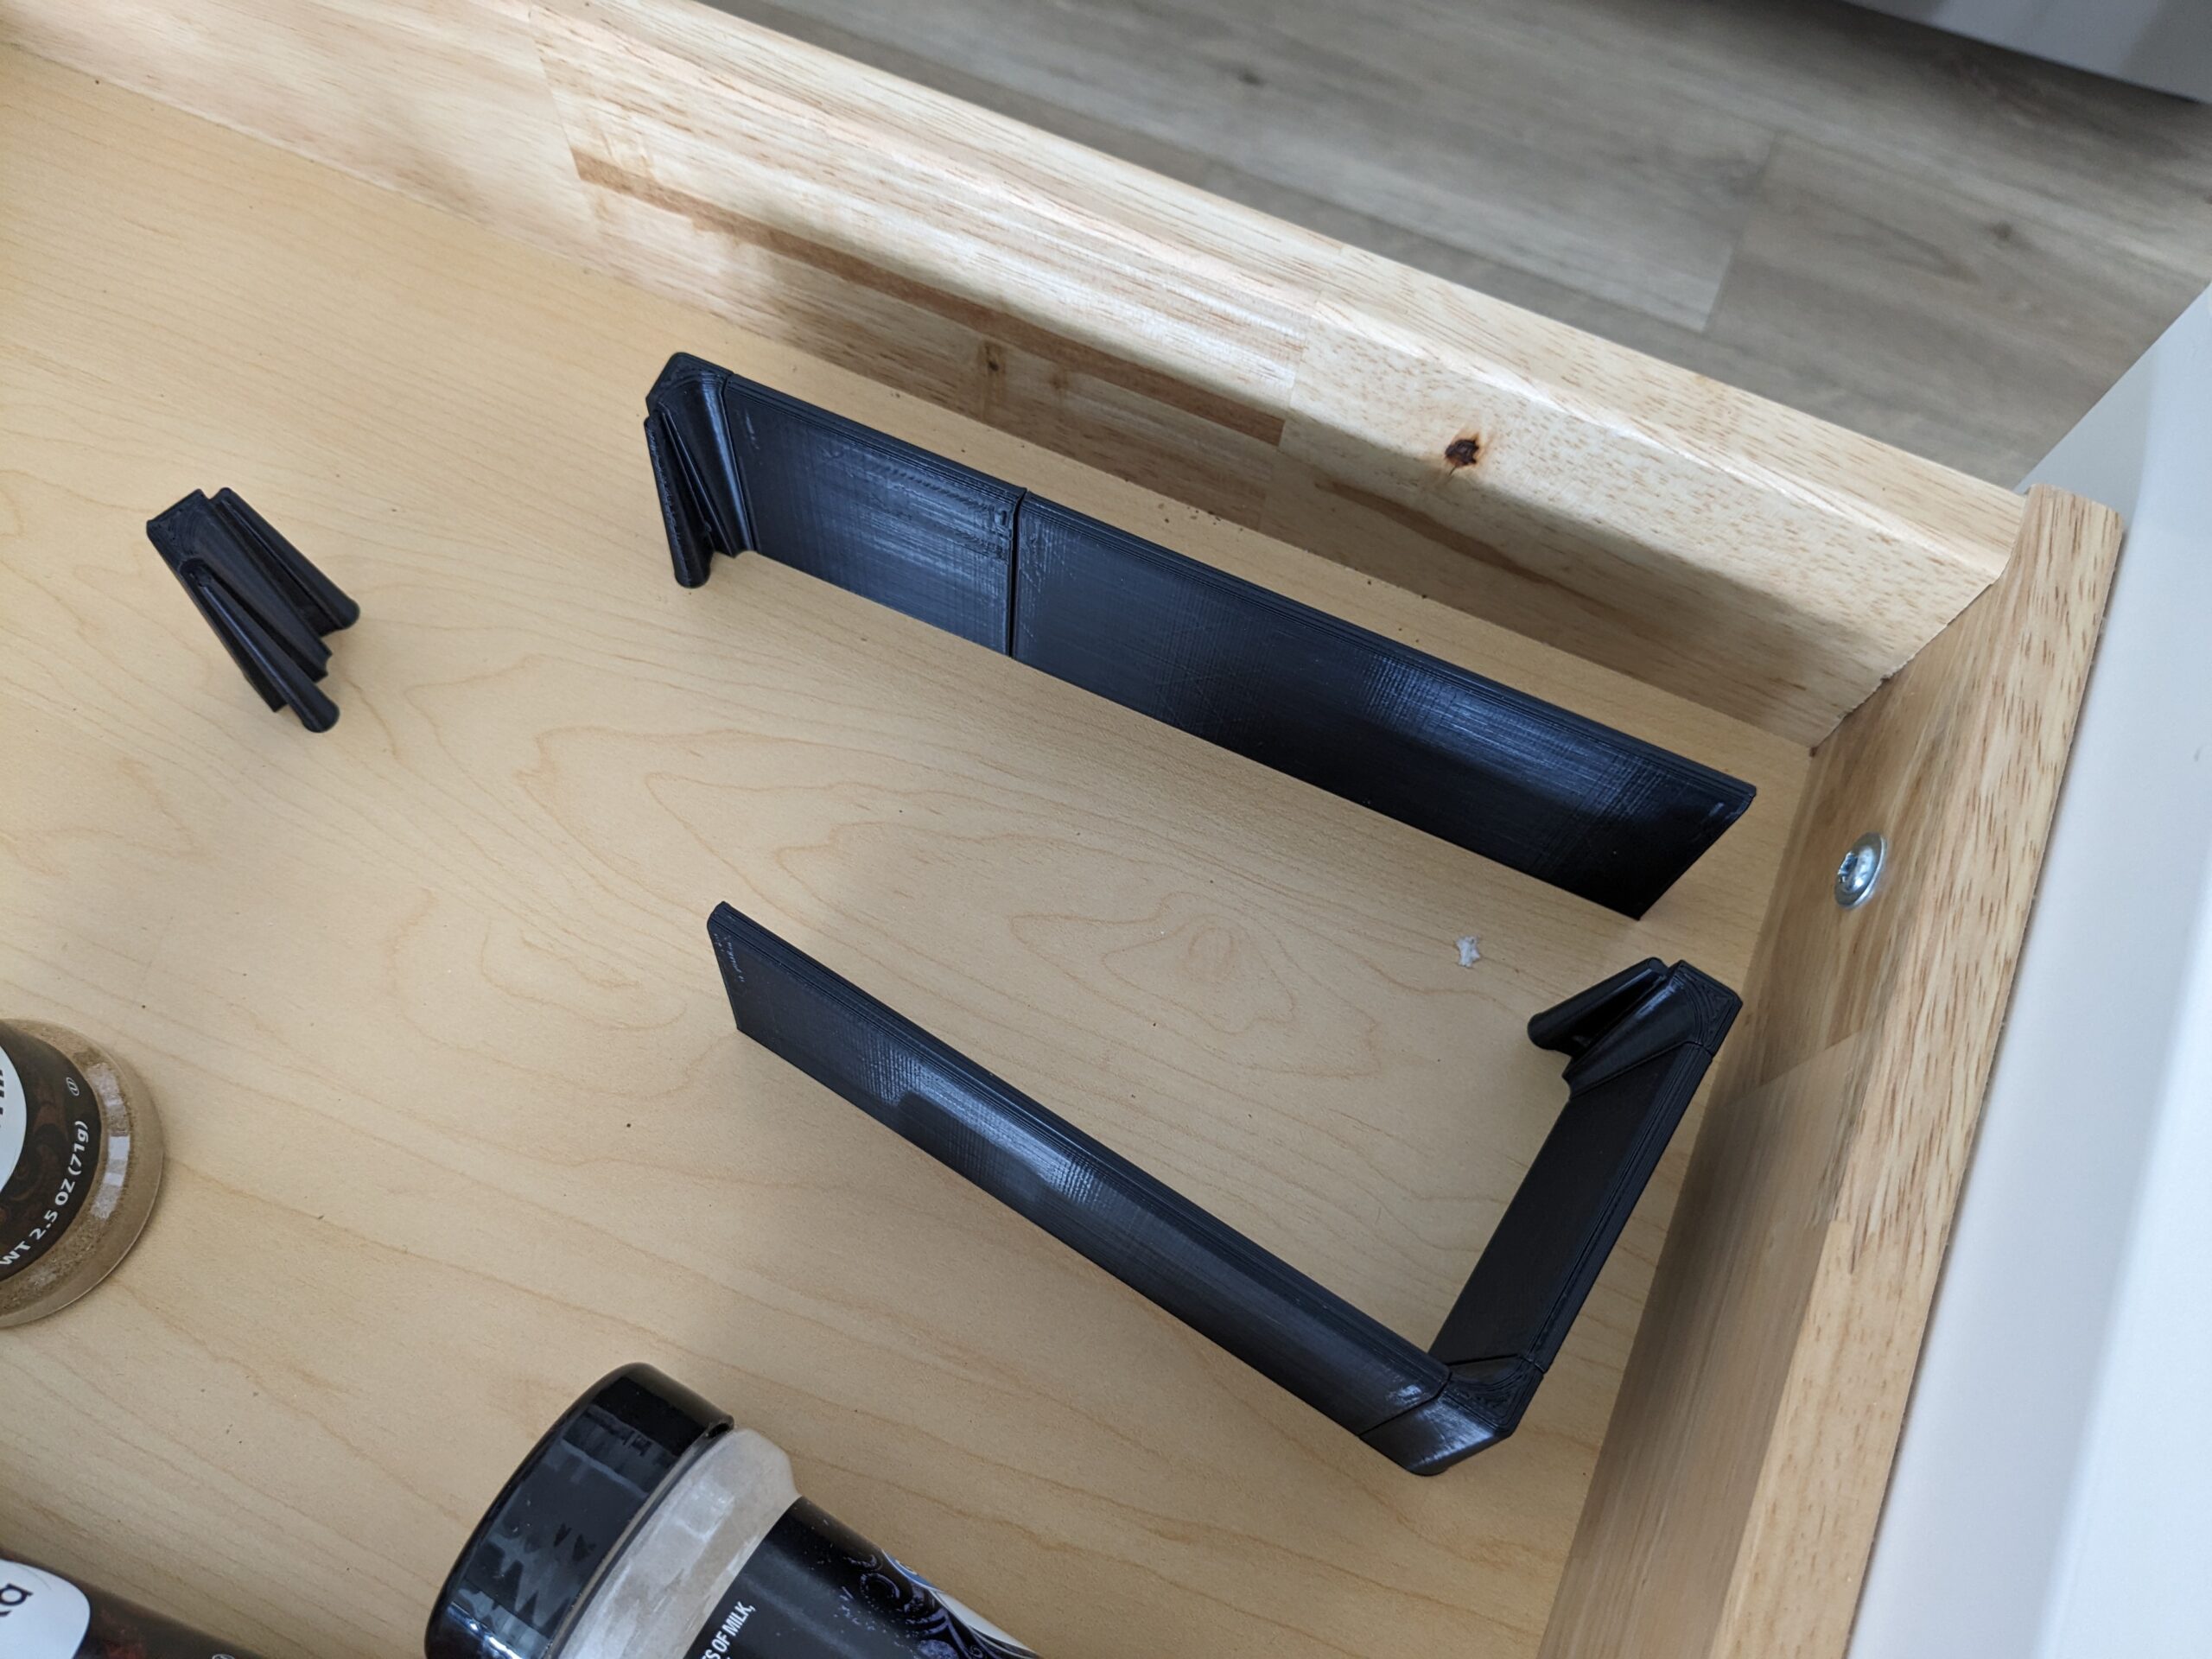
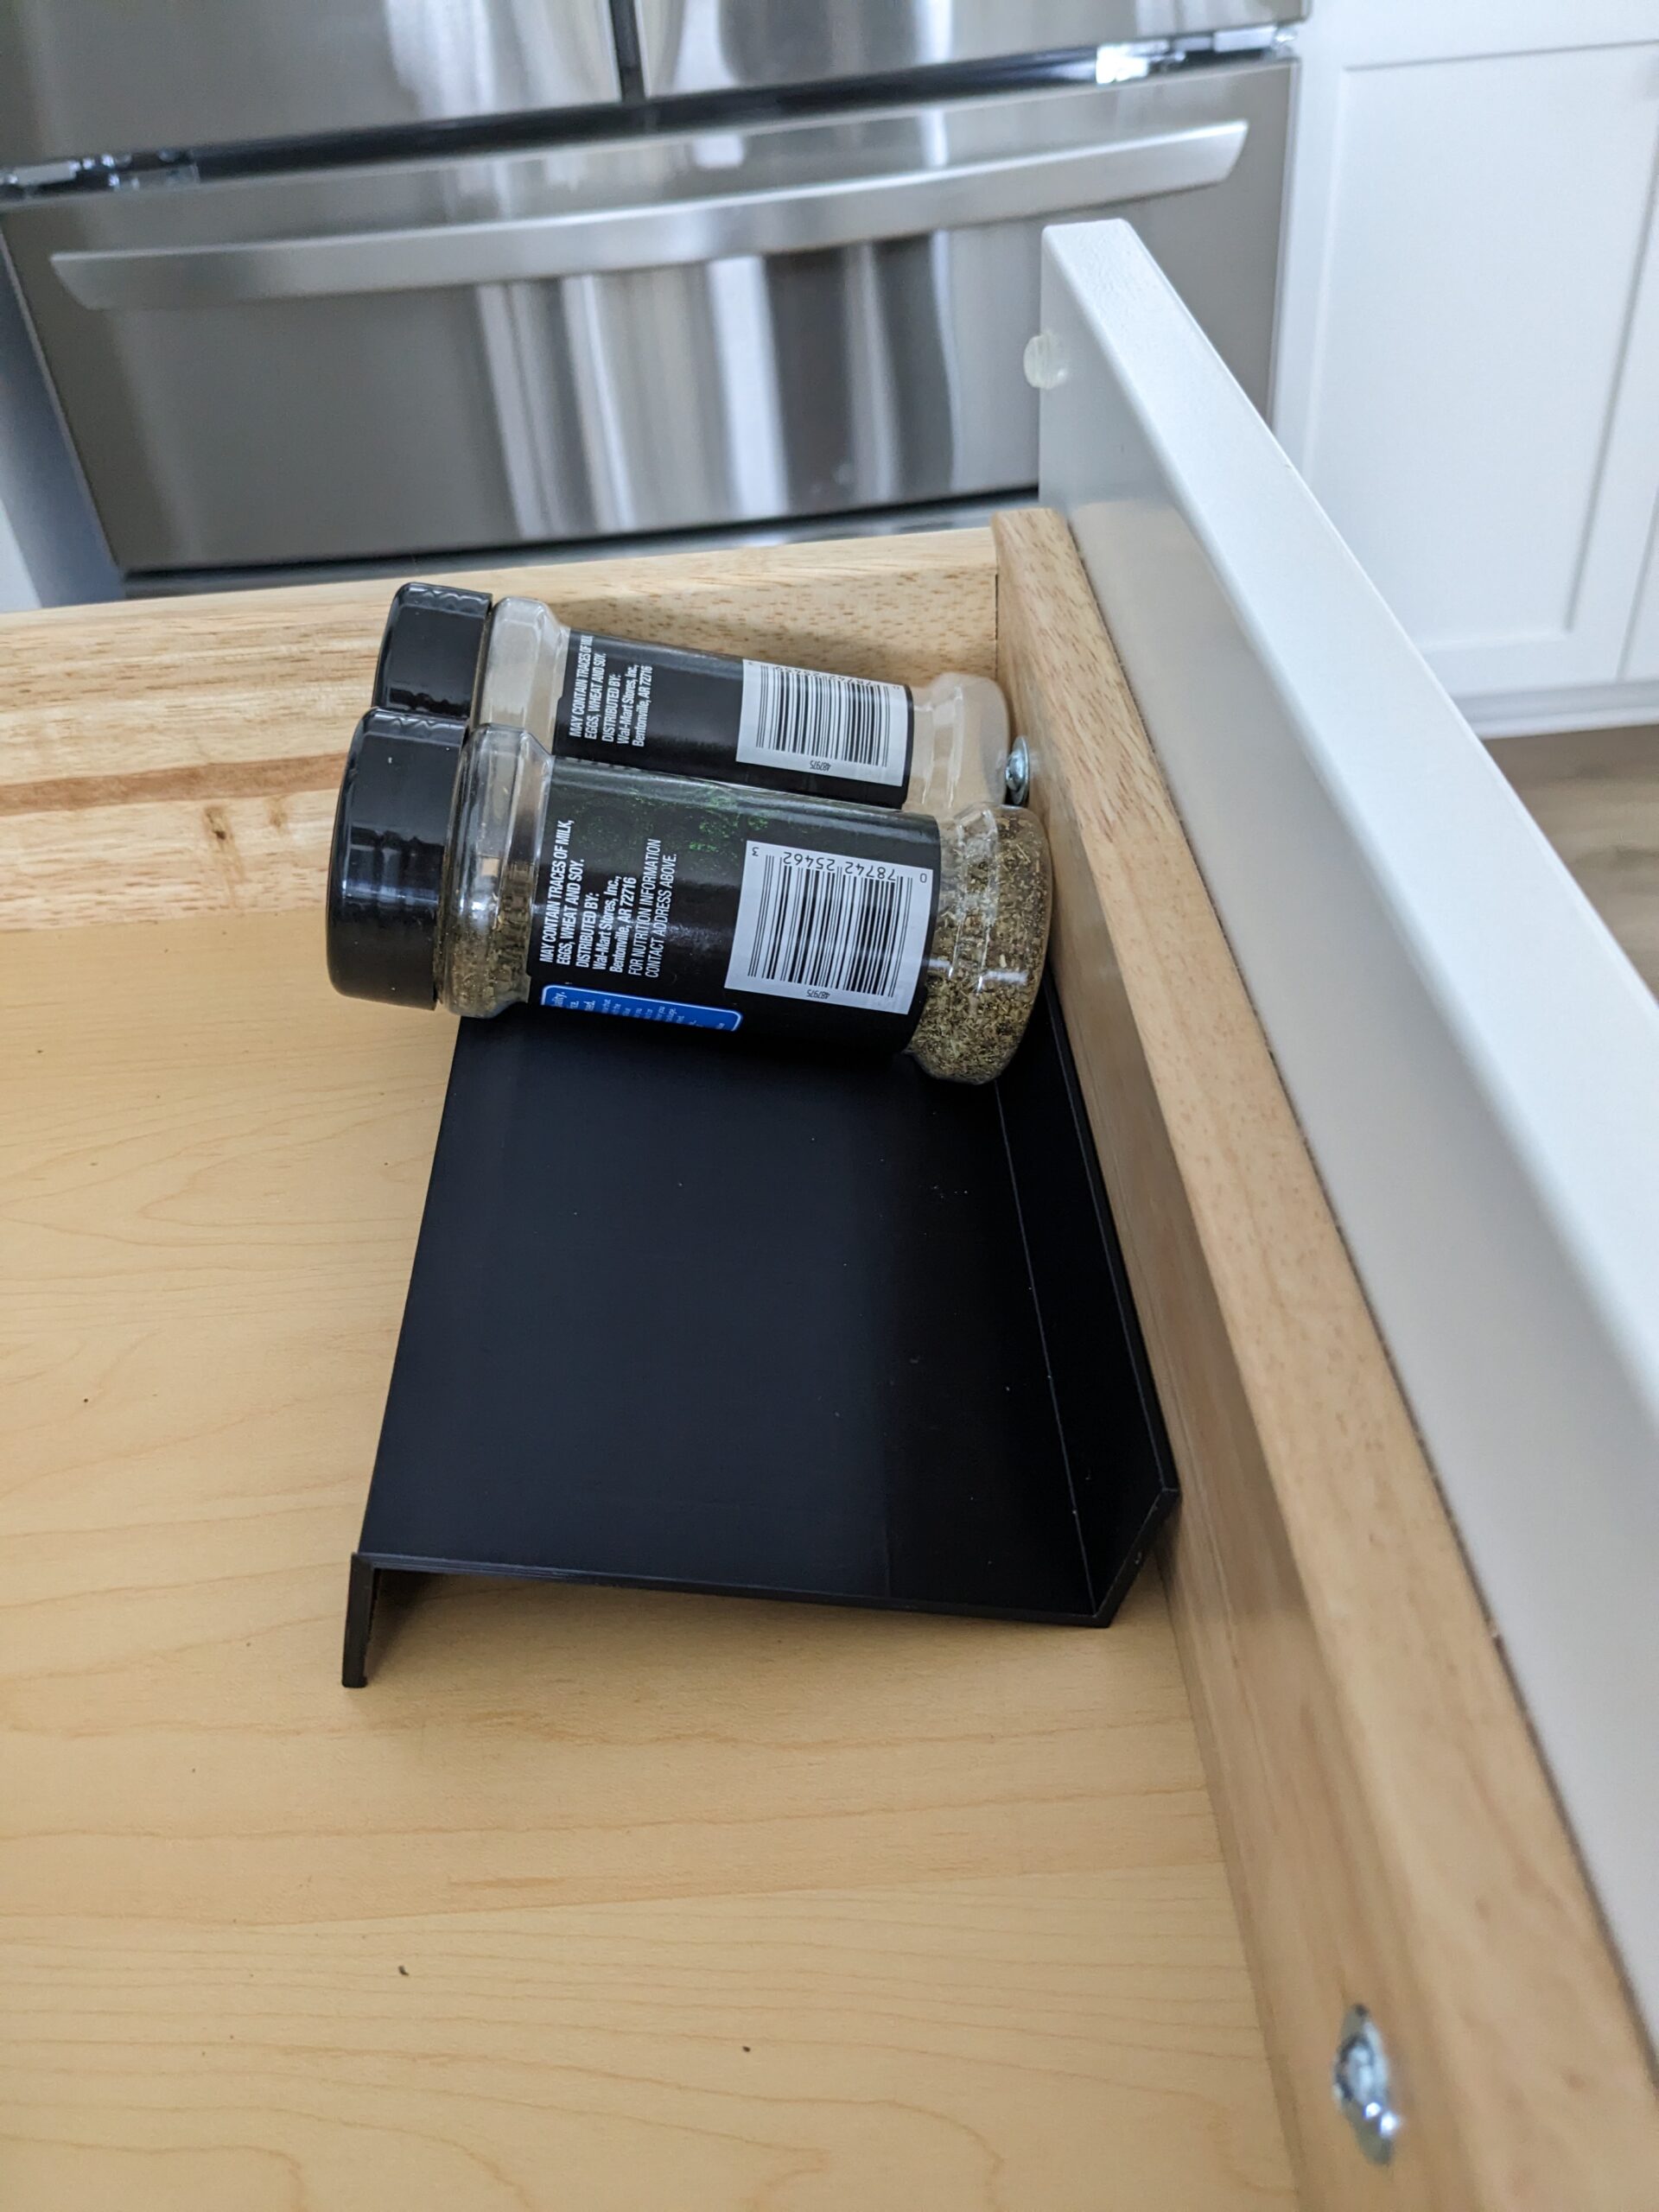
One little extra thing I did to add some flare, I updated the design to have rounded corners on all the edges, giving it a better feel. As things progressed along it looked like this project was a done deal. However by day two a problem started to rear its ugly head…
Printing Maybe a Little too Rapid
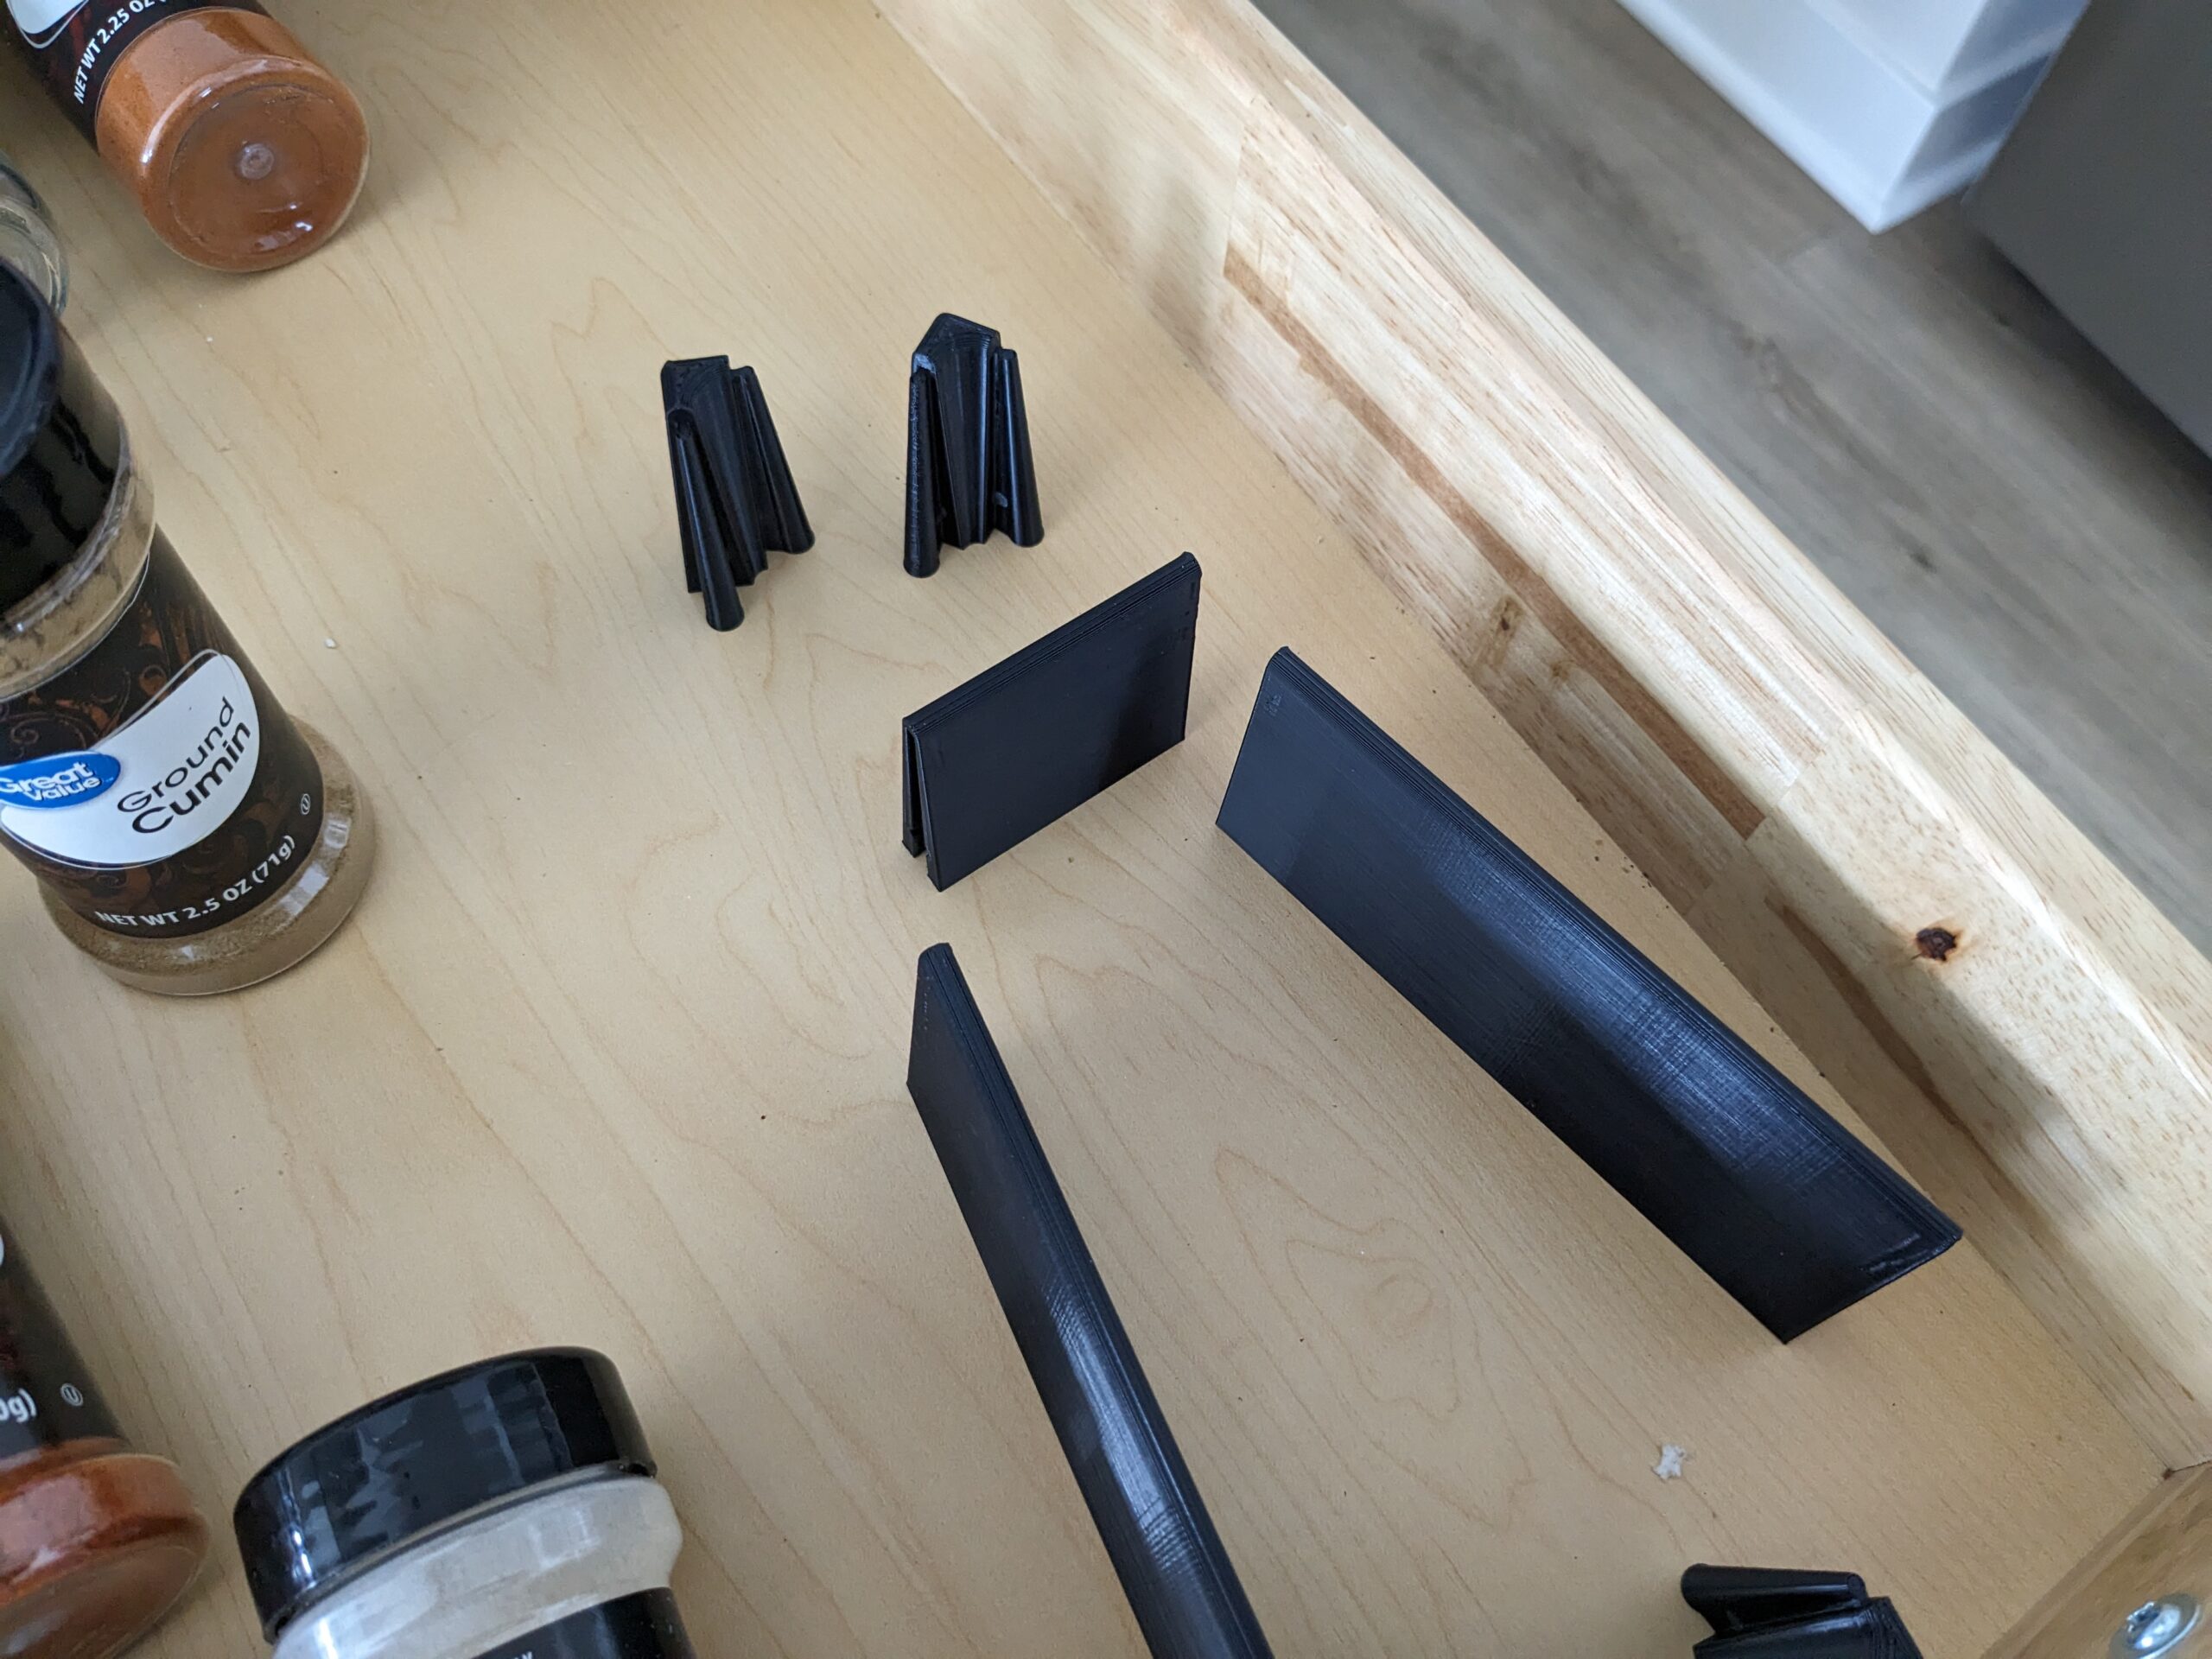
After I completed the first row, I noticed that when I started the next row of segments, something strange was happening to the original segments. They started to warp and balloon!

This was going to be difficult to nail down since I’ve changed several variables from my original prototypes. My brand of PLA, switching nozzles, changing the print design, changing the infill… It had to be something along those lines! Invoking the process of elimination, we started with the last known good config. Problem is, that was on the 0.4mm nozzle, so I had to change things back. 7 hours later, the warping was still there! So then, in Fusion 360, I had to wind the clock on the design back to when I had sharp edges. Still warping! Flabbergasted, I put my Test PLA back in and ran another 7 hour print. STILL WARPED!!!

This clearly being the definition of insanity, I had one last effort in printing my original rapid prototype, using the Test PLA and using the 0.4mm nozzle. It came out perfect again! Ok so where did I go wrong then? The devil is always in the details… Turns out, in my various changes the culprit was several design factors.
- Extending the height of the rack to fit the taller bottles. This caused a “bridging” effect when the printer did the outer two shells.
- Rounding the edges. While the dimensions of the design technically didn’t change, it did change the paths in the slicer causing the infill to be significantly reduced.
- Decreasing the infill down to 10% caused less of a bleed over from the infill layers to the shell layers making them more likely to separate.
Making an Actual Spice Rack This Time
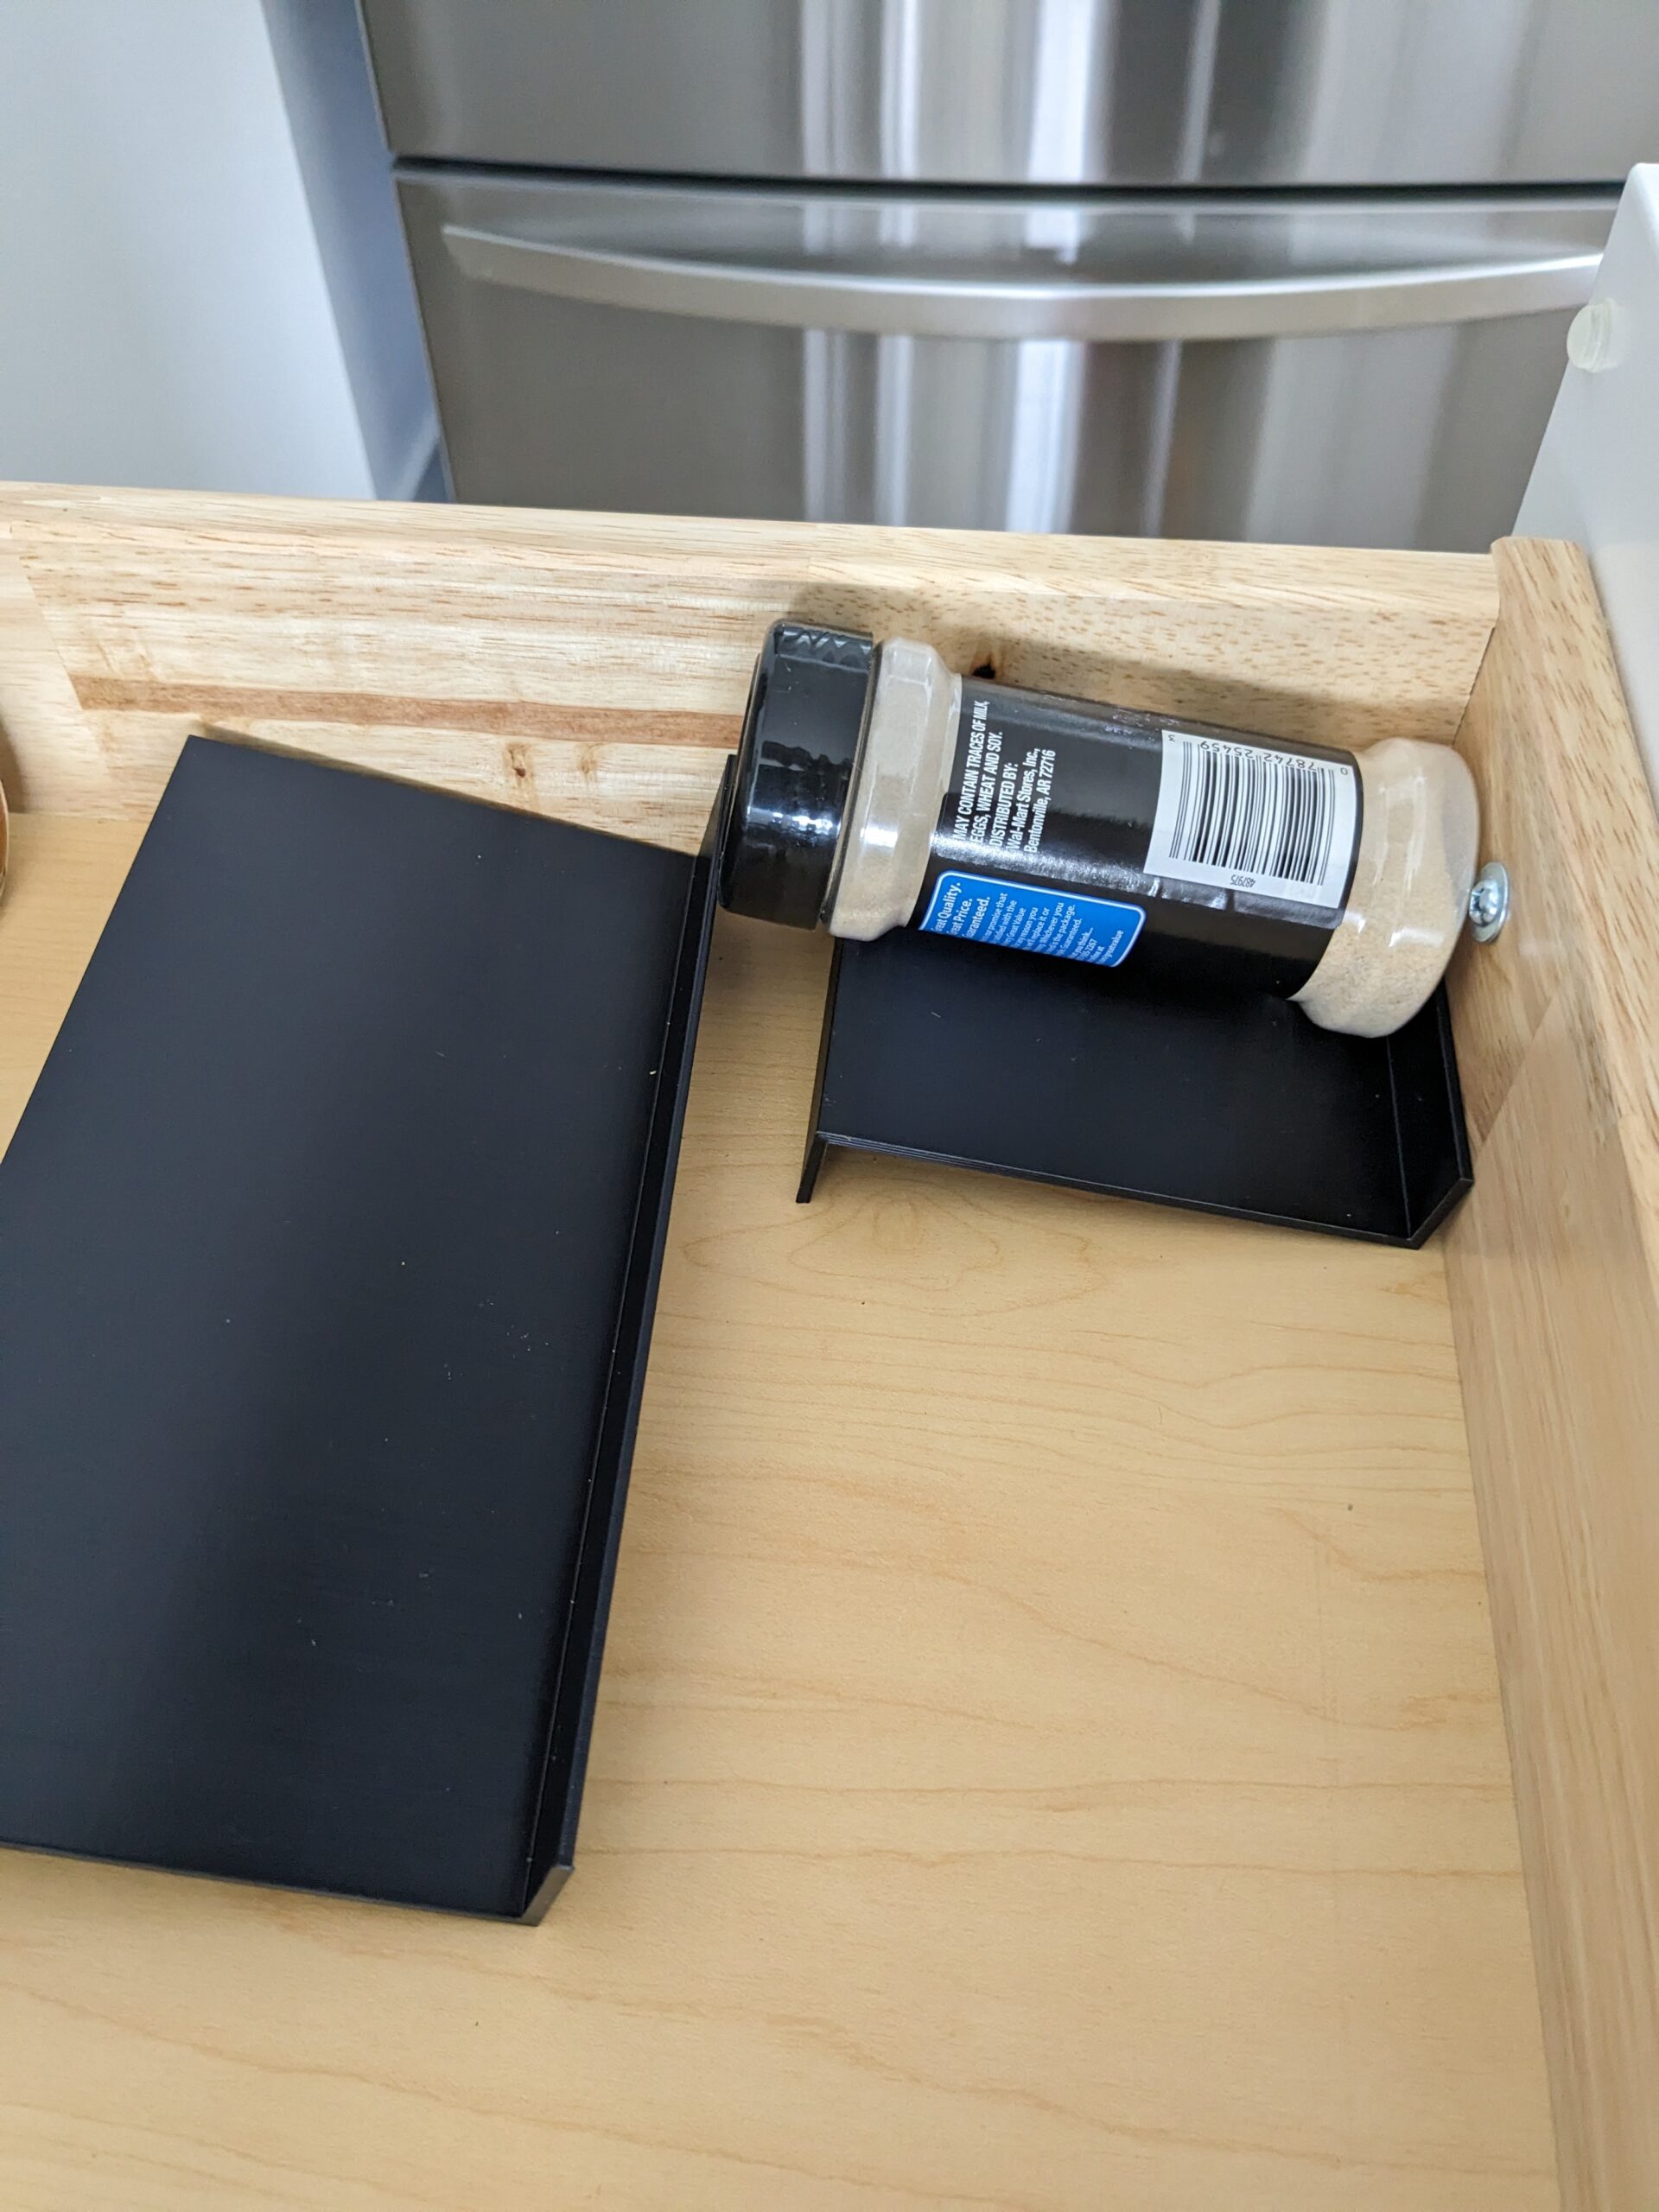
Now knowing where things went wrong, I took a slightly different approach. I decided to keep the nozzle at 0.4mm, just because I already burned myself a few times swapping it out. I left out the rounded edges on my design in order to keep a higher likelihood of infill in the slicer. I also cranked up the infill back to 80% to make the segment way more solid. Finally, I reduced the amount of layers in the shell from 2 to 1 in Cura. This removes the skin effect entirely.

With fingers, toes and eyes crossed, and 7 hours later (again…) we finally got a real deal, solid, not warped spice rack segment. SUCCESS!!! Now to print this out 8 more times 😀
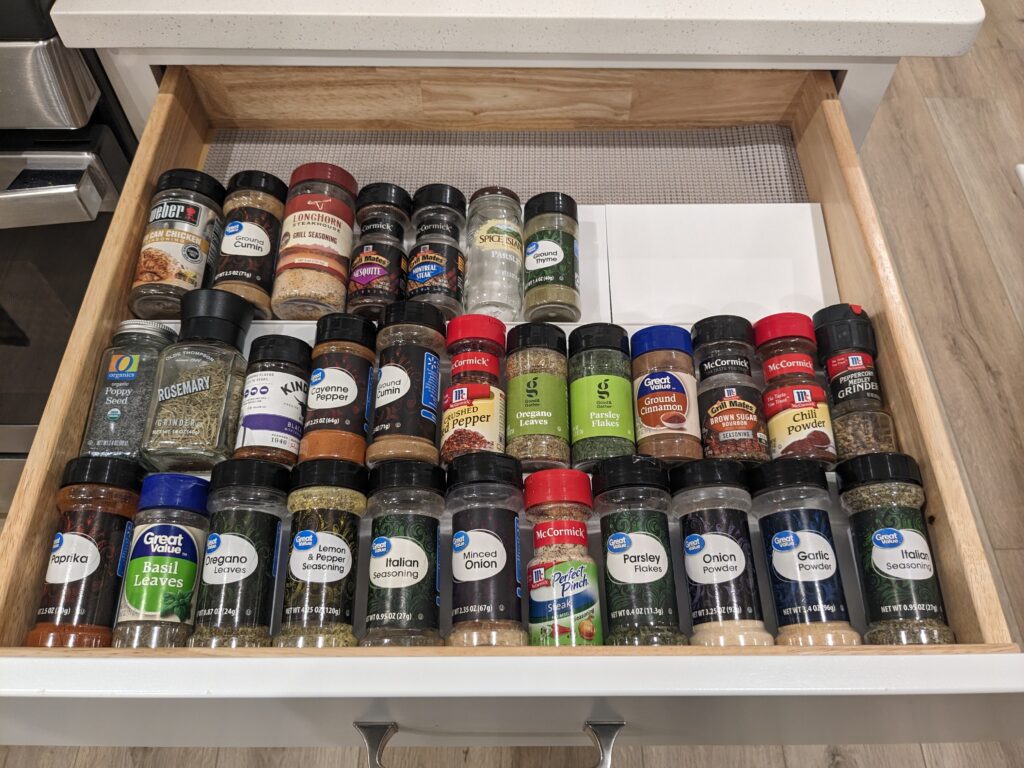
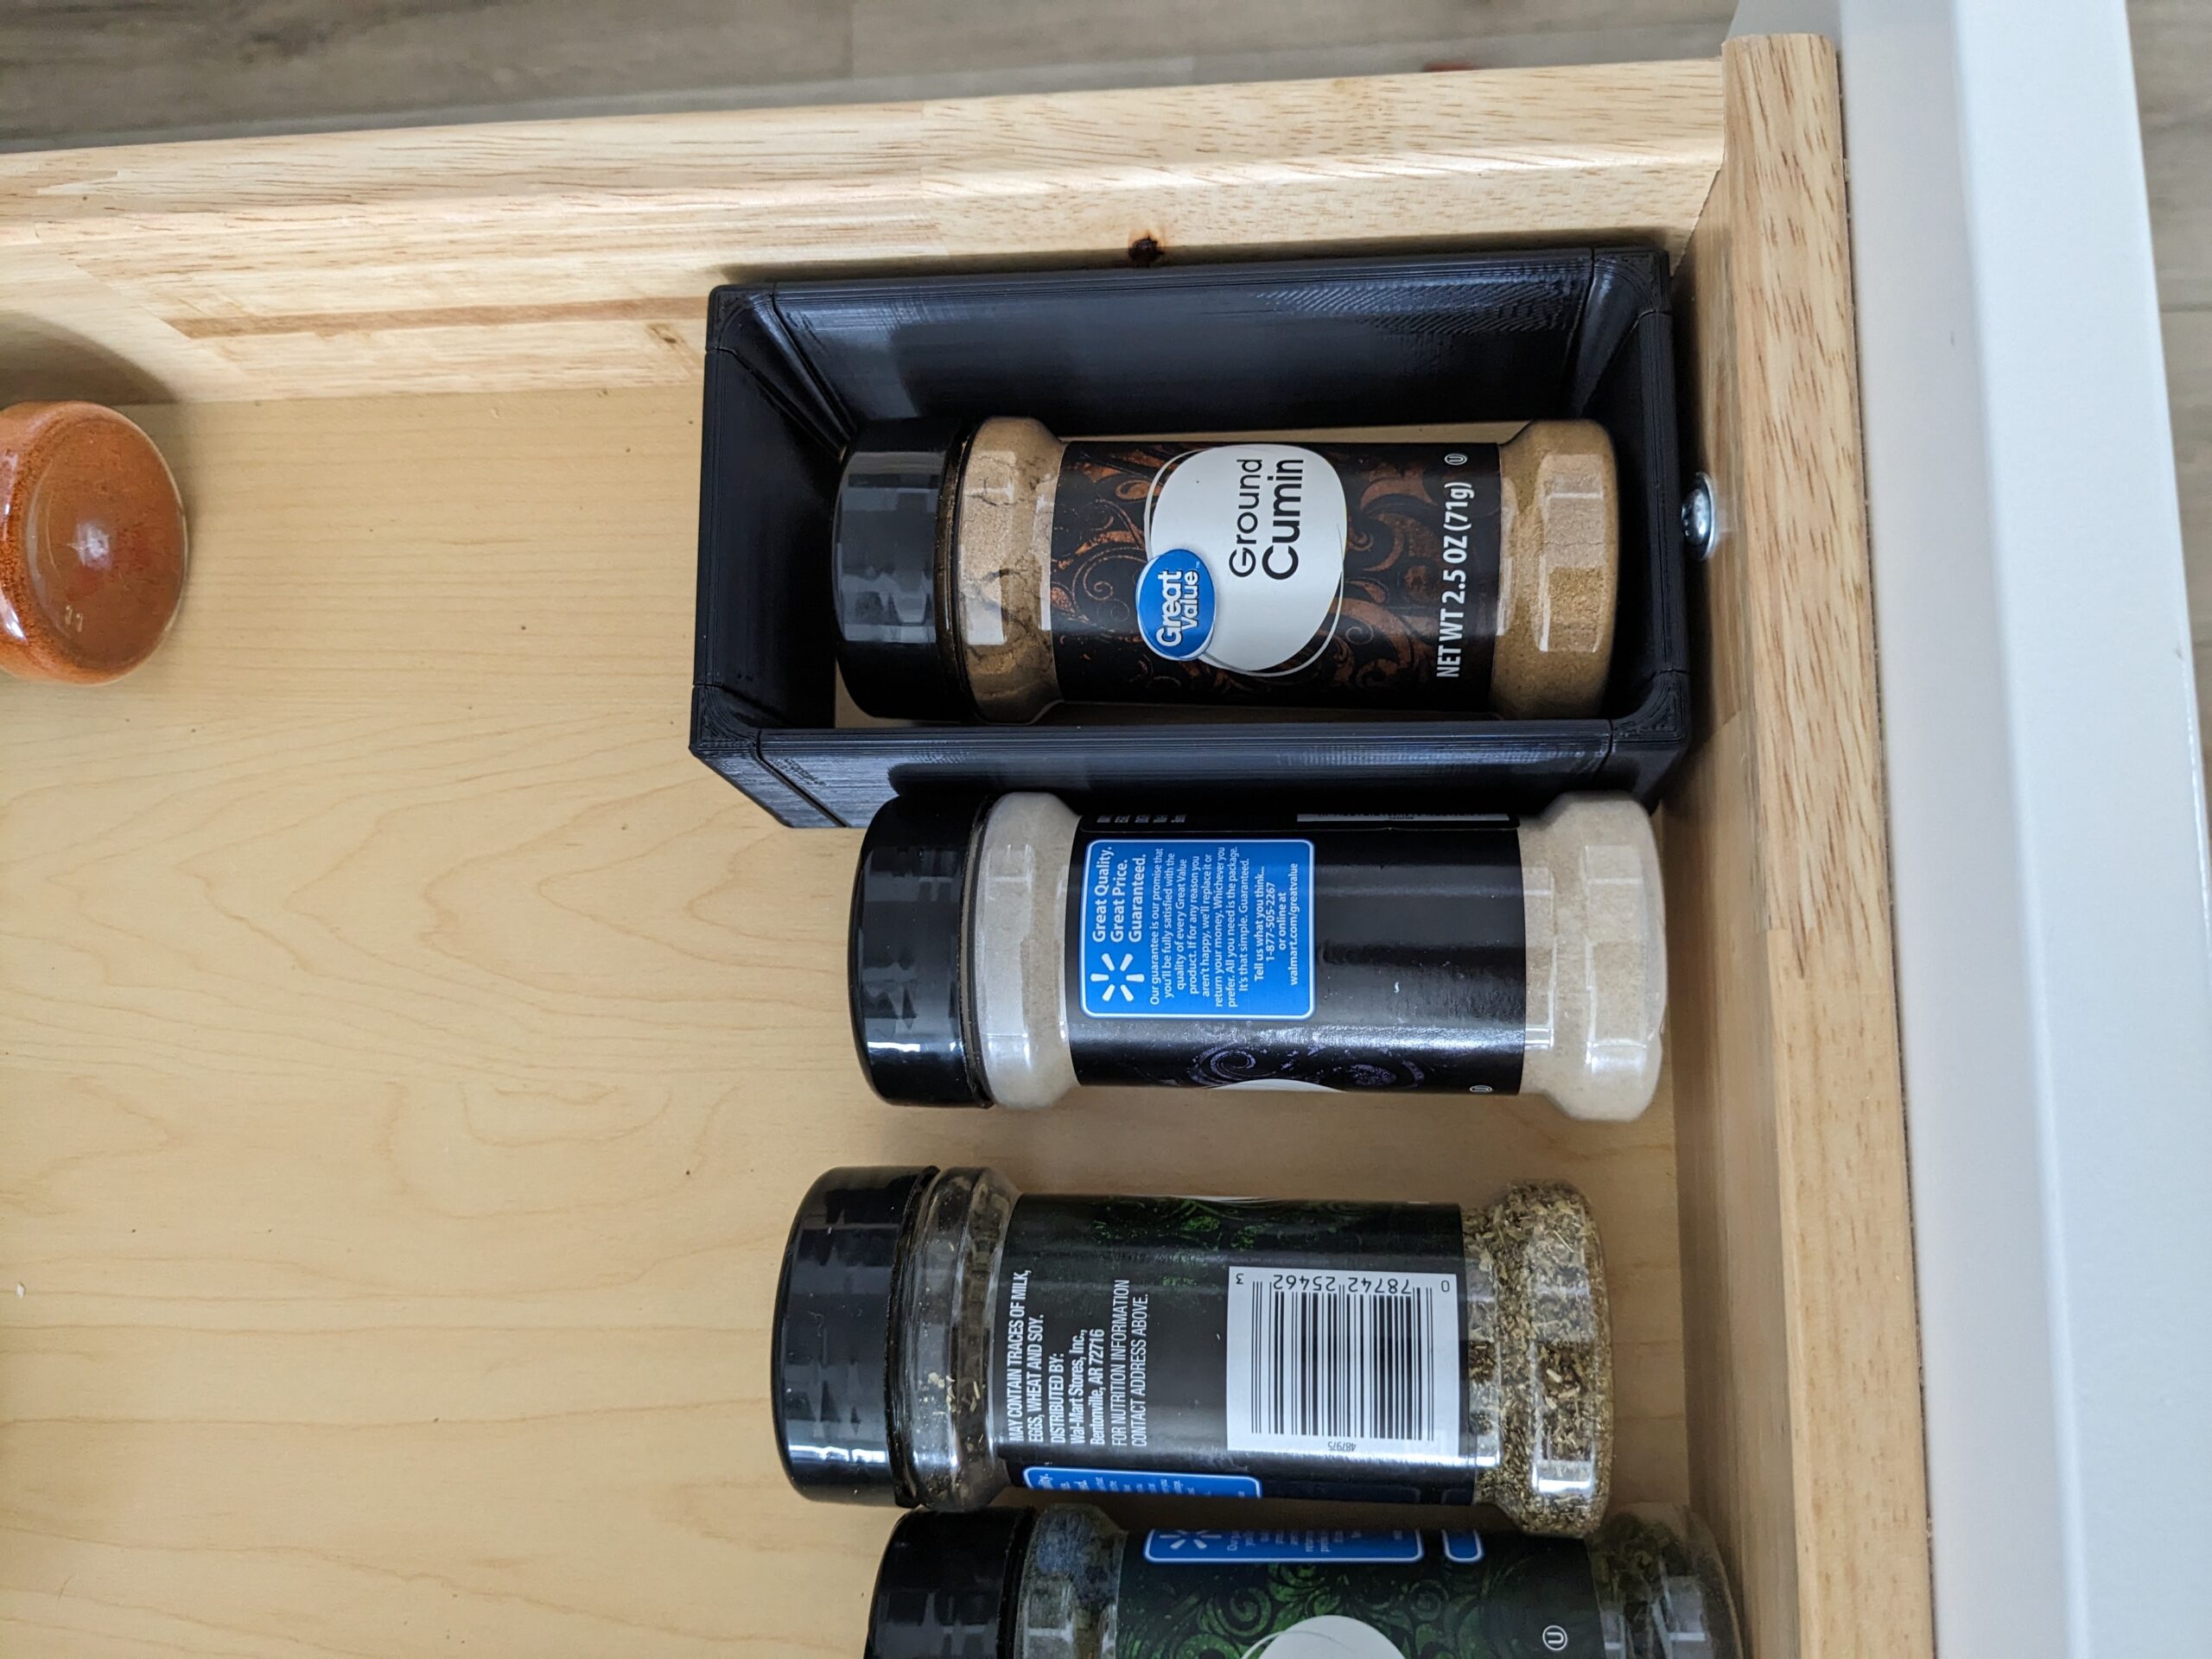
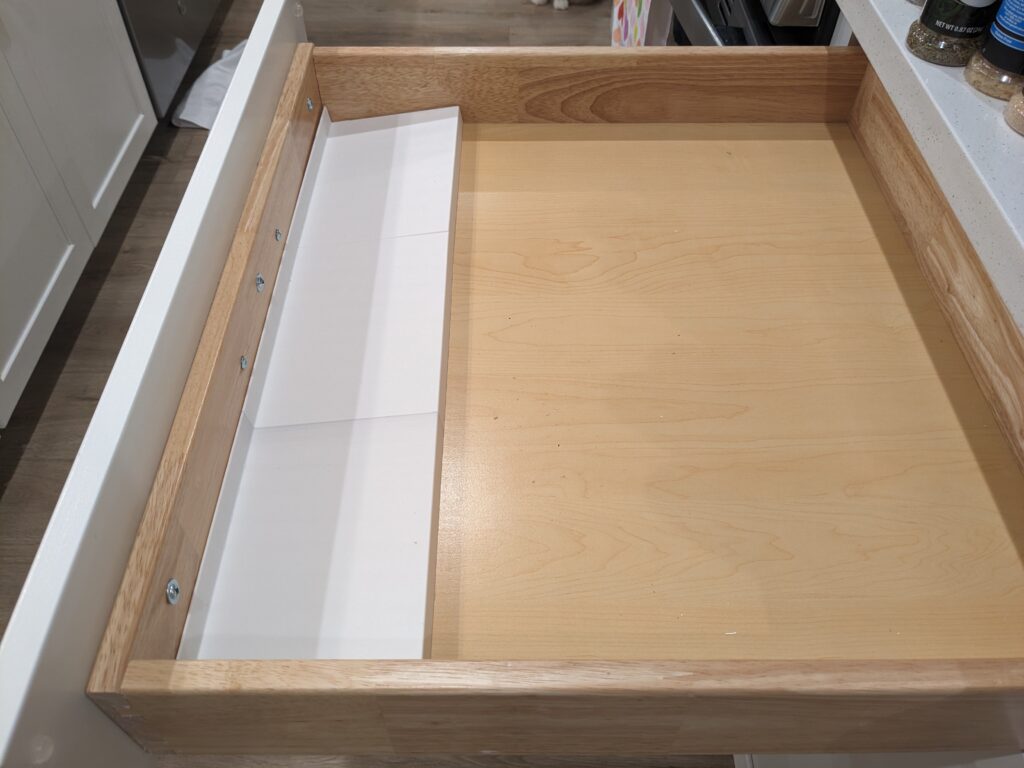
A few days later, all segments were printed and all of my spices were finally laid to rest. There is was one final cherry on top that I had to add. Turns out PLA on wood doesn’t have a ton of friction. Especially when a toddler decides to open and close the drawer with the might of Zeus, things tend to slide around. I decided to sell out and buy some drawer/cabinet liner. Yes I could have printed sheets of TPU… but I just got out of a long fight and its color is hazard orange, so that’s going to be a hard no if my HOA finds out.
Finally I can Cook!

At this point I completely forgot what dish I was going to make… and I’m not sure that I care 🙂 I have an organized spice rack that I made from the ground up. The inner Gordon Ramsay is at peace and the beast has been tamed, for now. Well, at least until I go on another Hell’s Kitchen Binge, but this time I’ll be ready! Well folks that’s I’ll I got for now, until next time!