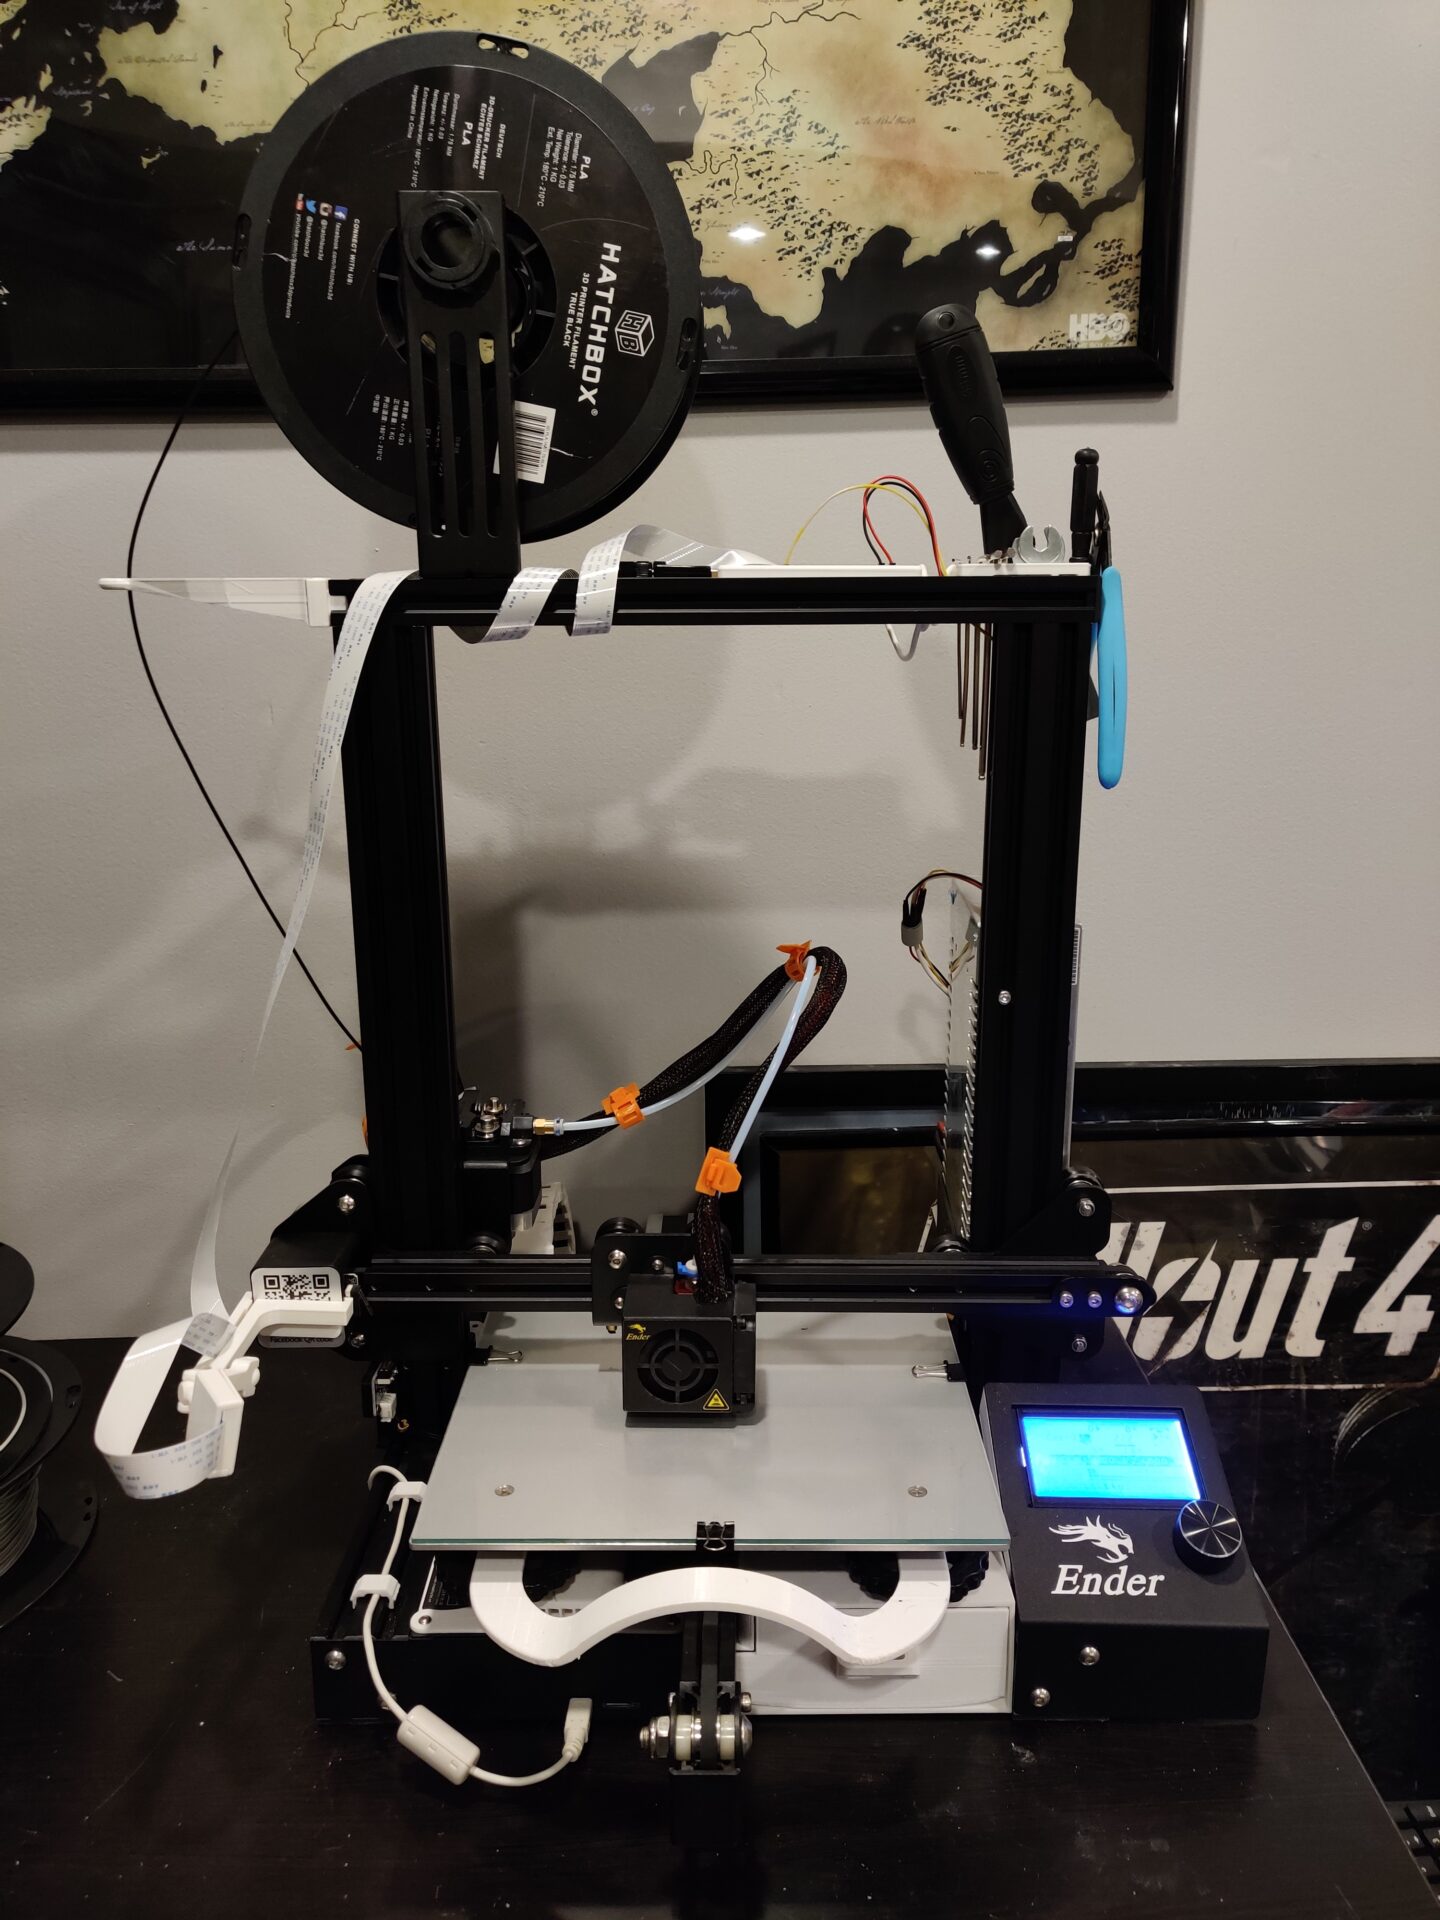
WHAT?! An actual post about 3D Printing?! That’s right! I’ve done enough putzing around on other side projects that its time to get back to what this blog is really all about. Recently, I’ve taken some time off and it gave me the opportunity to upgrade my printer setup. I’ve gone through a series of upgrades to my printer. Fan covers, trays, handles, cable ties, a Raspberry Pi, a Camera, a Relay, and a voltage regulator. You know, just a few changes 🙂 What’s one more! This time around, we get tidy with some wire chains and a new camera mount!
On your Guard! Wire Chain Upgrade
One thing I am proud of with my printer setup, it only required 1 power cable. Of all the things that are bolted on, its actually a pretty portable printer. Just the idea that I could move it anywhere in my house that has an outlet makes me wet. What dries me up is loose cables, especially the cables from the main computer to the hot nozzle or the heating bed. Johnniewhiskey on Thingiverse had the same peeve and made this amazing wire chain.
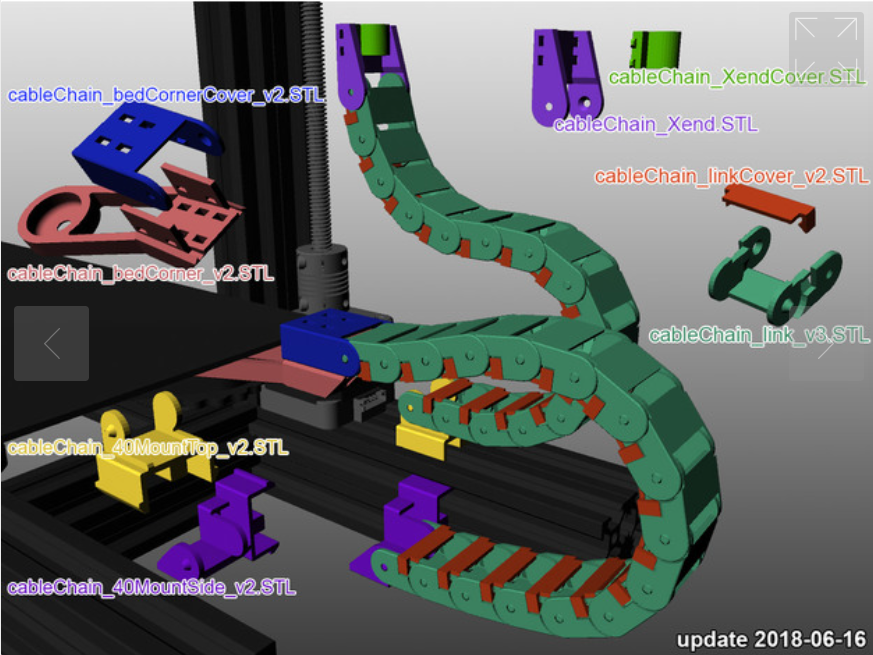
The print is simple in idea but complex in design. I’m super thankful there are really smart people out there willing to share their designs for free! Anyway, this is specifically designed for the Ender 3. It consists of various end pieces, ones that attach to the heating bed or the frame. The rest is just the middle lattice. The run between the Bed and the frame, I made 15 links, a side frame mount and the plate mount. For the other run up to the nozzle, I did 10 links, a top frame mount, and the Xend ending.
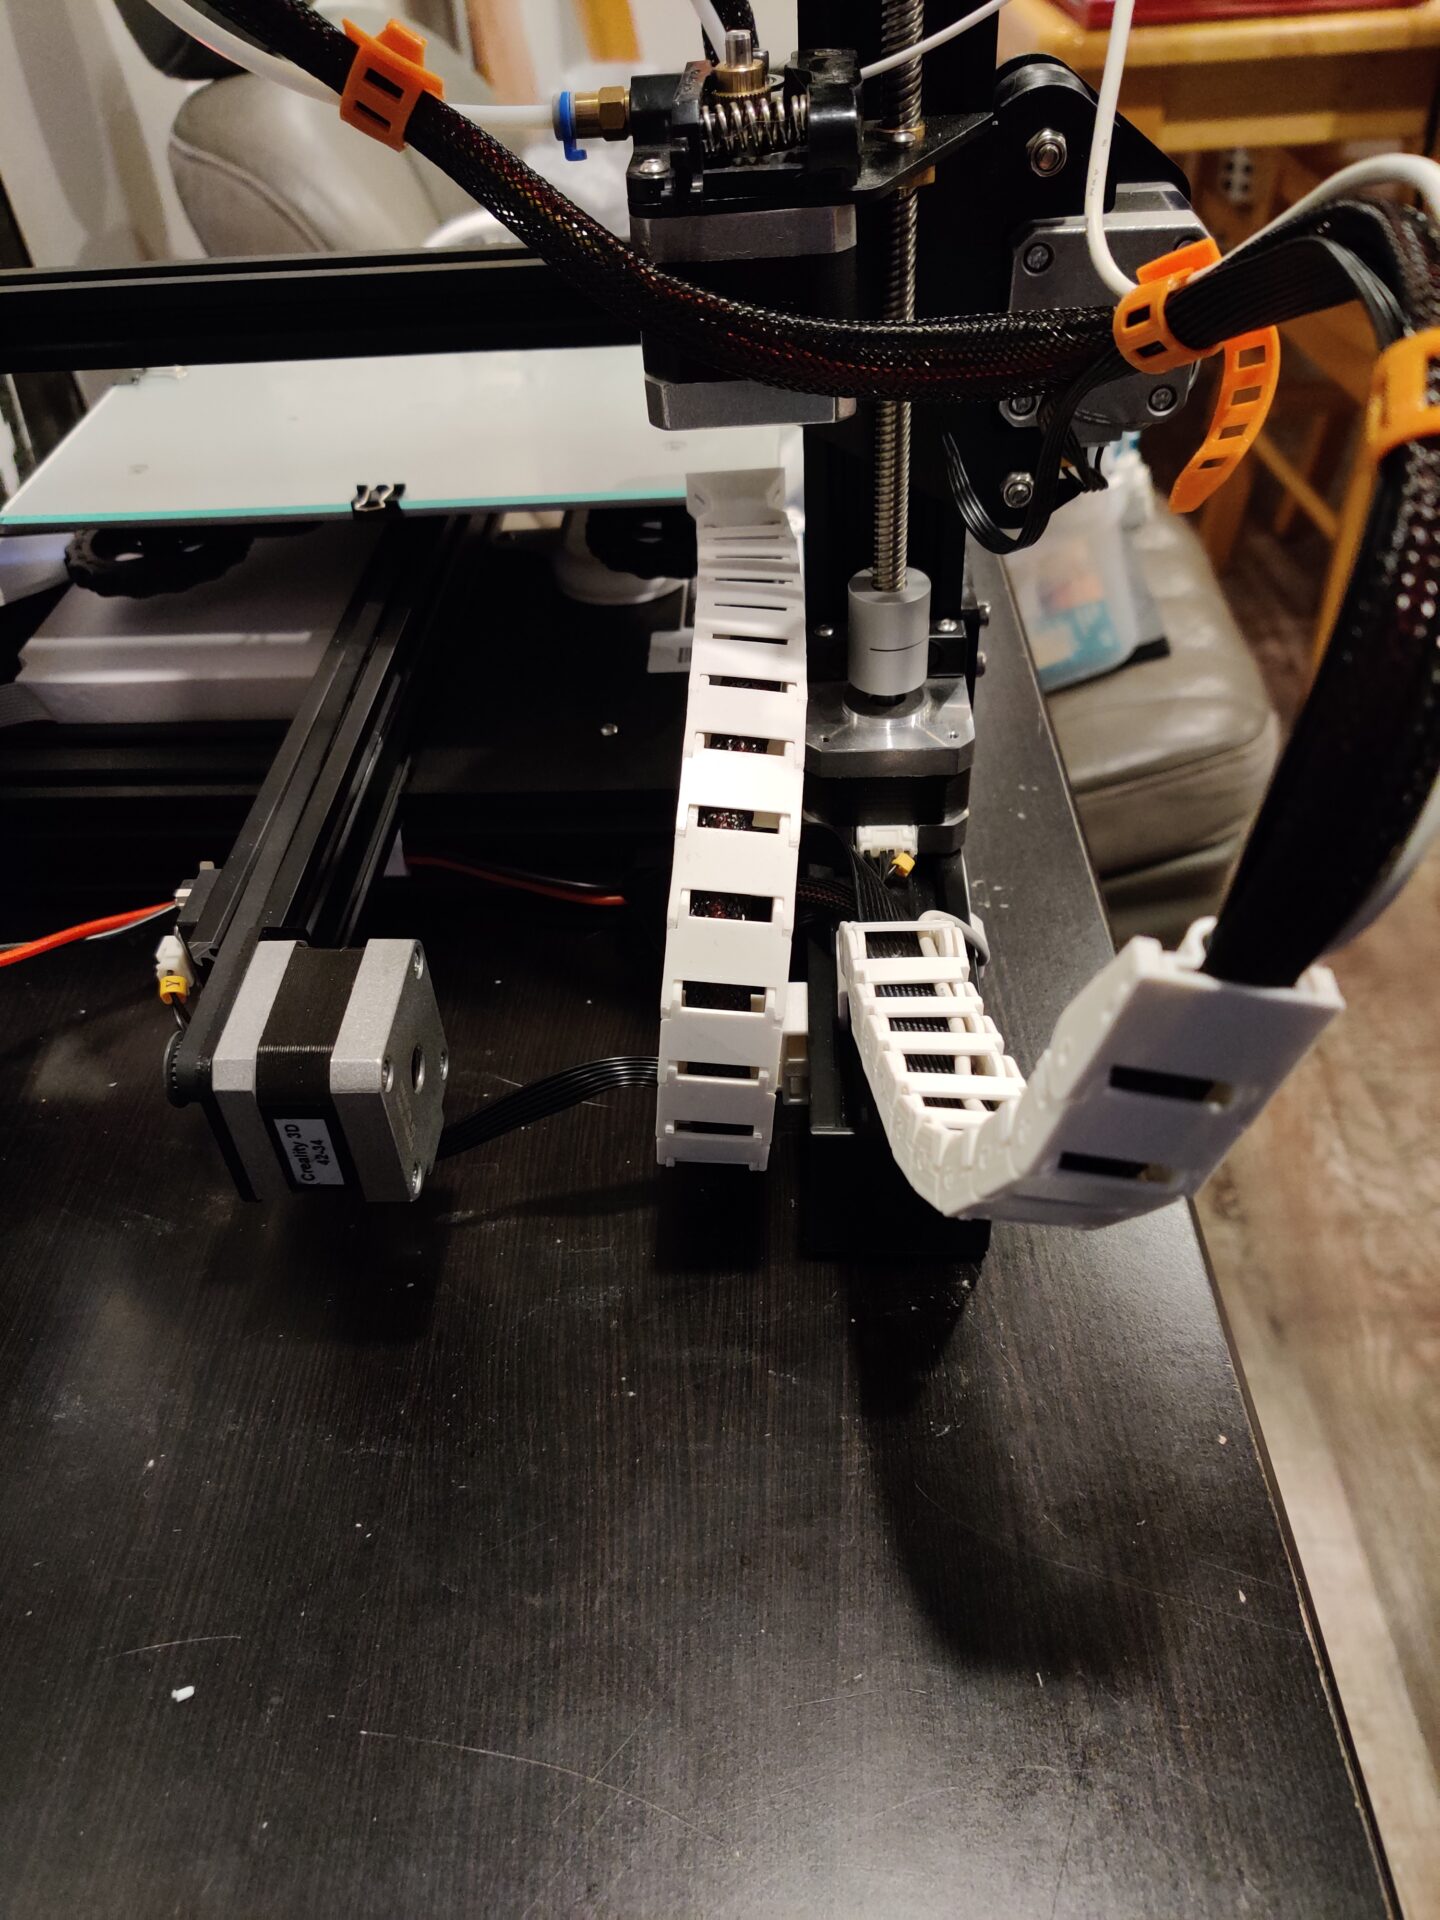
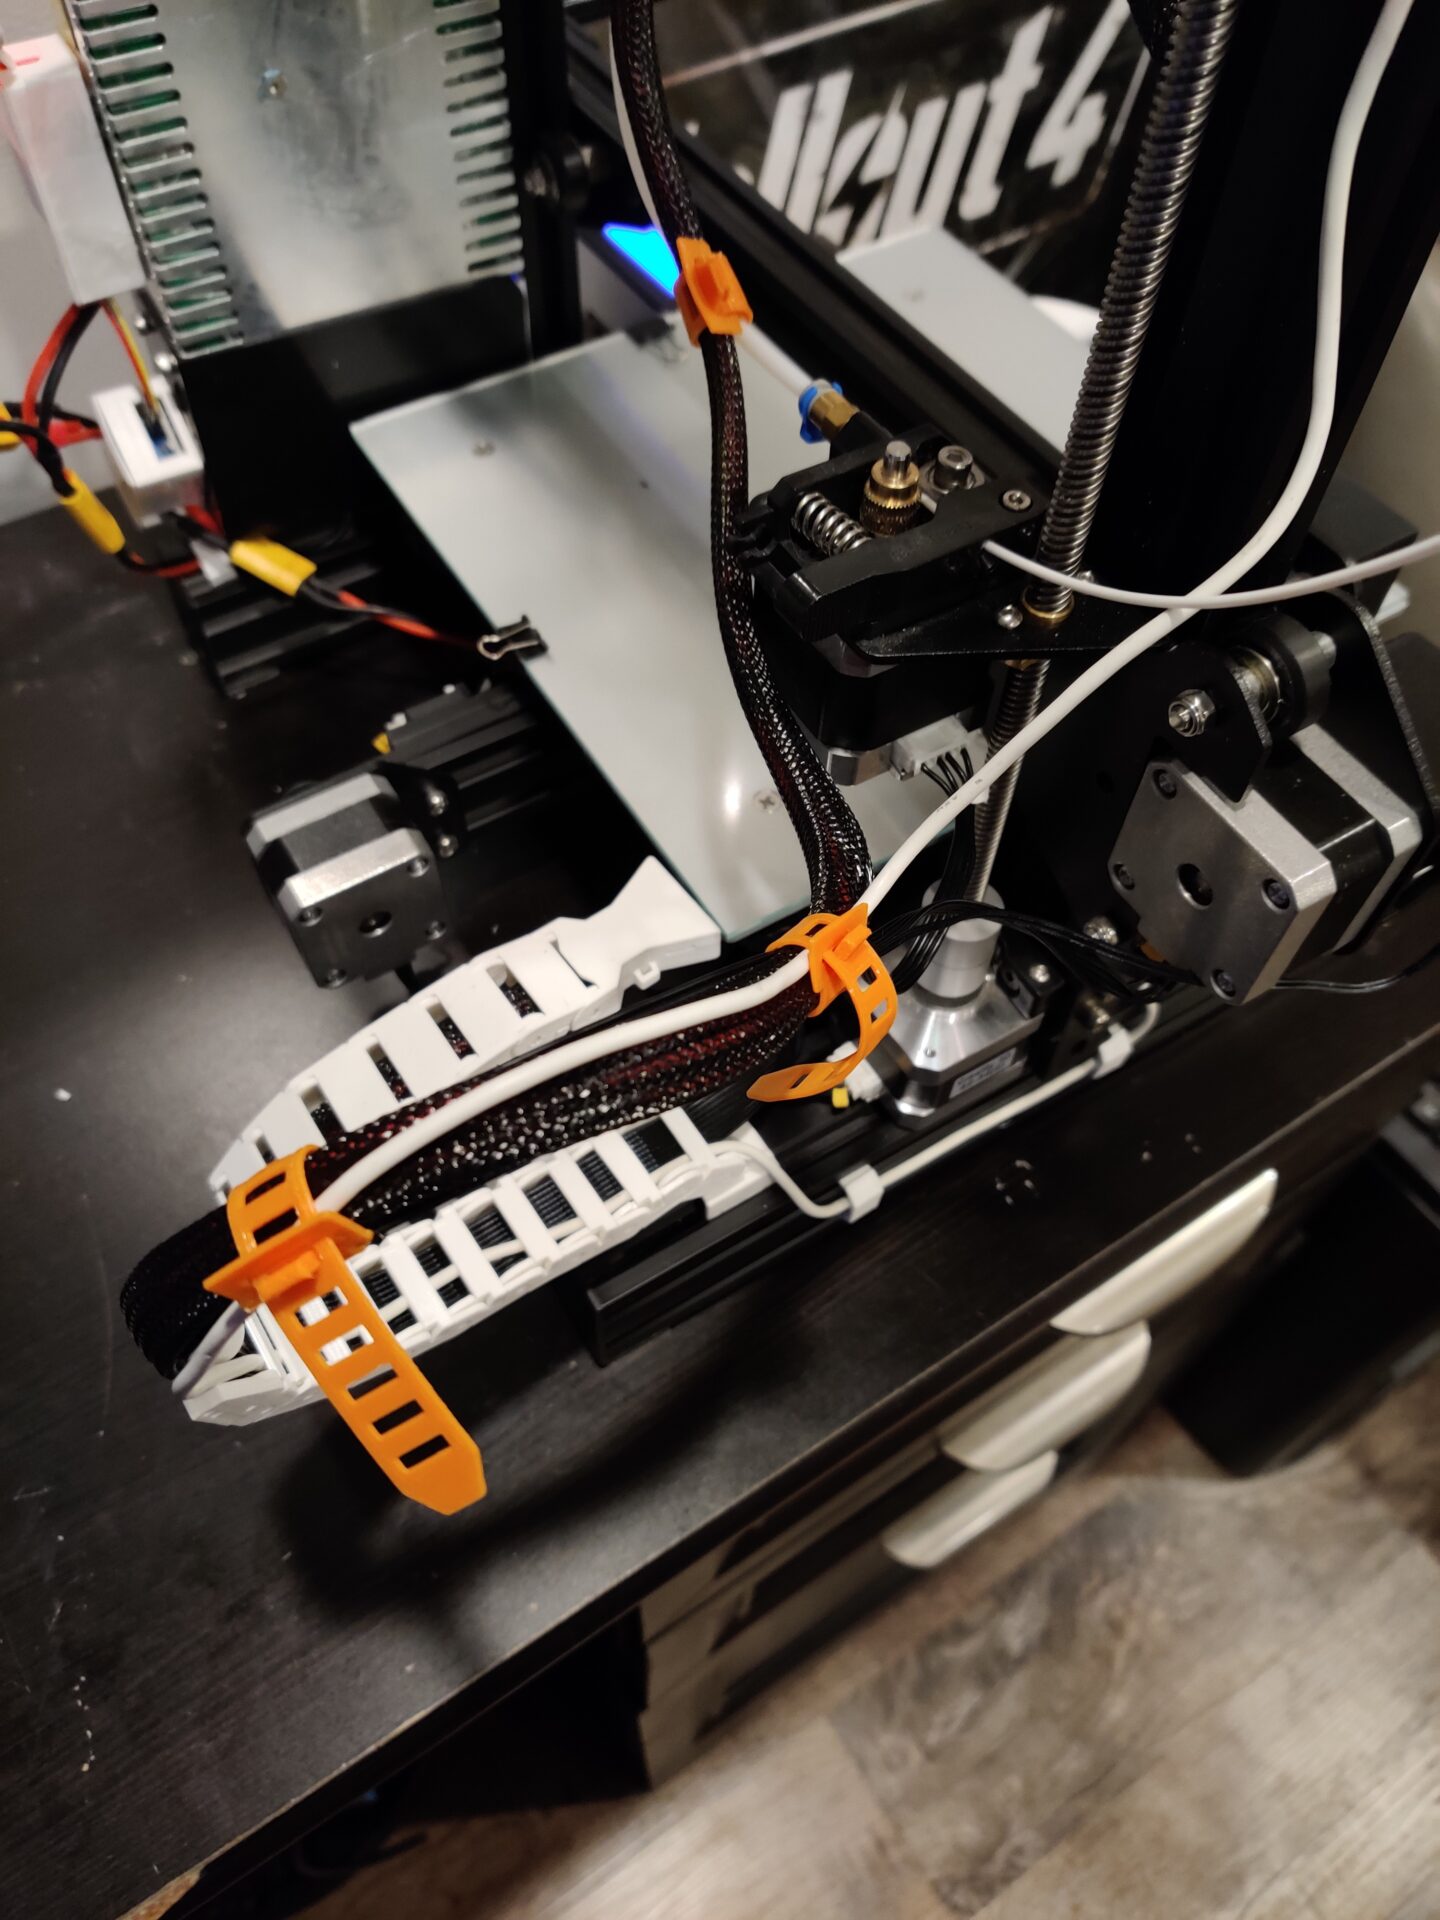

Again, big shout out to Johnnie! I printed a full cable run in one go and everything snapped together perfectly. Things are looking way neater now! I no longer have hypothetical woes of moving my printer and snagging the cable on a table corner, ripping it from the frame 🙂 With one upgrade out of the way, lets move onto the next, the Camera mount!
Pi Eye View: Not a Shitty Camera Mount
This upgrade really was a must. My original print for the Pi Camera required a metal screw and the shell for the camera kept falling apart. Not to mention, any form of disturbance would kill the camera connection. The only good thing that came from it was it mounted directly to the Z-Axis. Meaning, no matter how tall the print got, it should be able to capture it. I needed a mount that I can print with no additional parts, have a better angle on the build plate, and not fall apart when you breathe on it.
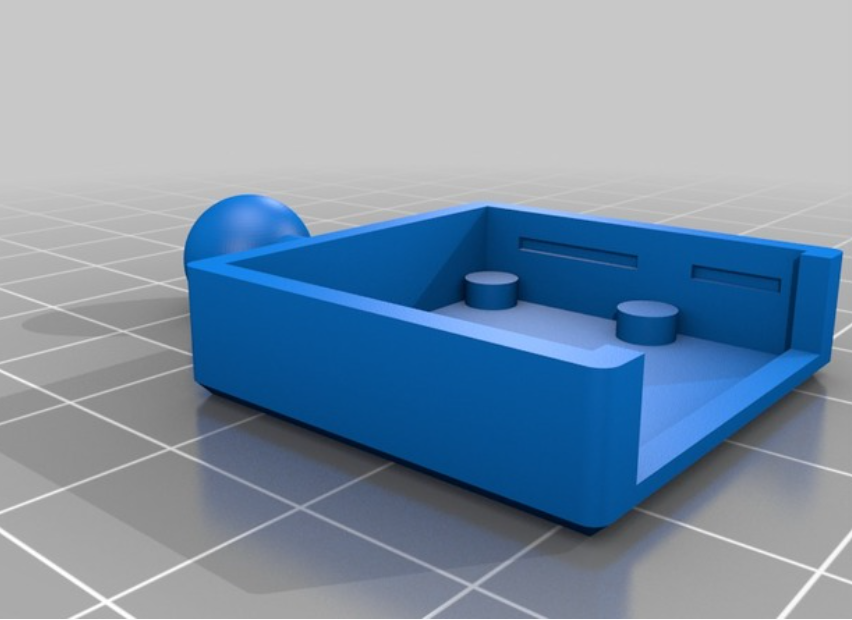


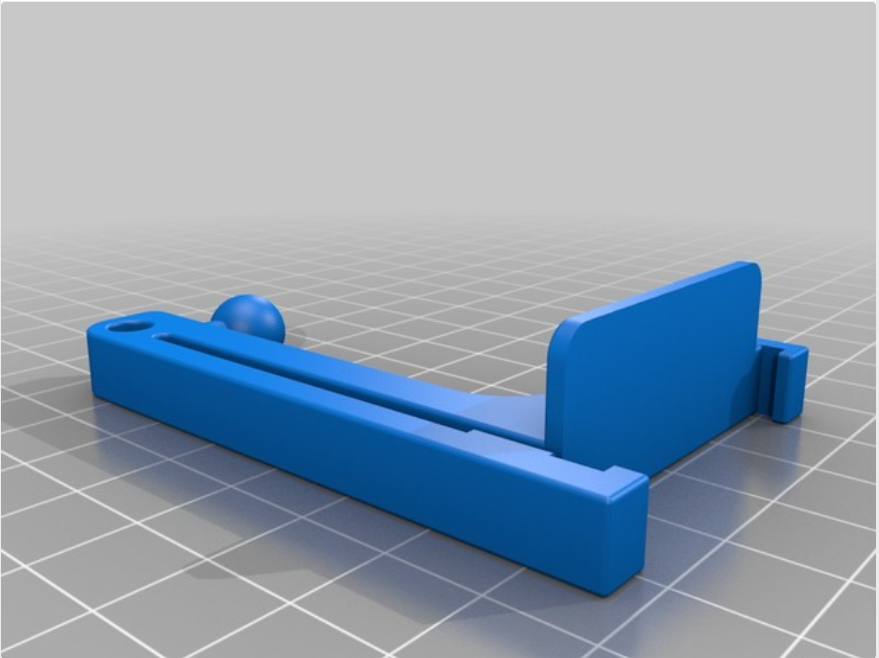
Again, I am so thankful for the super smart people over at Thingiverse! Ras434 had the perfect model. Similar to the one I had before, this time there is a ball and socket arm and elbow. This allows the camera to extend further out and get the perfect adjusted angle on the build plate. In the future (and if I’m not too lazy) I could modify the arm component to extend further out or add additional balls and sockets.
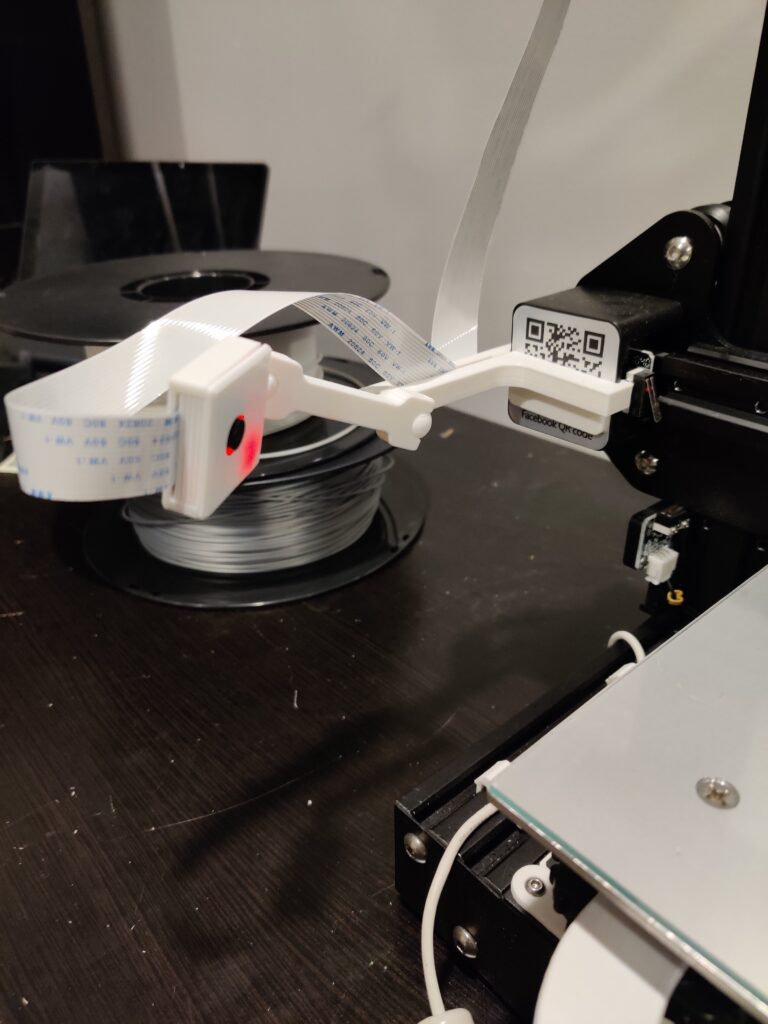
Either way, the print came out very well, huge shout out to Ras434!
Well, that’s all the printing I have done for now. The next post will be something special 🙂 Let’s just say that…. my next series of prints are going to be very…. childish… Until next time! 😀