Wooooot! Calibration time come on! Now that my Virtual server woes have been dealt with, we’re printing again! This time we’re going to tune our startup sequence. Reduce our prep time and minimize our time to print! But before we dive into that, we need ensure a few things.
Safety First!
This bit isn’t so much about calibration as much as it is about peace of mind. A while ago, I mentioned that I had some issues with my printer wiring potentially burning up. While I solved most of it, I missed one connector and one junction. The XT60 connector, running from my Relay to the main board, was a knock off, with a shitty solder job. The junction, between the power supply and the XT60 Y-split connector, was just a shitty solder job on my part. So how did these two fly under the radar for so long?

I know right… scary stuff! So those two weak points would only get really hot (around 150F!) when I would heat up the bed and the hot end at the same time. Why is that? When a wire has bad conductance (aka shitty soldering) and high amps you get more heat!
I = Amps
P = Watts or heat
R = Shitty Solder Job or Resistance
P = I2R
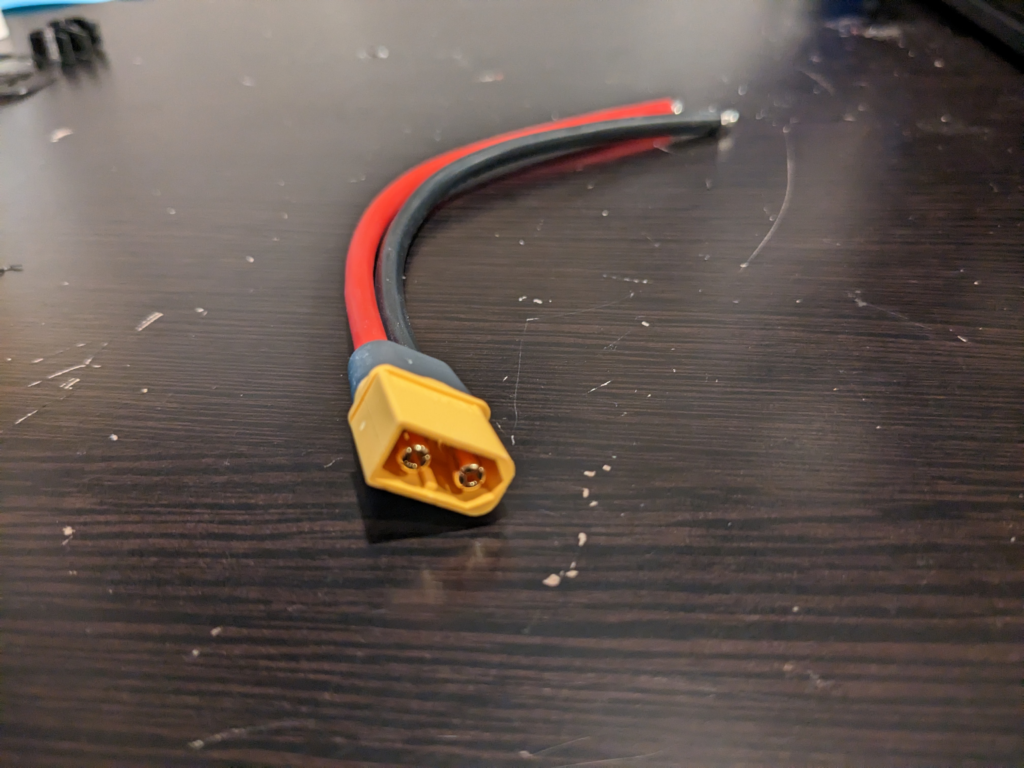
Bigger I and R get, P gets really bigSo if my wires or connectors have too much resistance, the side effect is fire. The patch for this is pretty straight forward, new connectors! I ordered a new set of XT60s, cut the wires open and reapplied the solder joints.
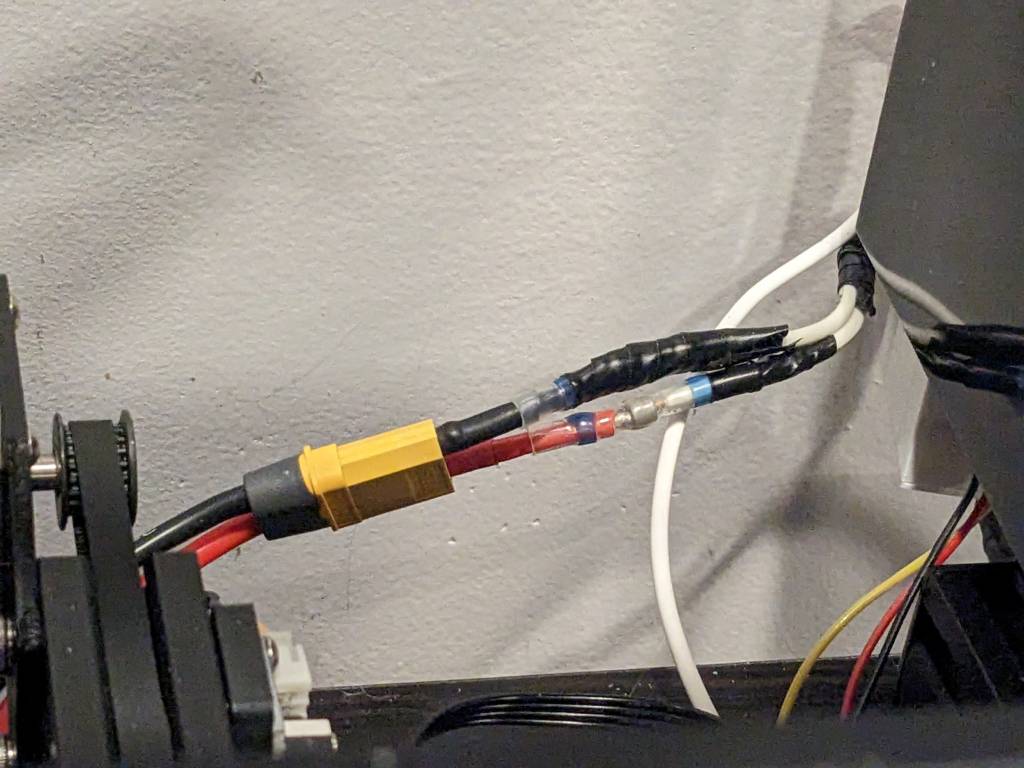
Next, the junction, This was a tad more tricky. I didn’t have any slack on the PSU wires to allow screw ups. I had to use an X-acto knife to open the joint and use a lighter to melt and free the wires from the solder. Then, it was a matter of slipping on a new heat shrink and solder joint. Finally, apply fire to melt it all tight. 🙂
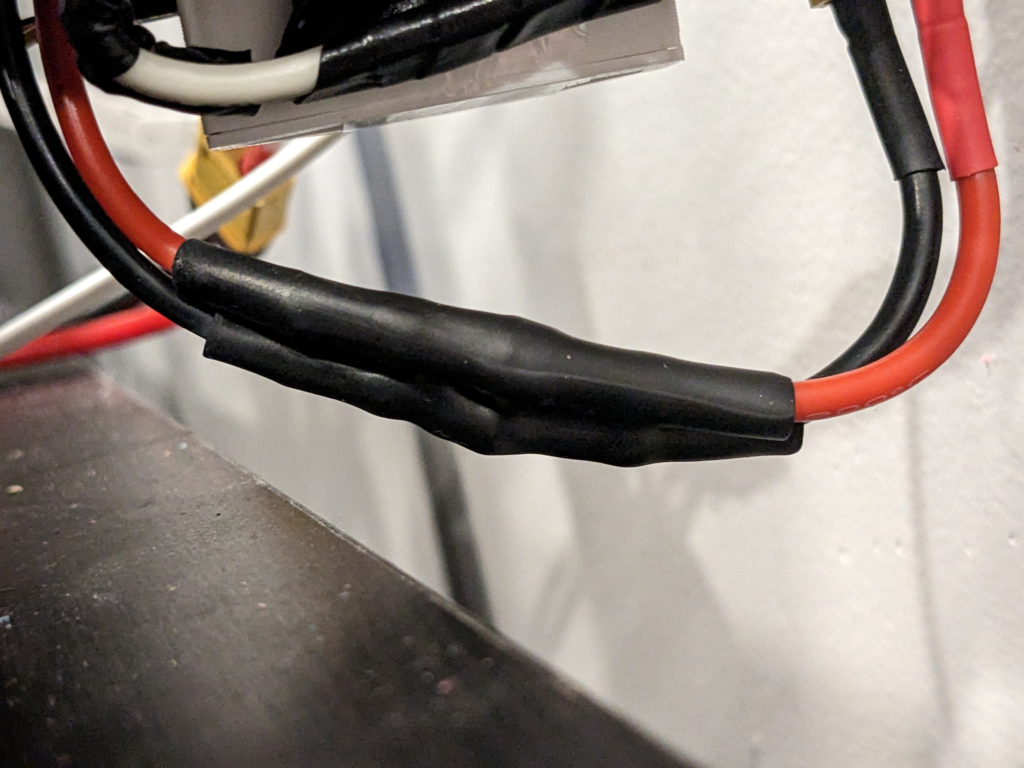
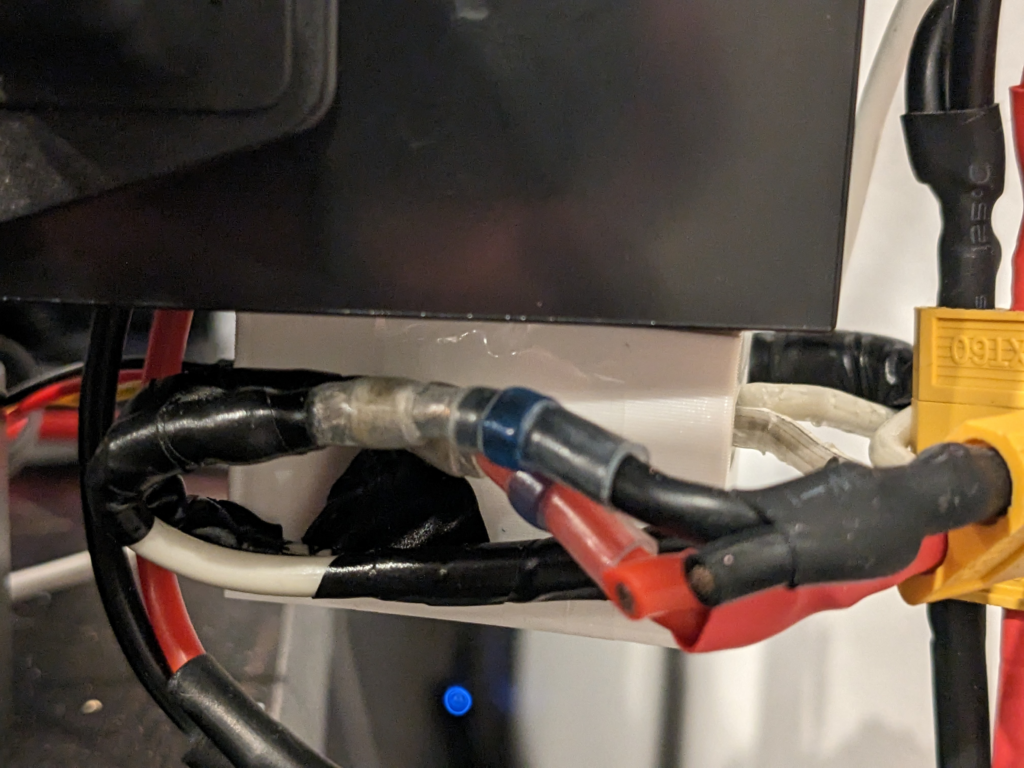
After, I ran temps on the bed and hot end and with my laser thermometer, I can verify that my wires just get a little above room temperature.
GCODE Calibration = Faster Start
Now that things are running safe, we can get into the fun stuff, calibration. As I mentioned, I was trying to heat up my bed and hot end at the same time. My goal is to try to reduce the amount of preparation my printer does for every print. First, lets look at the vanilla start sequence…
- Heat the Bed
- Heat the Hot end
- Home all Axis
- Run Auto Bed Leveling
- Start print Job
This takes FOREVER… With the hot end heating up entirely, then the bed, and then running ABL, that’s a lot of time for oozing to occur. Oozing can cause filament to stick to the nozzle and potentially ruin the print at some point during the job.

Lets do some calibration 🙂 Starting with slicers and the initial GCODE. In Cura, if you go into your printer machine settings, you can directly modify the start GCODE. Here is the default for an Ender 3.
; Ender 3 Custom Start G-code
G92 E0 ; Reset Extruder
G28 ; Home all axes
G29 ; Auto Bed Level
G1 Z2.0 F3000 ; Move Z Axis up little to prevent scratching of Heat Bed
G1 X0.1 Y20 Z0.3 F5000.0 ; Move to start position
G1 X0.1 Y200.0 Z0.3 F1500.0 E15 ; Draw the first line
G1 X0.4 Y200.0 Z0.3 F5000.0 ; Move to side a little
G1 X0.4 Y20 Z0.3 F1500.0 E30 ; Draw the second line
G92 E0 ; Reset Extruder
G1 Z2.0 F3000 ; Move Z Axis up little to prevent scratching of Heat Bed
G1 X5 Y20 Z0.3 F5000.0 ; Move over to prevent blob squish
Notice that nothing mentioned temperature, just movements. Temperature GCODE in Cura is a hidden menu item and probably for a good reason! Please take caution ahead! Don’t screw up your temp GCODE and accidentally burn your house down! You’ve been WARNED!
Make that GCODE Mean and Lean!

Oh its not that bad 🙂 Looking at the Marlin Documentation and a few tutorials on YouTube, I was able to piece together a relatively safe and very speedy new start sequence.
- Start Hot end and bed Temps
- Home all Axis
- Run ABL
- Wait for temps
- Start Print
While we haven’t reduced steps, we are doing those steps in parallel.
; Ender 3 Custom Start G-code
M140 S{material_bed_temperature_layer_0}; Set Heat Bed Temperature
M104 S{material_print_temperature_layer_0}; Set Heat Extruder Temperature
G92 E0 ; Reset Extruder
G28 ; Home all axes
G29 ; Auto Bed Level

G1 Z2.0 F3000 ; Move Z Axis up little to prevent scratching of Heat Bed
G1 X0.4 Y20 Z0.3 F5000.0 ; Move to start position

M109 S{material_print_temperature_layer_0}; Wait for Heat Extruder Temperature
M190 S{material_bed_temperature_layer_0}; Wait for Heat Bed Temperature

G1 X0.4 Y200.0 Z0.3 F1500.0 E15 ; Draw the first line
G1 X0.7 Y200.0 Z0.3 F5000.0 ; Move to side a little
G1 X0.7 Y20 Z0.3 F1500.0 E30 ; Draw the second line
G92 E0 ; Reset Extruder
G1 Z2.0 F3000 ; Move Z Axis up little to prevent scratching of Heat Bed
G1 X5 Y20 Z0.3 F5000.0 ; Move over to prevent blob squish
Lets break this down. M140 and M104 set and start the temperatures for the hot end and bed. Those temps are stored in a Cura variable that gets added at the time the slicer generates the GCODE. During heat up, the printer will do its homing, ABL and then wait in the start position until temps have been reached (M109, M190). Once temps are reached, printing will commence.
However, we can still trim more fat!
How to Fix Short Term Memory Loss
The second longest process during startup is Auto Bed Leveling. But, do I need to bed level every time? The bed doesn’t really move print to print, so it should basically be the same. As it turns out, in Marlin there is a GCODE function for this! M420

This command will load the ABL’s previous calibration. The only problem was, my printer kept forgetting what those values were. Every time I would power cycle my printer, I would have to set the ABL and set my Z-offset. Marlin’s documentation and several other sources kept referring to EEPROM. Here, I’m thinking of an embedded chip that is on the printer’s main board. A chip that I was struggling to figure out how to save to. That every time I would save it kept erroring out saying NO EEPROM FOUND!

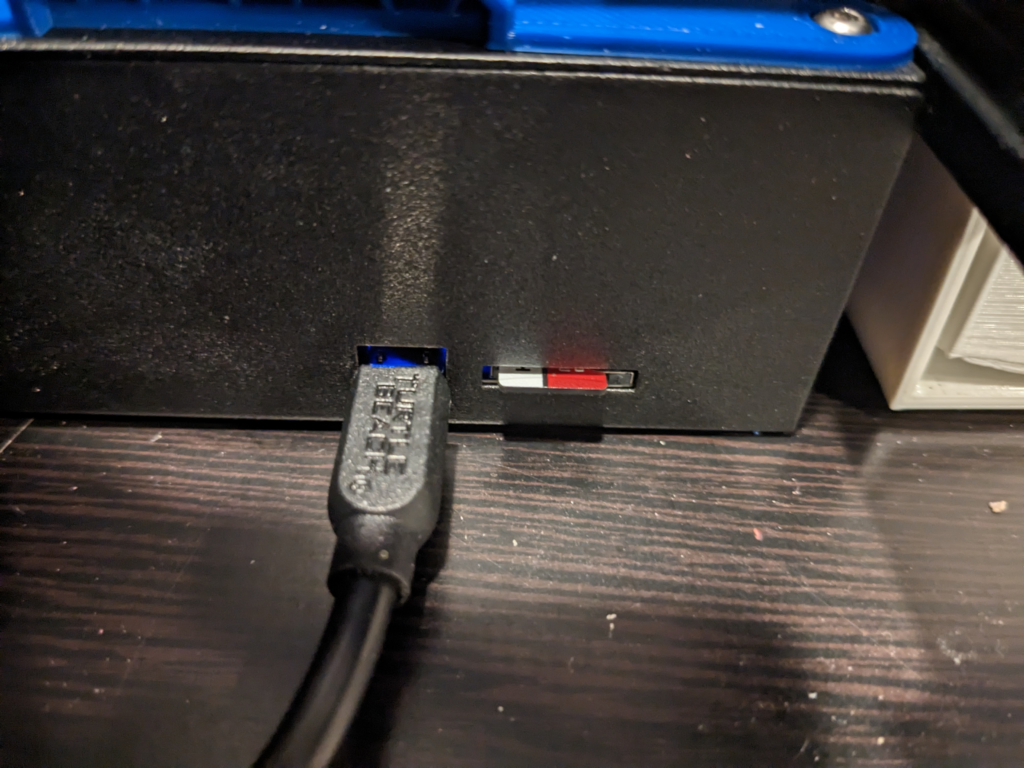
Turns out, in the modern age, EEPROM means SD Cards for the Ender 3. Specifically the SD card that would go into the SD card slot, in front of the printer, right next to the USB port….
With that, meshes and z-offsets were being saved and now our final fast and sexy GCODE looks something like this.
; Ender 3 Custom Start G-code
M140 S{material_bed_temperature_layer_0}; Set Heat Bed Temperature
M104 S{material_print_temperature_layer_0}; Set Heat Extruder Temperature
G92 E0 ; Reset Extruder
G28 ; Home all axes
M420 S1; Load existing Mesh

G1 Z2.0 F3000 ; Move Z Axis up little to prevent scratching of Heat Bed
G1 X0.4 Y20 Z0.3 F5000.0 ; Move to start position

M109 S{material_print_temperature_layer_0}; Wait for Heat Extruder Temperature
M190 S{material_bed_temperature_layer_0}; Wait for Heat Bed Temperature

G1 X0.4 Y200.0 Z0.3 F1500.0 E15 ; Draw the first line
G1 X0.7 Y200.0 Z0.3 F5000.0 ; Move to side a little
G1 X0.7 Y20 Z0.3 F1500.0 E30 ; Draw the second line
G92 E0 ; Reset Extruder
G1 Z2.0 F3000 ; Move Z Axis up little to prevent scratching of Heat Bed
G1 X5 Y20 Z0.3 F5000.0 ; Move over to prevent blob squish
Thus, taking our prints from a lousy 8 minute start, to a very very lean 3 minute start.

Calibration is Over, Time to Go Home Everyone!
Yep, that’s it. Just moving a few lines of code around got us a very different outcome. That and fixing some poor solder work, avoiding the whole “burning my house down” problem. One last golden nugget before I sign off. I discovered GCODE command M85 the Inactivity timer, which should basically stop all temperatures. I think that command is cooked into the firmware to act as a failsafe but I don’t have definitive proof on that. Maybe something to talk about in a later post.
Well, until next time! 😀