
Back again with another tech post! Don’t worry, this isn’t going to be another crazed rant! This has been something in the works for a bit that I had to get out. A long time ago, I made this virtual server from some old hardware lying around to run various VMs, including this very website! In my excitement to get the damn thing setup, I didn’t make the best initial decisions. Poured the concrete without blueprints so to speak 🙂 And in that carelessness, I created a ticking time bomb… that would bring the whole server to its knees.

A Man, An Idea, and A lot of Hard Drives
Over the years, I’ve kept old hard drives collected from repaired laptops or drives that have been swapped for SSDs on my main rig. All various sizes, ranging from 500GB to 2TB. With 6 SATA ports on my spare Mobo, my drive combo would get me about 4.5TB worth. That’s a lotta space! For a bunch of old hard drives that is 🙂 So what’s the issue? Well… since my setup basically lumped the smaller drives into one big logical hard drive. By doing so I created a scenario where if one drive fails, the entire setup comes crashing down!

Yeah… luckily, it never came to that, but it was only a matter of time. The solution is to setup some drive redundancy, some fault protection. I already was backing up my content but I had nothing protecting me from a massive amount of downtime. So, I decided the best course of action was to setup a RAID array.
Lets Go on a RAID!
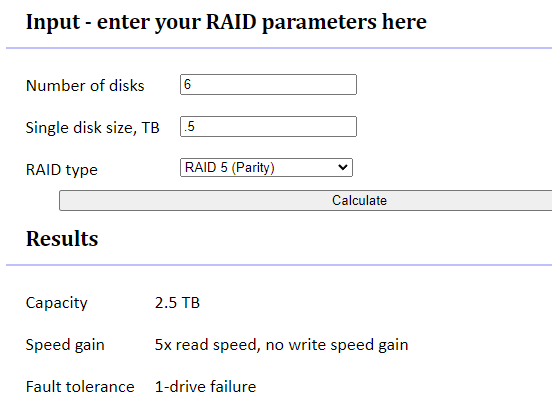
A Redundant Array of Inexpensive Disks, RAID. There are several configurations. For example, RAID 0, make multiple drives work together for extra speed, but no fault tolerance. For max fault tolerance, RAID 1 drives will mirror each other but you cut your drive space in half. RAID 5 is the happy medium of 0 and 1. RAID 5 will do some serious math magic to spread out your data across multiple disks. Taking advantage of better read performance and allowing one disk to fail. The only requirement is you need 3 disks minimum. In my case, 6 disks, 5 for storage and 1 for fault tolerance.

Pretty dope right? 🙂 There is just one more caveat. The drives also have to be identical. Well not exactly identical, like by manufacturer, but at least by speed and size. It will work if you use different size drives, but it will only use the smallest/slowest drives settings.
For Example, 5 Drives at 1TB 7200 RPM and 1 drive at 500GB 5400 RPM, all the drives will only use 500GB and run at 5400 RPM. There is a great online RAID calculator that can help you figure out how much storage space you’ll end up having. For me, all my drives are 500GB at 7200 RPM. In the end, I’ll have 2.5TB of storage to play with.
If 2.5TB doesn’t end up being enough, I would have to upgrade the all the disks in the array to a larger size. Which wouldn’t be a bad thing 😉 Ok, so how do we use this RAID thing? Do I need to get some hardware? Buy a license or something? Luckily, everything I have already is enough!
OK, Lets Go on a RAID! For Real This Time!

My Virtual Environment is running ProxMox, an Open Source Hypervisor VM manager via web browser. Part of its out of the box suite of tools is setting up a ZFS pool. ZFS, Zettabyte File System, for when you are too cheap to get yourself a RAID Controller and a big boy server 🙂 But for real, its an Open Source file storage system that data integrity, compression and you guessed it fault tolerance!

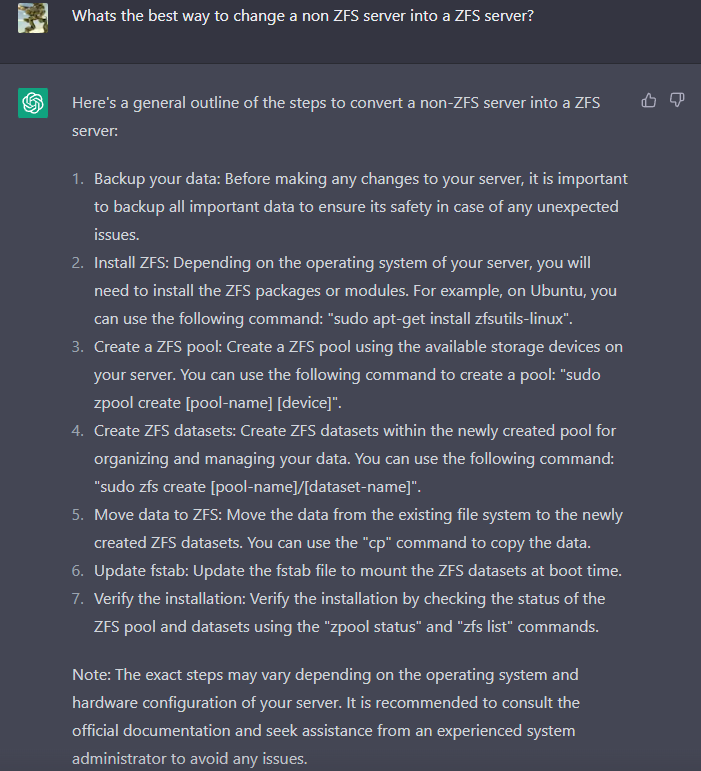
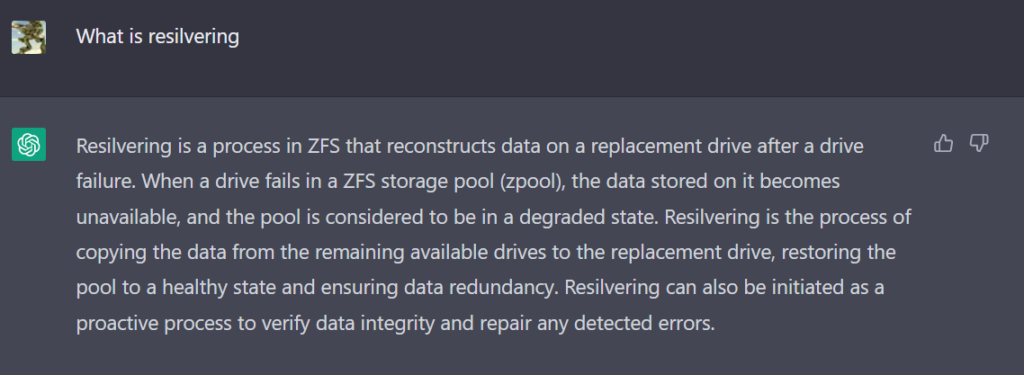
The good news is with a little extra extra hardware lying around, I was able to beta test this build without ruining my excising setup. The bad news is, in order to use that build I would have to dismantle my existing setup. I even turned to Chat GPT for some advise for the most painless way to approach this. It was actually very helpful when it came to telling me more about ZFS and its commands. But I got some lukewarm answers when it came to how to cut things over cleanly.
We’ll I’ve gotten this far without the help of AI, its just a matter of thinking about it and coming up with a good plan…
And Plan He Did!
Just like ChatGPT said, first thing I have to do is get backups in order. Virtualmin was backing up this site’s content and my Plex server was handling the rest. But that is just content, I would still have to do a Linux server install, setup Virtualmin again, install databases and PHP configs. Too much work for me.

Instead, in Proxmox, I created and offloaded snapshots of my servers. That way, after Proxmox is rebuilt with a ZFS Pool, all that has to be done is import then VM and its up and running like nothing happened! After I got my snaps done, I took the server offline, plugged in my ProxMox install thumb drive, and started the install.

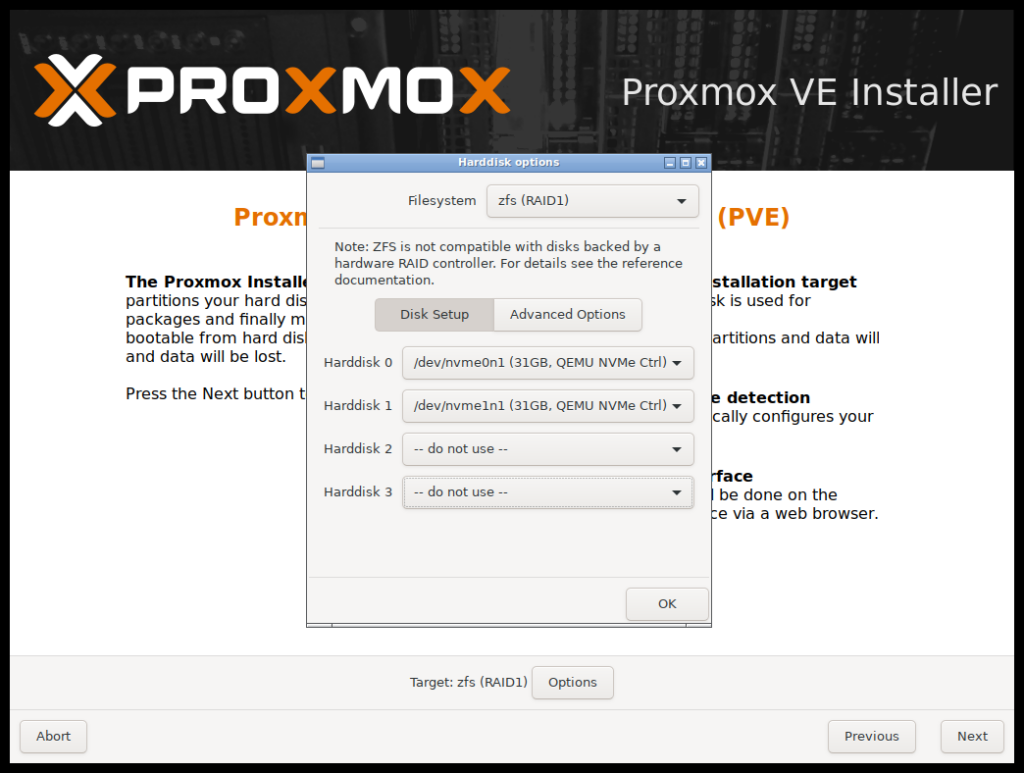
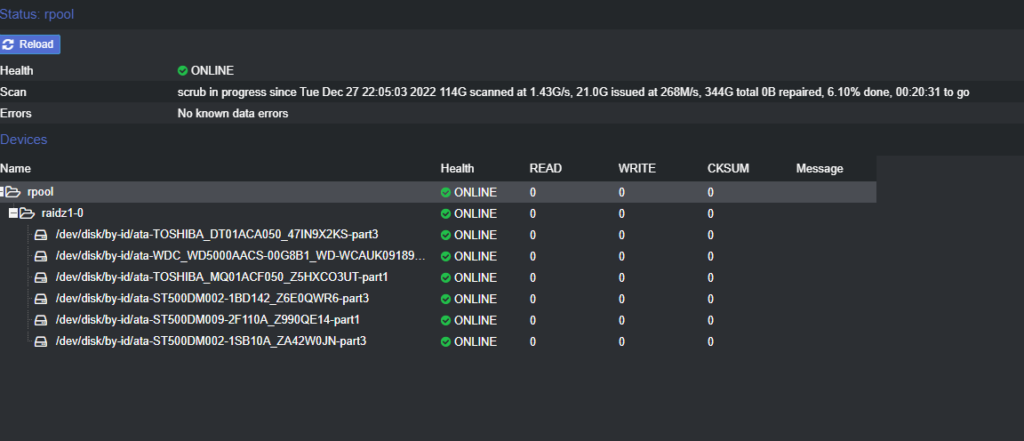
Just like in the dry run, I flew through the ProxMox install and as expected all 6 drives appeared as ready. I just needed to select RAIDZ1 for my filesystem, and poof! We have a fault tolerant ProxMox Server!
On a RAID, Shit Can Get Real…
All best laid plans fall short somewhere. In my case, there were a few instances. The first was restoring my VMs after the install. Only 1 out of 3 successfully imported. I guess that when copying over the other two, something got corrupted along the way or the snapshot failed. Regardless, the VM that made it was my DNS/VPN server, being that those were hard for me to setup initially.
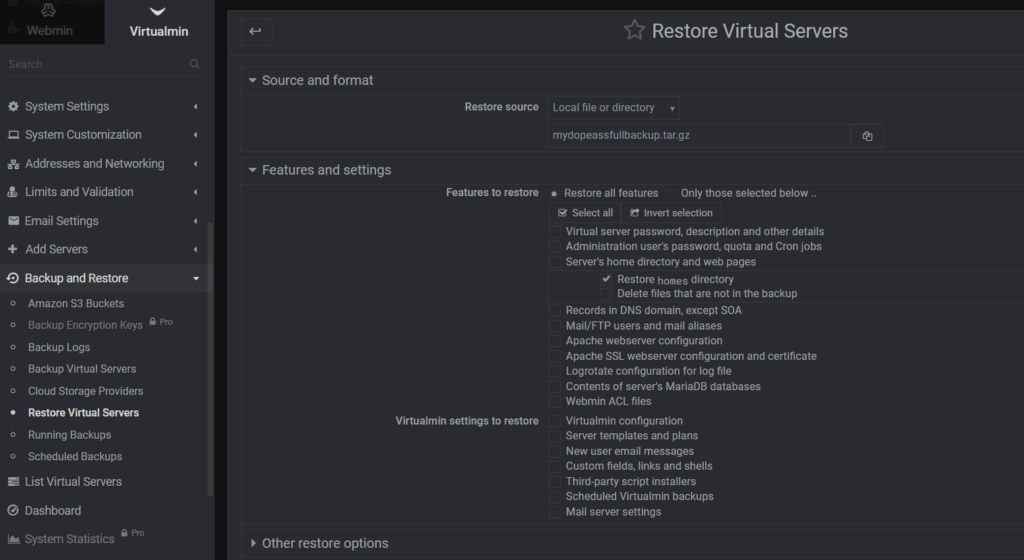
Getting Sarnelli3d.com and next cloud back online was priority. I ended up installing a blank Ubuntu server and a vanilla Virtualmin instance. I even managed to nab the old VM MAC addresses, so during setup I can put them back and let the DHCP reservation pool assign the right IP again! With Vmin installed, its restore backup function can point at a full backup and migrate the entire site over.
Sarnelli3d.com came back online without any additional work. NextCloud on the other hand, needed a little more love.
Restoring NextCloud worked in principal but it still needed some setup. Mostly in re-downloading all the needed PHP modules and doing everything the security scan was screaming about. From there, I also had to sync back up the next cloud database and what files were in the filesystem. To fix that, I have to run:
sudo -u mydopeassuser php occ scan:files --allAn hour of letting that cook and next cloud finding all my files again, I already noticed a huge reduction in load times and an enormous boost in page speed. Much better having 6 drives all working together 🙂
Hold that thought….

I was ready to move onto setting up Plex, I figured I would hop back into ProxMox and look at how much space I had left to work with. Poking around the Z-pool details, I realized we had a problem. Two of the drives in the pool were coming up degraded.
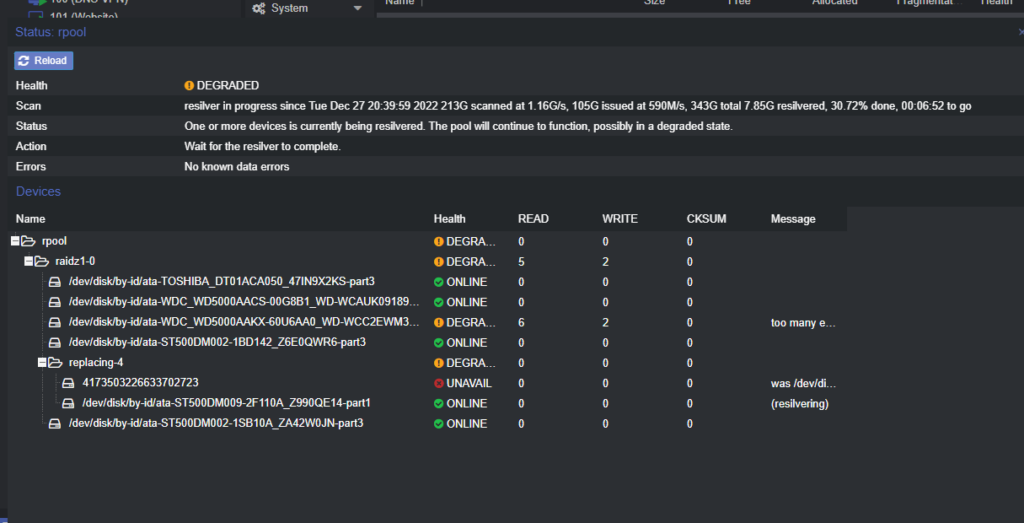
Remember, RAID 5 is single drive fault tolerant. Two drives means that if there was data on that second drive, its gone now. Thankfully, nothing was on that drive yet, but I had to solve this first before I start uploading all my plex media. I turned to ChatGPT for more information.

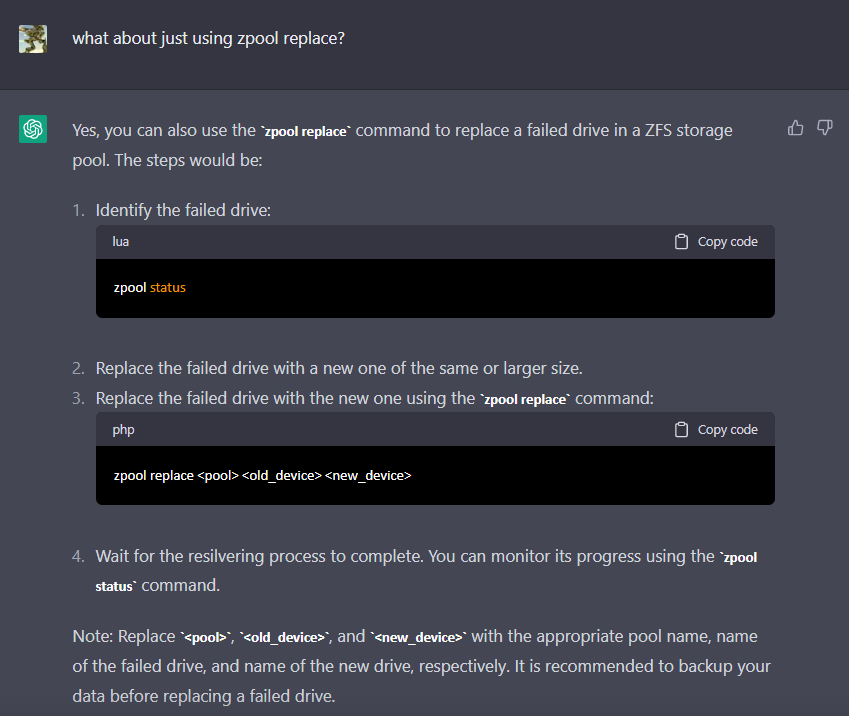
Luckily, I had a few extra 500GB drives lying around, so running the needed replace commands were fairly easy. Again, using ChatGPT to walk me through it 🙂
And BOOM! Both drives resilvered and showing up as online and healthy!
From here, I just needed to fire up Ubuntu, install Webmin, install Plex and start uploading all my content. Now I can enjoy a wicked fast next cloud server, a lightning quick blog, and a completely lag free movie experience.

Well, that’s all for this one! Tune in for some much needed printing posts! Until next time! 😀