In my many upgrades and modifications I’ve made to my printer there are a few game changers. One of those changes was switching over to using a glass bed. The stock pad that comes with the ender 3 isn’t the absolute worst thing in the world. It’s actually great for just pumping some basics prints out. But once you start getting into more detailed models and precision prints that’s when the cracks start to show.
The stock pad is meh
For starters, the stock pad is made of a flexible material with a top coating of plastic similar to sandpaper. The porousness of it is great for adhesion. No need to have large skirts or rafts to make sure your print stays connected to the bed. However, because of its flexibility it makes the bed super uneven and takes 3x the time to calibrate the printer.
For calibration I set the printer into the home position so the nozzle is all the way down and in the corner of the bed. I’ll turn off the motors so they can freely roll the nozzle and bed around. With a piece of paper, like a post it note, and slip it between the nozzle and the bed. If I don’t feel any friction, I’ll adjust the spring under that corner to raise up until I feel something. I’ll do the same with the rest of the corners and try to get them as even as possible.
If I were to get them perfectly even, the pad itself has bumps in it and will cause hot spots on the bed to be higher than the rest. So if the middle is perfect and I’m doing a small print, there are no problems. If I print something much larger that takes up most of the bed, that is when issues start showing.
Going with a glass bed
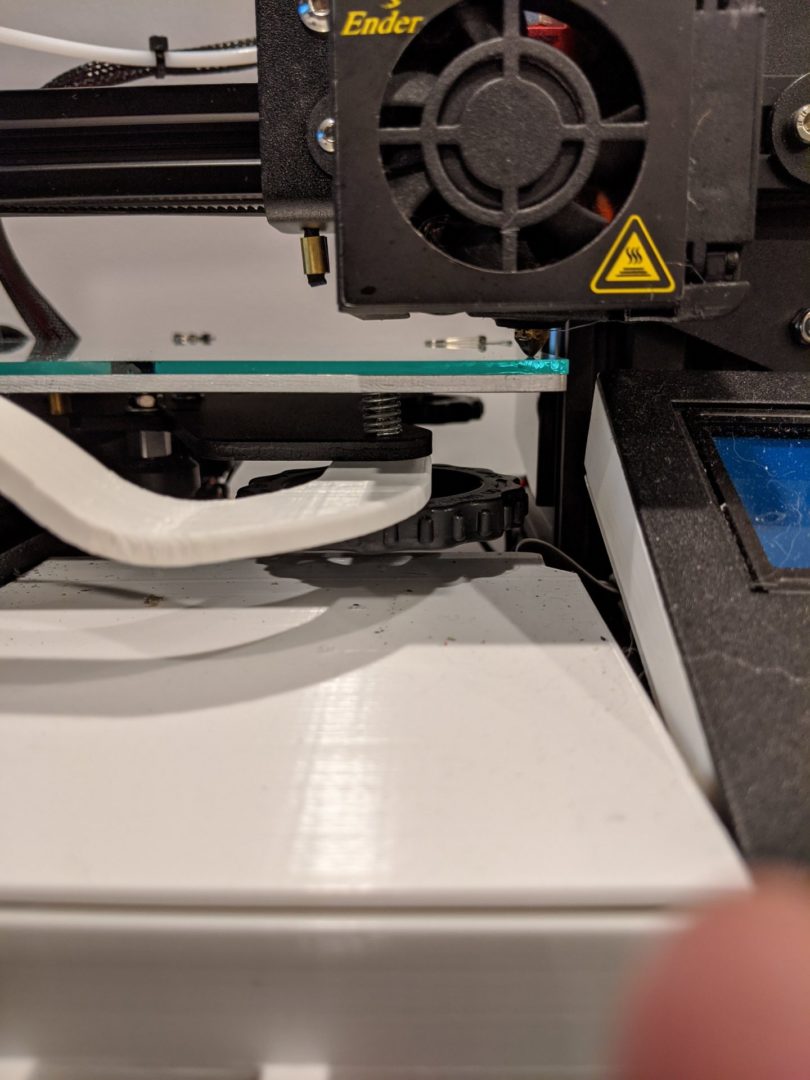
This is where glass comes in. Glass is incredibly flat, cheap, and has decently good heat conduction. With glass, the hotspot problem goes away and calibration isn’t as tedious. Usually, If I can get 2/4 corners spot on, the rest of the bed is perfect. So while I was out and about at Mendard’s grabbing supplies for a separate project, I saw they had precut glass. The pieces on stock were not exactly the size of the bed but I figured I could make it work.
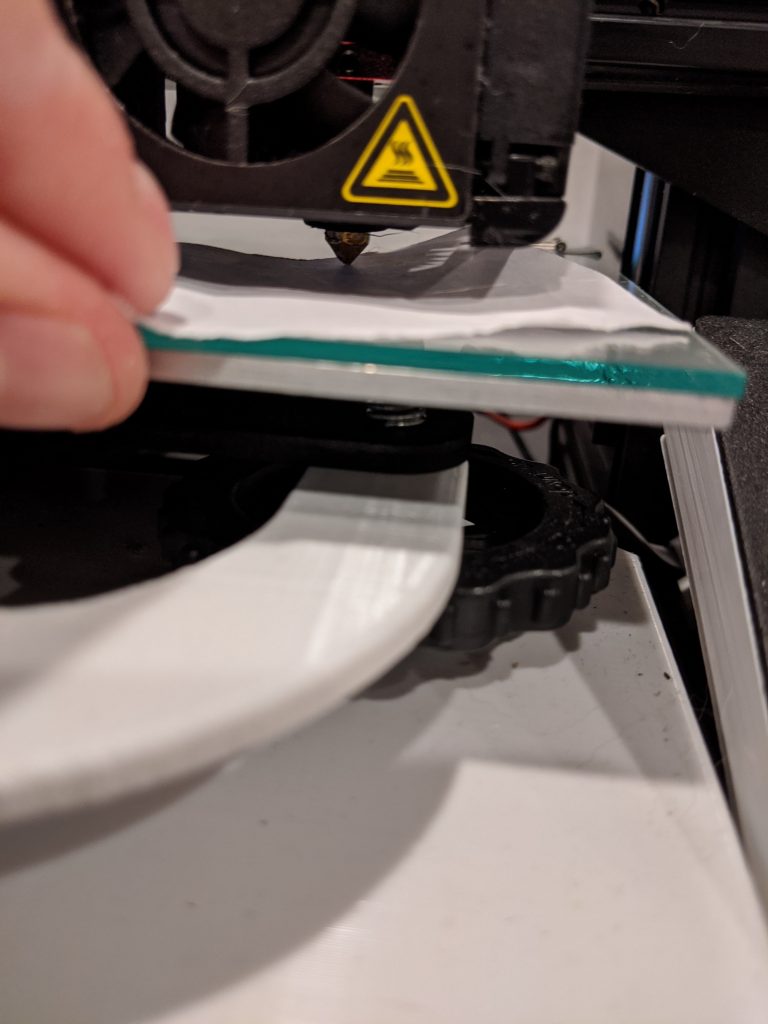
Yeah, you would think by now I would learn that “close enough” never really pans out. So of course length wise the piece was good, but the binder clips could not grab the glass width wise. Well I tried to print anyway and turns out those clips are super important. When the printer nozzle and bed would jolt back and forth the glass would shift and the whole print would be ruined.
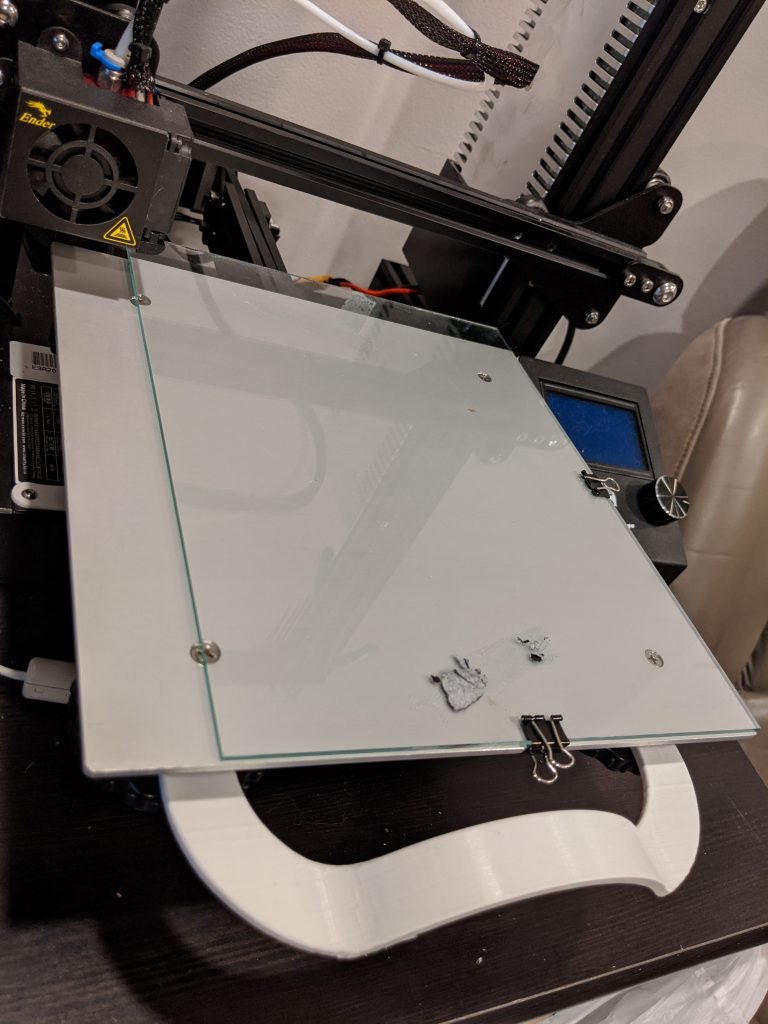
So this time, not being lazy, I went to my local Ace Hardware and had them cut a piece of glass for me. When I told the clerk the size of the glass I was looking for he immediately knew I was using it for printing. Must be other printers in my neighborhood! Anyway, with the proper size glass, the clips were able to hold fast and more printing was underway. Or so I thought…
Problems with glass
Everything comes with a set of consequences. Remember when I mentioned that the stock pad was porous like sandpaper and made models stick super well? Yeah… turns out glass is nothing like that. Because of its flat nature, it’s also incredibly smooth. Printing without a skirt or a raft was starting to be out of the question. Depending on the print size, it would add a good chunk of time to the print. Not to mention all the wasted PLA to build the adhesion layer. So now we move onto how we fix glass adhesion.
I found a few solutions online. The first one I tried was using painter tape on the glass. At first it seemed like a promising solution but I kept running into little peevs. I had to figure out ahead of time how much tape to put on. Too little, and parts of the print wouldn’t really stick to the glass. Too much and it’s just like having the stock pad on again, missing out of the glass’s flatness. Also, using white PLA, some of the blue from the tape would stain in the model. So off I went looking for other solutions.
Then I came across a couple of videos that mentioned using hairspray as an adhesive. Hairspray isn’t super sticky where the model is glued to the bed, it’s viscous enough to not evaporate off the bed and it’s really easy to clean up. So with every print, I spray a bit on the glass bed and wipe up when it’s done.