Hi all! I’m sure seeing this posts timestamp suggests that I’m writing this underground, munching on some MREs, waiting out the zombie apoc…. I mean COVID 19 pandemic. Well, its not as extreme as that, but I am however been doing my part quarantining. But this post isn’t about COVID, I think we are getting enough info about what to do about COVID literally everywhere else 🙂 Nope, this is about the effects of COVID, giving me more free time and giving me ideas for dumb ways to spend it. Alright! Onto the wallet part of this post!

Christmas 2019, I received a phone case that doubled as a wallet. My current wallet was ancient, at least 10 years old and it’s age was starting to show. It was a bi-fold, held about 9 cards, cash, and lock picks. Getting this new phone case forced me to downsize and drop the dead weight, cutting me down to 6 cards and a pinch of cash. The phone case worked great, until tragedy struck…
Frying a phone without trying
The case itself was fine, the phone, not so much. I was using a Google Pixel 3a, the cheap cousin to the pixel 3 because I think its ridiculous to pay $600+ for a phone. Helping out a colleague debug an issue showing up on androids I somehow manged to brick my phone. I hooked it up to my work laptop, a Macbook Pro 2019, where it has two thunderbolt USB-C ports. My pixel’s stock charging cable is USB-C to USB-C, so it should be just plug and play. Initially debugging was working, but then on the Mac it spit out a USB device error.

I figured it was drivers, or the cabled fudged and I just have to reconnect but nope, the Mac book wasn’t seeing my phone anymore. Noticing on my phone there was no charging icon when it was plugged into the Mac, my stomach churned. Plugging my phone into the wall and there still was no sign of charging. Essentially, I had a working phone that couldn’t charge anymore. After extracting important data off my phone (thank god for google cloud!) It might have had something to do with me trying to reset SMC on the mac while my phone was plugged in. It’s just a hunch, but I have a feeling that doing that might surge power to peripherals.

In the end, I had to roll back to my old One Plus 3T. Obviously, my phone case/wallet wasn’t going to fit on my 1+, making me walletless. And yes I could have gone back to my old, torn up, too many holes wallet, but where is the fun in that! 🙂
Brace yourself! The Printed Wallets are coming!
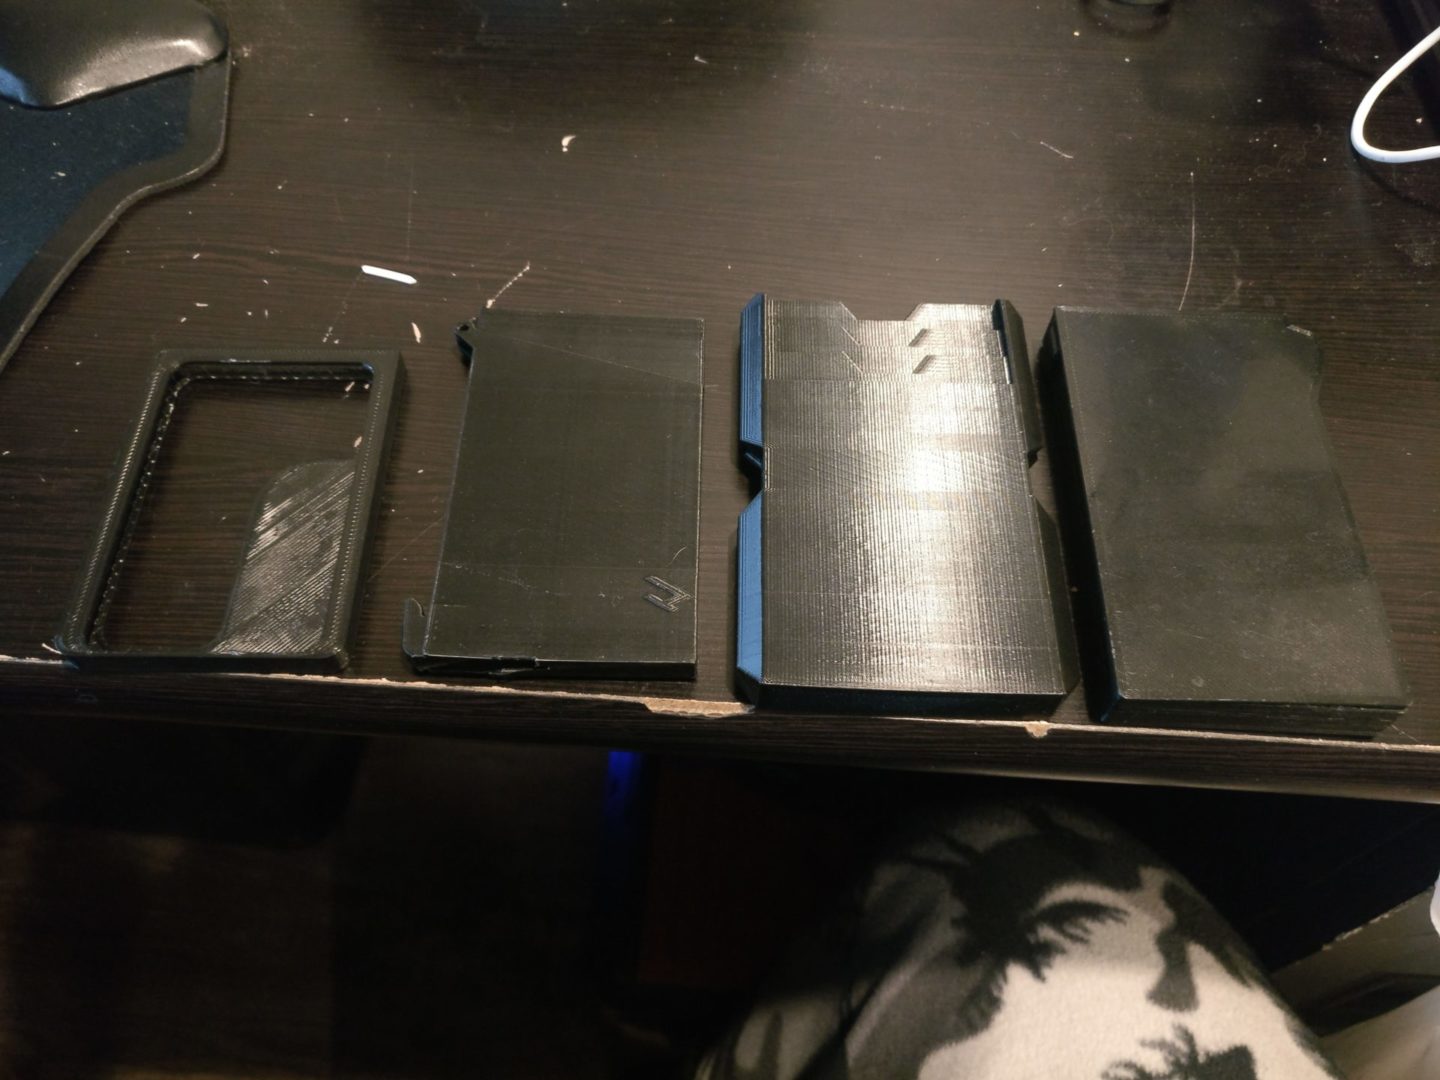
This gave me the idea to just print wallets instead of ordering another one. Not to mention with all the COVID stuff going on, Amazon pulled a lot of stock from their warehouses, and stores that sold wallets were not open. So, it was more or less my only option. In my wallet journey, I of course head to my go to site, Thingiverse, to find designs and get cracking. I ended up printing 4 wallets, driving my wife nuts with all my printing, and learning a lot of things along the way. Here is the roster!
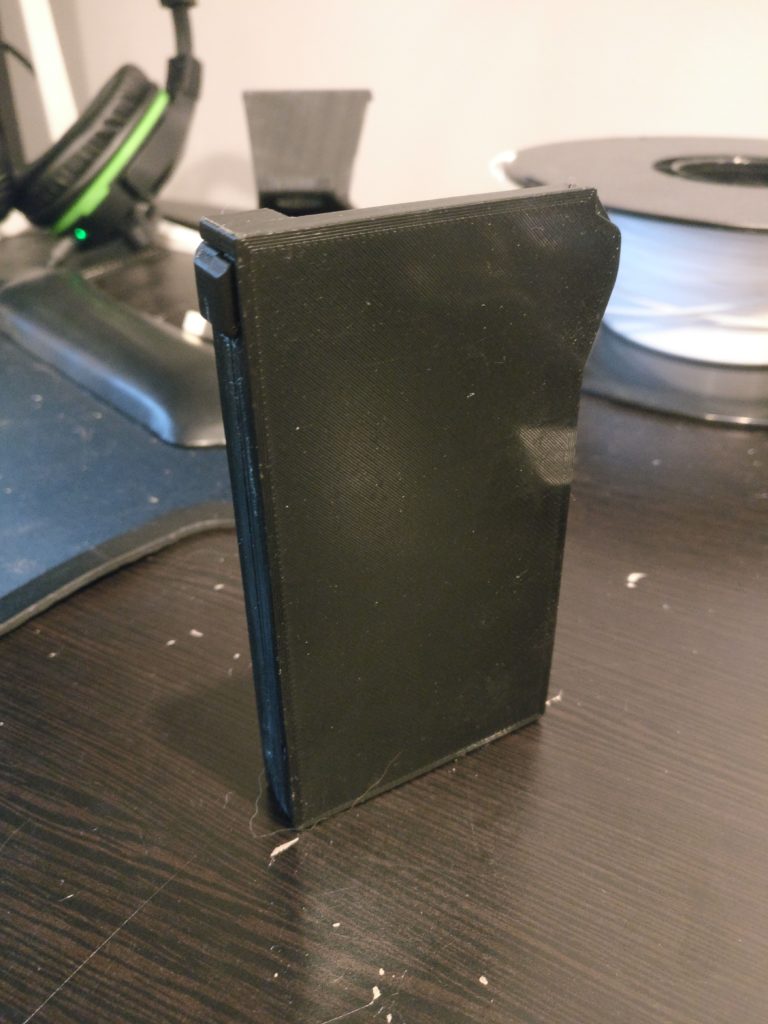
Wallet 1: The Smart Wallet
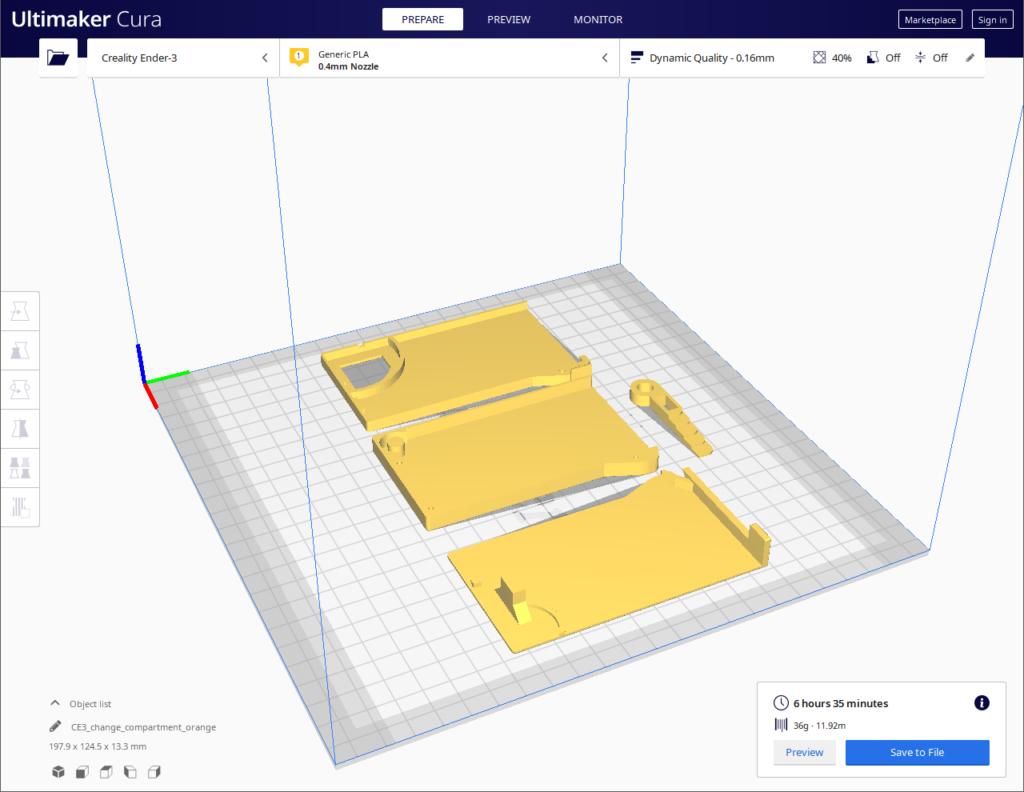
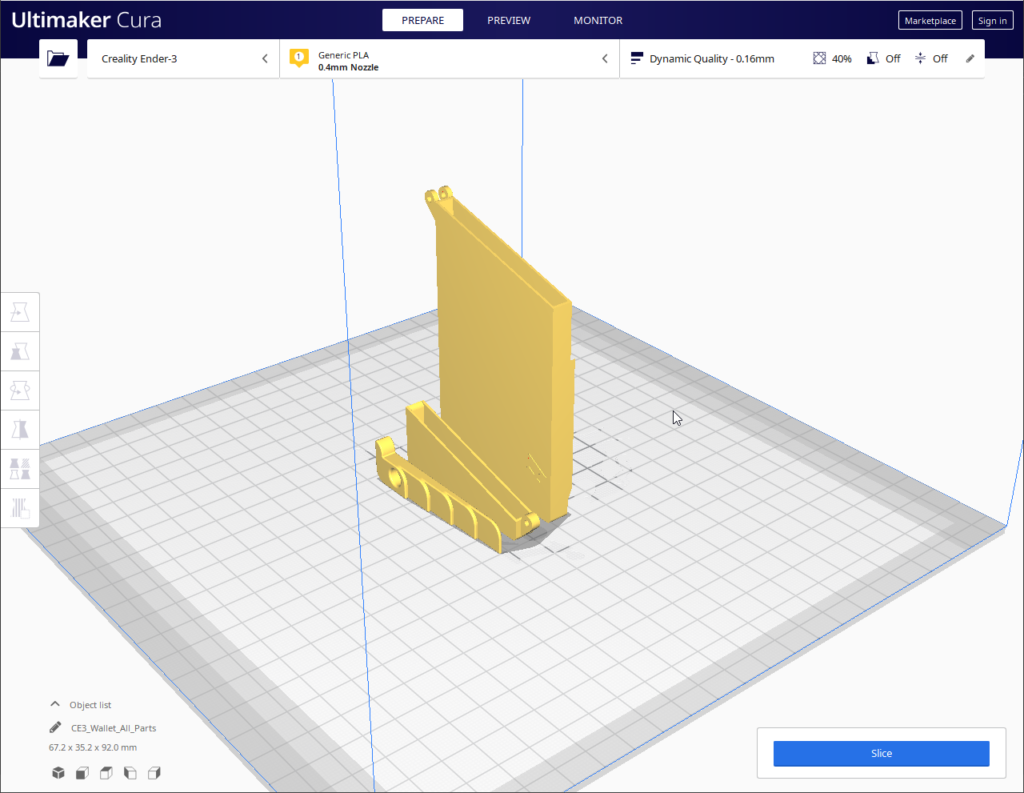
The Smart Wallet is the first print to show up when searching for “wallet”. It’s one of the more complicated builds, consisting of a base, a middle compartment, a lever for the cards, and a cover. It can hold 5 cards, and small amount of cash or a fishing license.
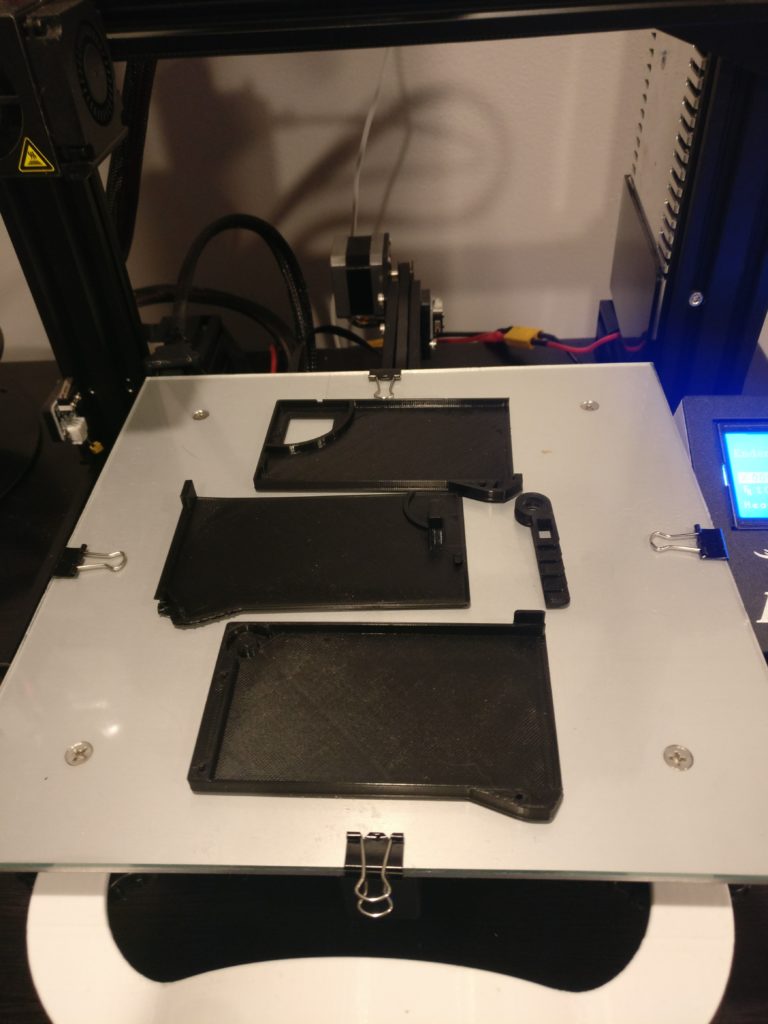
Didn’t have to tweak anything in Cura, it pretty much works out of the box. Total print time took about 6 hours. I was able to layout all the parts on the bed and print them in one go.
Some Assembly Required
Assembly wasn’t too terrible. I learned however, that the lever and the socket that it goes into on the base is way to tight. Fresh off the bed it does not fit at all. I saw in the comments of this print that you might need to sand out the lever’s core. Rolling my sand paper joints, sanding the crap out of it, I eventually got it to fit in the base.
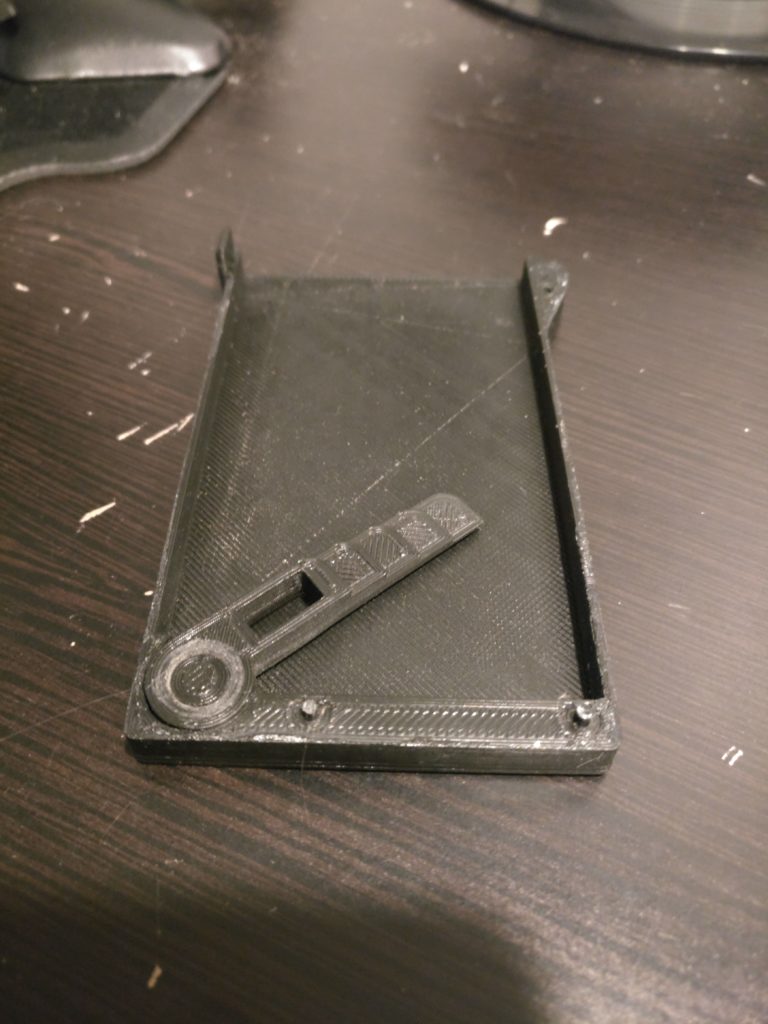
From there, the print designer created bind points in the wallet where you can place PLA filament. It works great for the bottom and left side of the wallet. Again, the holes were too tight, so I had to go digging and open them up with diagonal cutters. Not to mention, there isn’t any bind point on the left side. So the wallet is only kind of put together.
Since there was some edge between the base and the mid had some width, I super glued the layers together. Between the glue and the filament, the wallet was a solid unit now. I realize that super glue isn’t a great solution, since this wallet will be used. It will separate eventually but it was a good start.
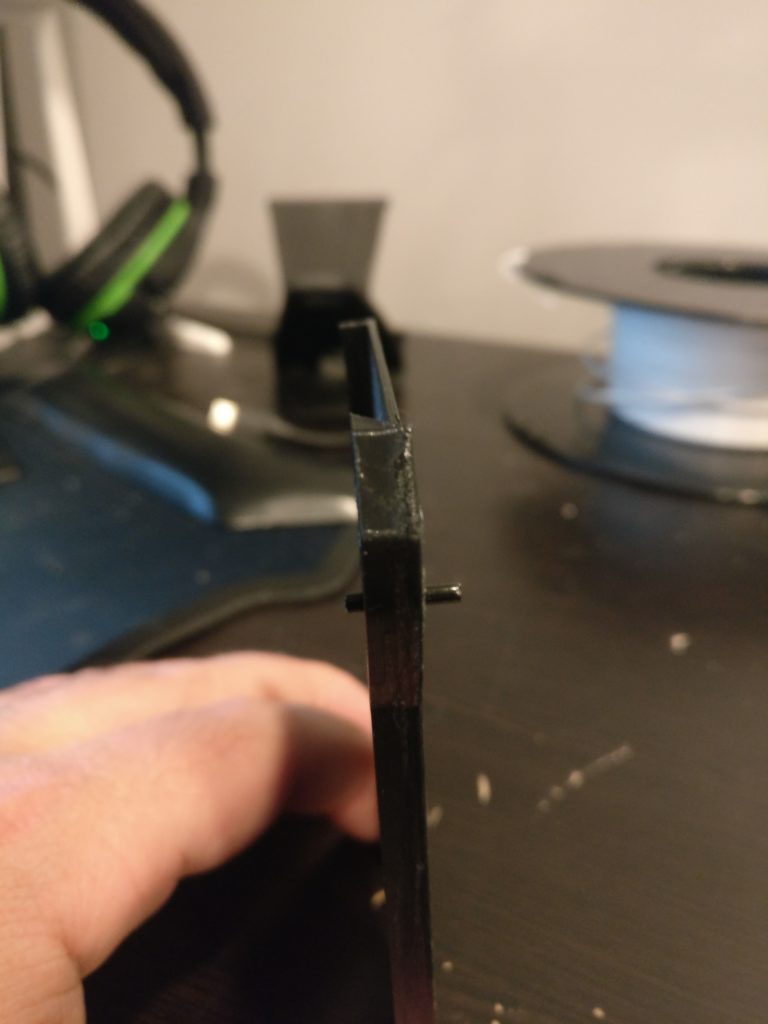
Making things a tad better
My first day with the smart wallet I noticed a problem right away. The cover part is too thin. Just from the wallet being in my pocket, my body heat warped the cover. I know I’m a hot guy 🙂 but not 180 C to melt PLA! Hopping into Blender, I pulled in the STL and made the lid a bit thicker. Problem solved!
My next tweak, I wanted to put rails on the cover to have my ID visible. Saving me from opening up my wallet, almost like an ID badge. As it turns out, modding is not as easy as I thought. This is where overhangs become a big problem. It’s the bane of 3D printing, finding a optimal way to print on the bed. With the cover, I already have overhang on the bottom, and I’m about to add one on the top. Having too many supports over a wide area makes things very messy. In the end, adding rails just took my cover and made it thicker with a big Buffalo Check patter on the front. Throwing that one in the too hard bucket! Time to try another wallet!
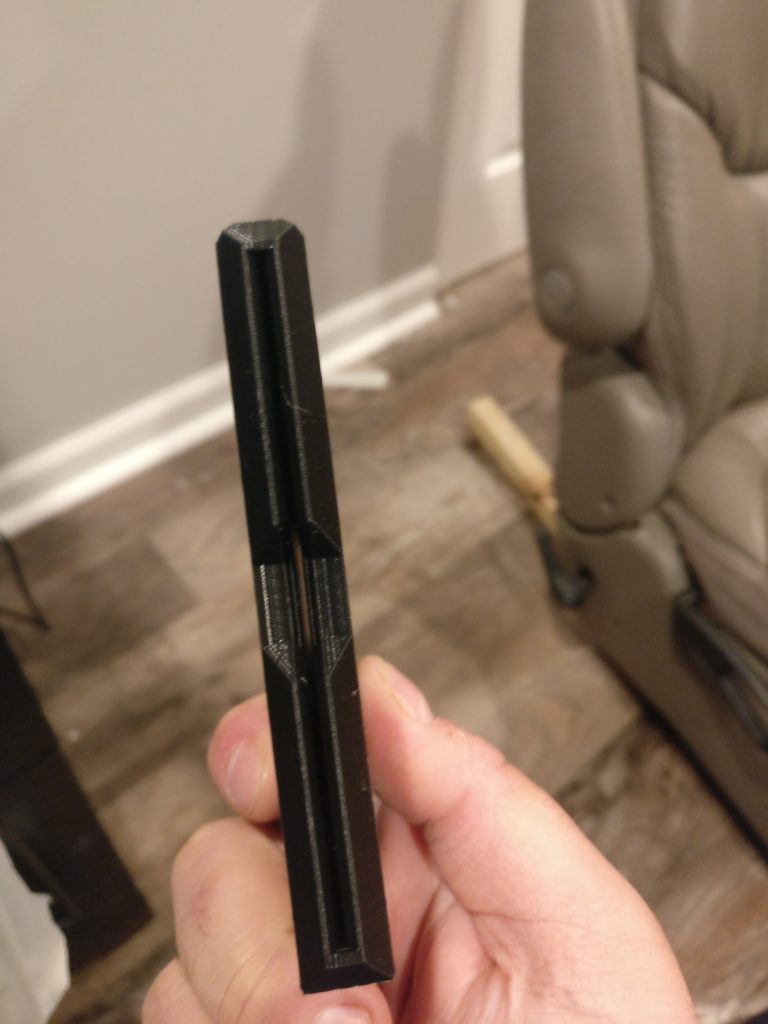
Wallet 2: The Slim V4
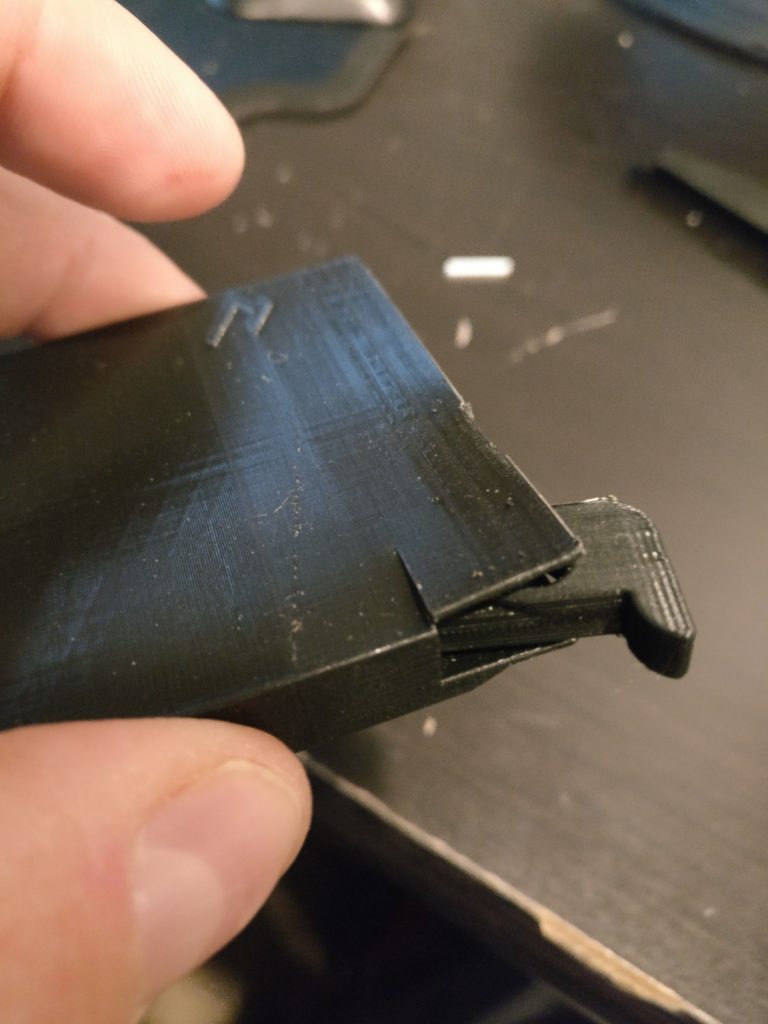
The Slim v4 is a fantastically designed wallet. Built with telescopic cards, a flip lid to keep cards in place, and a lever switch that makes getting your cards out easy. Sounds good in the description! In reality, not so much 🙁
The Bad
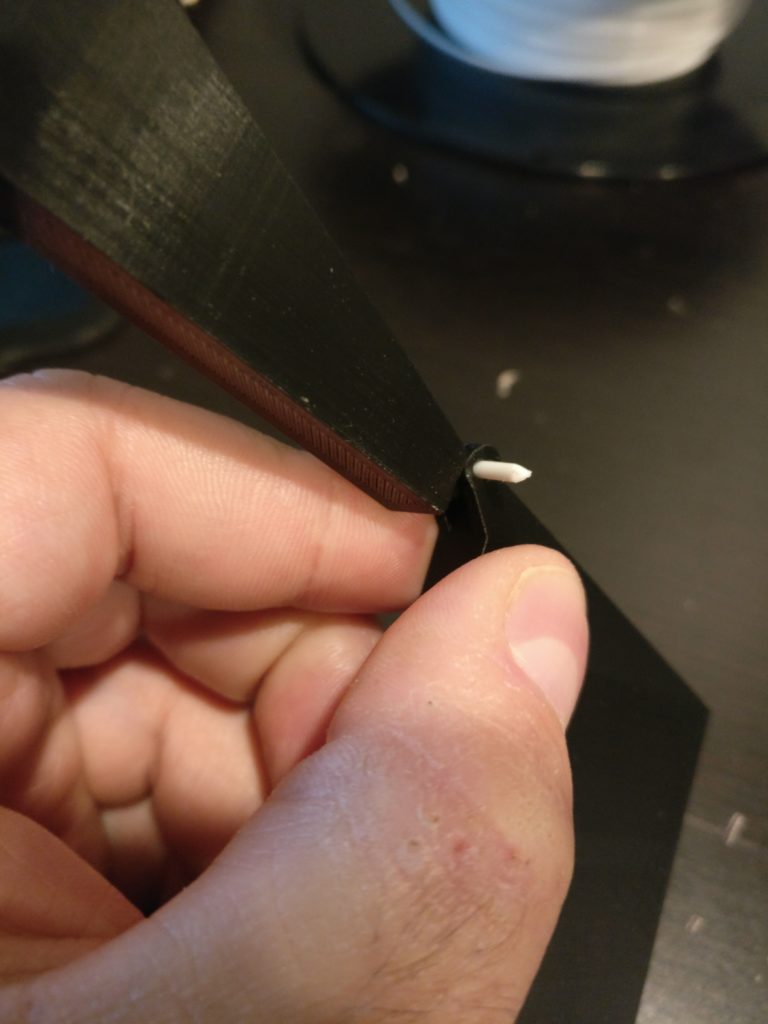
I didn’t spend too much time with this wallet, due to the fact that it says that it can fit about 5 cards, I really struggled to get 4 inside. Also, the claim that you can use 1.75 mm filament for the lid hinge, the hole is too large. I ended up using a segment of a twist tie to make it work. Not to mention, with cards in place, the lid barley closes. Which then makes the lever to bring the cards out act as if its spring loaded. The end result is the cards more or less explode out of the wallet like a failing magician trying to do a card trick. Doing that a number of times eventually breaks the lever.
The Good
Printing this wallet is not complicated at all. It prints the whole thing in one go and only needs a few supports. Print time is about 7 hours, which isn’t too terrible. Design wise, its not as complicated as the smart wallet, but complicated enough to still have issues. If I wasn’t too lazy, I could have changed some of the dimensions to make the cards fit better. Maybe even change up the hinge to fit the PLA better, or make the lid not so tight. But for me at least since I’m still kind of new to all of this, is hours of work.
The Wrap
Like I mentioned earlier, if I wasn’t too lazy or green about changing the model specs, I could have made this wallet work. But the fact of the matter is I was really looking for a print that would work out of the box. I know that sometimes issues with slicers. If I were to design in OpenSCAD, then slice in Cura, there is a good change that dimensions will get misinterpreted. I’ve had a few prints in the past have that issue. Usually someone on thingiverse comments on the print, saying “Just increase scale to 2540%” and usually that works. Enough ripping this wallet apart from my own incompetence, onto the next one!
Wallet 3: The TPU
The TPU wallet, is how I found out what TPU means. I thought the designer was trying to be clever and use some acronym or something. Like The Perfect Utility-wallet, a stretch yeah I know. Turns out TPU stands for Thermoplastic polyurethane, as in THE FILAMENT YOU SHOULD USE WHEN PRINTING THIS. As you can guess, I didn’t and it’s probably why the wallet didn’t come out as great as I thought.
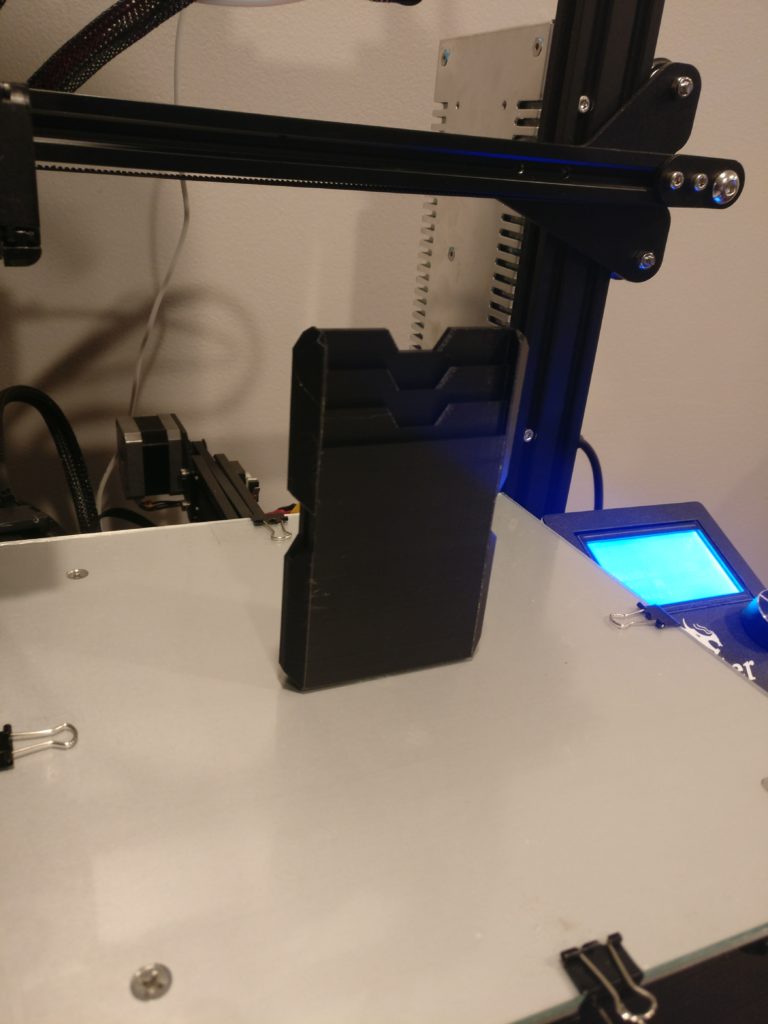
Bigger isn’t better
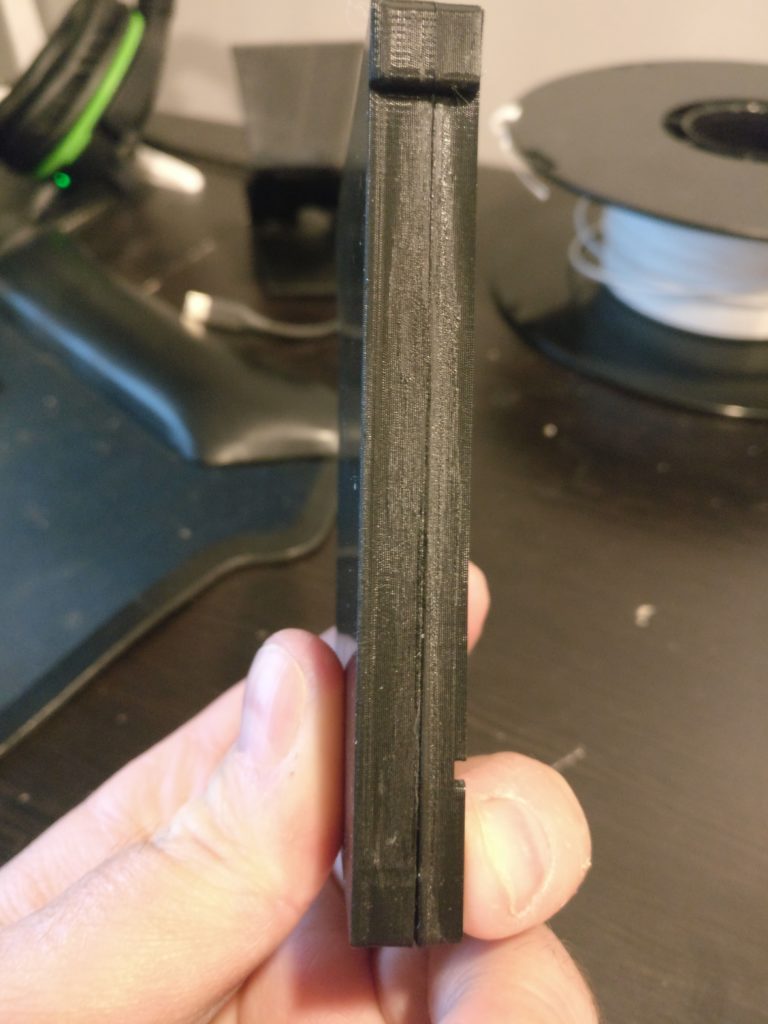
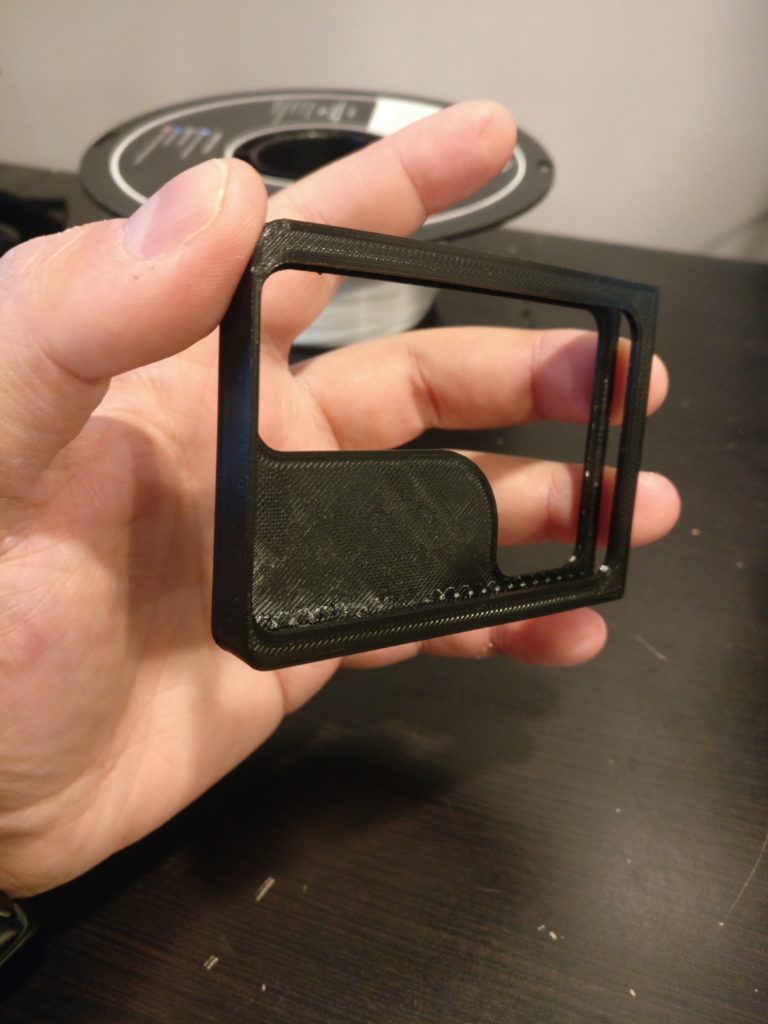
This is the largest wallet I’ve printed, almost as large as my OnePlus 3T. It comes in two flavors, 4 slots or 6 slots. Unlike the slim and smart wallets, the TPU cards don’t telescopically come out. Having 6 cards, I went with the latter and 11 hours later I had my third wallet. In the center of the wallet, there is a slot where you can stuff some cash.
Compared to the other two wallets, the TPU feels very sturdy. I can fully trust that if I drop this wallet from a ridiculous height, it won’t shatter. However, for its size and thickness, I can’t justify the amount of material it can hold. One additional card and a bit more cash over the smart wallet doesn’t sit right.
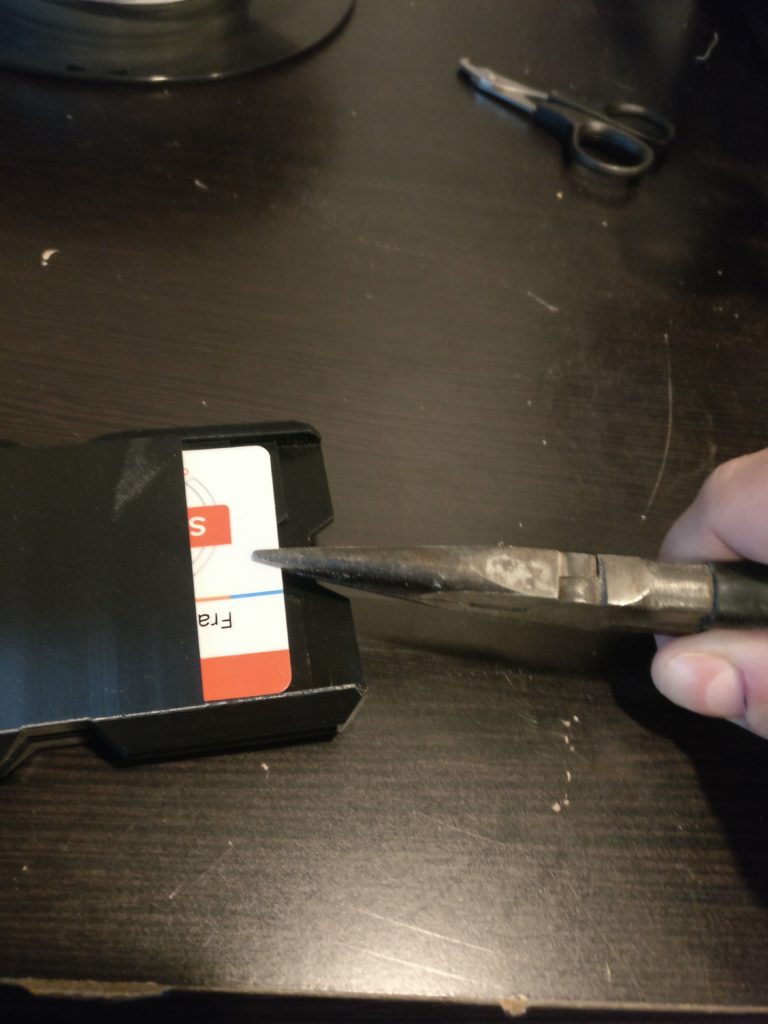
Also, this wallet is perfect for if you want to remove your fingerprints. It is a nightmare to try to get cards out of the wallet. You can kind of slide them up with thumbs, pry them with finger nails, but its a battle every time. I’m sure this is due to me not printing this with PLA, not TPU, but still. I legit had to get needle nose pliers to get a credit card that was jammed in one of the mid slots. So, with this one being to hard to use, I decided that my search must continue!
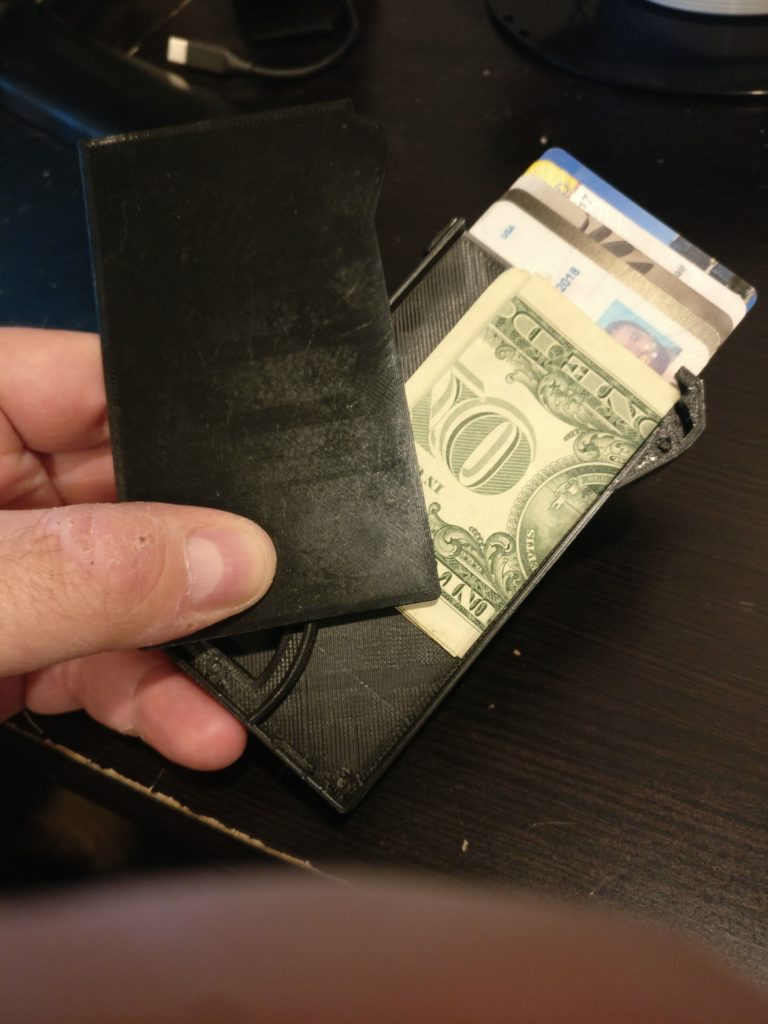
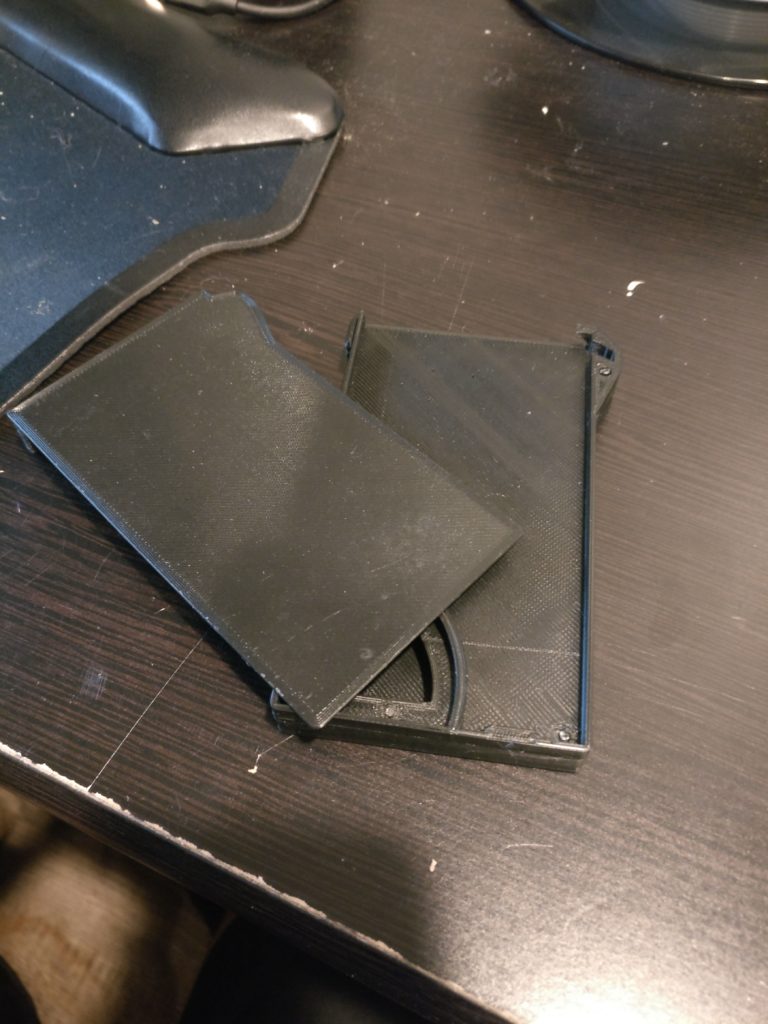
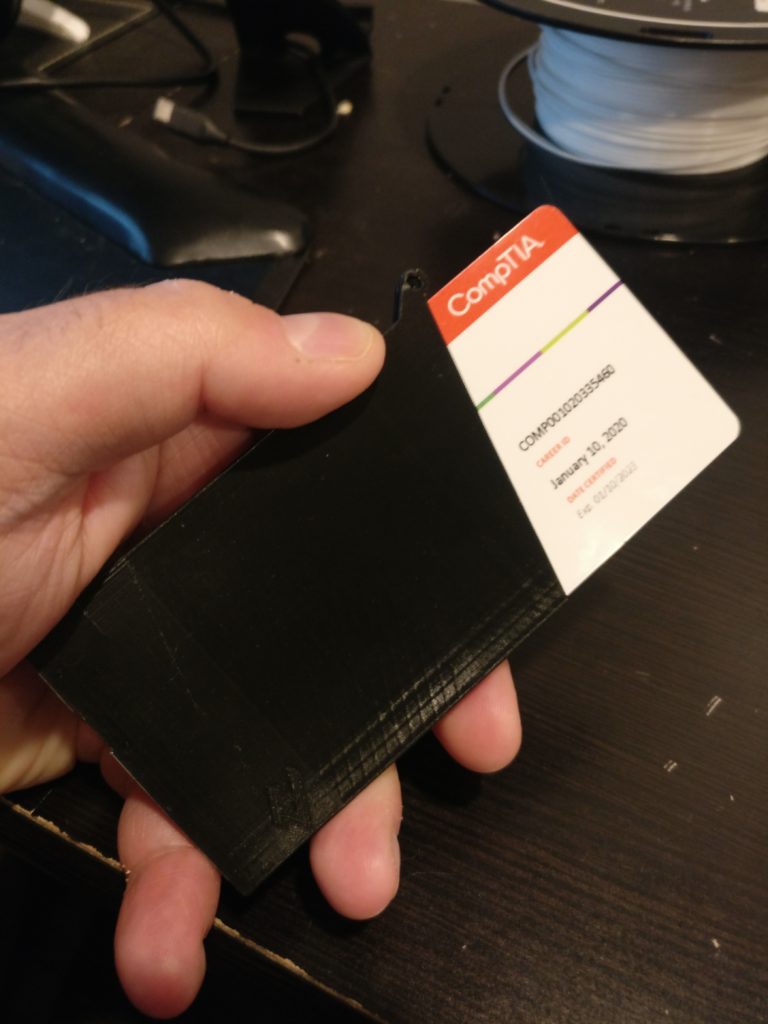
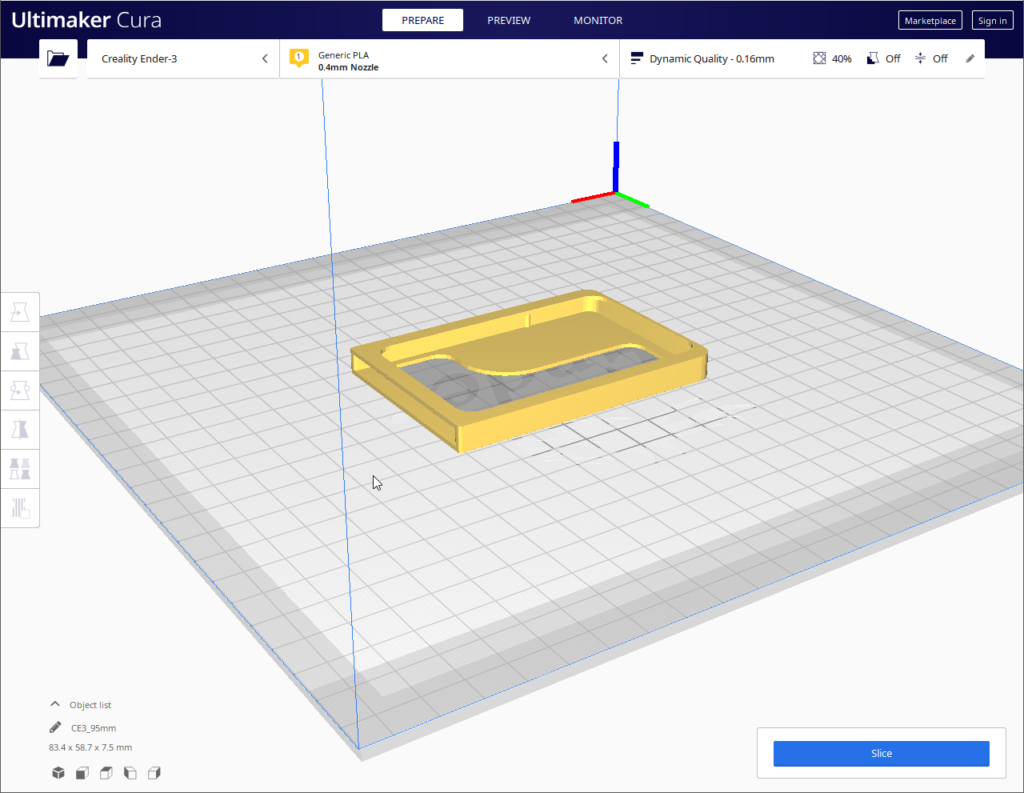
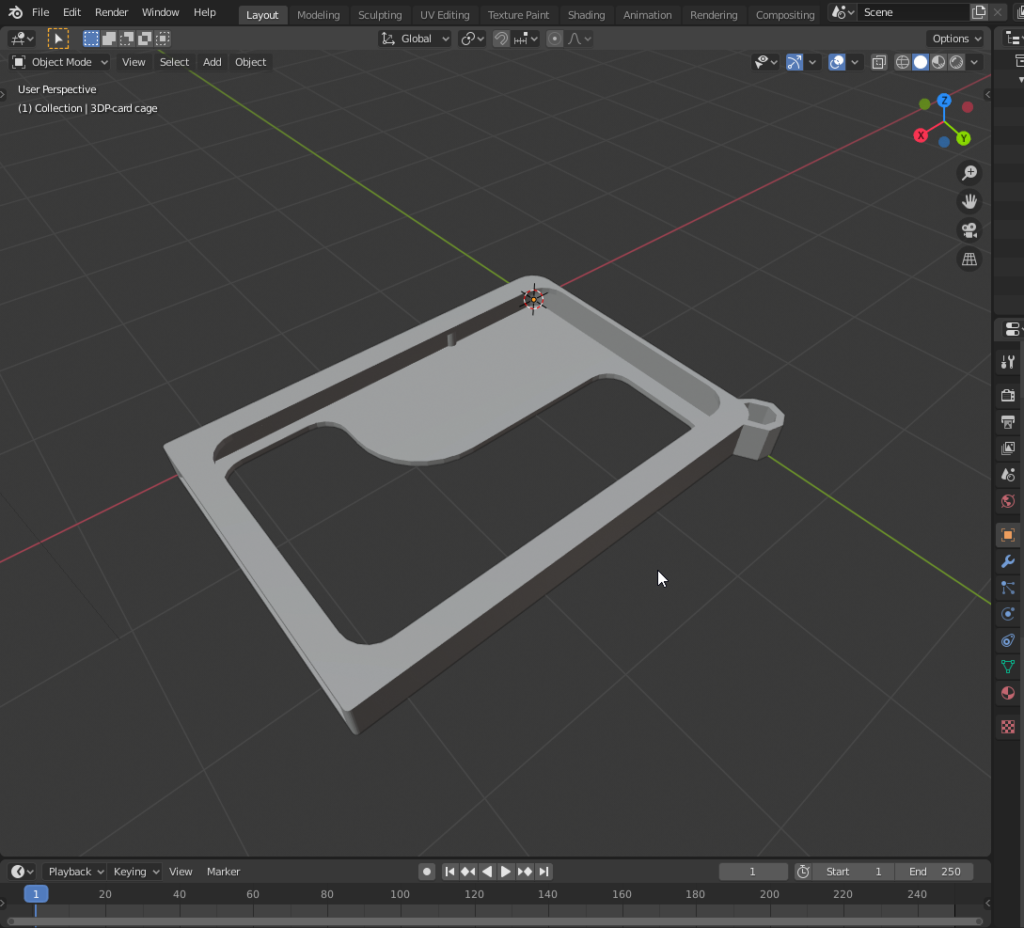
Wallet 4: The Minimalist
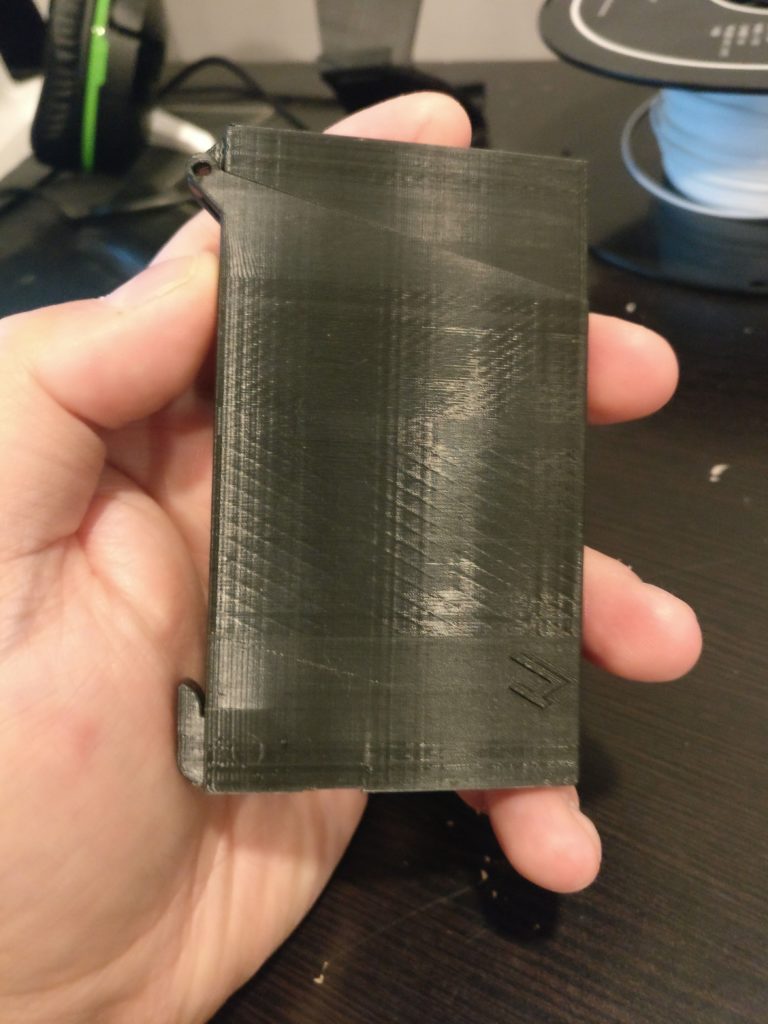
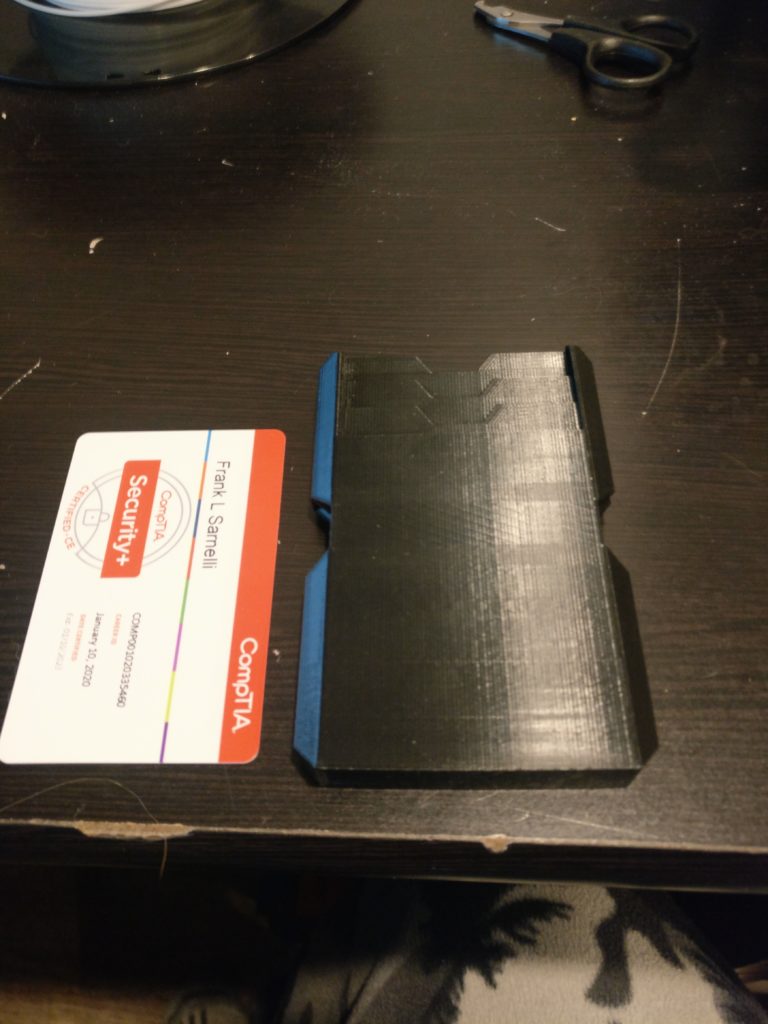
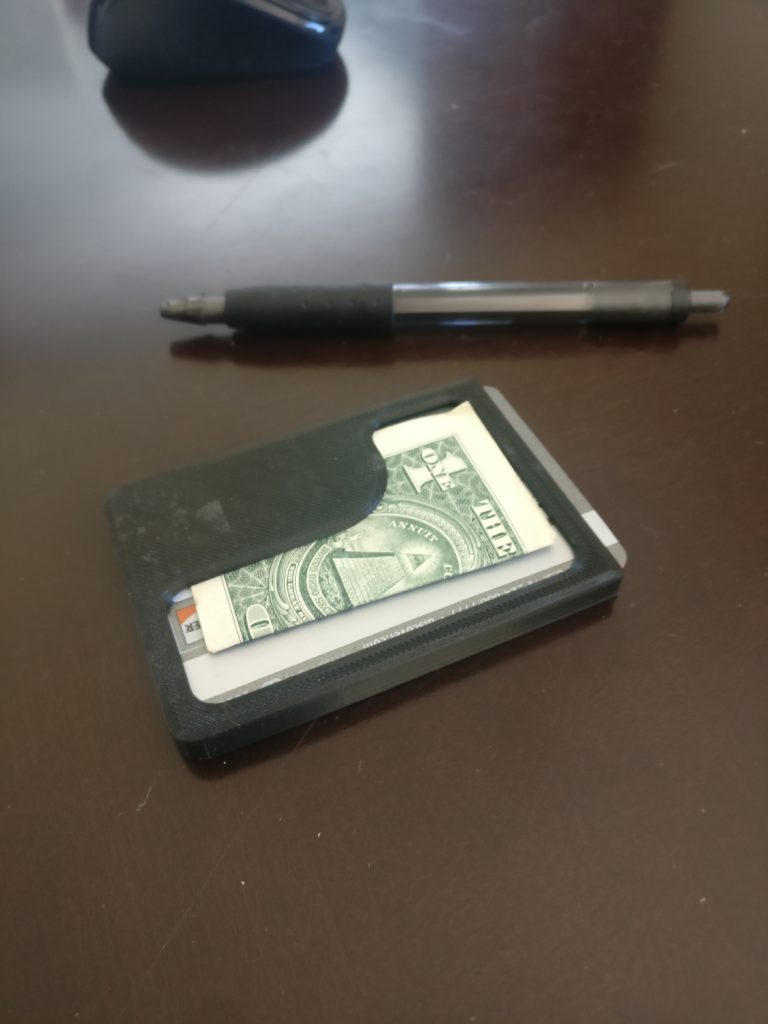
As the saying goes Keep It Simple Stupid. I’m not sure if its keep it stupid for stupid people or “Hey designer, keep it simple. Stupid….” Anyway, the Minimalist Wallet by far is the simplest, for the stupidest 🙂 Because of its simplicity, it is the fastest print, just under 2 hours. Like the TPU, it doesn’t telescopically flay out the cards but unlike all of the wallets so far, it is the smallest. All of the cards stack right on top of each other and the case provides enough friction to keep them all held together. On the back of the wallet, there is a small money clip, enough to hold a few bills.
Sometimes Simpler is better
A huge plus with this design is that the first card is visible. Meaning I can have my ID always ready to go instead of having to dig for it. Almost like having a badge on me. Another big win is because its design is so simple, its really easy to make modifications to it. Remember when I said that sometime dimensions get messed up between slicers? This is one of those cases. Loading this wallet in Cura, it’s super tiny. And like I said, in the comments, someone posted that it needs to scale to 25.4. From the initial print, I tweaked its capacity from 5 cards to 7 cards. I also increased how much the money clip can hold. Both changes barely altered the size of the wallet, or at least it isn’t noticeable at all.
My next modification I might make to it is add a key ring on the corner. I then can attach the wallet to my keys and have it be one unit. Being that the wallet is so small, I don’t think it would cause that many issues.
Thats it!
Well enough of me droning about wallets, hopefully you got something good out of all of this. I think I learned that what is most popular on thingiverse isn’t always the best. That printing takes time and like an experiment, control your variables to figure out what works. Any my last takeaway is, TPU IS NOT PLA! 🙂
See you on the next post!