Whoa whoa whoa whoa…. a printing post?! In the middle of a server spree? what is this madness?! Yep, that’s right, I’m taking a break from the home lab to shake things up with locally sourced practical prints! That’s right, no Thingiverse this time, sorry to disappoint. Three custom designs, three different brackets, one happy printer that finally gets to be used again. Grab your popcorn, lets dive right in!

Making Better Brackets than the Manufacturer
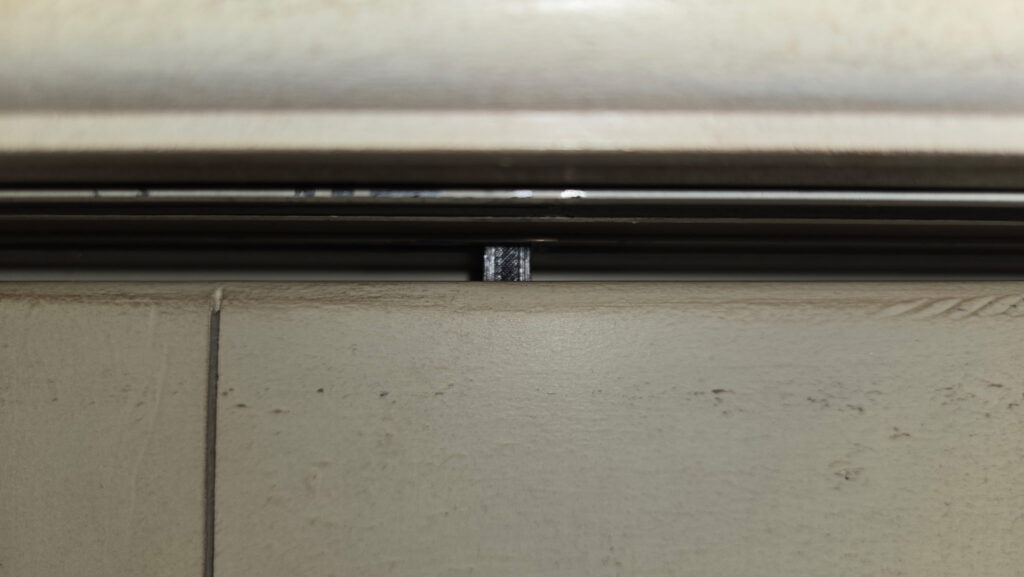
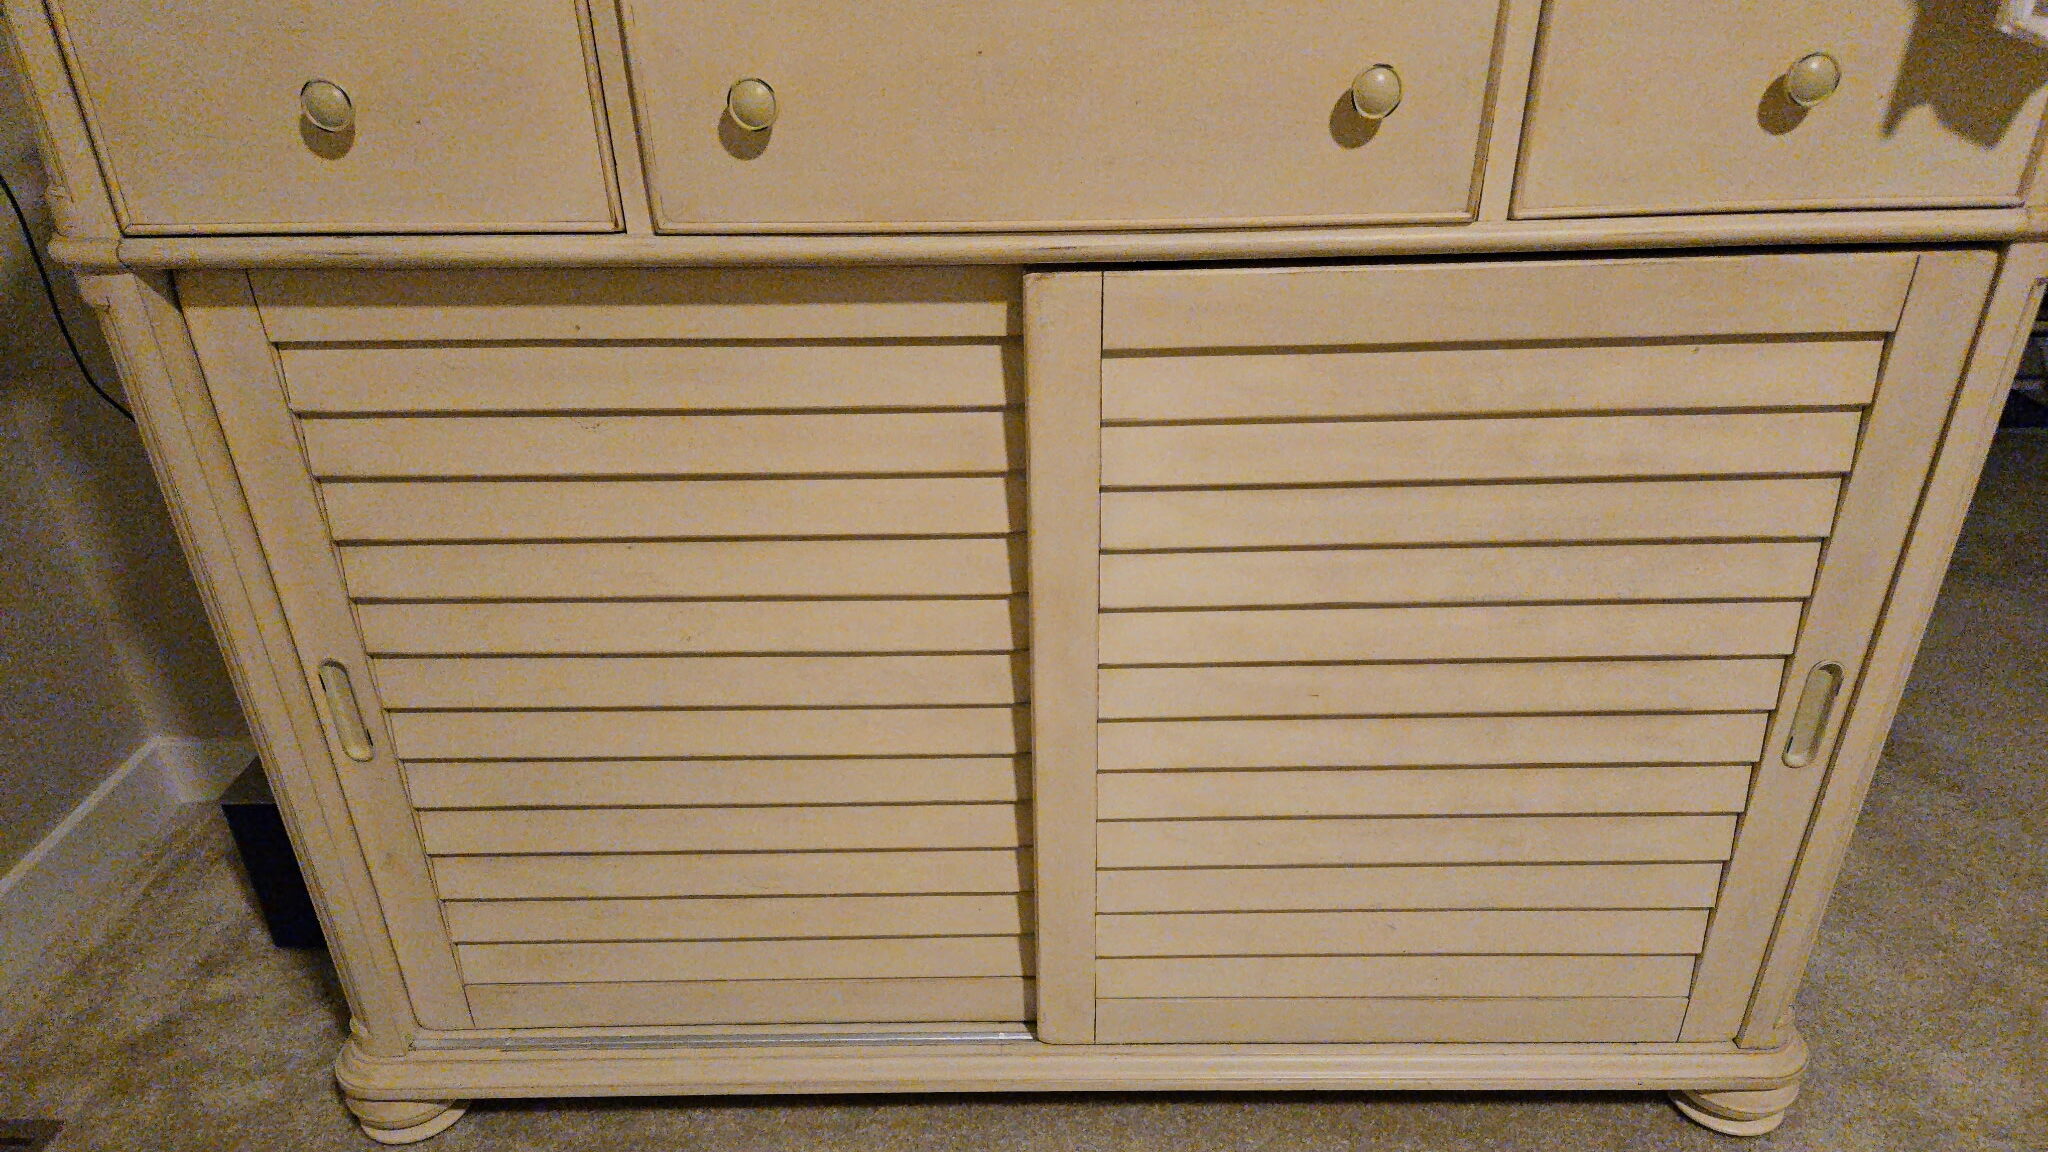
For this project, my neighbor caught wind that I dabble in 3D printing. Over a drink, he mentioned that there were these cabinet brackets that broke near a decade ago. He tried to source parts but couldn’t find anyone selling. He reached out to a company to fabricate it, but the cost was an arm and a leg. This is the part where I say “Yeah, I can take a crack at it.” Luckily, he had one last good bracket that I could use as a reference to replicate.
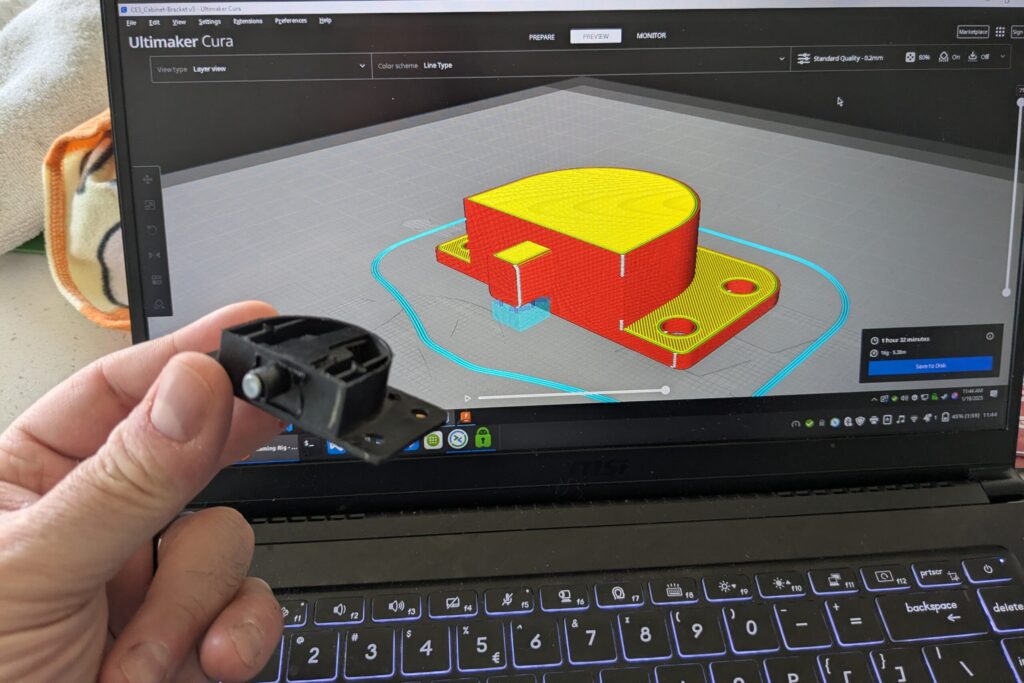
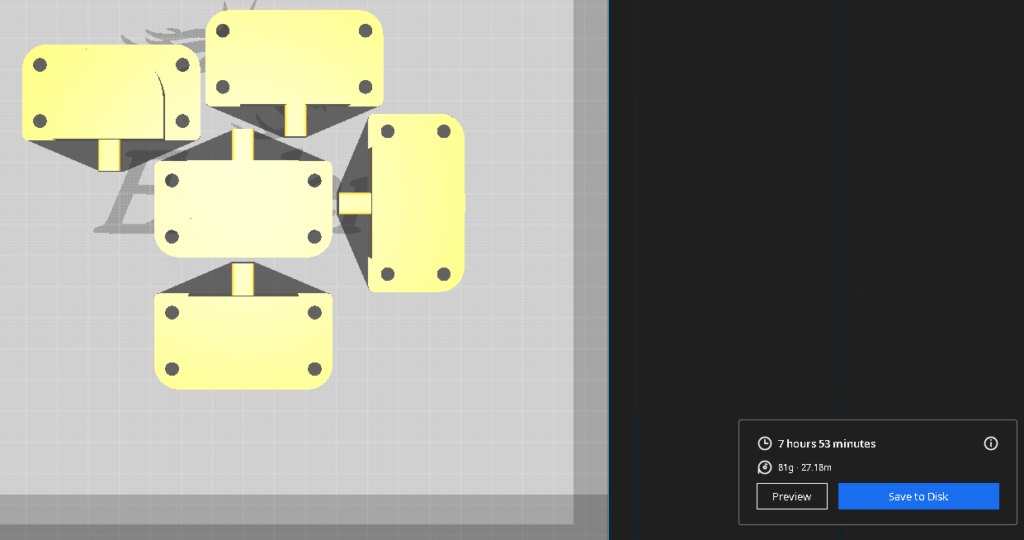
The root problem here is the doors on the cabinet slide. The bracket has a peg that sits in a channel and guides the door. However, add children into the mix and instead of sliding they pull the door out, snapping the peg clean off. Whipping out my caliper, I started mapping out measurements, finding all the constraints and seeing where I can make improvements. This gives me an opportunity to make that peg thicker than a Culvers Concrete mixer with actual concrete in it.
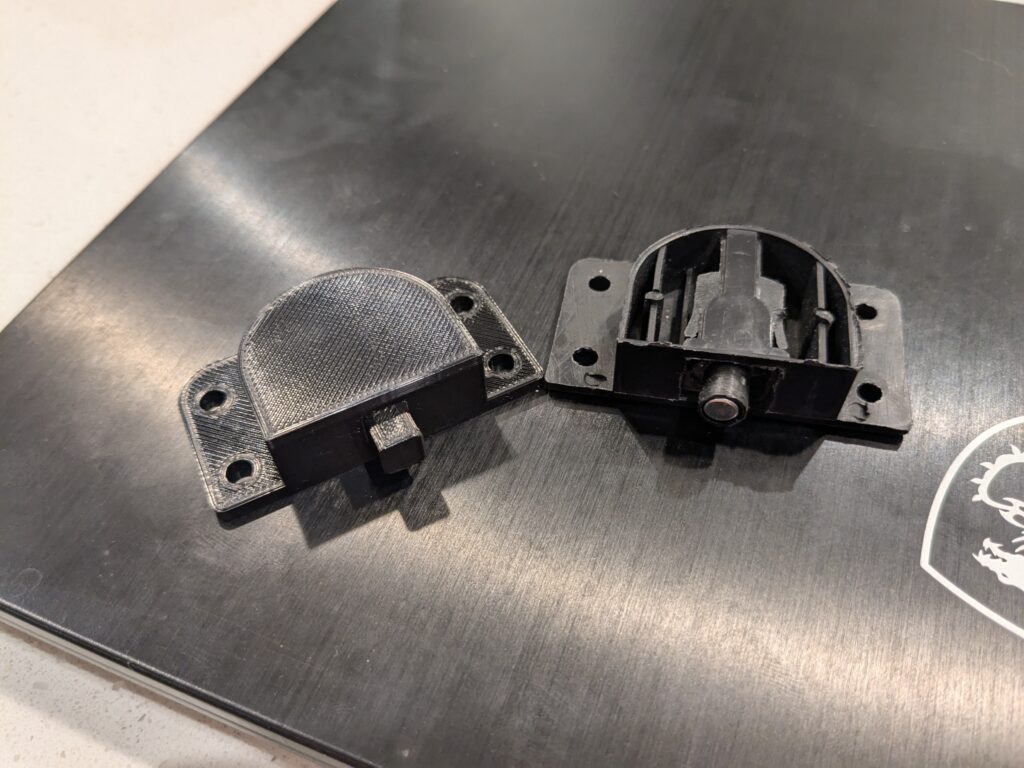
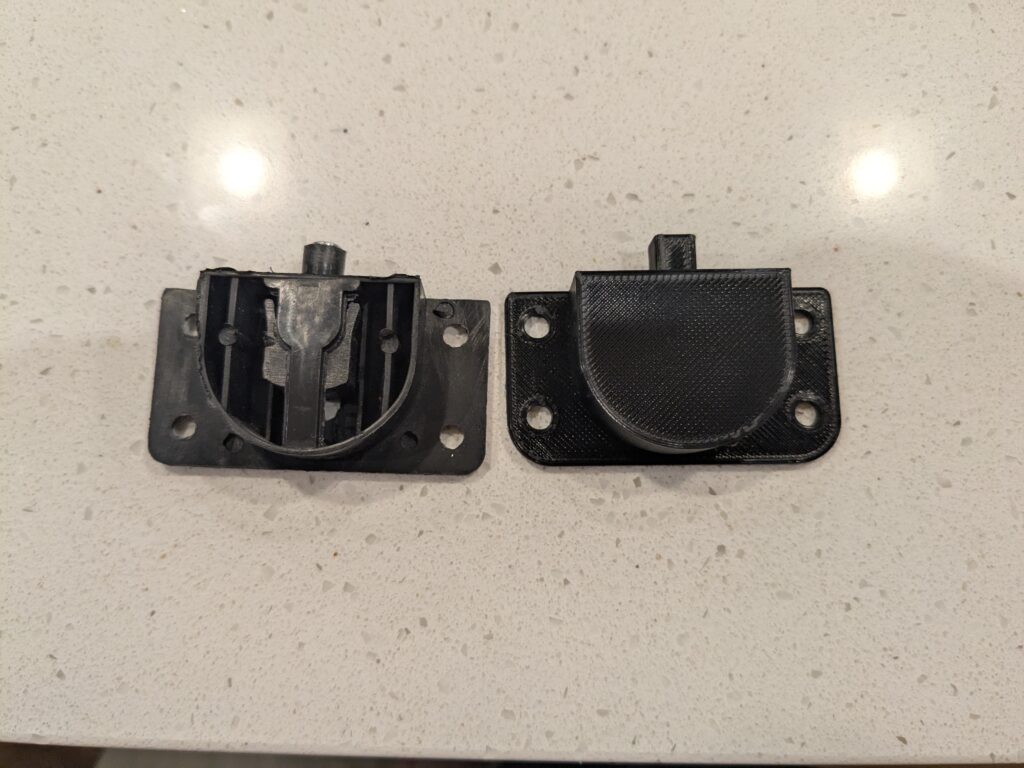
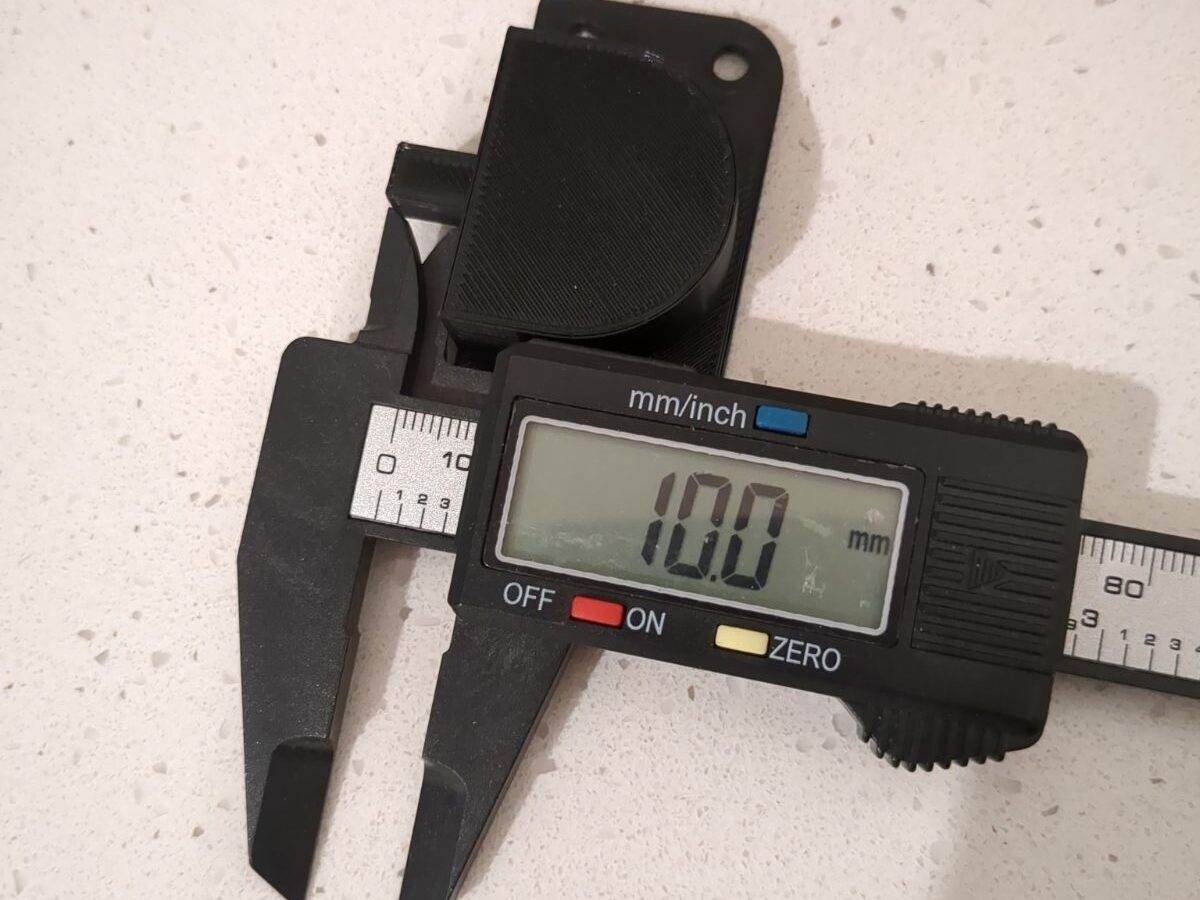
Of course, I was too focused on thickness and didn’t pay enough attention to length. It took me a few iterations to get it right, not to mention screwing up how fusion 360 handles versioning. During printing, I screwed up the Fusion 360 files and gave my neighbor the same print thinking it was fixed.

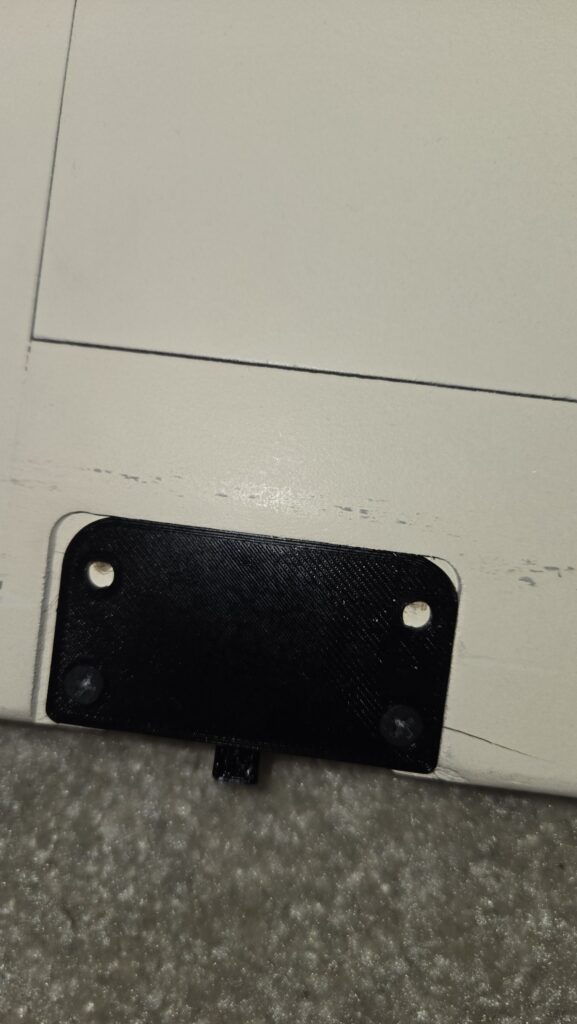
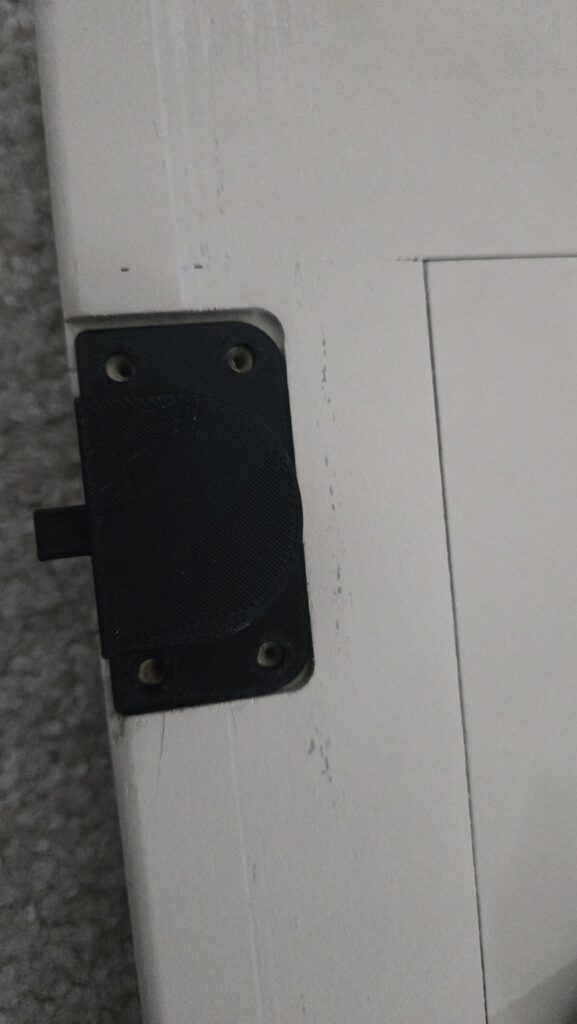
Eventually, I got the right print out with the right fixes and voila! One Fixed cabinet and one blown away neighbor that will defiantly have more jobs for me!
The Canvas Stand: Feeling free with FreeCAD
This will probably be a post within itself but during this project I made the leap from Windows to Linux. The switch full time meant I had to abandon Fusion 360 and switch to FreeCAD. But that’s besides the point…

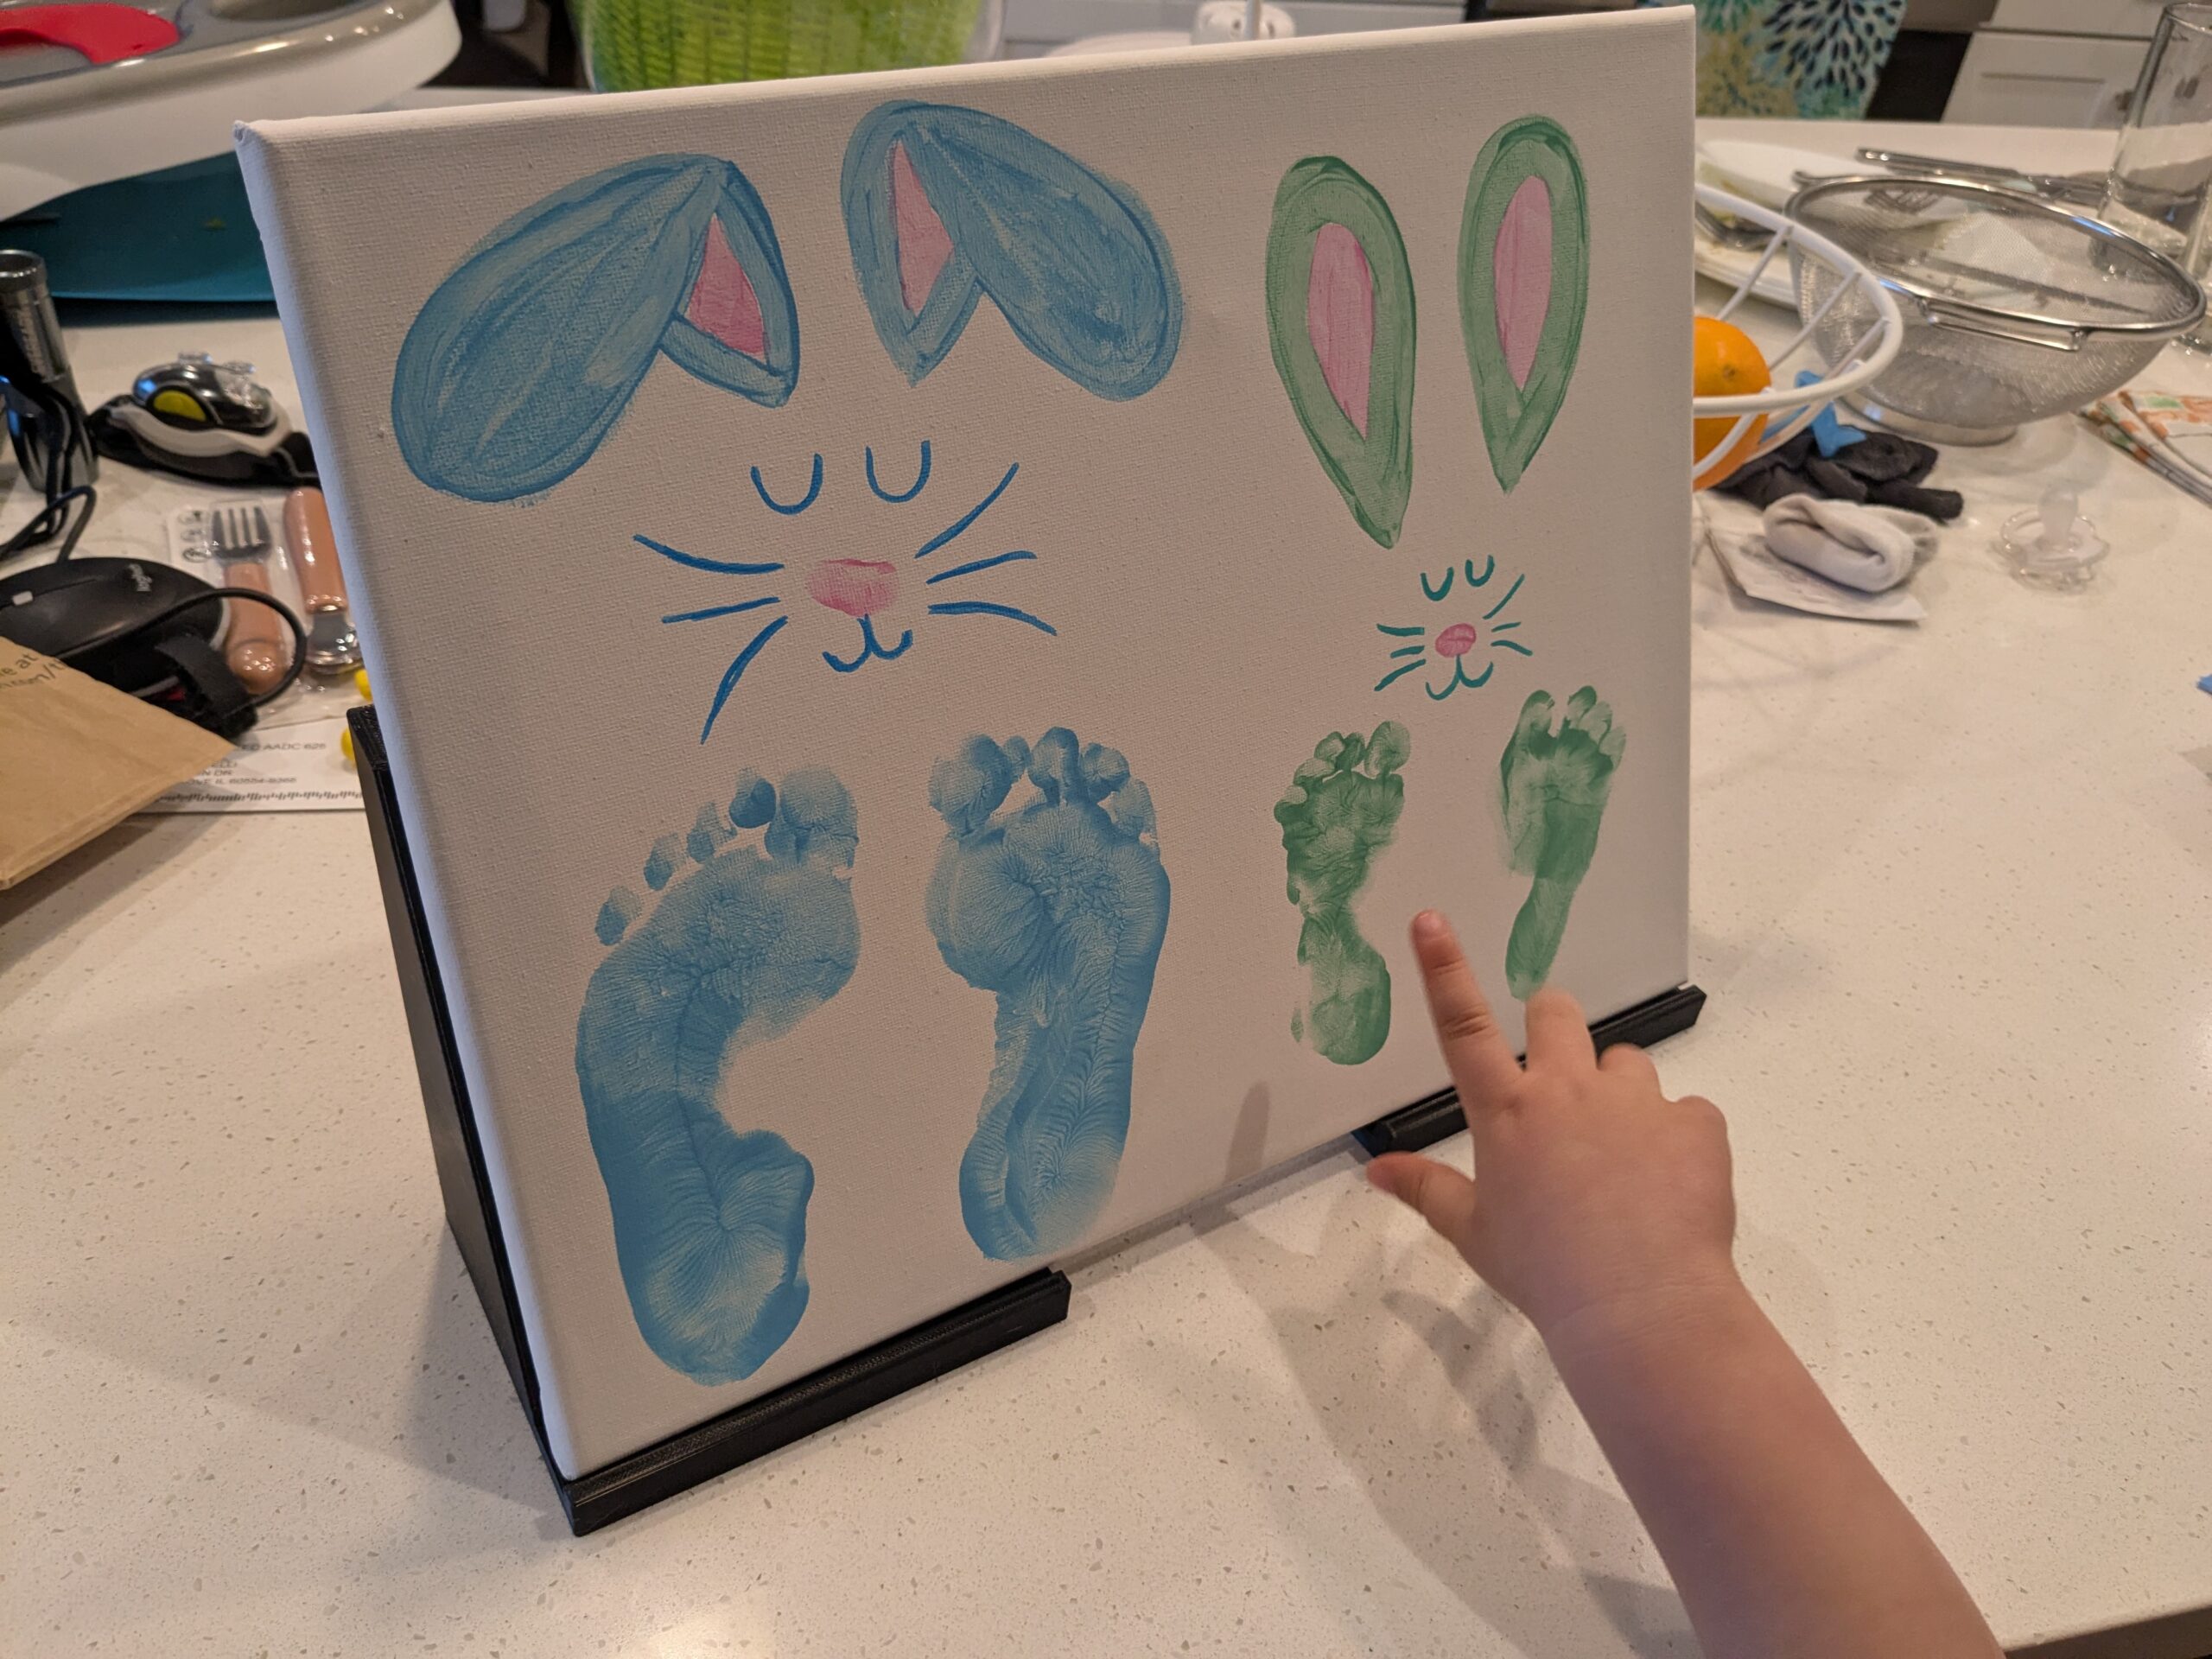
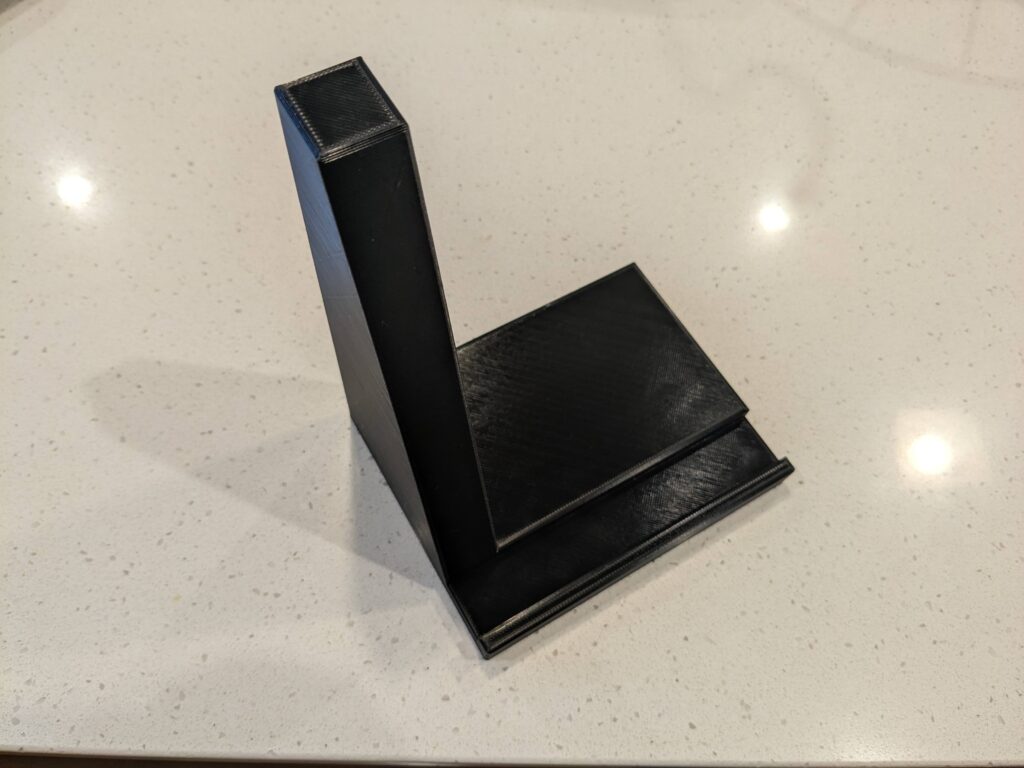
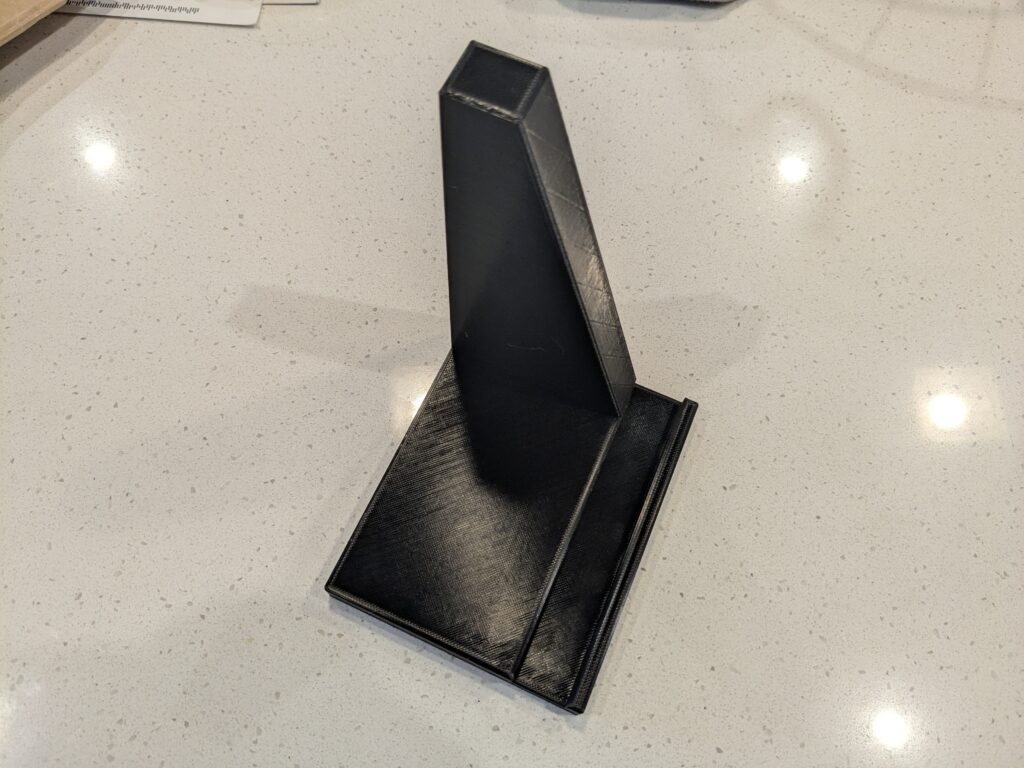
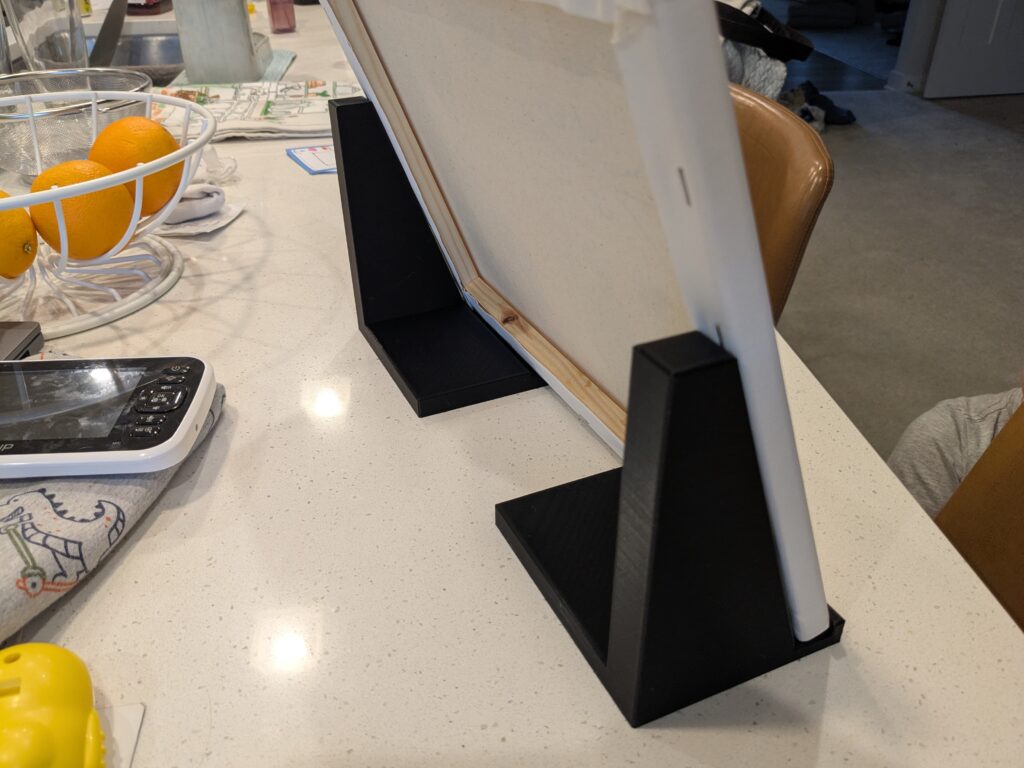
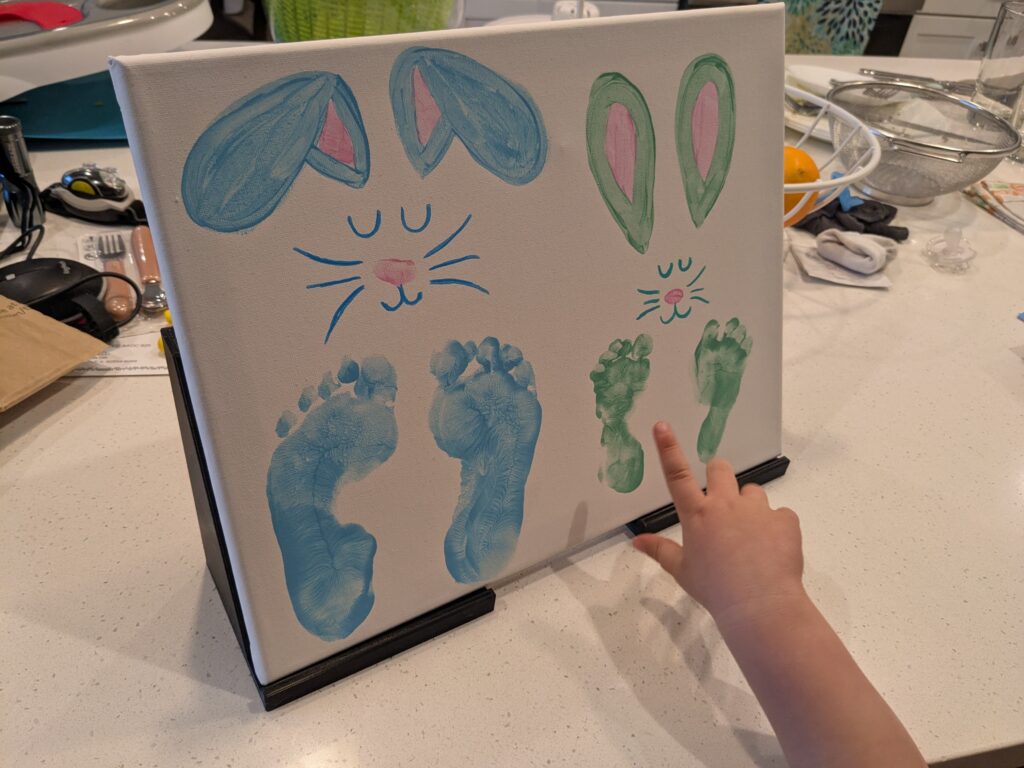
OK, this request came from my wife, she made an awesome Easter painting using our kids hands and feet! Her vision is to have the canvas displayed on our coat rack in the front room. So, the criteria, the painting needs to lean back, but not too far back where you can’t see it. Second, the stand can only make contact with the wooden frame and not with the canvas art. Third, I had to do this in FreeCAD, which means I consulted heavily with my new friend Grok.

There was a lot of back and forth but Grok really pulled through for me on this one. It was able to walk me through all of the steps to make the model. However, its really hard to visualize a 3D model by an AI explaining it to you only though text. I asked it to make a picture for me but the best it could do was an ASCII representation. After a few iterations and a few arguments with Grok, we had a design!
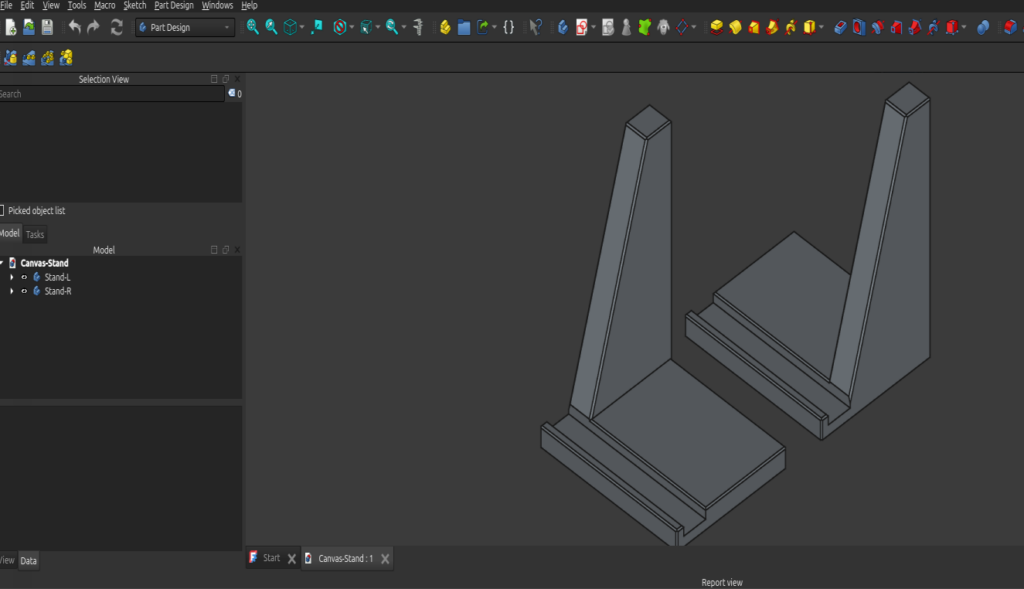
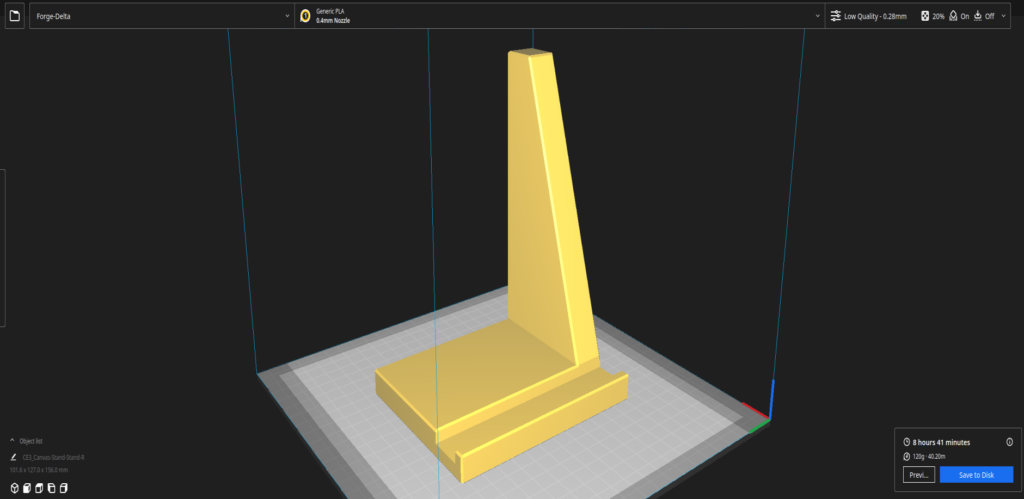

Happy with the dimensions and 14 hours later we had a final print! A beautiful piece of art for all of our visitors to drool over. The art if the stands of course…. nobody cares about foot bunnies 😛
Making my Workbench Cool with Brackets
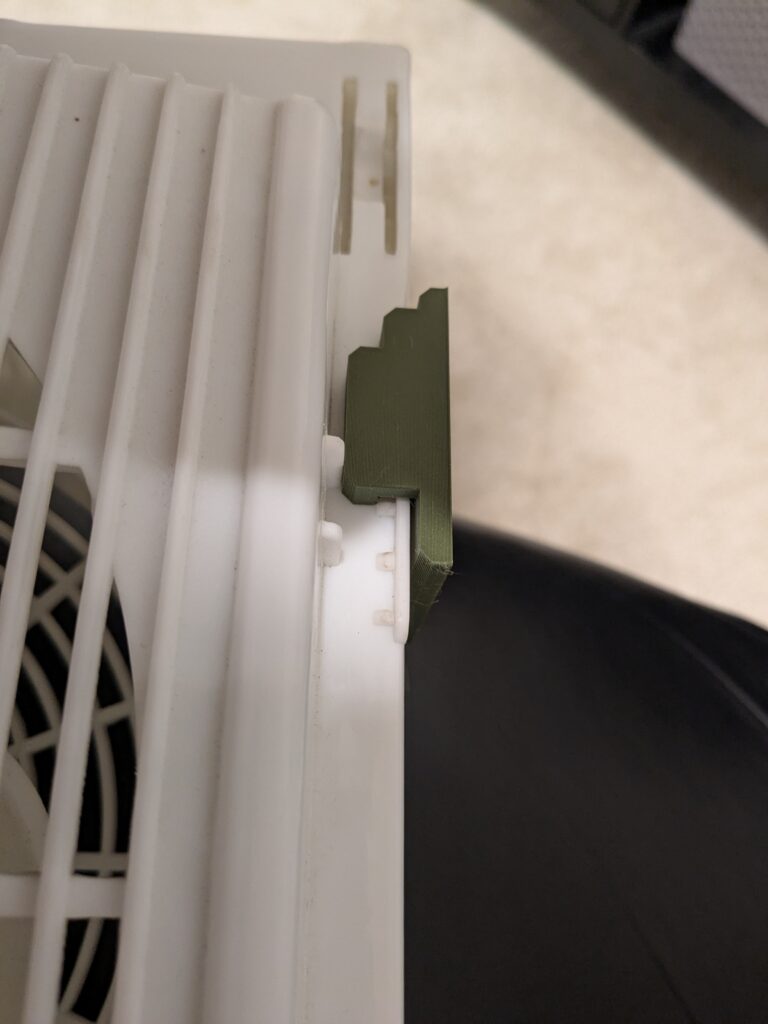
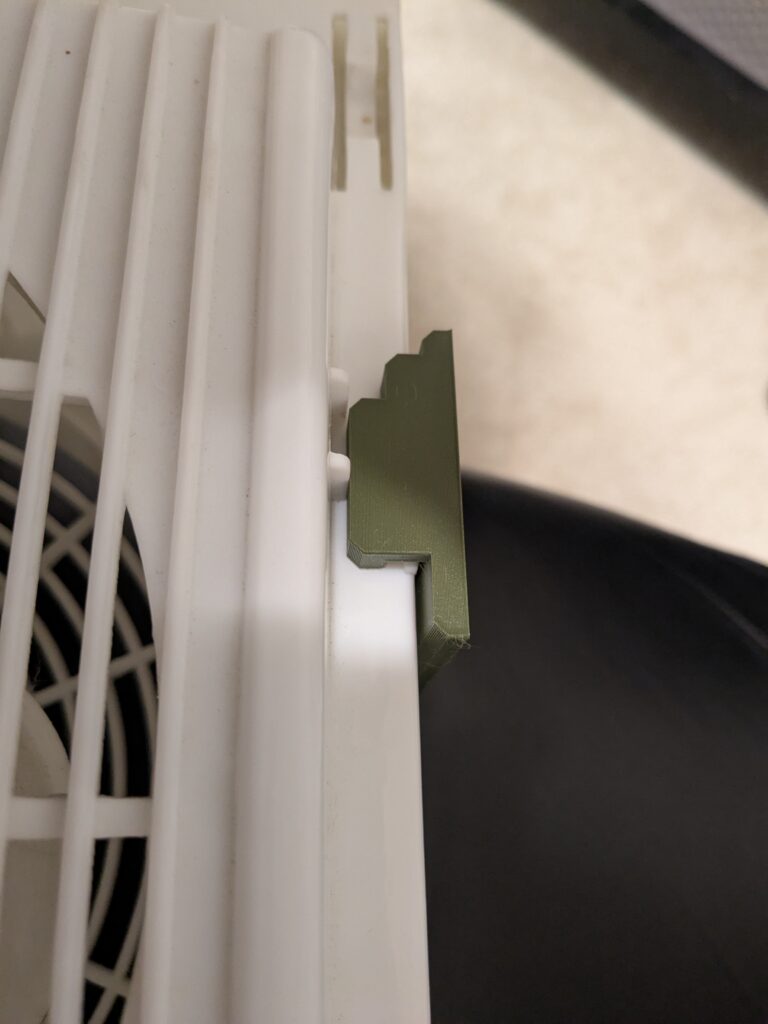
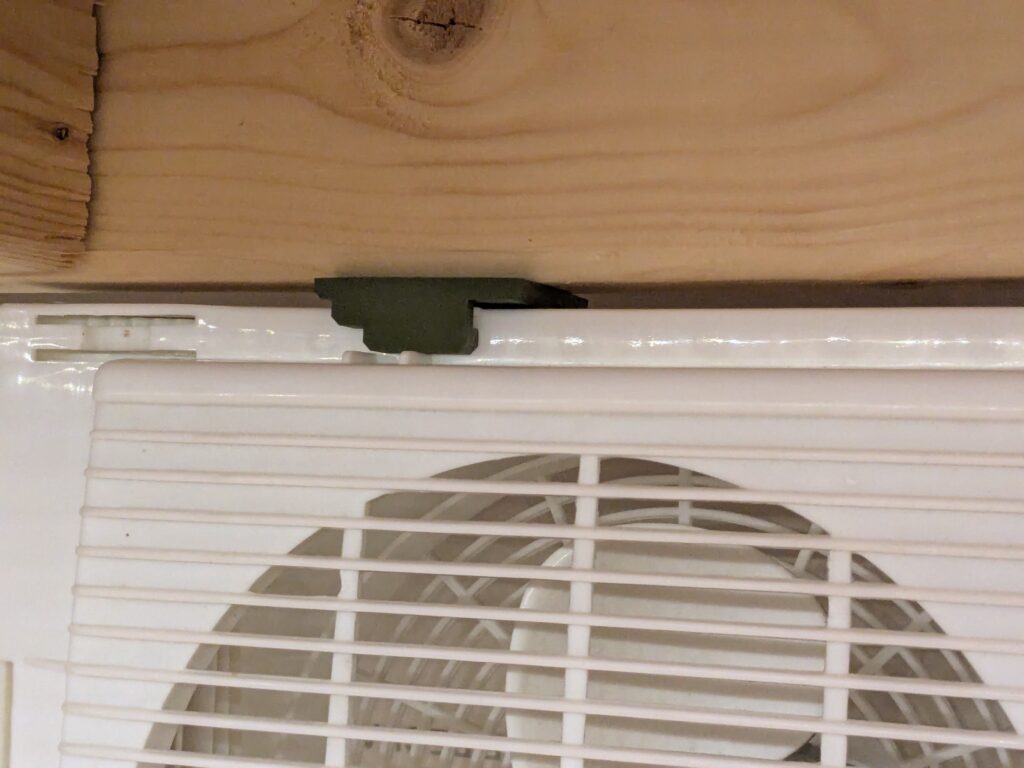
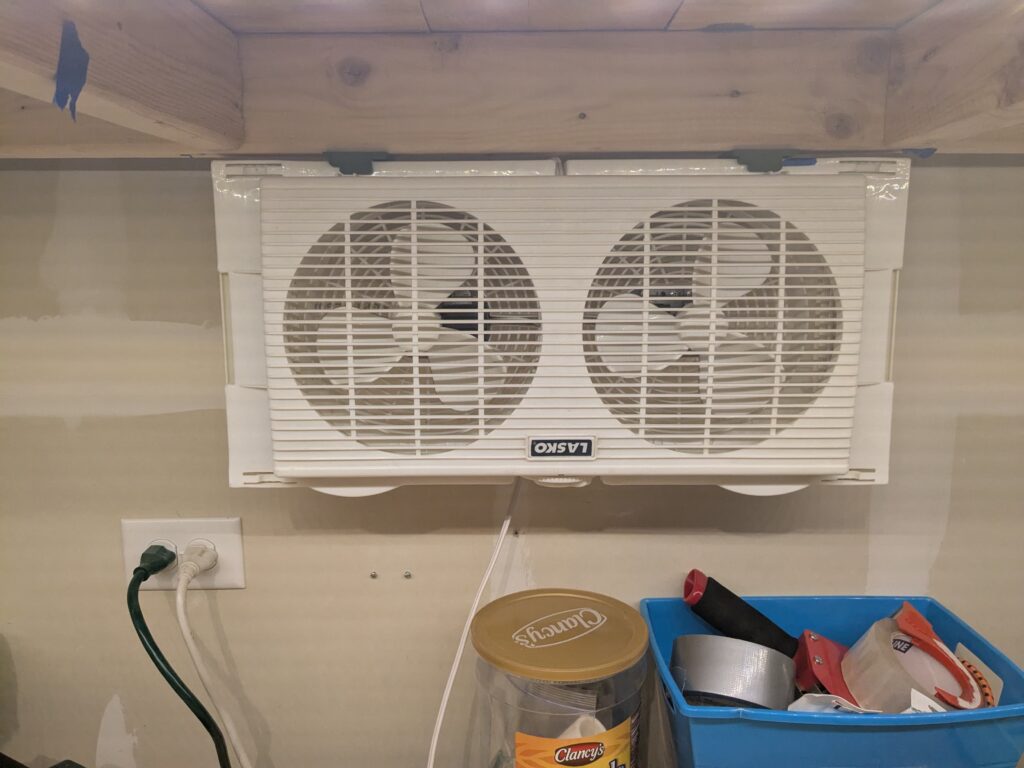
This final project was of my own ambition, now that I was riding that Grok + FreeCAD high. I decided that it was time for me to stretch my wings and see how far I could push things. The vision is to have a box fan hang from my workbench hutch to keep me cool while I worked in my hot ass garage. Using custom designed brackets to snap lock to the fans frame and screw into the wood of the hutch, it s a very viable dream.

After lots of measurements, drafting on several reams of paper, and several pots of coffee later, I finally was ready to start CAD-ing. Applying everything that Grok taught me, my dream was shaping into a reality.
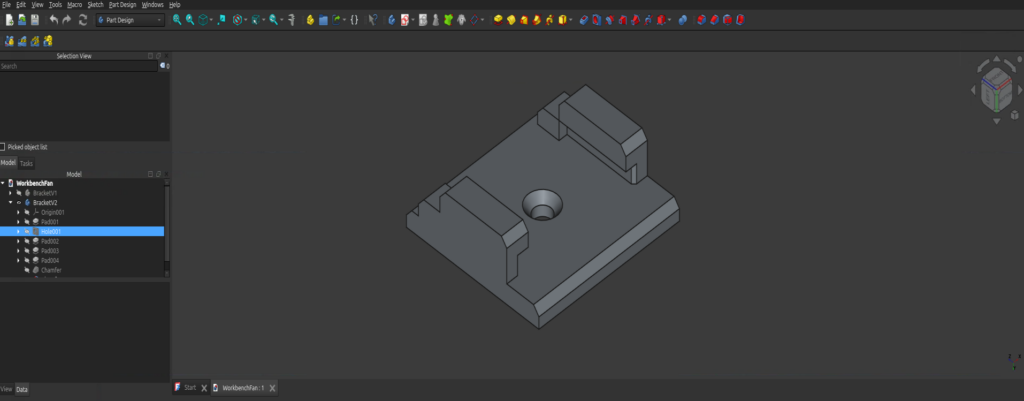
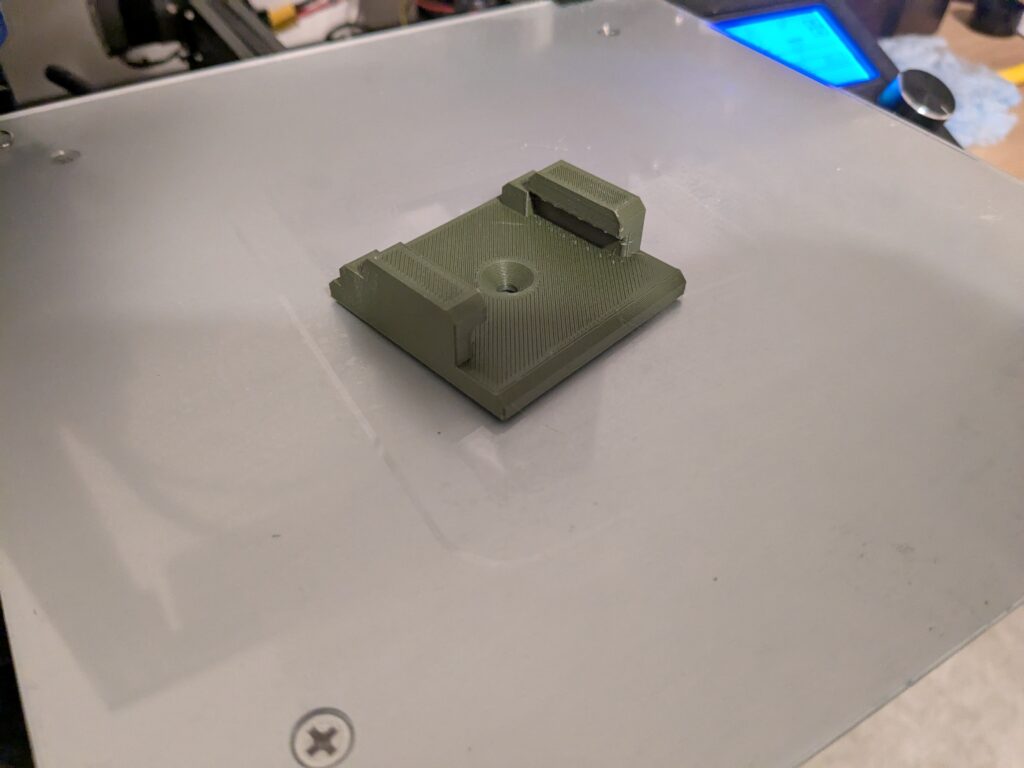
Again, Grok really got me through the rougher parts since this print was a tad more complicated. The biggest hurdle was getting the counter-sink right on the screw hole. I needed to account for the screw height as well as the clearance I needed for the fan frame to slide into the brackets. Adjusting where the snap-lock took place on the frame allowed me to also make a really durable bracket. The results speak for themselves 🙂
Feeling that Sweet Fabrication Freedom
The main lesson I learned with this batch of prints is with 3D printing, consumers now have the ability to go around manufactures. I’m no longer at the mercy of a company, hoping they make spare parts I can buy without being price gouged. Or sitting around waiting for them to design, fabricate and produce a solution that fits my needs. Cut out the middle man, make your own destiny. Take that awesome idea in your head and make it real!

This idea doesn’t even have to apply directly to 3D printing! I also learned that after using FreeCAD, its a very close cousin to Fusion360, more than I originally thought. When it comes to open source solutions, I always approach it with the understanding that “this is a passion project, it won’t be commercial grade”. With the rise of AI, I feel like those barriers for open source are gone. The learning curve I would have gone through reading all the FreeCAD documentation was completely mitigated. Replaced with a brief conversation with Grok, boiling it down to basic steps, allowing me to get to the fun part right away and tap into that sweet dopamine hit.
I’ve got a few more print jobs in the queue, but I’ve also made some serious headway on the tech side. We’ll see what I decide to rant about next. Until next time! 🙂
