Well guys the post you’ve all been waiting for is finally here! We finally get to talk about 3D printing again. However, I’m going to throw you a curve ball in how I solved my problem. Turns out if you throw enough money at your troubles they do go away! But I’m getting ahead of myself, let’s catch you up on why this 3D printing blog hasn’t been about 3D printing.

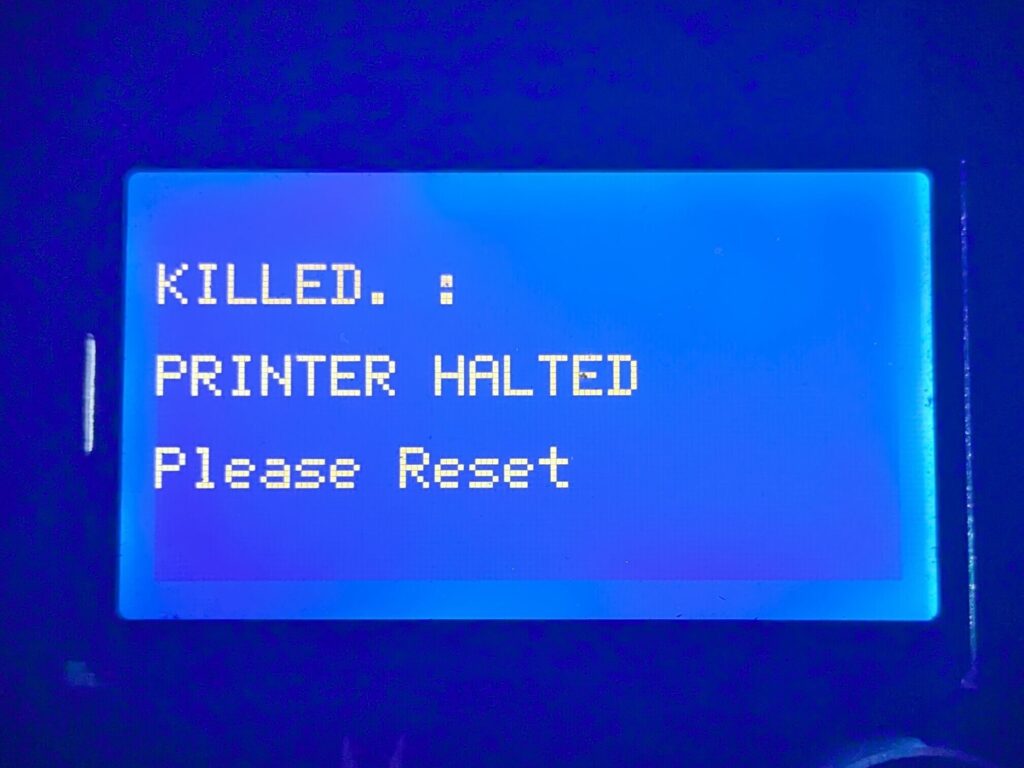
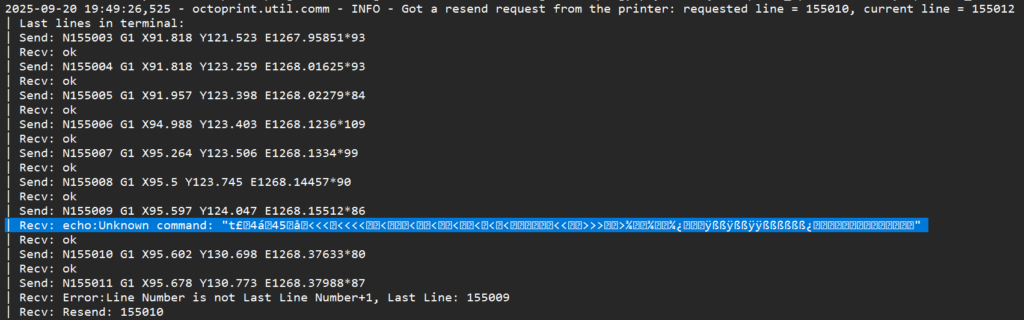
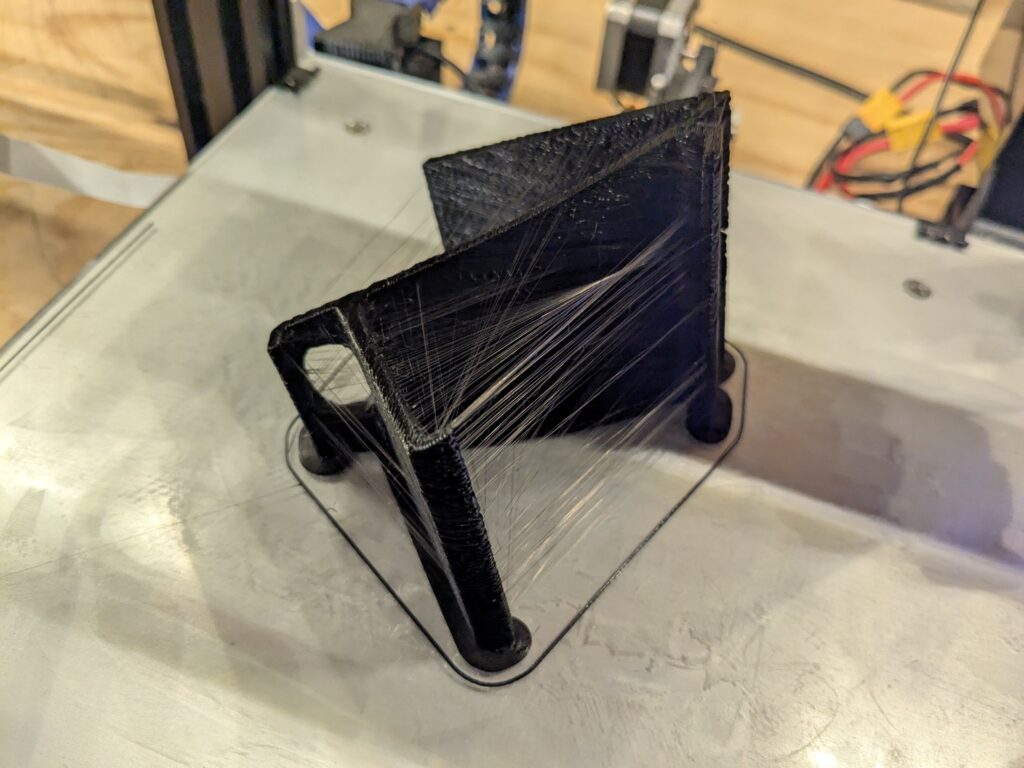
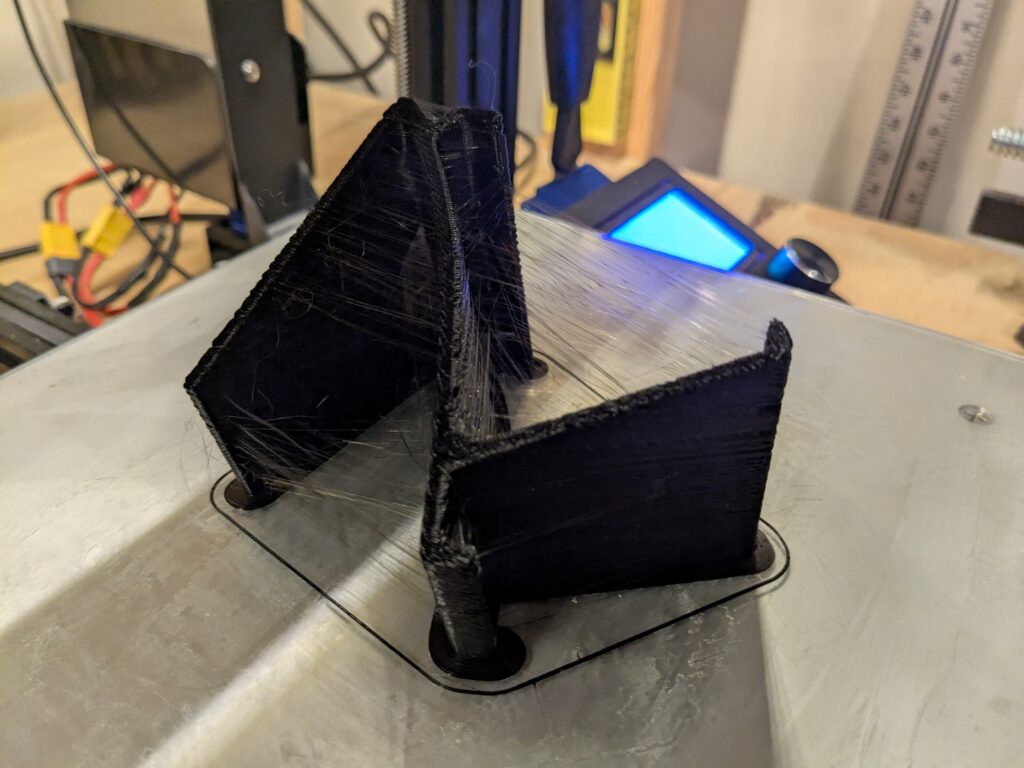
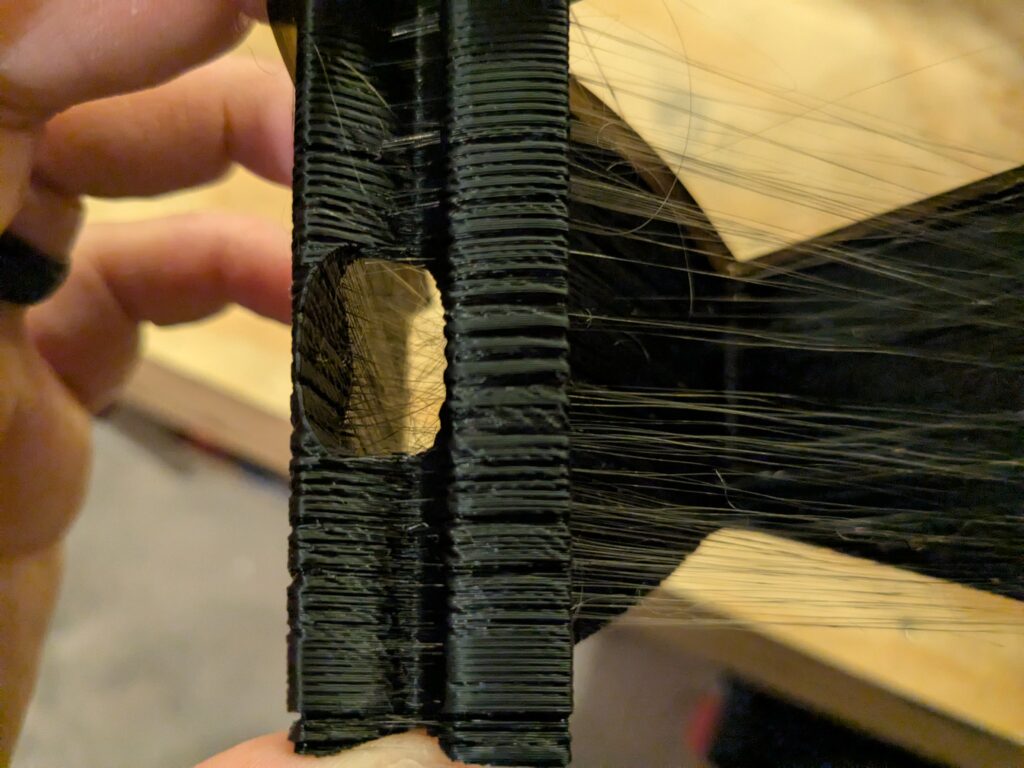
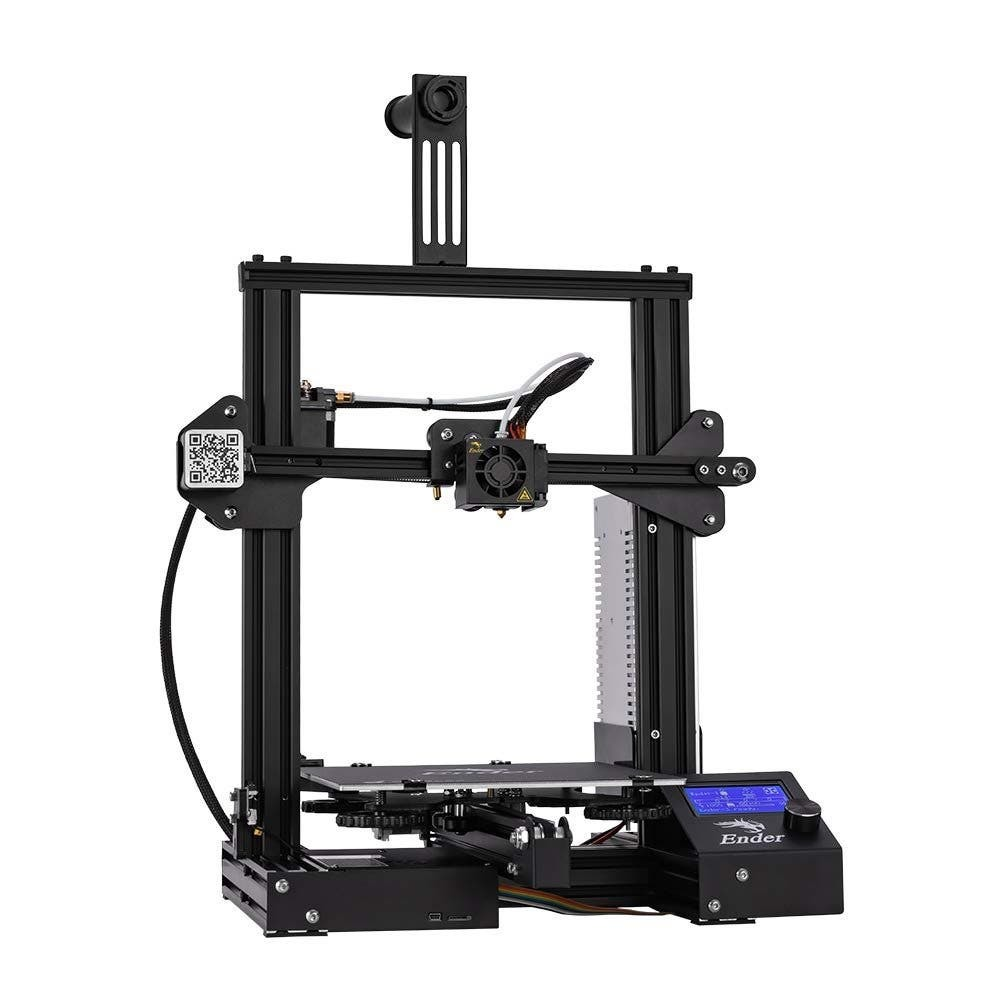
It started with a crash. Not the kind with explosions and fire, more like my ender 3 was chugging along then just decided to stop printing mid job. But not every time, oh no, that would be too easy! This is one of those sporadic, random, pull your hair out kind of problems. Leaving me with only this breadcrumb…
Now I’ve been chasing this ghost for a while now, back then I thought it was EMI getting into a bad splice job. Then I thought it was under voltage with my Raspberry Pi, struggling to siphon power from the PSU to feed the relay and spill power to the printer because of shitty electronics. Best way to tackle this kind of problem… break it down to the fundamentals.
Time to Dig in and go Deeeeeeeep

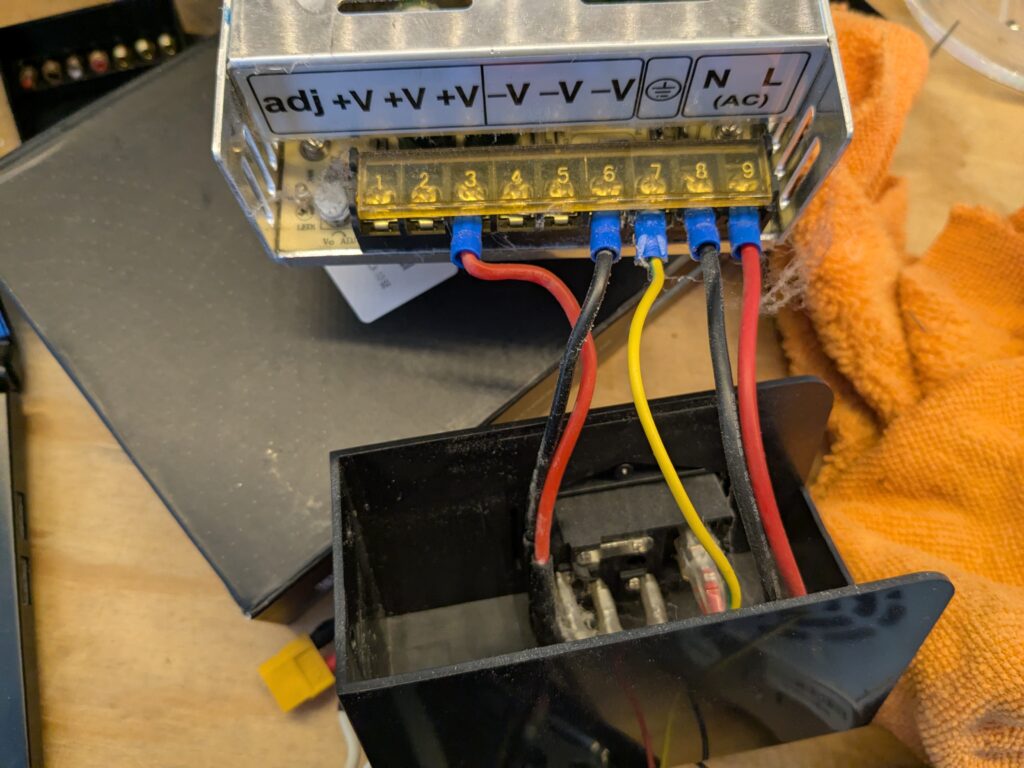
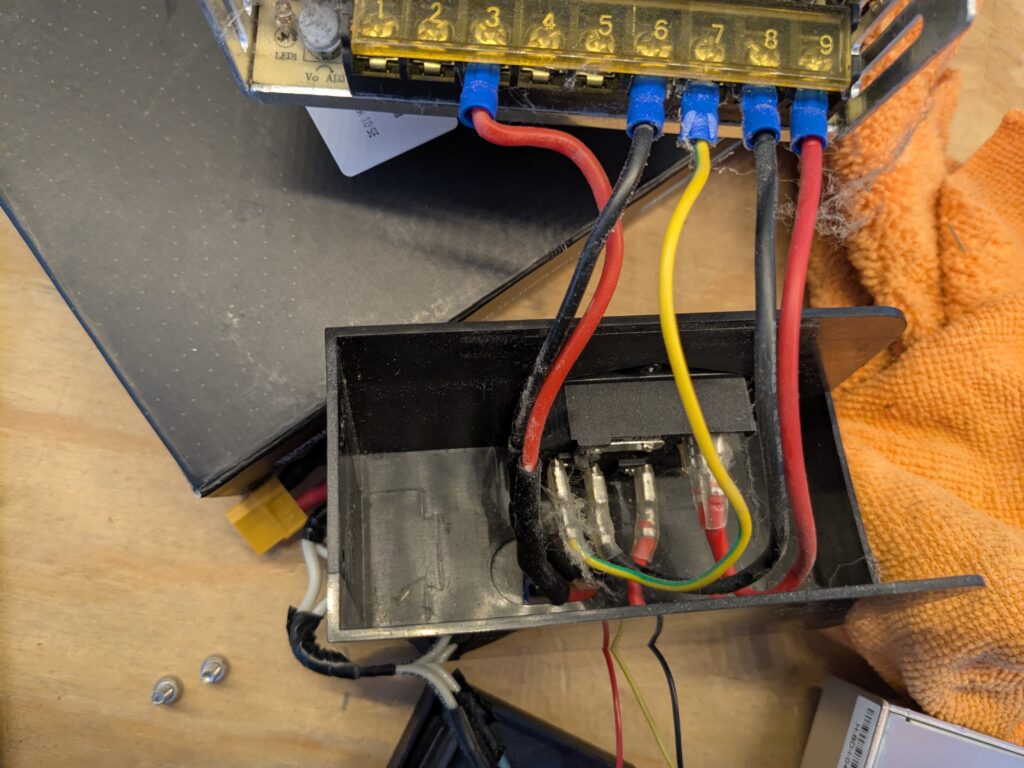
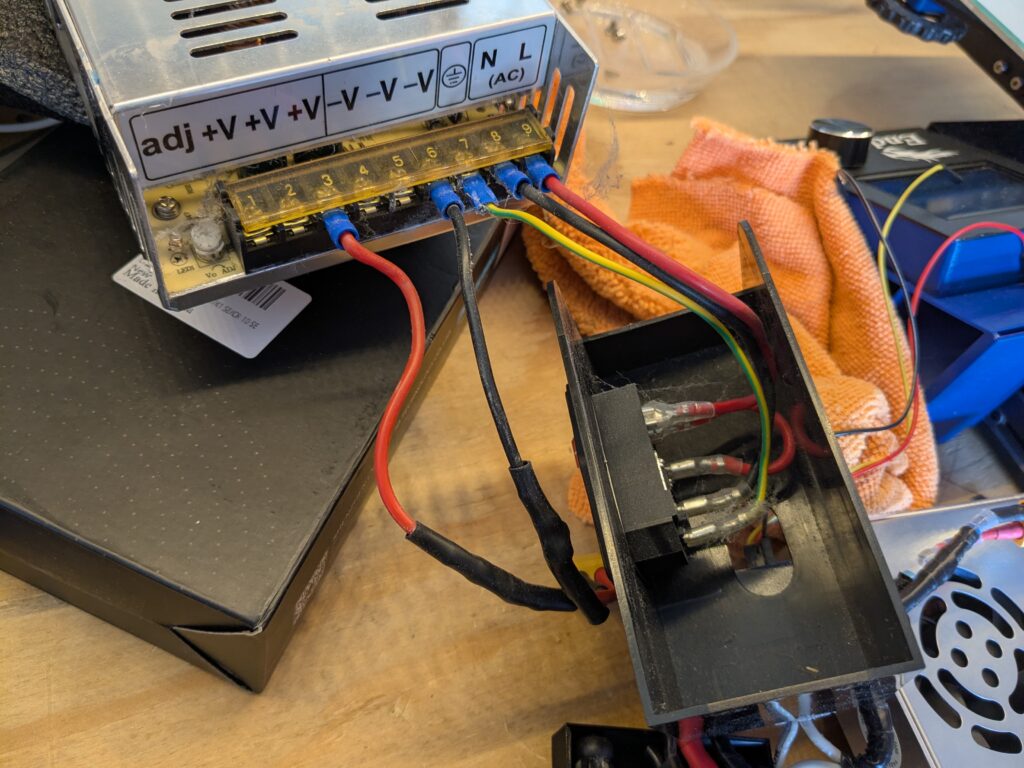
I took the relay out of the equation thinking that it was drawing too much from the PI’s GPIO pins. No dice… I gave the Pi it’s own power supply. Nope… I even ended swapping out the PSU of the printer thinking it was providing inconsistent voltage.
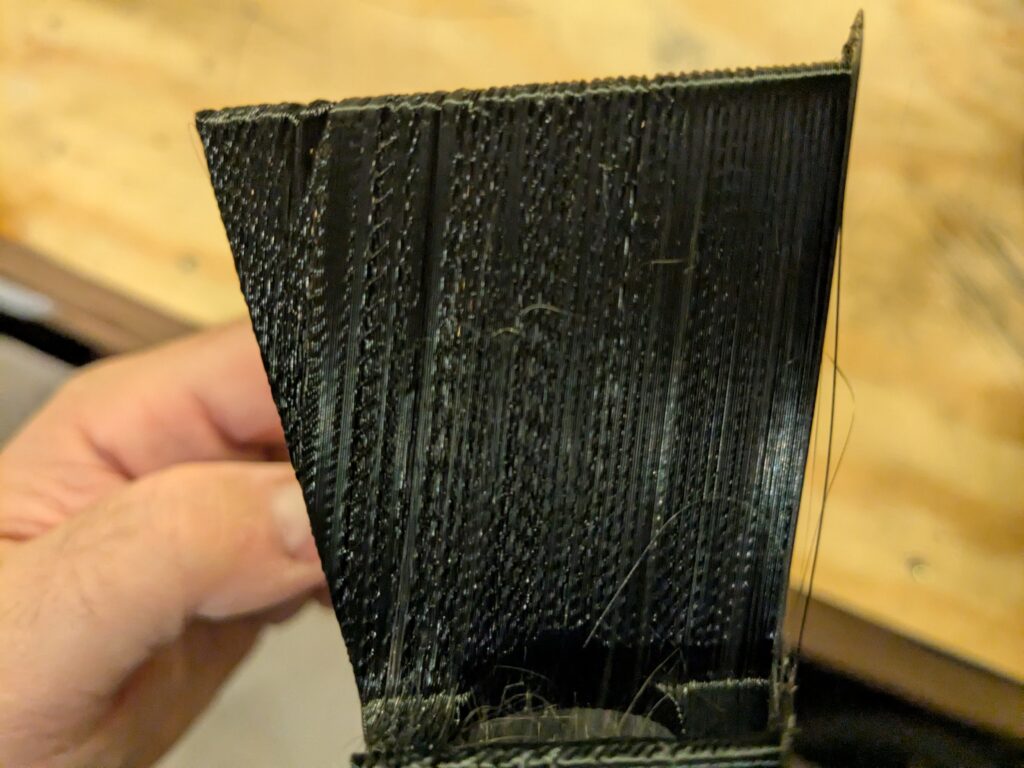
I had a funny feeling that this all started happening after I updated octoprint to 1.0 and had to make the jump to python 3. In the logs, I managed to get lucky and catch it in the act of failing. The same gibberish I spotted a while back making me think this was an EMI issue.
In a Hail-Mary, I had one last attempt with a brand new USB cable. Fun fact, it didn’t help. Attacking it from the software side by upgrading my Marlin Firmware, I ended up making it much worse.
After 3 months of fiddling, I decided I didn’t want to be that guy with the half built truck on his front lawn lying to himself that he will restore it one day. At some point the juice just ain’t worth the squeeze, and I’m getting tired trying to squeeze juice out of a rock.

Get in Losers we’re Going Printer Shopping!
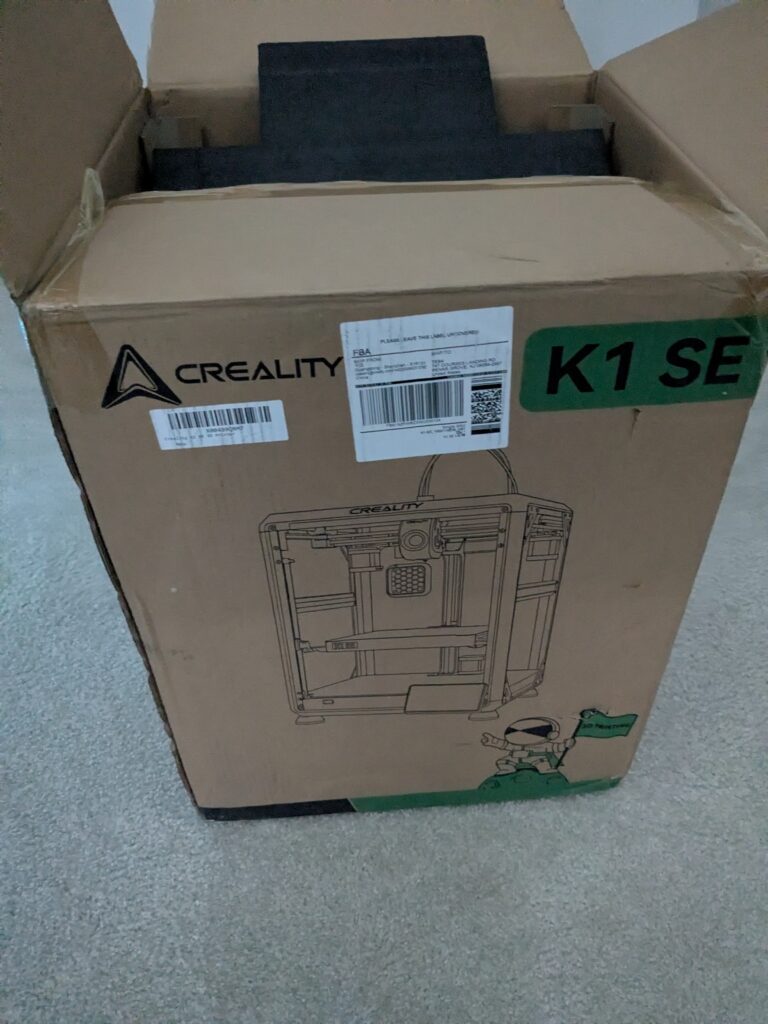
I decided to start shopping, not for parts but a whole printer. My God how things have changed. I didn’t even know where to start. Playing it safe I decided to stick to my roots. I wanted to stay with Creality and because I’m a cheap ass, I started at the bottom of the barrel and worked my way up.

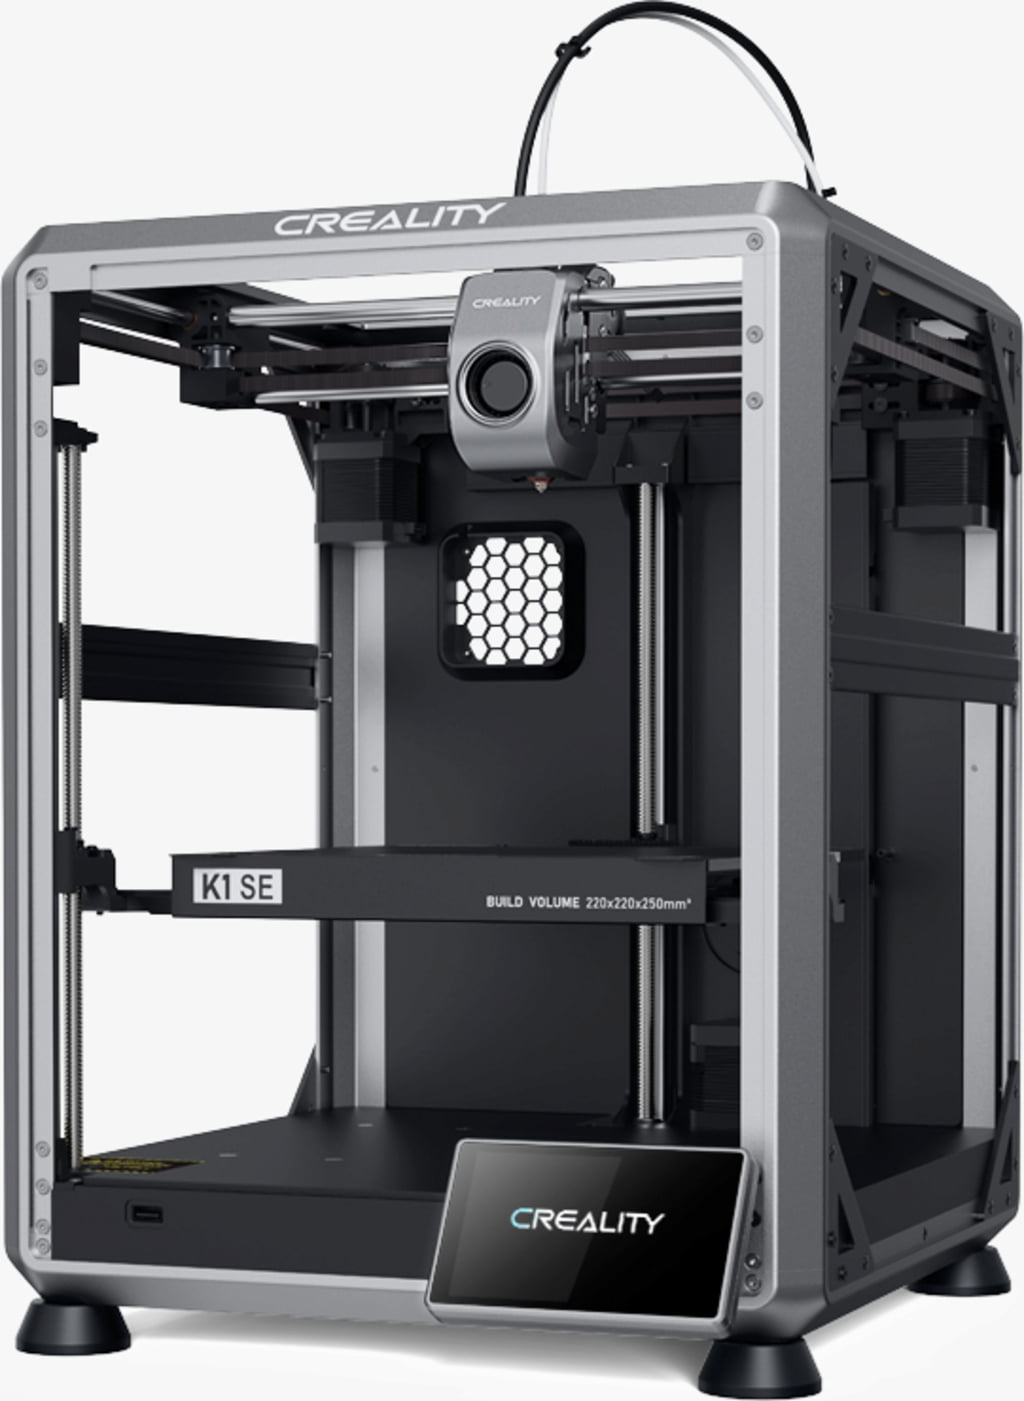
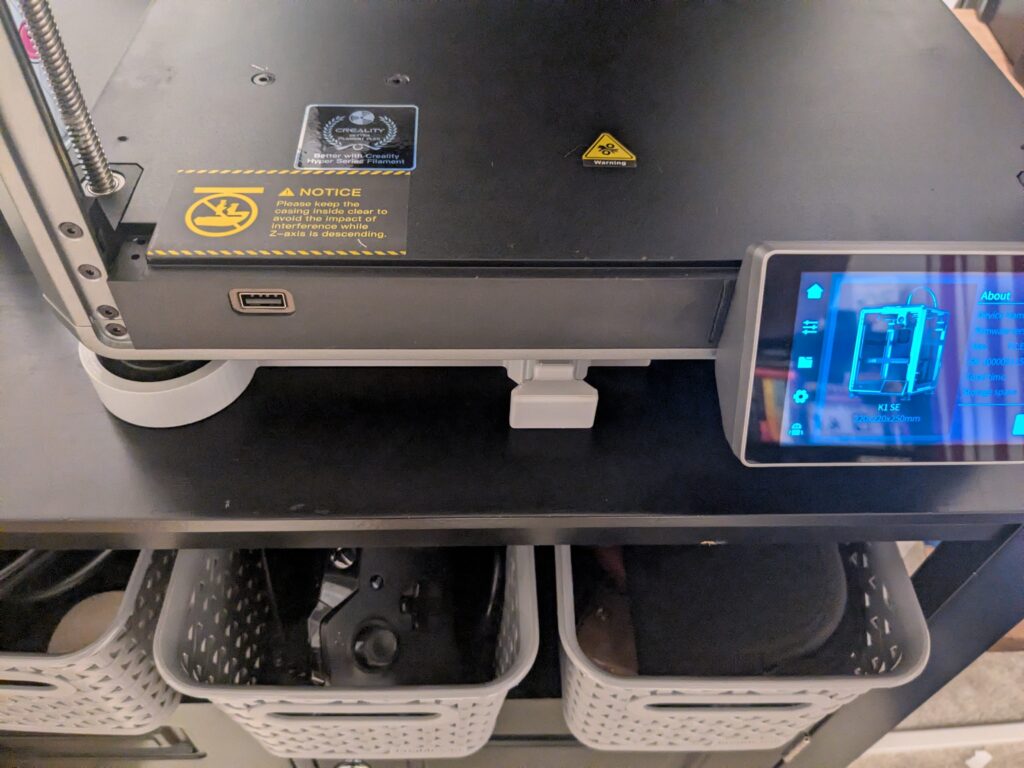
That’s when I saw it, the Creality K1 SE, a direct drive, Core XY, blasting past my Ender-3 at a low low price of $250. Lets take a minute to nerd out on some specs!

| Feature | Ender 3 | K1 SE |
| Max Print Speed | 180 mm/s | 600 mm/s |
| Max Acceleration | 1000 mm/s/s | 20,000 mm/s/s |
| Motion System | Cartesian | Core XY |
| Extruder Type | Bowden | Direct Drive |
| Max Nozzle Temp | 260 C | 300 C |
| Bed Leveling | Manual (CBL Add-on) | Full-Auto (strain + auto Z-offset) |
| Input Shaping Vibration Compensation | No | Yes (Accelerometer Based) |
| Connectivity | SD Card, USB (Raspberry Pi) | MCU – USB, Wifi, Creality Cloud |
| Display | LCD mono-color, knob input | 4.3″ Full-Color Touchscreen |
| Firmware | Marlin 2.1 | Creality OS (Klipper OSS) |
| Other | Lol | Nozzle Wiping, LED Enclosure Light, quick swap nozzle, AI Camera, removable bed plate |

Where the hell have I been for the last 3 years! And this isn’t even a high-end one! For an extra $250, I can add in a camera, an enclosure and ventilation! If I really wanted to get fancy, I could splurge for an Creality Filament System. But I’m a simple PLA man, I’m not ready to dabble with the fancy doo-dads yet. Plus my boys like to help me swap the spools out 🙂
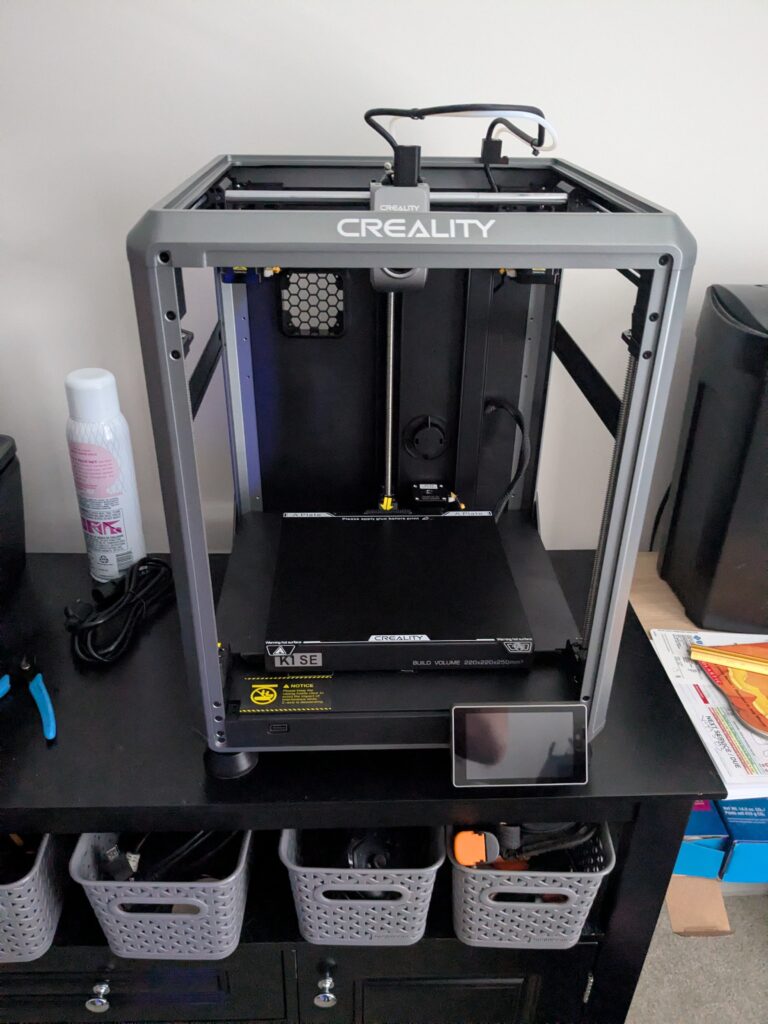
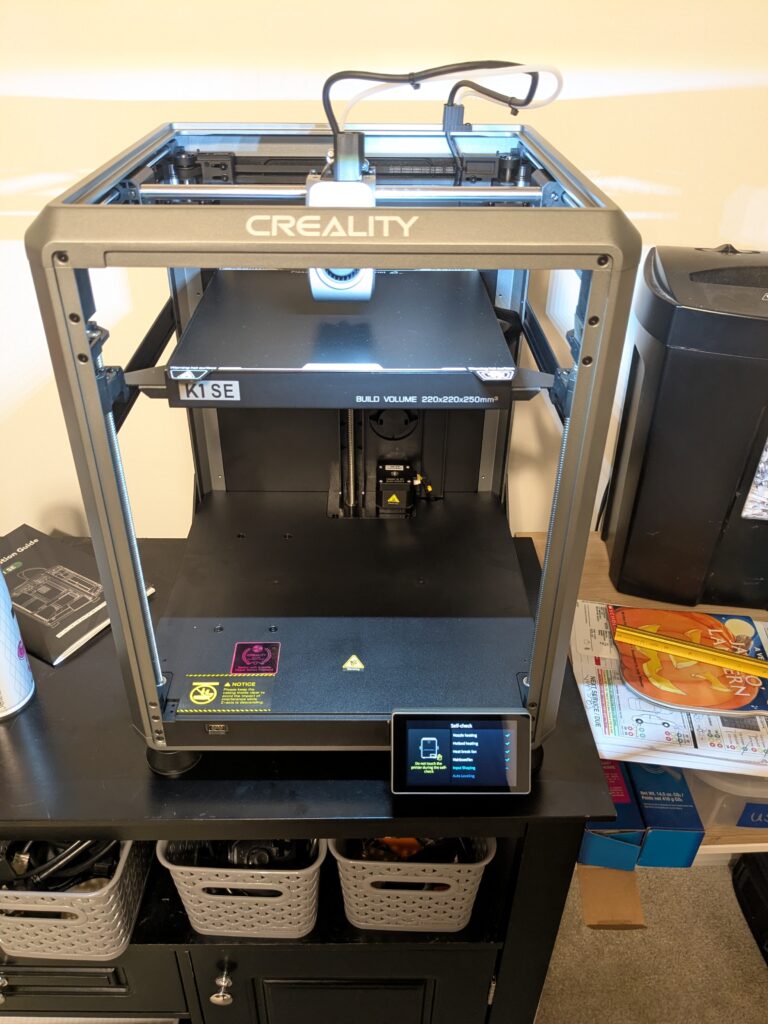
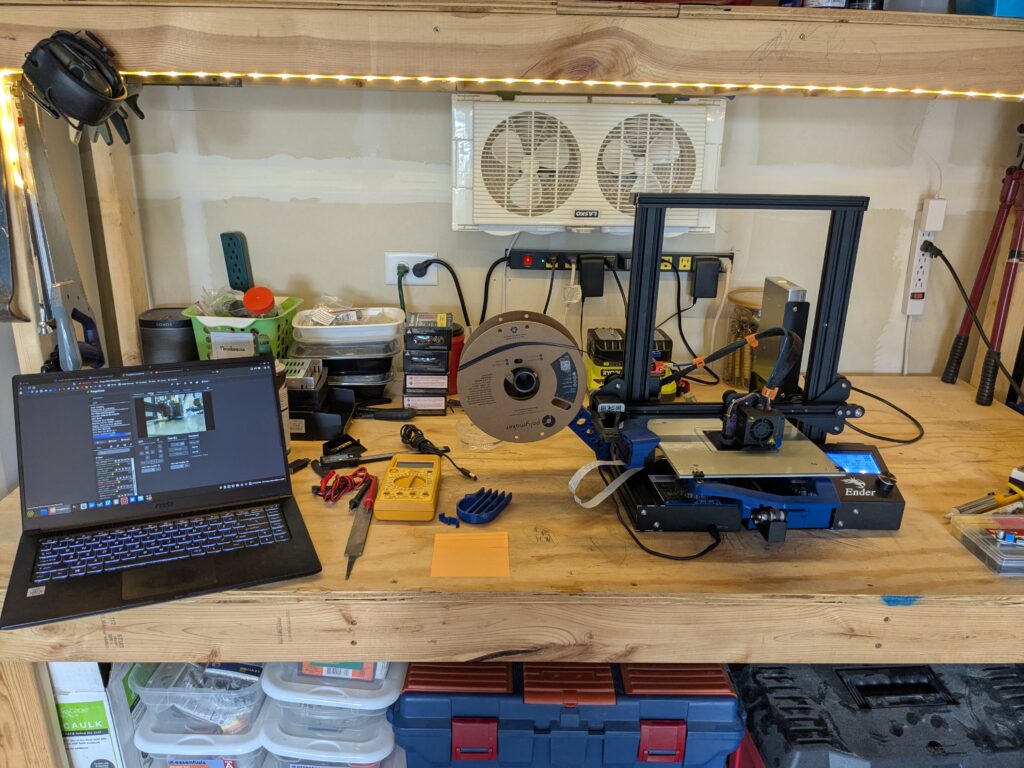
As advertised, it really was a fast setup. Pull it out of the box, remove a couple of covers, pop a few screws, plug it in and off we go! Lets make a benchy and see how it flys!
That’s magic, that is sorcery magic! Being a core XY, auto bed leveling is out of the box, no manual adjustments needed. No more post it notes! The bed plate is magnetic, so the pad the print sits on can be removed and bent so the print pops off. No more scraping with the putty knife! Ok ok, this is all good, but now I want to move past the out of the box files. Lets get this on the network!
Connecting to a Printer in 2025
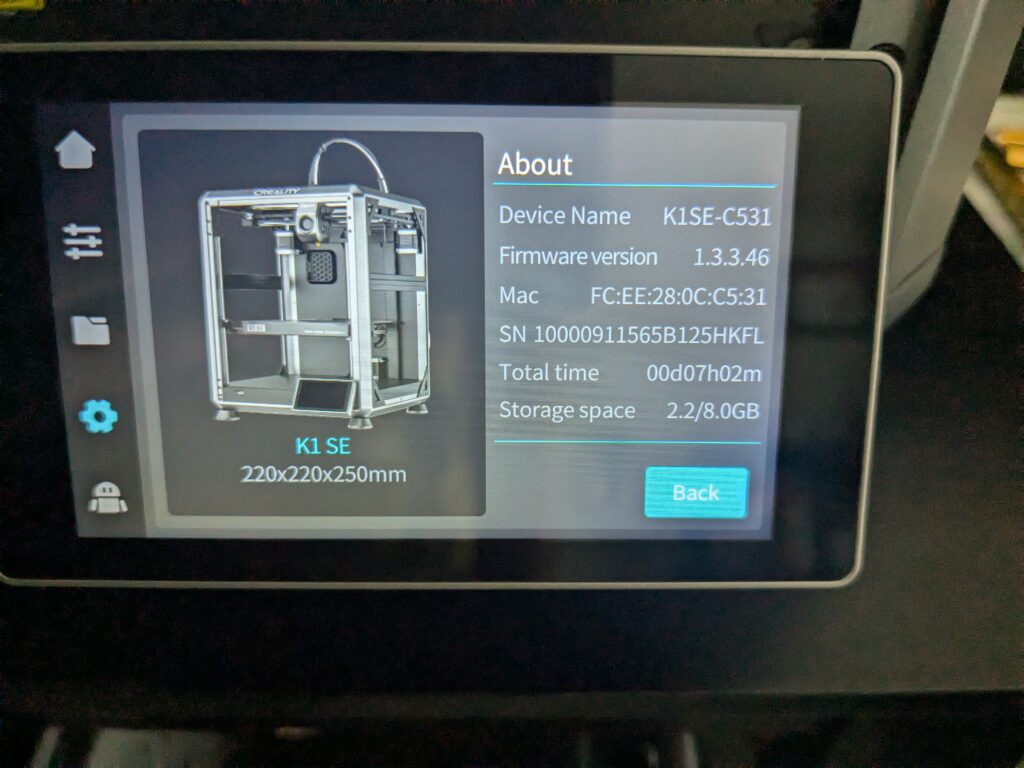
Easily enough, this printer has a touch screen with a full menu suite. Like going from a rotary phone to an android. Tap network, hit the SSID, enter the passkey, boom done! Next is getting access to the printer. The layman’s path here is to setup a creality account, scan the QR code on the screen to link the printer, and then send print jobs via our phone.

Agreed, that’s not our speed, we want full control! But before I go modifying everything and voiding my warranty the first day, I should probably be a little vanilla. First step it to get Creality’s Slicer program.
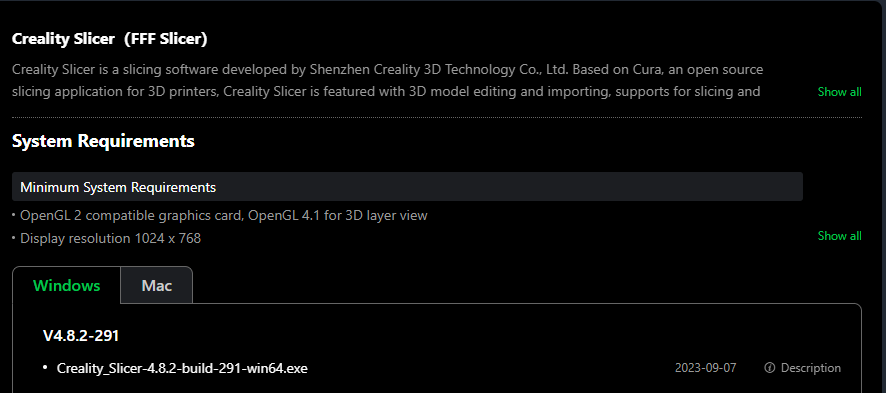
Hmm… no Linux option… Ok then lets use Cura! Hmm…. Can’t connect to the printer…. Well, luckily there are a ton of slicers out there!

Now everyone is getting on that Bambu band wagon but I ain’t no sell-out. I’m going to try its forked cousin, Orca. Which ironically is very similar to Creality slicer, also a fork of Bambu. Hey if you can’t beat them, fork them!
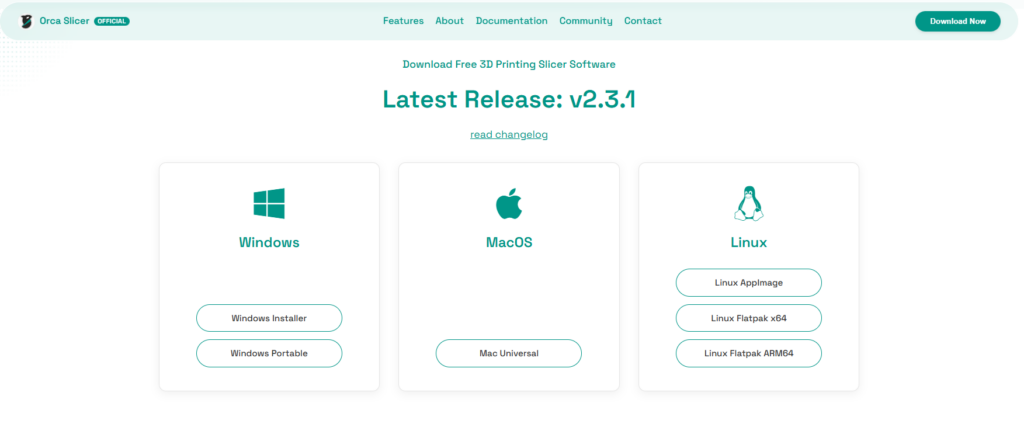
Orca, the Deadliest Slicer in the Ocean
Going from Cura to Orca is quite the cliff climb. Cura is riding a bike with training wheels, Orca is you have to build the bike first before you can ride it.
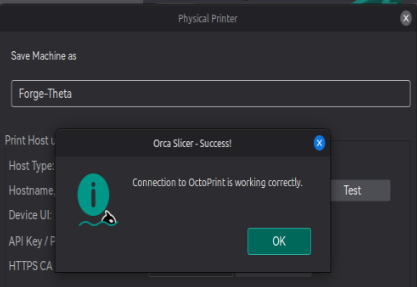
However, once you get the hang of a good portion of all the buttons, knobs, levers and switches, it can be a pretty sick ride. Getting connected was really easy since Orca has a preset option for creality printers.
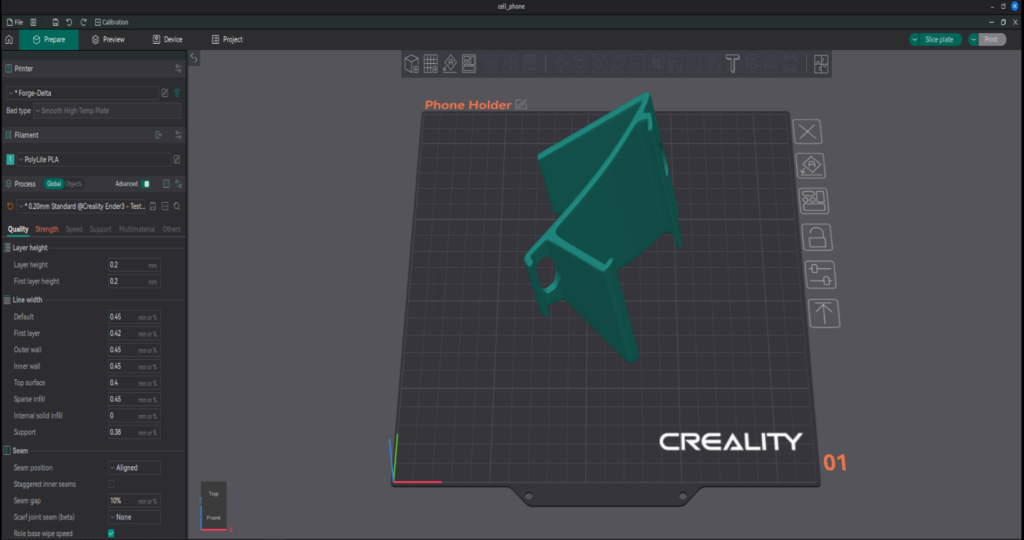
Now when I print a job, I can do it all directly in Orca, saving me a bunch of steps of creating the gcode file and uploading it to the printer. Not only that but I can save multiple plates in the same project file, really consolidating things.
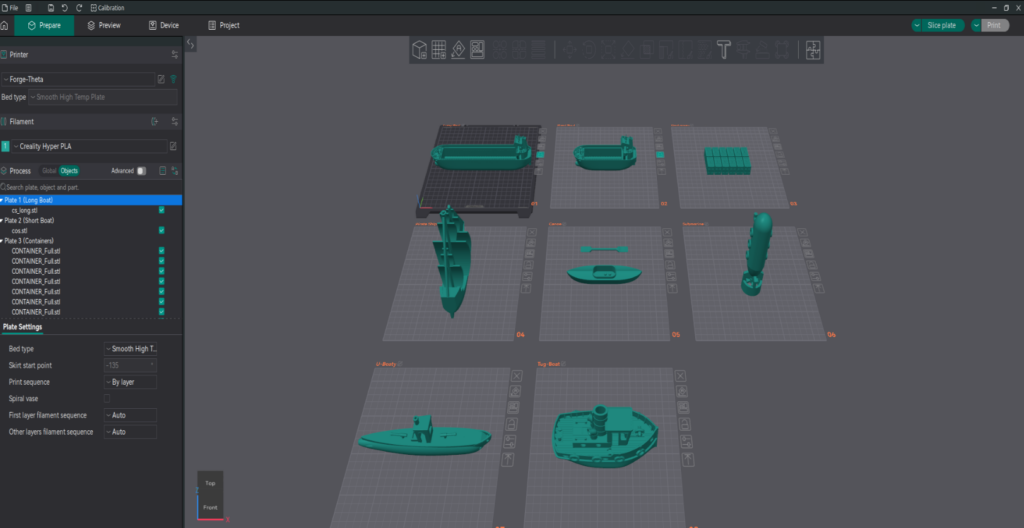
I’ll probably do a whole post on Orca and all its features. But that’s it, we’re connected and we’re printing. Keeping with tradition, the first thing we are going to print (besides benchy) is upgrades for the printer!
Free Home-Grown Upgrades!
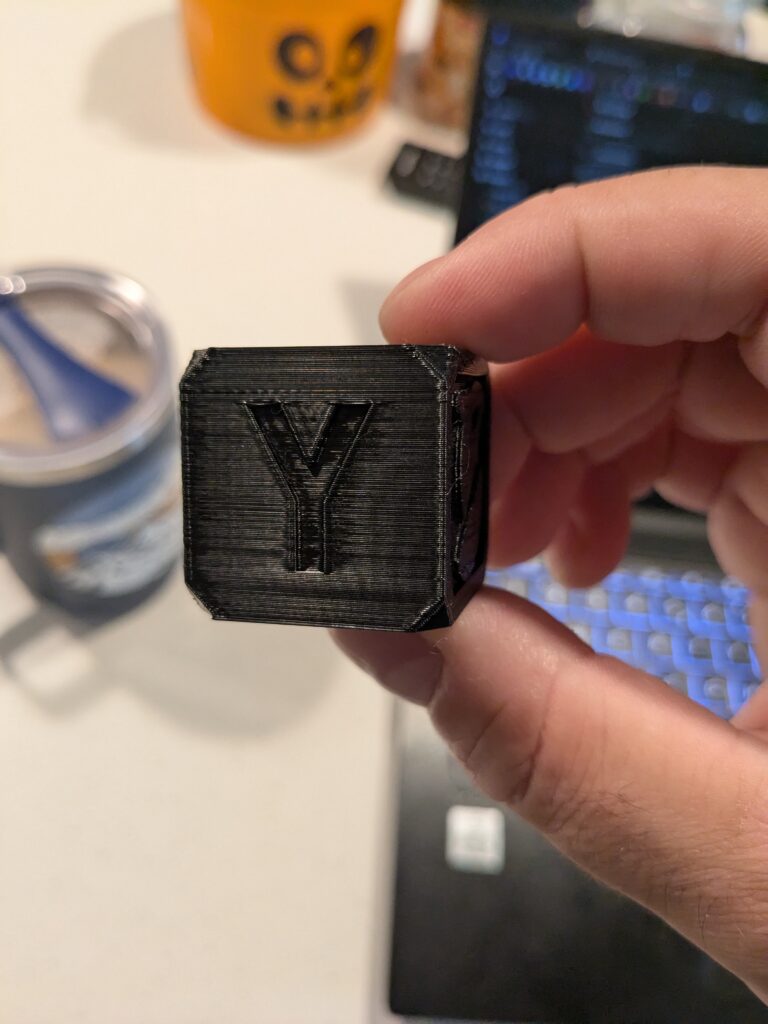
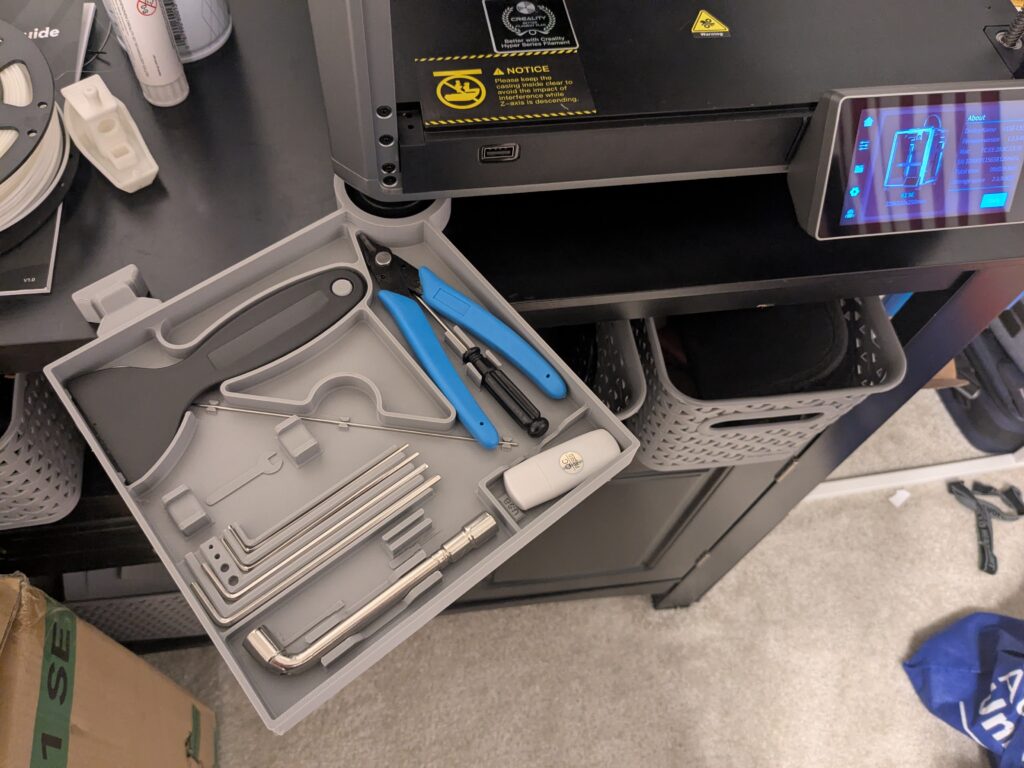
Just like with my ender 3, my first K1 SE print is going to be something to hold all the tools. Luckily, there are some smart people on Thingiverse that already have the prefect design.
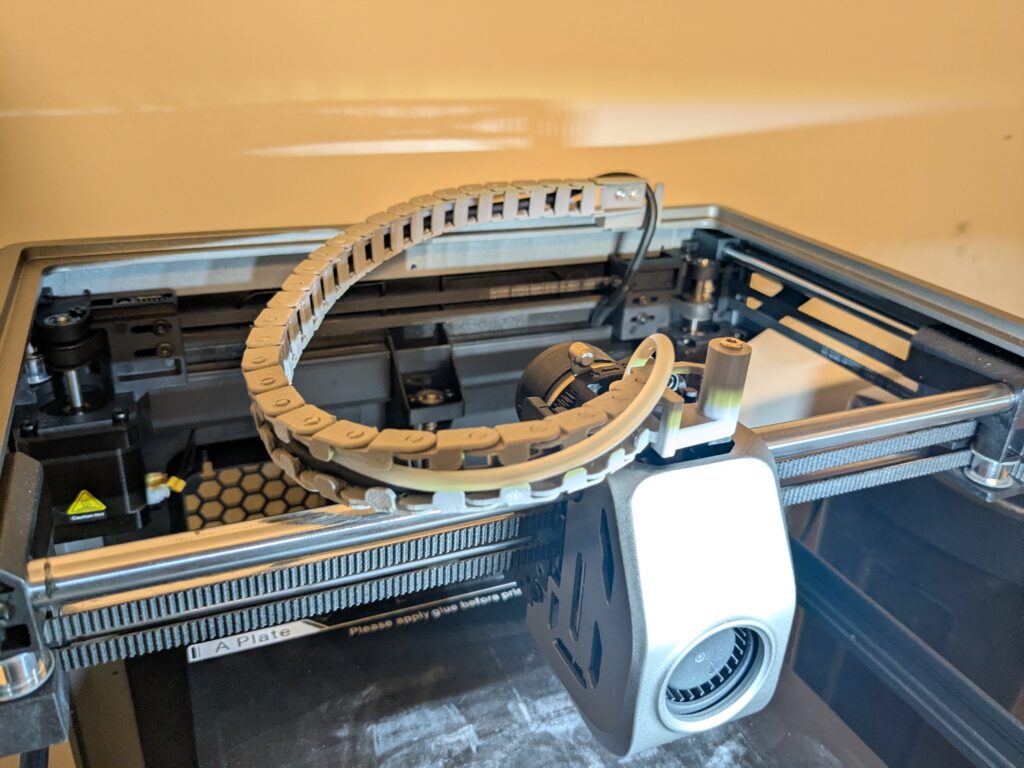
The other upgrade is more of a nice to have, it makes my K1 SE closer to its more expensive cousins. They come with their chain guards out of the box, I just had to print mine 🙂

Sometimes Money does Buy Happiness…
So what happens to my poor Ender 3? Right now, collect dust in the basement. My Pi will probably be repurposed, there is always a project needing a mini-computer. It in the end of an era, its a little sad but we had a lot of fun along the way. That being said….

All that is left is to go nuts and print like a mad man! This will be a 3D printing site once again! Time to mod, tinker, and learn! Until next time friends!